Summer is flying by and my list of projects is still pretty long. I’ve been super busy with photography clients recently thanks to wedding season, which is a good thing but it doesn’t leave much time to work on my gardens and I was getting frustrated by the slow progress of things. But then I realized I need to remember we’ve only been in the house three years and have made some big improvements in that time. So today I thought we’d take a look back at just how far we’ve come!
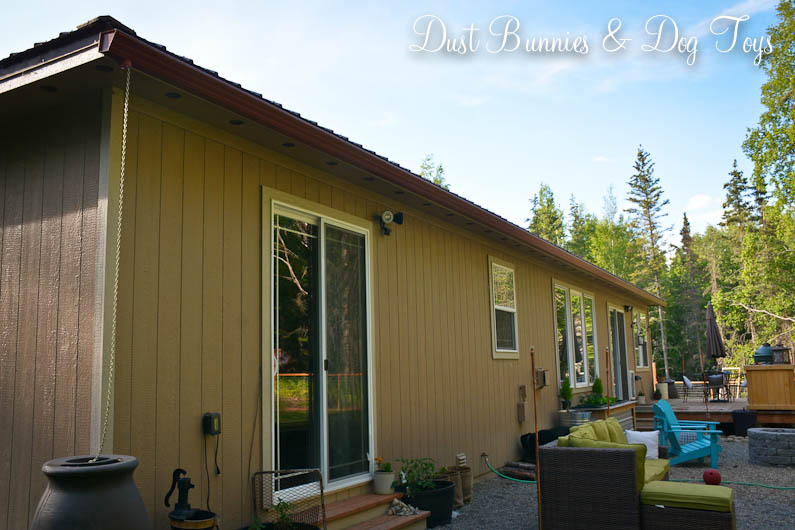
The biggest change is the back yard. This is what it looked like during the final stages of construction before we moved in after winter had hit. It was a completely blank slate.

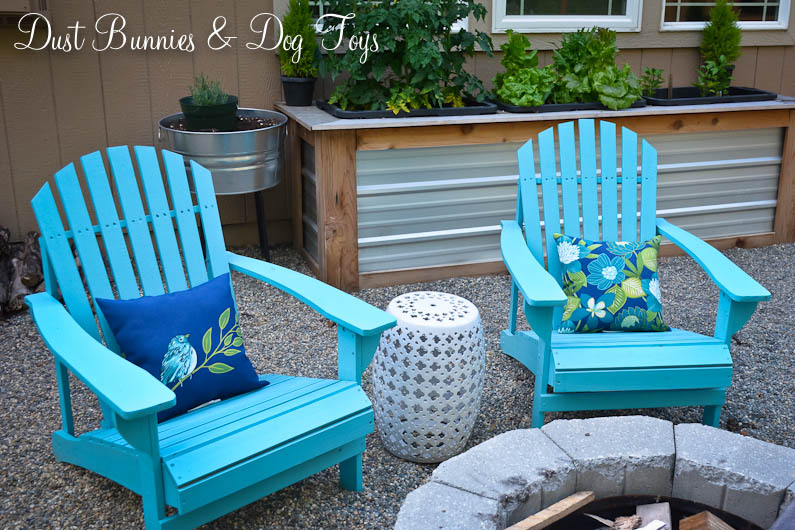
And here’s what it was looking like about a week ago. Some of this is just temporary as we add other features in stages, but it’s filled in pretty well for our weekend and evening DIY efforts.

This was the main area of the back yard the first spring we were in the house. A big field of bare dirt and gravel with the hideous chain link dog run we patched together until we could get the fence in and the yard hydroseeded.

Now it’s functional and pretty. Eventually the grass will grow back in where we tilled to do the rock garden, and it will look seamless.

And just look at how many of the projects I had planned that have already been done! The gravel patio, fire pit, egg table, raised garden box and deck landscaping are all done or in progress. And a few of these ideas ended up being changed in favor of a better idea, like putting the strawberries in the gutters around the corner and switching the sectional seating on the deck for a dining table. There’s definitely some fine tuning and clean up to do, but it’s a space we can enjoy now rather than a bare patch of dirt.


The raised garden box used to be surrounded by dirt and had a few measly little plants in it that eventually drowned from the rain off the roof. Now it’s surrounded by pea gravel for a finished look and has a healthy crop growing thanks to the new gutter we had installed.


The biggest change is the landscaping around the deck. It looked like a wild patch of weeds at the beginning of this season. Now its something you actually want to look at! And it will only get better and better as the seasons continue and the plants fill in more.


Last season we had the new sectional seating on the deck which was nice, but the change to a dining table works so much better for this spot and has gotten a lot more use. Plus the dogs appreciate being able to “look out” from the edge of the deck this season and the Hubs and I enjoy the shorter walk to the chicken coop from that side of the deck thanks to the stairs he put in.


I had planted these two bushes on the side of the deck at the end of last season and was extremely frustrated when the dogs ripped out the bush on the right before it could establish new roots. But it ended up being a blessing in disguise because it made a spot for the new steps and rain barrel for the gutter.


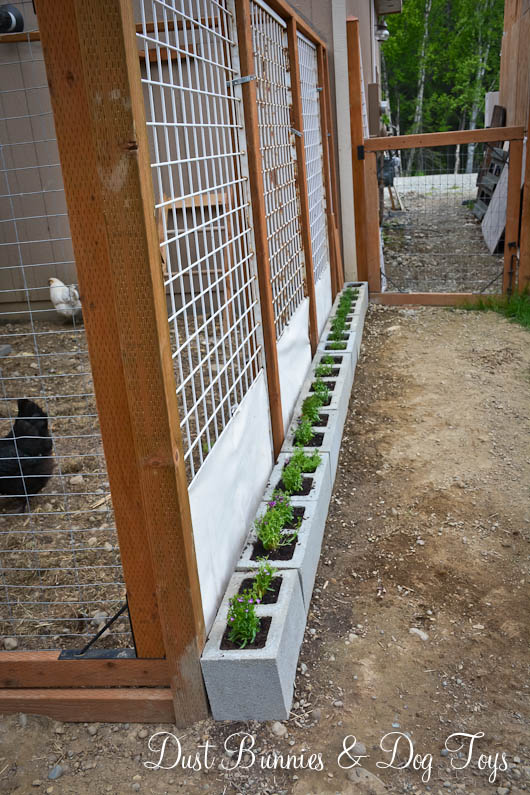
Around the corner we’ve gone from an awkward cubby to a defined planting space and chicken run. I had planned for a large garden in this space but soon realized that the exposure wasn’t right for that plan so it became the chicken space instead and it’s perfect for that.


The revised plan for this side cubby has mostly come to pass. We did add a storage shed, although it’s more for the chicken equipment than the yard tools I’d imagined but again it works for our needs. And I’ve decided that I won’t ever use a potting bench so I don’t need one, although I’m sure the Hubs would still love to find a spot to install a smoker! I’ve started on a plan to disguise those not so lovely septic pipes which are inconveniently in the middle of this space so watch for that update soon.


Even the chicken space itself has seen improvement. Going from the original run to a full on chicken yard that’s super secure. Plus it gave me another little spot to plant. The lobelia I planted along the side met destruction thanks to Brinley’s rapt interest in the chickens so I pulled them out and put in grass seed so I can pull up the curtains and let the chickens enjoy sections a little at a time.


 The new strawberry gutters are doing well too. It seemed like the strawberries had a slow start, but pretty much all of them now have buds, which should soon be yummy desserts or garnishes for my sangrias!


Along the fence the giant wheel the Hubs brought home for me has finally found a purpose with the new planting bed. I think next year I’ll just have flowers in this spot so I’m not worrying about the dogs getting into edible crops, which will all be raised and together over by the garden box. I’ll probably need to do some weed control in this spot come fall since I was in a hurry to install the bed and didn’t kill the grass underneath before hand, but some newspaper and another layer of dirt should do the trick.


On the other side of the house the gifted garden is starting to fill in. It looked pretty full when we put it in that first summer, but adding the grass next to the rock border became tedious to maintain so I’ve appropriated all of those rocks for the deck landscaping and have begun the switch to the same block edgers we used over by the wheel bed. I need to figure out what I’ll do around the deck we plan to add on the back corner of the house next year since I’ll need to tie that into this bed somehow so I’m moving slowly on changes over here for now.


This is how the bed looked at the beginning of last season. Just a few things coming back and lots of holes to fill in. Now I’ve got a good base of plants to create the cottage style garden I want over here.


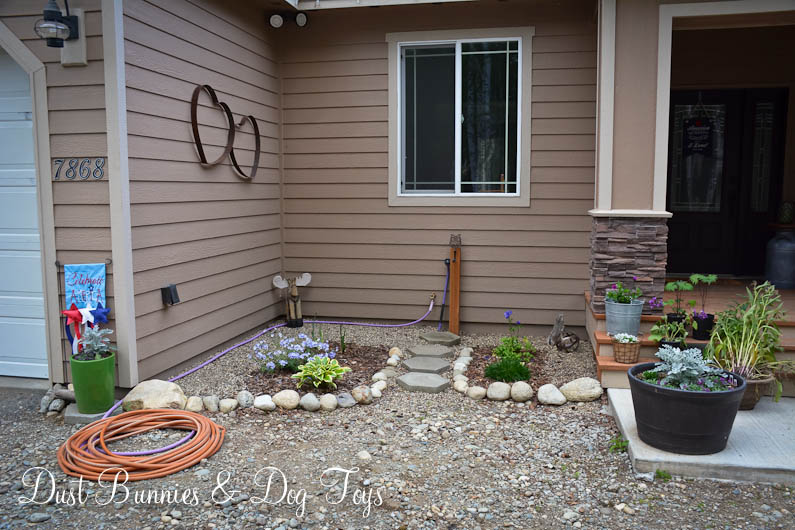
Out front we’ve went from construction city to looking like a home. It still isn’t where I want it to be but at least there’s landscaping to welcome guests and dirt isn’t splattered against the house every time it rains. I’m working through several ideas to change things up out here next season so I can decide on one and start some of the prep work this fall.


The front bed was the first space I planted around the house and I was so excited to have any kind of landscaping that I didn’t plan much ahead when selecting or placing the plants. Several didn’t survive the first winter, and those that did took a while to come back in the second season. This season I’ve fill in some of the holes and am starting to figure out what works best out here. I’m planning to revamp this whole area next season but need to finalize the plan before I do anything else. For now I’m just enjoying the colors the different flowers bring.


This little cubby in the front has been an awkward spot since the beginning. It at least gave the house a bit of finishing when we first set up the space, but it had the same issue as the other side where several of the plants didn’t survive the first winter and the rest didn’t show much last season. This season I’ve filled in a few spots and called it good until I can figure out the best way to make this spot function better.


Our freebie raspberries looked quite spindly when they first went in last year, but produced a fantastic harvest well into the fall. This year they’ve come back even fuller and are budding like crazy. We added a haskap bush in front of them and moved the water tank over by the shed so the hose can gravity feed when we need to water.


Even the view from the driveway has improved. The Hubs massive shed hides the ugly meters on the side of the house and the rain garden has become a nice focal point as you approach. I’m still waiting for my clematis to grow in over the tire wall but when it does I will be amazing. I’m hoping to get fireweed to fill in behind the tires and dwarf dogwood to cover the ground in front, but those are both low priority projects.


This garden has become my home for “lost” plants who need to winter over or no longer have a spot when I change things elsewhere. This casual approach has created a nice variety and the foundation of what will one day be a very lush space.


And lastly, the spirea bush I planted just outside the fence when I got the ones on the side of the deck was looking quite dead earlier this season. I was planning to tear it out, but luckily hadn’t gotten around to doing it because a few weeks ago I noticed green on it’s branches. I pruned it back to encourage the new growth and that seemed to work because now it has one stalk of blooms! Hopefully next season it comes in even more full and completely fills this spot, blocking the view of the leech field pipe just out of the photo from the laundry room window.

As you can see there’s been some pretty good progress since we started this little adventure. I’m trying my best to appreciate how things are now and enjoy the little bits of joy I find when out in the yard. If I hadn’t been so busy I would have ripped that spirea out weeks ago and wouldn’t be blessed with these pretty little blooms now. So I’ll continue to tinker and tweak, which is what every gardener will tell you they are always doing. 🙂


 The other pots in the freebie group didn’t really suit my style so I grouped them with other pots I no longer needed and traded them on the buy/sell page as part of a deal for another item I’ll share on the blog soon. But I had a plan for this little gem. While the bright orange was cheerful it needed a new coat of paint and I knew it would have a classic farmhouse style if I painted it ORB. So the first sunny day I had time I drug her out in to the driveway and sprayed away. Here’s how she looked after!
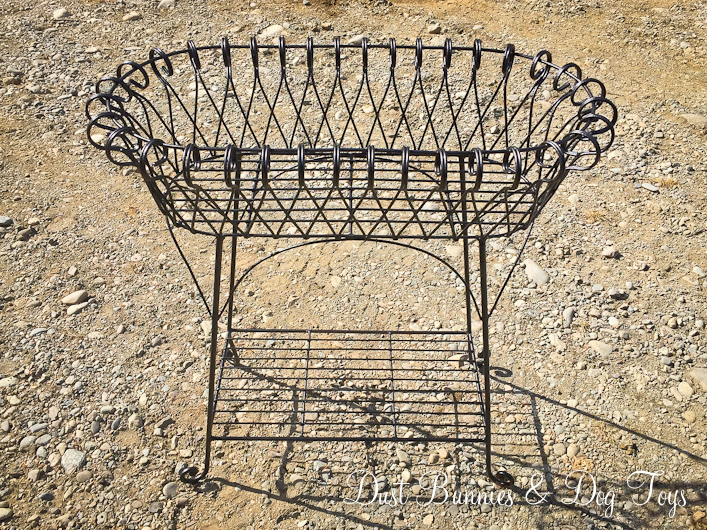 Luckily I’d been hoarding saving a large planter liner for quite some time and it was a perfect fit! Since I already had the spray paint and liner the only cost I had for this project was the plants I’ll be putting in it!
 Now she’s all ready for summer in the front flower bed. I’ve got two Bacopa set aside just for her. She also hides the cord that comes out of the garage wall in this corner – which will all but disappear once the plants start to grow and trail over her edges. One planter down, and a few more to go before the weather cooperates and it’s time to plant! 🙂
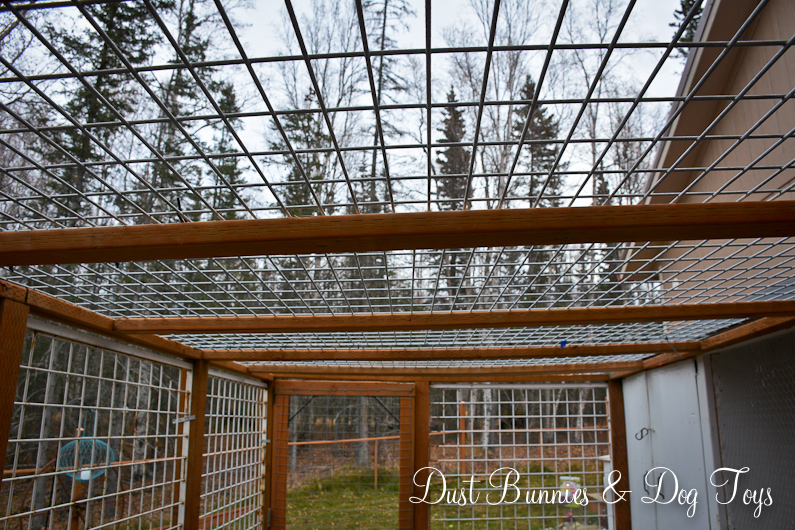


 Two photos courtesy of