Today I wanted to share my finds from a few recent thrifting expeditions. I haven’t been out to the thrift stores in a while as I was trying to pare down what was already in our home, but I couldn’t stay away forever. I love the hunt too much. My motto when thrifting is always if I don’t have a spot in mind for an item or am absolutely in love with it I don’t bring it home. This motto is only amplified by my desire to simply this year so this is all that made it home from three different trips! I’d say that’s pretty good will power.
My three trips were to Goodwill, the Salvation Army shop near my office and a local home decor consignment shop. The Salvation Army used to be a great source for cheap home decor items, but since the massive Goodwill opened a few miles away the inventory at Salvation Army has suffered. I think they are also loosing some of their volunteers to the competition or the changing economy because the store seemed very disorganized this visit. The Goodwill was well organized but I notice their pricing is often higher and not always consistent as it depends on which volunteer handles each item. But I was still able to find some good bargains, so without further ado – here’s my latest thrifting haul!
 First up is this sweater I found at Salvation Army. I’ve been wanting to make some sweater pumpkins the last couple of fall seasons but can’t ever find good textured sweaters at the thrift stores that time of year so I decided to start looking for them all year and preparing a stock pile. I think I can make two medium to large pumpkins and a few smaller ones out of this sweater and it was half off clothing day so I only paid $4!
 There were several pumpkins at Goodwill that day, but this one caught my attention with it’s unique stem and pretty colors. I may eventually paint it to be a bit more neutral, but we’ll see how I feel about it closer to fall. I think I paid around $5, which is much less than I’d pay in a department store.
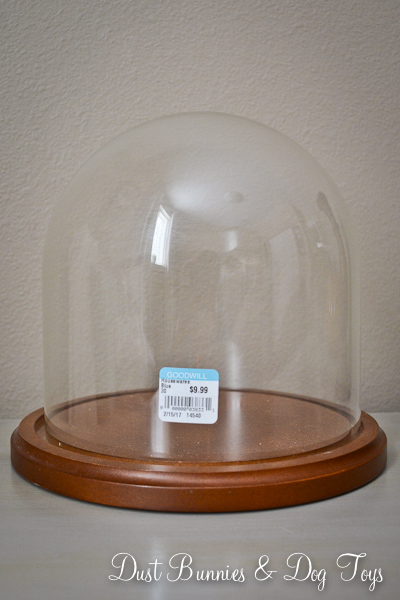
I found this cloche tucked away on a bottom self at the Goodwill and was immediately smitten with it. I’ve got a few cloches already but I like using them in different vignettes and knew if I tired of it after I give it an update I could easily sell it so it was a no brainer. It was a bit pricey but these types of pieces don’t come around often at my thrift stores and the dome was real glass not plastic so I could see the value. Plus I had a coupon for 20% off which made it a bit more acceptable.
 I also snagged this wooden candlestick as soon as I saw it at Goodwill – although I have to admit I walked past it and didn’t notice it the first time because it was tucked behind an assortment of other decor items. It’s solid and chunky, which is just what I’ve been wanting. Nice big candlesticks like this don’t come up often around my stores so at $5 I didn’t hesitate. I plan to give it a white wash paint and distressing to match two other similar candle sticks I got on the buy/sell page for $20 to create a coordinating trio for my spring mantel.
 This little Princess House glass container caught my attention at the Salvation Army where I found the white sweater. I’m not sure where I’ll use it exactly but could think of several possible scenarios which fit my requirement for purchase and at $3 it was a reasonable option.

 Lastly was this cool copper pot I spotted at the consignment shop. It came as part of a fire starter kit, although I really was just interested in the container as decor or a planter. My mother-in-law has several similar – albeit larger – pieces that I’ve always adored so I couldn’t pass this one up. It was $15 which was a bit pricey, but I figured that there was a bit of value in the fire starter pieces as well and because this was consignment rather than a thrift store I wasn’t expecting bargain basement prices.
I set the fire starter pieces aside for when the fire pit is back in use this summer and have been thinking up options for my new little pot to decide which I like the best. Current ideas are as a decor vase, a planter, or a small fire pit for our patio table come summer using a citronella candle or table top tiki torch. Which idea do you like the best?
Linking up at Thrifty Decor Chick’s Before & After Party!
Save

 Today I’m sharing another couple of planters I mentioned in my recap post. These cuties were made from old conveyor belt scoops that I got from Alaska Picker. The first I snagged at the AK Picker Day sale – right after finding the garage sale milk can. I hunted high and low for more of them but someone else had beat me to them. So when I spotted another at the Alaska Chicks Vintage sale I immediately claimed one.
 The first still had a section of conveyor belt attached, but the second was mounted to a piece of old barn wood. I wanted them both to match so I had the Hubs remove both the belt and board so I could mount them on new boards.
 The Hubs cut me two pieces of wood from some scrap we had from another project and I dug out my outdoor teal paint to give them a couple coats. A little distressing around the edges gave them the perfect rustic look. The Hubs attached the bins to the new boards and I had this cuteness!
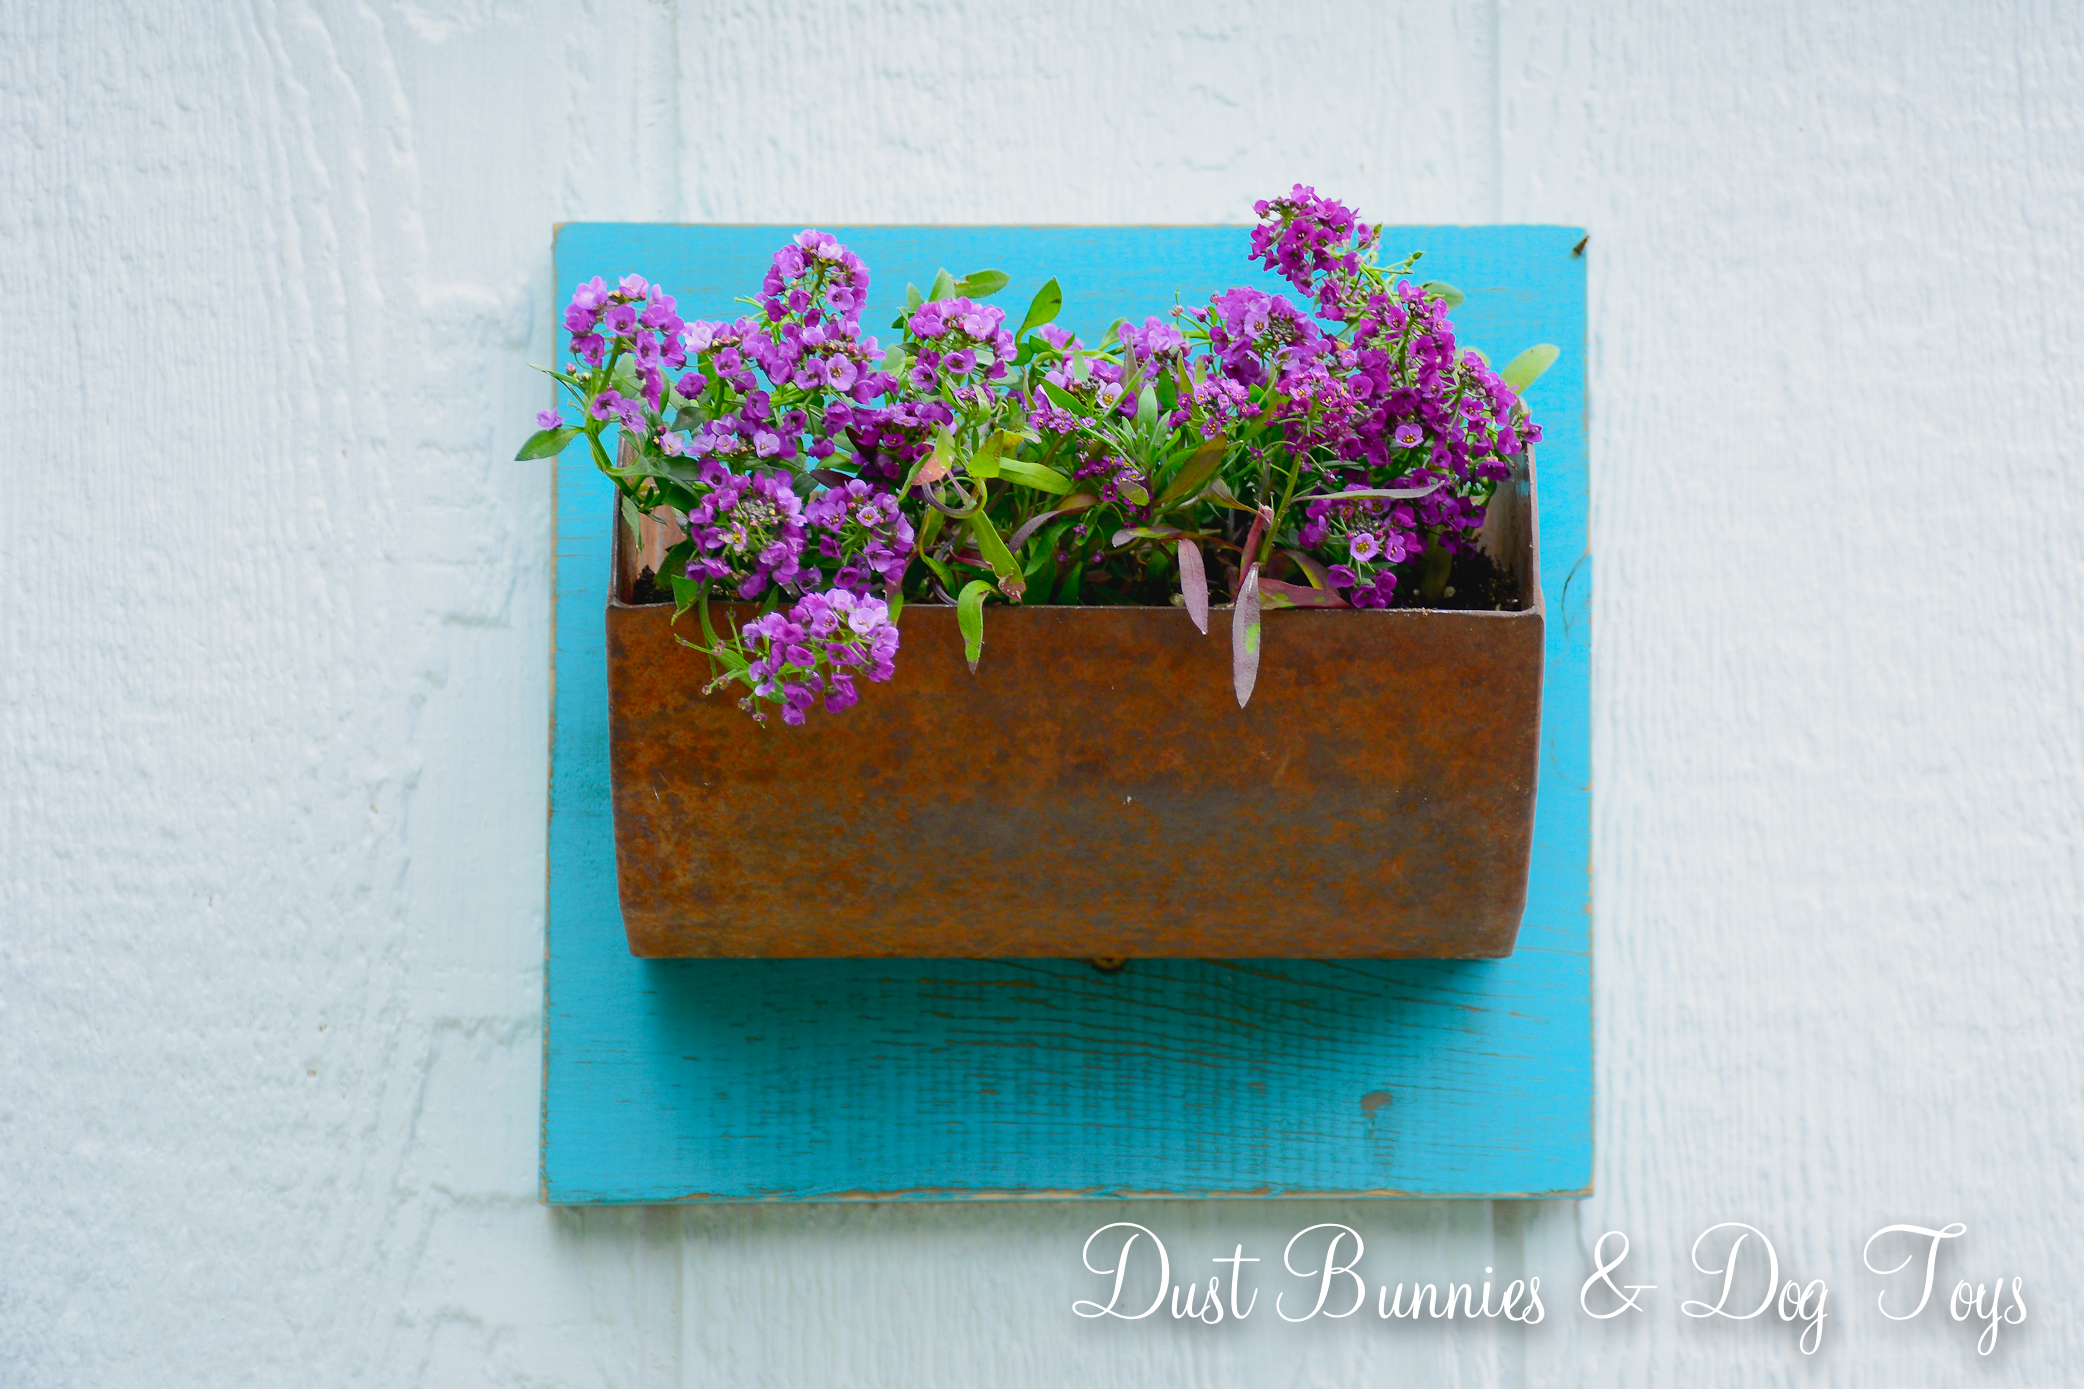 I wasn’t sure where I was going to use them at first but when I came out and saw the big open area on the chicken coop expansion I knew they’d look great there. After I painted the coop the Hubs drilled some drainage holes in the bottom of the bins and put them up with a couple of screws. I filled them with purple alyssum to finish them off.
 I absolutely adore how they turned out. The combo of teal, rusty metal and purple flowers makes my heart do a happy dance. And it’s perfect for decorating a chicken coop – not to fussy but not to messy either.
 I still have a little painting to do on the lower part of coop and the Hubs plans to finish off the storage area door with siding to match the rest of the coop. I’ll share more about the expansion and new set up once it’s all done. We also plan to fill the area in front of the coop with pavers and pea gravel to finish everything off.