
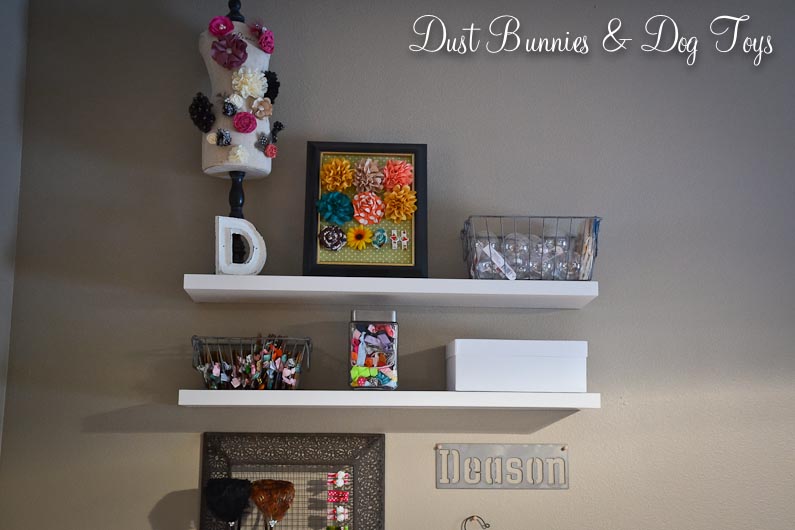
As I mentioned when I shared our new barn doors in the office I’ve been making a few changes to the craft shelves above the craft cart. Here’s how things looked the last time you saw this space – a random collection of containers and displays to store my finished inventory and on-going projects.

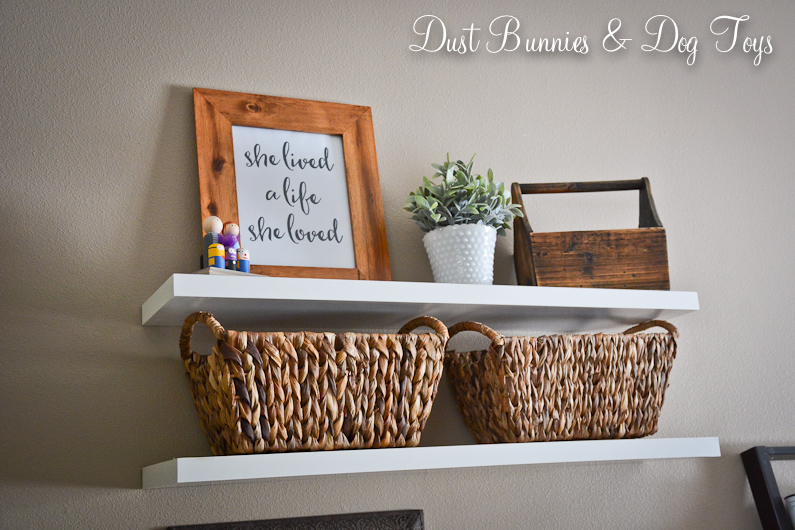
And here’s how it’s looking today. Much simpler and more stylish!

A bit of purging and rearranging reduced what I needed to store here so I was able to condense it all down to two containers. I found these cute baskets on sale at Michaels and with a coupon only paid about $10 for both. One holds finished inventory and the other has bits and pieces of projects in the works.

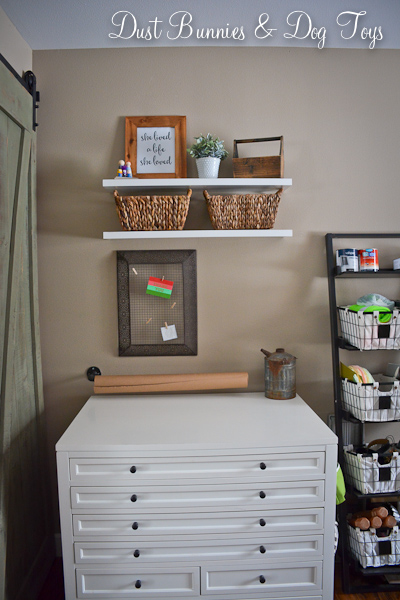
Since I’ve stopped making hair accessories and am focusing more on personal DIY and home decor projects I didn’t need the displays I’d used for the smaller pieces anymore so the mannequin was sold and my beloved metal grate became a note board rather than a display. The rusty oil can will eventually become a small lamp for this table. I’ve got the lamp making kit, but am still on the hunt for the right lampshade to get that project rolling.
I shopped the house, pulling a milk glass vase, small plant and wooden caddy to arrange with the frame I already had here. I also moved our little minion family over here from the other side of the room. They are much more visible now, which makes me happy and reminds me that we need to have a new minion made for Brinley! 🙂

I eventually want to get a vintage scale like this one to replace the wooden caddy, but I’m waiting to find a good bargain. until then the caddy brings a nice balance of tones and texture to the space, so I’m happy with it.

I still need to figure out something for the blank space next to the metal grate. My current idea is to make a fabric canvas that can be used as a backdrop for photographing small projects, similar to one a favorite beauty blogger of mine created. I’m thinking something a little lacy since this is one spot I could get away with it because it’s out of reach of the dogs.
I’m really loving the simple farmhouse vibe this space has now. It’s a big change for just $10 since the only thing I bought for the update was the two baskets. We’ve been making a couple of other simple changes around the main area of the house recently that have a similar style so things are really starting to feel cohesive. I’ll be sharing those updates very soon, but in the meantime I’d love to hear you think of the changes so leave me a comment below.
Linking up at: Knik of Time’s Talk of the Town, Tater Tots & Jello’s BFF and Savvy Southern Style’s Wow Us Wednesday, Stone Gable’s The Scoop and Thrifty Decor Chick’s Before & After Party!

 Here’s a full shot of the shelves and the cabinet. Normally the cabinet is centered below the shelves, but apparently I bumped it out of whack before taking this picture!. Still it’s pretty darn inspiring – especially when it’s cleaned off!
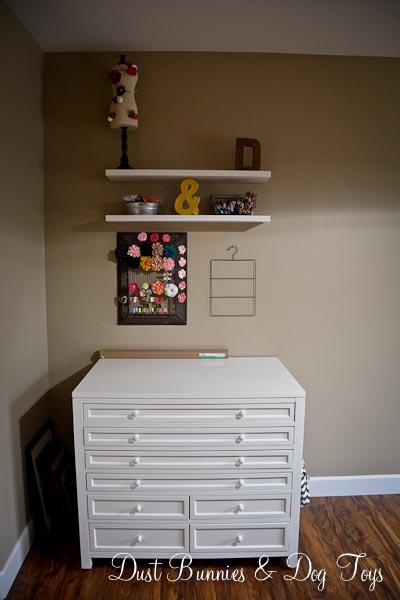 I recently picked up some simple white floating shelves at Lowes and had the hubs install them above my