Updating the Lighting

We recently updated several of the lights in the main living area of the house and I’m totally in love with them all.  The change all began with the dining room light.  I’d been wanting to change it out from the fixture we chose when building the house for some time.  The original fixture was a secondary option because the one I’d wanted was at a local antique store and was far too expensive.

Last year I spotted a very similar fixture to that antique one at one of my favorite local boutiques.  It wasn’t in the budget at that point but when my bonus check came in at work I decided to treat myself and go buy it.  Unfortunately, in the many months that had passed it had sold.  The shop owner told me they could order another one just like it when they did a supply order in the coming month so I prepaid and anxiously awaited news that it had arrived.

Unfortunately when the call came the shop owner informed me that their vendor no longer offered that light or anything similar enough to it.  So they refunded my money and I started looking online for other options.  The next day we made a trip to Lowes for a few projects and I decided to browse the lighting section, where I spotted this beauty.

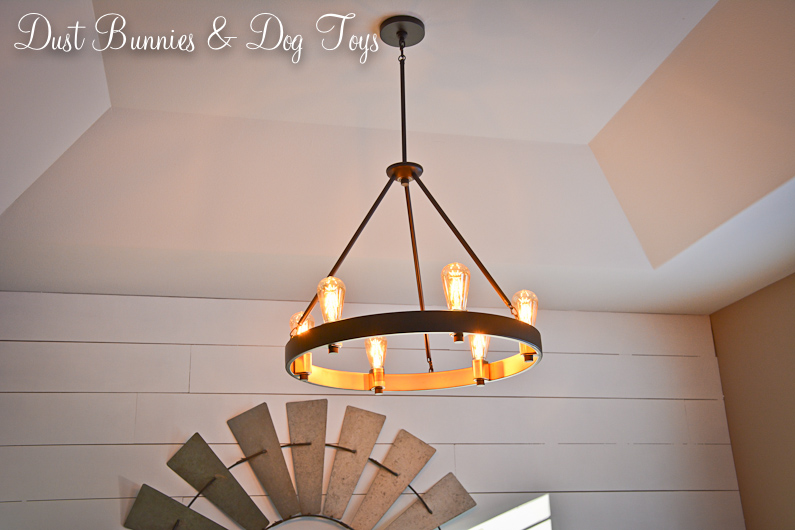
I had seen this same fixture used in a house remodel on the Jenna Sue Design Blog and really liked how it looked in her space.  I showed it to the Hubs and he liked it too and it was less expensive than the boutique option I’d planned on!  It makes the room look much more open and the round shape contrasts the many square features in this room.  We will eventually swag the light over to be centered above the table, but for now it hangs from the original location.  Although it came with bulbs we decided t get LED Edison style bulbs instead which create a warm light, perfect for a dining room.

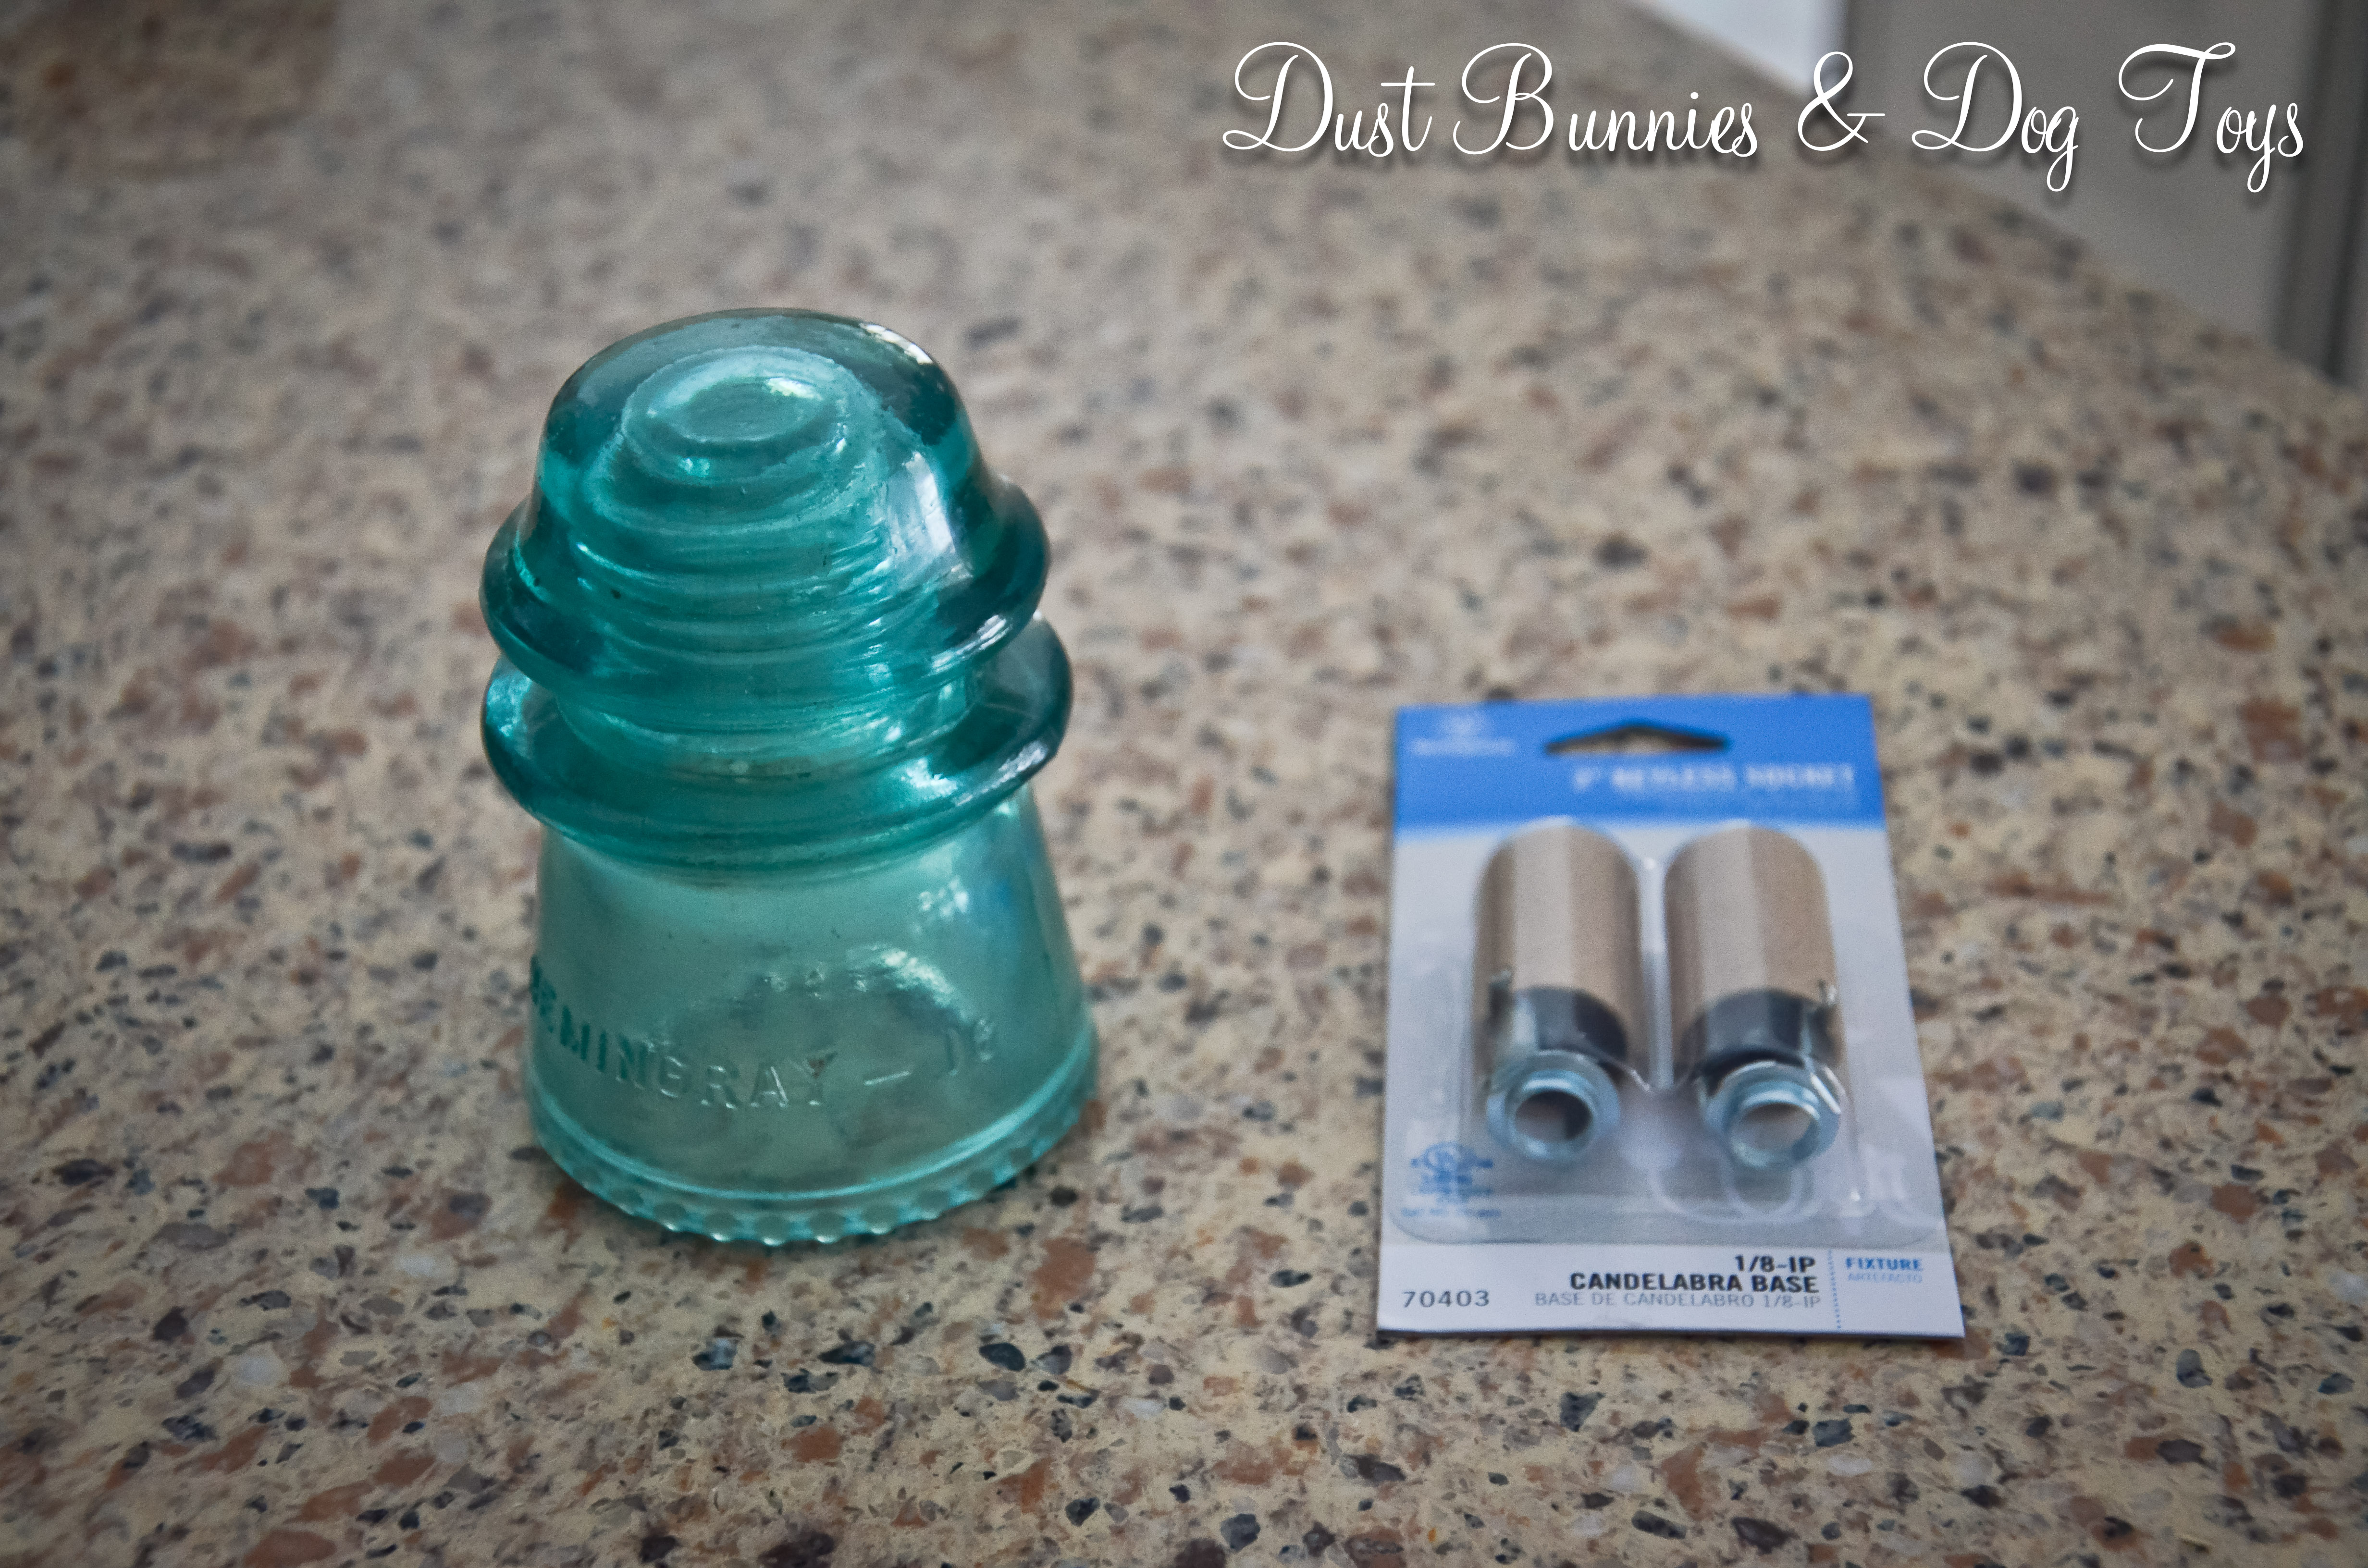
While I was browsing the lighting aisle I spotted another fixture I liked that was marked for clearance.  I’d seen similar fixtures on my favorite show Fixer Upper as kitchen island pendants, but I love our DIY insulator pendants so I never considered looking into them.   But at $43 it seemed too good of a deal to pass up and I thought it would be a good size for the entry way.

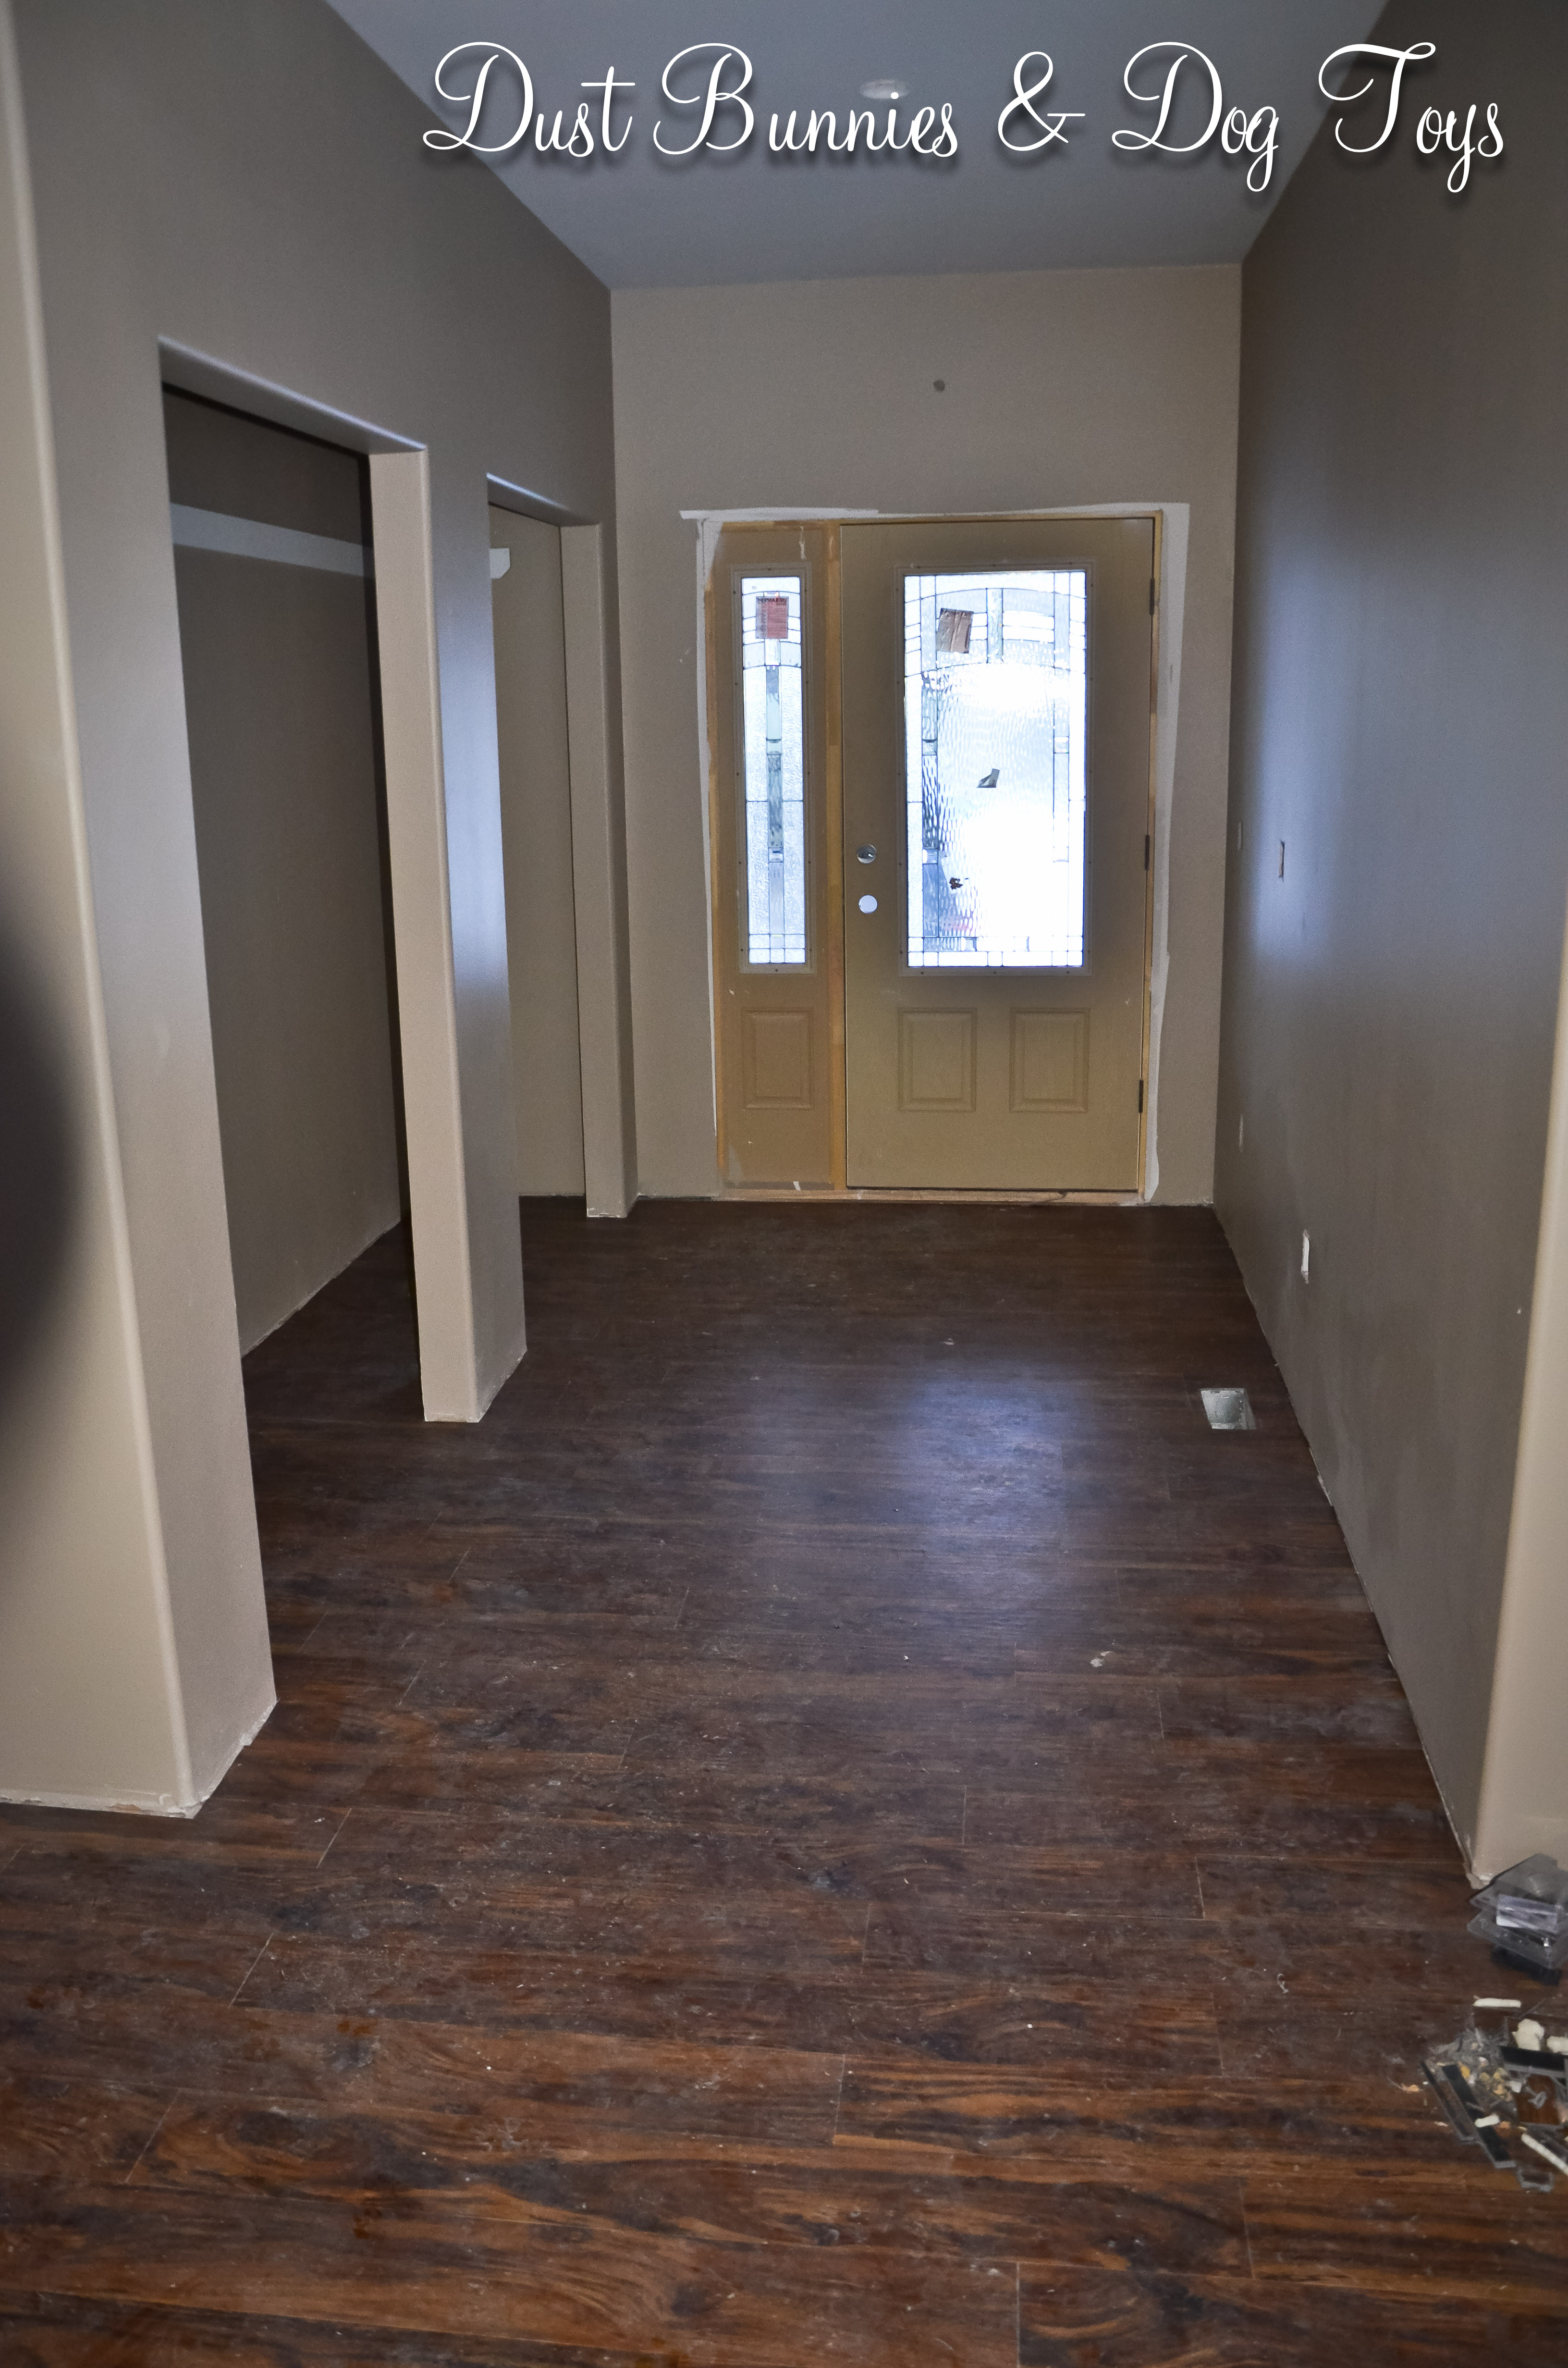
The fixture we had picked out for the entry way during construction was a nice large drum chandelier but it just wasn’t jiving with my style anymore and it hung lower than I liked.  With the LED bulbs we got for the new fixture it’s brighter than the old one and because it sits higher and is see through it creates an illusion of more space.

Plus it’s got good classic farmhouse style, which you know makes my heart go pitter-patter!  It’s going to look amazing with the update I have planned for the wall where the mirror is, but that’s still a bit on the horizon.

I also spotted another farmhouse style light while browsing at the store and knew it would be a great option for the laundry room.  We’d selected a simple flush mount bowl style light during construction because we wanted to spend our lighting allowance in spaces that saw more traffic, but it had become a bug collector and didn’t fit with the style I’ve curated in this space.

I really loved the seeded glass detail and because it’s a closed flush mount it won’t become a trap for bugs, unless they’re some sort of Houdini!  We used LED bulbs in this fixture as well, but got the antique Edison style so the light is more yellow than the entry way bulbs but it works fine for this space.

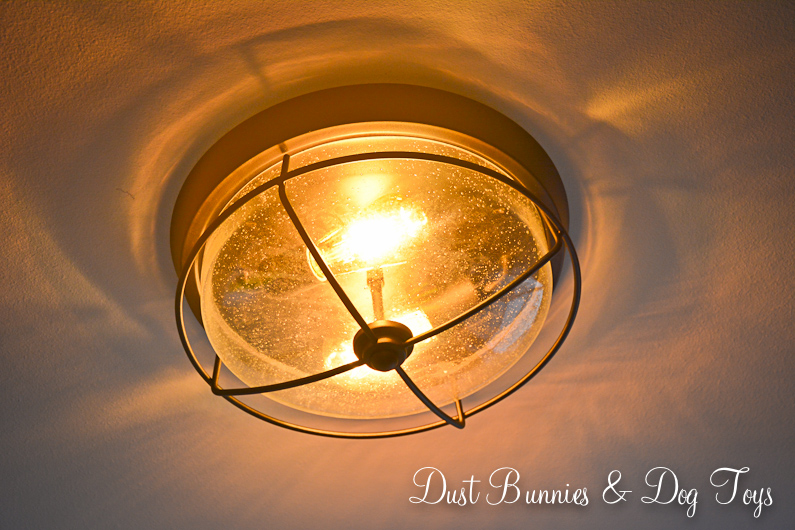
Doesn’t it look great with the other industrial metal accents in the room?  And the new yellow tone of light makes it more cozy opposed to the stark brightness of the old fixture.

It’s been so exciting to see all these recent little changes make such a big impact.  Even though we got to choose the finishes while building our house didn’t come ready set with all the details that fit our style.  That’s what you create over the years of living in the house and with each passing year it becomes more and more ‘our home’!

Advertisement

DIY Glass Insulator Pendant Lights

We knew we wanted something unique for the pendant lights over the bar in the kitchen, but weren’t sure exactly what that might be.  I spotted this idea on Pinterest and immediately loved it.  Surprisingly, so did the hubs who took me to an antique store he’d just discovered to pick out insulators for our project a few days later.

We also acquired some heirloom insulators from the hubby’s Aunt in Colorado during our road trip in September, so we had quite a selection to choose from.  I set them all out and tried different combinations to decide which we liked best.

We hadn’t given the project much more thought since then as we were busy with other details and the house wasn’t ready for light fixtures just yet.  But now that it is, we suddenly had to figure out how to make it happen and choose exactly which insulators to use.

Option1

Option2

Option3

And finally decided this was just right.

Winner

My handy dandy hubs found the right bit and snuck in time on a drill press at work to drill the holes.  The first four drilled without a hitch, but then while drilling the last one it cracked!

1

2

Crack

We had a few others in the same color and size, but they all had pretty big chips, so that wonderful hubby of mine made another trip to the antique store and picked up two more for $9 each.  He drilled both without a problem, but one did develop an internal crack.  We decided to still use it since it added character, and that left us a spare in case any ever did meet an untimely fate and require being replaced.

We followed the tutorial from Pinterest and purchased the same materials to retrofit the pendant cords the builder installed.

Supplies

It took a little trial and error to figure out the best method for removing the parts we didn’t need and reusing the parts we did, but the hubs made it happen – even though he was super tired!

Work
Notice that mess on the counter? That’s how the rest of the house looks too.. I think I have hives.. LOL

Work2

It also took a bit of adjusting to get them all at the same height, but they look awesome!

Finish2

The builder thought we were nuts when we showed him what we were planning, and all he had to say when he saw the finished product was “It’s different.  I’ve never seen that before.”  But at this point, if it’s something he doesn’t have to do, he’s game.

The LED bulbs don’t put out much light at 0.6 wt, but the recess lighting in the main area of the kitchen supply plenty of light to cook by.  They do make a nice ‘night light’ when on by themselves, so that’s probably how we’ll use them the most.  We will be on the lookout for brighter bulbs that will fit, but for now these it the bill.

Finish

I just adore the finished result.  Not only are they unique and repurposing something that is otherwise unused, but they bring a piece of family history to our new home.

Have you ever used old glass insulators for projects?  If so, please share!  We still have several and need some ideas.

Shared at Knick of Time’s Vintage Inspiration Party #203!

The Finishing Touches

It’s been a very busy few days at the new house!  We’ve finished the flooring – after several very long nights.

FloorStudio

FloorEntry

FloorBathroom

FloorGuest

The counter tops are finished and look fantastic.

Counters2

Counters

The tile in the master bathroom has been installed, grouted and sealed.

TileTub

TileShwr

TileShowerFloor

The stone work on the fireplace is up, although it needs to be grouted.  The stone on the front porch still needs to be started.

Fireplace

The appliances have been delivered and are being installed. I can’t wait to use all the space in this fridge!!

Fridge

FridgeDoor

FridgeInside

The electrical fixtures (switches and outlets) are almost complete and the baseboard trim has been installed and touch up filler/paint is in progress.

TrimFamilyRm

I was worried I might second guess some of the lighting selections, but everything I’ve seen so far looks great.

LightFixtures

LightDining

LightEntry

LightHallway

LightGuest

LightMaster

LightFartFan

LightLaundry

The prop fan we selected for the family room is on order, so a ‘temporary’ fan was installed for the appraisal.

LIghtTemp

The builder is now back on-site and doing what he can to keep everything on schedule for closing on December 1.  Our movers are scheduled for December 4-6, since they believe it will take a day to pack up our stuff, a day to load the truck and a day to deliver.  It seems so close and yet so far away.

Unfortunately, all this progress tends to create a trail an explosion of tools and supplies throughout the house.  Every time, I’m there and see the mass of stuff everywhere I twitch unintentionally.  But I know it means I’m closer to living in our new home, so I’m working my way through it with deep breaths – which seem to worry my husband more and more. 🙂

Explosion
And this was a “super clean” day!

The appraisal was supposed to be done today, but might have to be finalized next week once everything is at 100%.  The energy rating will be done soon and our home inspection is set for Saturday.  We’ve also locked in our interest rate for our loan.  If for some reason the paperwork causes a delay, the builder has agreed to do an early occupancy without rent to accommodate our scheduled movers and time off from work.

Other than making sure all the elements are finished, all that’s left will be cleaning and finding a new renter for our current place!  Our landlord had someone lined up, but hasn’t gotten confirmation just yet, so we’re hopeful that will work out.  Stay tuned for posts on more of the details!

I Can See The Light

Now that we are moving forward with construction on our new home – finally breaking ground THIS WEEK!! EEKK! – I’m starting to think  obsess about the little details we will soon be choosing.  Light fixtures are my current focus.  I know it’s one of the LAST things we will need to pick out, but it’s what my brain wants to think about apparently.

Ever since I heard someone on HGTV describe the basic builder grade fixture as a “nipple light” or “boob light” I’ve been obstinately prejudiced to them.   I also don’t want fixtures that will collect dust and require me to climb on ladders to constantly clean or suffer increased allergies if I’m lazy busy.  PropFanLuckily the hubs isn’t extremely picky when it comes to these types of details and lets me pretty much have free rein since I usually pick something he’s ok with.  I really love that we have such similar tastes!

I did drag him to a lighting store downtown that I’d spotted and wanted to check out, but in the end he’s glad I did because we found this!  A propeller styled ceiling fan!  How cool is that?!  (Sorry for the crappy iPhone pic, but that’s the best I could get looking up and trying to crop out the other displays.)  Yes, it’s a little spendy, but we can make it fit within our allowance and I think it’s a great fit for his love of flight and the craftsman style of our home.  At first he thought I was joking that I liked the prop style, but when he realized I wasn’t kidding the light bulb went on (pun intended) and he was suddenly more interested in the rest of the lighting choices.

The kitchen island will have pendant lights over it which sounds simple, but there are literally hundreds of styles of pendant lights out there these days.  I was originally thinking of doing mercury glass shades, but then stumbled upon this idea and found that the hubs really likes it and wants to help make them!  I guess we’ll be on the hunt for old insulators now! 🙂

I’ve been eyeing this pottery barn fixture for over year now for the dining room and found similar options like this at the big box stores for much more reasonable prices. Again the hubs liked my suggestion!  I’m sensing a trend here…

Then we spotted this ceiling fan at the big box store and both immediately liked it.  We thought it would be a nice compliment to the prop fan, but at a lower price tag for the Master Bedroom.  We plan to add a light kit the to the bottom, which seems pretty inexpensive and easy to do.  We just might have to spray paint a not so pretty brass light with ORB so it jives with the rest of the fan’s hardware.

Although I don’t love its hefty price tag, I absolutely ADORE this fixture and think it would be perfect in the entryway.  I didn’t see Entryit at the store the last time I was there and haven’t had much luck tracking it down online, so I might have to go back to the store and ask them to order me one.  This is where the hub’s enthusiasm wore out.  He apparently doesn’t have an opinion one way or another on this one other than the price.  If you know of where I can find something similar please let me know so I can compare!

Granted there are a few spots where I plan to have the builder install a basic fixture which we will change out with a creative DIY later like this little cutie I found on Pinterest.  I think it would look nice in the laundry room since I have a subtle rustic Americana theme in my laundry room décor – which is currently packed away since our rental has the washer and dryer in the garage!  I’d also like to create something like this for the Studio/Office if I can find some antique crystal decanters, or try my hand at making faux mercury glass with a tutorial I found online.

We have an appointment with a sales rep at the store downtown Monday evening so we’ll see if he can fit it all in within budget.  If not, we’ll get a few specialty pieces for the main traffic areas and then supplement basics elsewhere to be swapped out later as inspiration strikes.   We are also narrowing in on our final choices for cabinets and counter tops so watch for a post about that soon too!