Revamping Thrift Store Finds into Garden Art

Today I’m sharing a simple upcycle project that took over a year to get just right.  It started when I spotted this decorative finial at the thrift store the winter before last.  It was only a couple bucks and super heavy.  I’d seen similar shaped pieces sell for much more like this one and thought I could create a knock off version with this piece.  Here’s the quick before picture I remembered to snap just before the makeover began.

I used some grey spray paint I had on hand to give it a new look.  It was definitely an improvement, but I thought it still needed more texture.  I put it out on the deck to see if any ideas came to mind, but then got busy with other projects and never did more to it last summer.

This spring, as I prepped items for the yard I decided to give it another makeover while I was white washing some terracotta pots.  I gave it a quick dry brush with the same white paint and instantly fell in love with the look it created.

Now it looks like it’s made of concrete, just like the inspiration example!  It adds just the right amount of style to this corner of the deck where it compliments the potted plants.

And because it’s so heavy it can stand up to the dogs, so it’s placement here is also strategic.  It keeps them from jumping off the deck onto my plants in the flower bed below.  Pretty and functional all for a few dollars and a little paint. That’s my kind of makeover!

Advertisement

My New Garden Bell

With all the other yard projects we’ve been working on the Hubs finally got my upcycled propane tank garden bell installed!  This was my first purchase at the Junk Bonanza show in Portland 2 years ago and it had to stay at my Mother-In-Law’s house until we made a trip with the trailer because it was so heavy.

I wasn’t sure exactly where I’d hang it but when we ended up with an ‘extra’ footer while constructing the new deck the Hubs suggested we make it into an arbor for the bell.  I was totally game and knew it would look great there.

He worked out the footings for the other side and put in a cross bar at the top last season before winter arrived.  We picked up from there this season, hanging the bell with the chain it came with and building a box around the base to act as a planter for a clematis I needed a trellis for.

Once the planter box was constructed I filled it with dirt and transplanted the clematis, then covered the dirt with wood chip mulch to reduce weeds.  I’ve been slowly training the clematis branches up the two posts.  Eventually it will cover the entire structure and frame the bell beautifully.

I also had the Hubs install the coordinating bird bath on a hook off to the side.  That way I can fill it when I water on dry days.  Now I just have to let it grow and enjoy the pretty rusty patina as I  wait for the blooms to show!  And work on incorporating the planter box into the rock landscape I have planned for around the deck. 😉

The Shed Bed

It’s been a while since I’ve had time to write for the blog, but I found a few minutes today to share one of the last projects of the season before the snow started to fly.  I added a whole new flower bed along the side of the shed!  This space used to be a dumping ground for pallets and scrap wood we were saving for future projects, but its one of the first things you see as you pull up to the house and now that the green house was over her I wanted the area to have a more structured look.  So the Hubs helped clear out all the wood at the beginning of the season and I started planning out the layout once I confirmed the exposure this space gets is mostly shade.

Here’s how it was looking as fall started to arrive.  I’d used left over edging stones to create a border and placed a few pieces of garden art to start establishing the structure of the layout.  I stopped at an end of season plant sale near my office and got several options that should do well in the shade.  I planned to fill in with other plants from another bed that will be eliminated next summer.  Since this whole area is rocky back fill I put down a layer of top soil to create the base of the bed.

Once the top soil was in and the plants were in the ground I covered the areas around each plant with newspaper to prevent weed growth next season. It was an interesting process since the wind decided to kick up about the same time so I had to quickly put mulch down over the paper to hold it in place.

While I alternated between piecing newspaper sections around plants and chasing them across the yard as they blew in the wind, my assistant was quite busy catching up on her dirt baths…

I used wood chip mulch because it was inexpensive and I had several large areas to cover between this bed and some other projects.  The Hubs got me a full truck load of wood chips for around $20 the same day he got me the load of top soil and gravel to go around the green house.

Since I’m using perennials, I left plenty of room for things to spread over the coming years.  I used lambs ear around the rusty metal tank to create a batch of low visual interest along the front of the center of the bed.

These two hostas were transplants from the shade bed at the corner of the fenced yard which will be eliminated next season when we build a new outbuilding.  I call it “The Barn” but the Hubs thinks it’s a garage.  We’ll see who wins that debate. 🙂

Another transplant is this little astible.   This is the third placement it’s had since coming to our house.  He started in the gifted garden but was getting too much sun so I moved him to the shade bed where he did much better.  Hopefully the third time is a charm holds true for him and he continues to grow even fuller in this spot.

I also used a few new catmint plants since Luna loves the ones we have in other beds already and it’s an easy keeper that fills in areas nicely.  These will give her a couple to choose from so she alternates which she rolls in each day so they all get a break to recuperate!

I also transplanted a Seal of Solomon that surprised me in the gifted garden.  I’d brought him back from my Mother-In-Law’s garden in Washington and hadn’t seen him in the spring so I thought he hadn’t survived the winter.  This spot should be a much better exposure for him and he looks quite cozy behind the little quail family who are now safer from my active four-legged children!

Here’s how things looked once everything was in.  I’m excited to see how it all comes back next spring and watch it fill in the space.

There’s still some finishing touches needed, but this is a much better first impression as you come up the driveway.  It will look even better when I get that gravel the Hubs got me spread in front of it! Fingers crossed the weather will cooperate to let me do that next week when I have some time available so we don’t have piles of material at the corner of the driveway all winter!  And while I’m doing that the Hubs can get the last of the shed’s gutter completed so we have a ready supply of water when spring returns. 🙂

Garden Art Refresh with Spray Paint

My sister and I hit the Palmer Garden & Art Faire while she was here visiting and got in a bit of browsing (and shopping) before the rain let loose.  I’ll share some of those finds soon but today I wanted to show you some quick updates I did to other pieces of garden art.

The first is Mr. Froggy.  I’ve had him for ages and adore him to pieces but he was looking pretty worn from his many seasons in the garden.  While I loved his coloring I knew I wouldn’t be able to recreate something similar with my painting skills and honestly didn’t have a lot of extra time to give him a makeover.  So I picked up some textured spray paint to give him a simple neutral stone look.

It took a couple coats and he’s still not perfect, but he’s looking much better.  He looks rather handsome in my flower bed this year next to a big piece of driftwood as the flowers slowly encroach around him.

The second piece is this artichoke shaped finial I snagged at the thrift store over the winter for a couple bucks.  It’s SUPER heavy so at least it will hold up to the dogs on the deck, but the color was pretty blah.  I dug through our paint cabinet and found some simple grey, which gave it a nice updated look.

I’m still not super crazy about it so it may still see another paint job for a different look – perhaps a little ORB to make it look cast iron, but for now it looks pretty nice next to the pots on the deck.  I’d love to hear what you think about both make-overs!

DIY Plant Stakes

BeeClose

Hey everyone!  I know it’s been quiet around the blog recently.  Life has been a bit more hectic than usual and we had a death in the family last week so I chose to take some time to rest and reflect.  Finding time to prep material for the blog is still a bit challenging and we’re currently working on a couple of projects that aren’t ready to share just yet, including one I didn’t plan on tackling this year, but I’m excited about what it means for my garden next season!  In the meantime here’s a fun, quick DIY I did earlier this summer.

Back when I had a holiday tree in our entryway I collected an assortment of cute ornaments for each season and holiday.  Now that I’ve given up the tree I wanted to reuse the ornaments in a new way so I could continue to enjoy them.  I decided they would make great plant stakes for my potted plants on the deck and couldn’t be happier with how they turned out.

This sweet little rusty bee (which ironically is the name of one of my favorite local makers!) was the first I transformed.  Although I didn’t document the steps of his transformation, it was fairly simple.  I removed the small loop at the top of his head  which was attached on the back by bending it back and forth until it popped off.  Next I dug out my E6000 glue and applied some to both the back of the bee and a small rusty rod I had in my supplies that matched perfectly.  Following the directions on the glue tube I adhered the rod to the bee and let it cure for 24 hours.

Bee

Once cured, I tested him out with a couple forceful shakes and he held tight so I found him a home in my vintage crock planter.  He turned out so cute that I decided to do the same to the other ornaments I had in my stash.  Each had a little different set up as each was unique but they all followed the same process – remove any hanging loops or cords and glue a rod to an appropriate point.  Since I didn’t have enough potted plants to keep them all I set aside my favorites to be used in my garden and put the rest up for sale at the recent Urban Junktion show.  I sold several and still have a good inventory available for other shows next season.  Here’s the current inventory as they were displayed at the show.

Stakes

There’s a little birdhouse with a heart shaped opening.

Birdhouse

Several dragonflies, who may just stay and live in my garden alongside their relatives that I already decided to keep. 🙂

Dragonfly

This little beetle has the same patina as the bee, but I already have a lady bug plant stake so I’m helping this guy find his own home.

Beetle

There’s also a few nautical themed stakes, including these blue and green glittery seahorses.

Seahorse

I had two mermaids but the red head sold at the show, so now this blonde “girl fish” as my nephew used to call them is all alone with the other sea creatures, including this glittery little fish.

Mermaid

Fish

I still have a good inventory of ornaments for other holidays including Easter, St. Patrick’s Day and Thanksgiving.  I may revamp them for this purpose as well, or I might just find another option since those holidays don’t often correlate with having potted plants to decorate here in Alaska.

Stay tuned for more projects.  Posts might be a little few and far between for a while but don’t worry, we’re working on some fun stuff and will share it soon.

Garden Art From the Faire

Pig2

Today I’m sharing the fun new pieces of garden art I picked up at the Palmer Midsummer Garden & Art Faire I told you about yesterday.  One of my favorites is this little rusty flying pig stake.  At $10 he wasn’t a bargain, but I couldn’t say no to his cuteness.  He’s a perfect fit for our farmhouse style, but his wings give him just the right amount of whimsy for the garden.  I put him in the watering can planter which provides the perfect launching point for him over the pink lobelia.

Pig

If you were paying close attention last week when I shared our septic pipe disguise project you probably already saw the willow and birch dragon fly I added to the wheelbarrow planter.  I’ve got a few other dragon flies around the garden – including some very large live ones! – so he fits right in.  The vendor making them had larger versions available for $15, but I spotted this guy as part of an arrangement and knew he’d be better sized for where I wanted him.  Luckily, I was able to get the vendor to agree to break up the arrangement and sell him separately for just $5, which I thought was a fantastic price!

DragonFly

This glass crow is probably my favorite find from the faire and was also the first I bought that day.  I absolutely love the iridescent colors on his wing and tail that catch the sunlight.  He was only $20, which I thought was an amazing price, knowing the skill and time glass work take. The vendor also had other designs as yard stakes and wall hangings.  I told him if he makes puffins and salmon as yard stakes in the future I want to add them to my garden.  I may eventually paint Mr. Crow’s stake a dark color so it blends in a bit more, but for now I love how he’s perched over top of the dianthus.  Even the Hubs commented on how he looks good there!

Crow2

Crow

And lastly was this sweet metal wheelbarrow planter I scored for just $16.  It turned out to be a perfect fit for the crock I already had on the deck.  Now that I know it gives the crock good height, I’ll pick something that trails down the sides for this planter next season!

Wheelbarrow

Notice that little rusty bee in the crock?  That’s a bit of garden art I DIY’d.  I did a few others as well which I’ll be sharing soon, so watch for that.  Until then, I’d love to hear what you think of my garden art haul from the faire, so leave a comment below.

Vintage Insulator Garden Art

3

While we were in Portland to pick up Brinley we stayed with my mother-in-law and since Mother’s Day was the weekend we were there we decided to create some unique garden art for her gift using some of the vintage glass insulators we got from her sister’s ranch in Colorado.  You might remember some of them from our kitchen island pendant lights.

The entire project was super simple.  We started with various lengths of 1/2″ copper pipe, which the hubs cut right in the store parking lot so it would fit in the truck.  He used this nifty little tool we found in the plumbing section.

1

Back at the house we added some pipe sealant tape to one end so the insulators would have a bit more grip.

2

Next I chose where I wanted each pipe to be in the garden and pushed it down into the soil.  Then you just put an insulator on the top.  Repeat a few more times and you’re done!

6

While the copper and glass combo is quite interesting, we used varying heights on the poles to create additional interest.

5

And here’s the finished project!  Simple and sentimental, that’s my kind of mother’s day gift!  I plan to create a similar display in our garden as well, but have a bit more prep to do before we’re ready for that.

4

And the project took was so easy I had time left over to appreciate the garden including some amazing iris growing nearby!  I was able to bring home a few bulbs from both of these plants so hopefully later this season I’ll have blooms like this in my yard!

Iris

Iris2

Shared on Knick of Time’s Talk of the Town #24.

TDC Before and After

Two Metal Hearts

0I finally found a spot for the metal hearts I picked up at the Alaska Chick’s Vintage Market a few months back!  I toyed with several spots both indoor and outdoor but decided they would work best as a compliment to the flowers in the front beds.

1

3

The rusty metal color plays well off our neutral siding.  And it only took a couple of nails for each to get them to stay just how I wanted.

4

Although the flower bed itself is still in progress, the hearts look great above the blooms and since they sit under the eave of the house they should remain fairly protected from weather.

P

Now anytime someone comes to our front porch they’ll see these rusty hearts.  Plus we can enjoy them every time we’re out on the porch to watch the dogs play.

2

I haven’t decided if I’ll leave them up year round or take them down for winter.  We’ll see how they fair over the summer and make a choice when fall arrives.  Until then I plan to enjoy them regularly! 🙂

Junkin’ Up the Yard!

Welcome back for part two of how we’re using the cool ‘junk’ we picked up on our recent vacation. Here’s where things ended up outside along with a little garden update while we’re at it.

Star

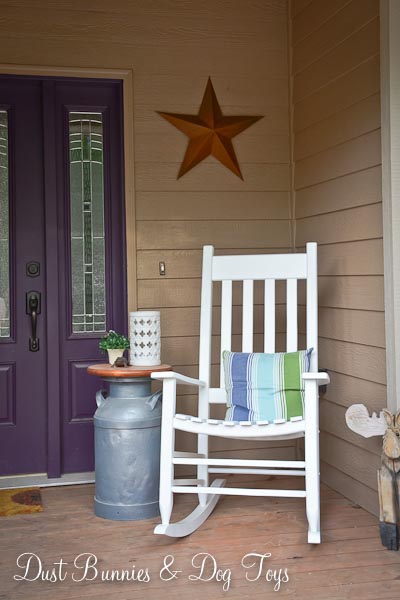
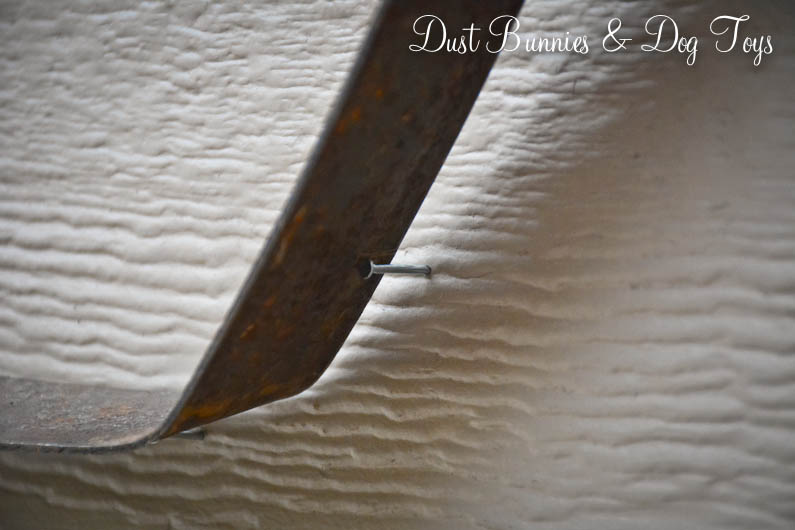
The big rusty metal star the hubs picked out at the junk show for $18 had to be hand carried on the plane. We were sure it would be considered a weapon thanks to the top point sticking out of the only bag we could find that kind of fit it, but TSA said as long as it went through the scanner it was ok. I’m very glad it made it through because it looks fantastic on the front porch!

Excavator

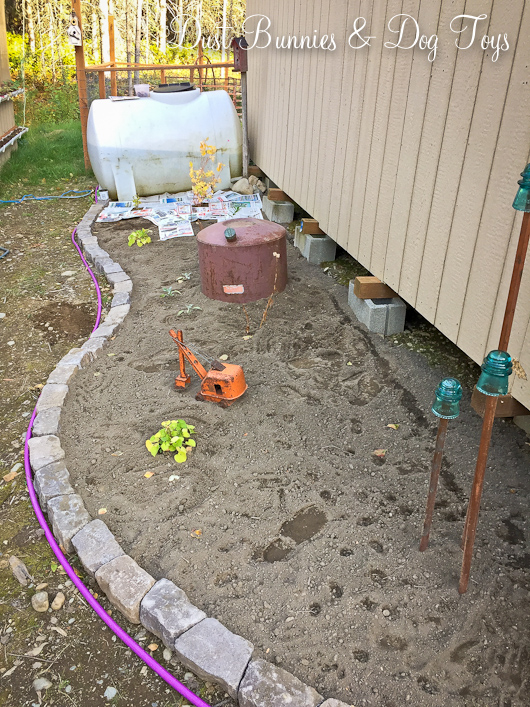
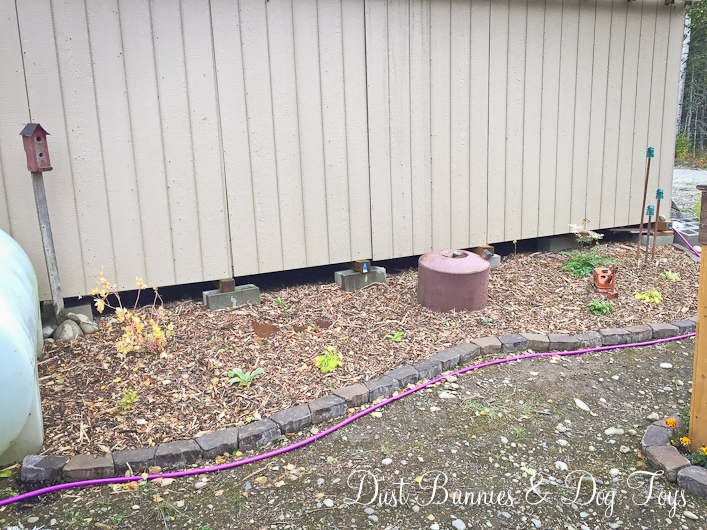
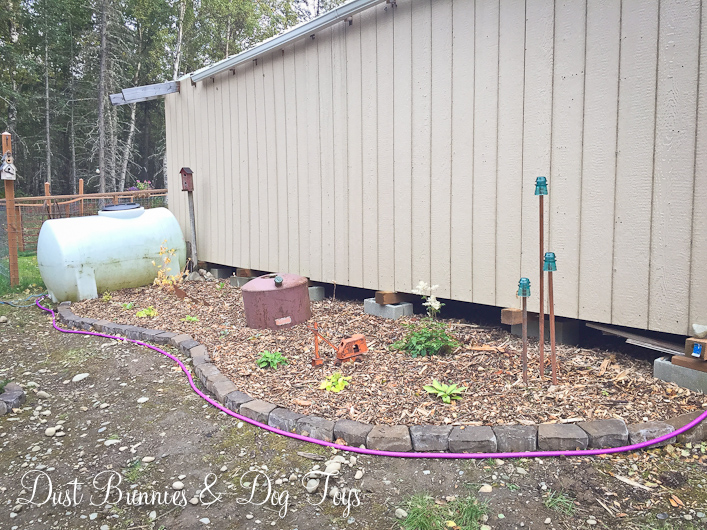
Nearby, the cool metal excavator I found for $20 found a home in the front flower bed where it appears to be digging up spots for more plants. It’s definitely something you won’t see in everyone’s garden and that’s just what I like about it!

Trellis

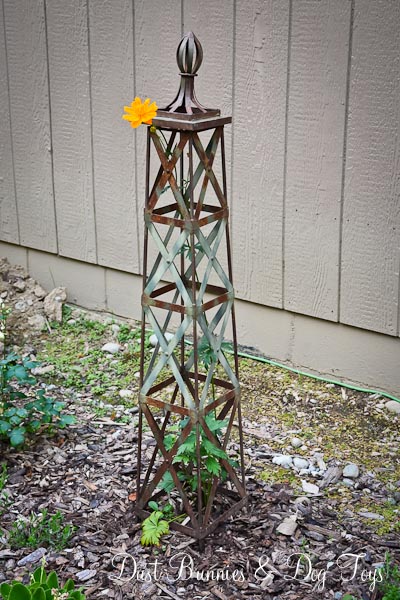
Several items ended up in the gifted garden including the cool trellis the hubs surprised me with. It works perfectly for the troilus that started blooming soon after we got home. I still can’t believe this piece was only $23!

Pulleys1

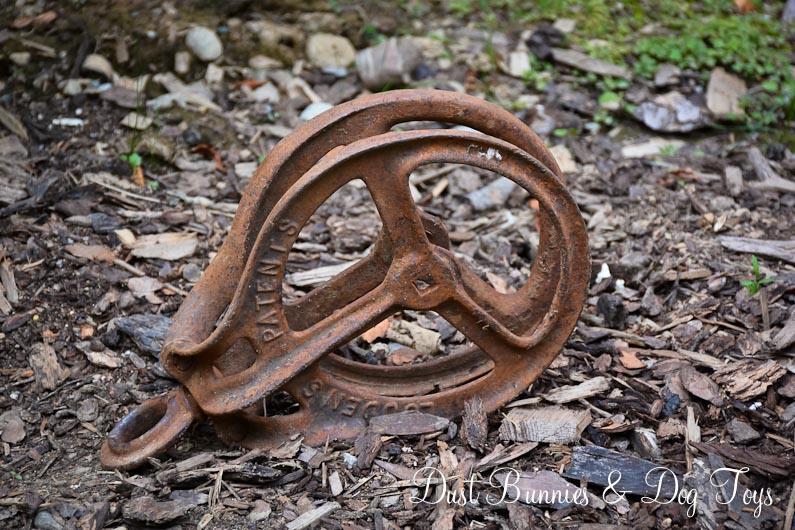
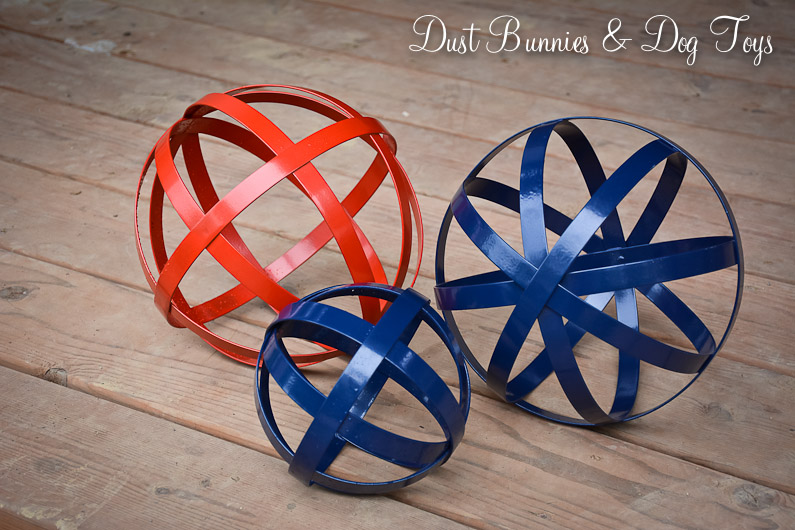
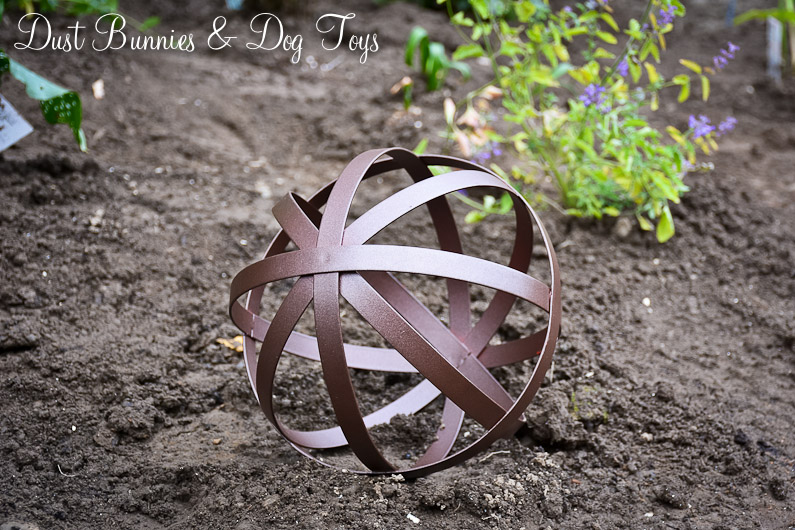
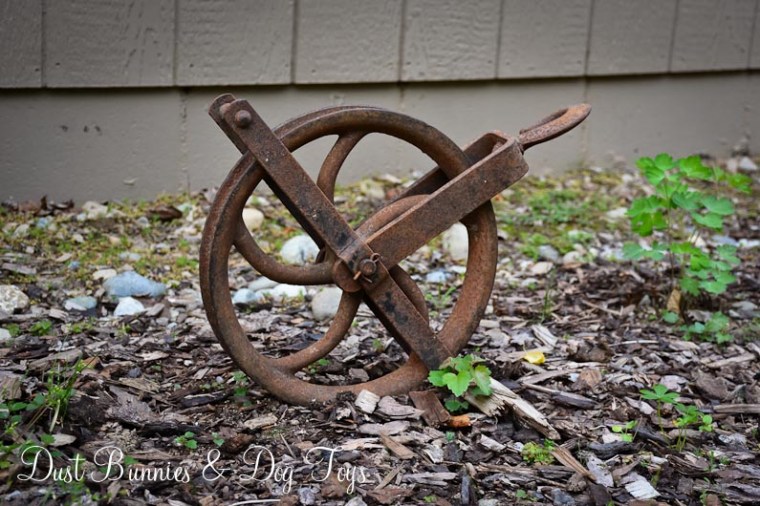
The trio of rusty pulleys we got for $10, $20 and $30 are the perfect “dog proof” garden art. They have since been knocked over by those energetic fur balls, but ‘eh – it makes it look more authentic so oh well.

Pulleys2

Pulley

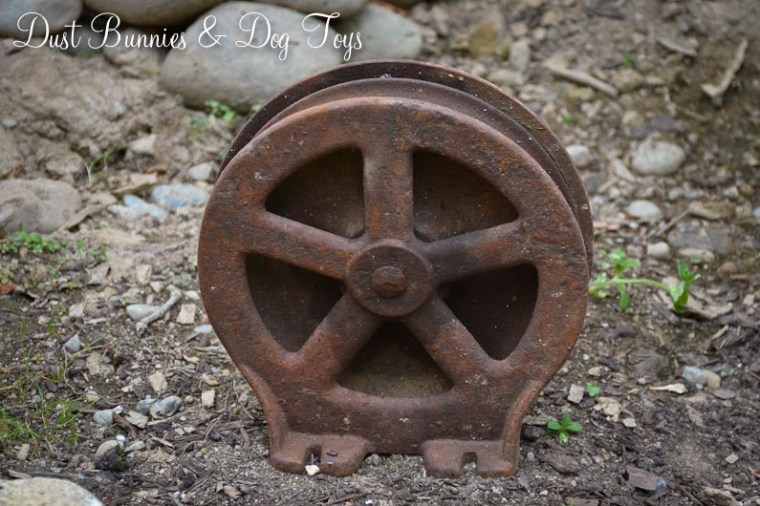
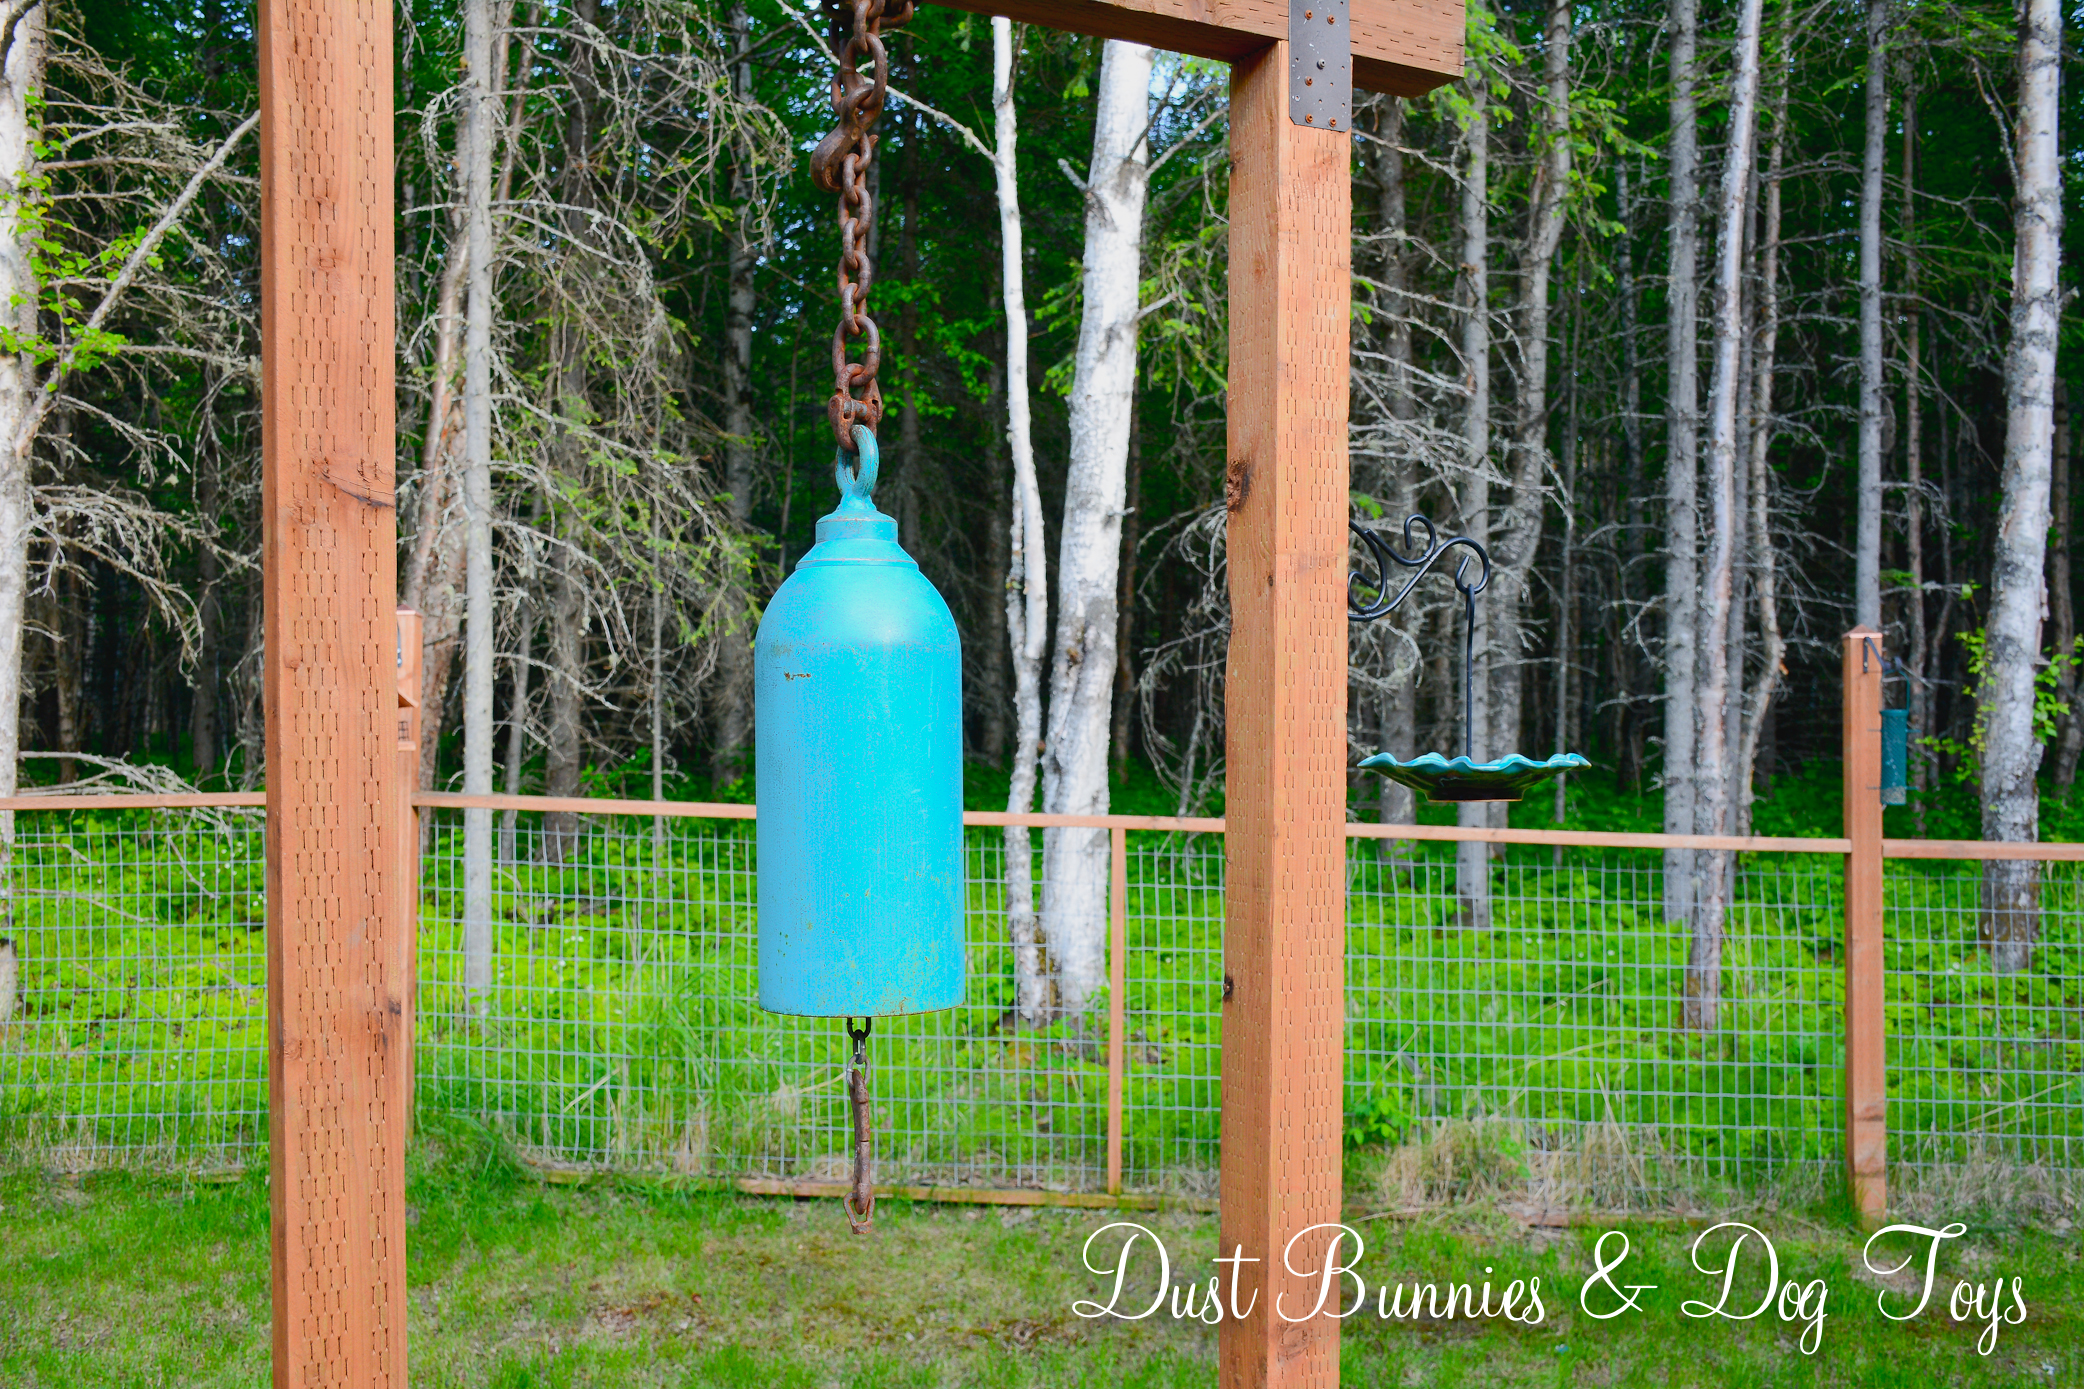
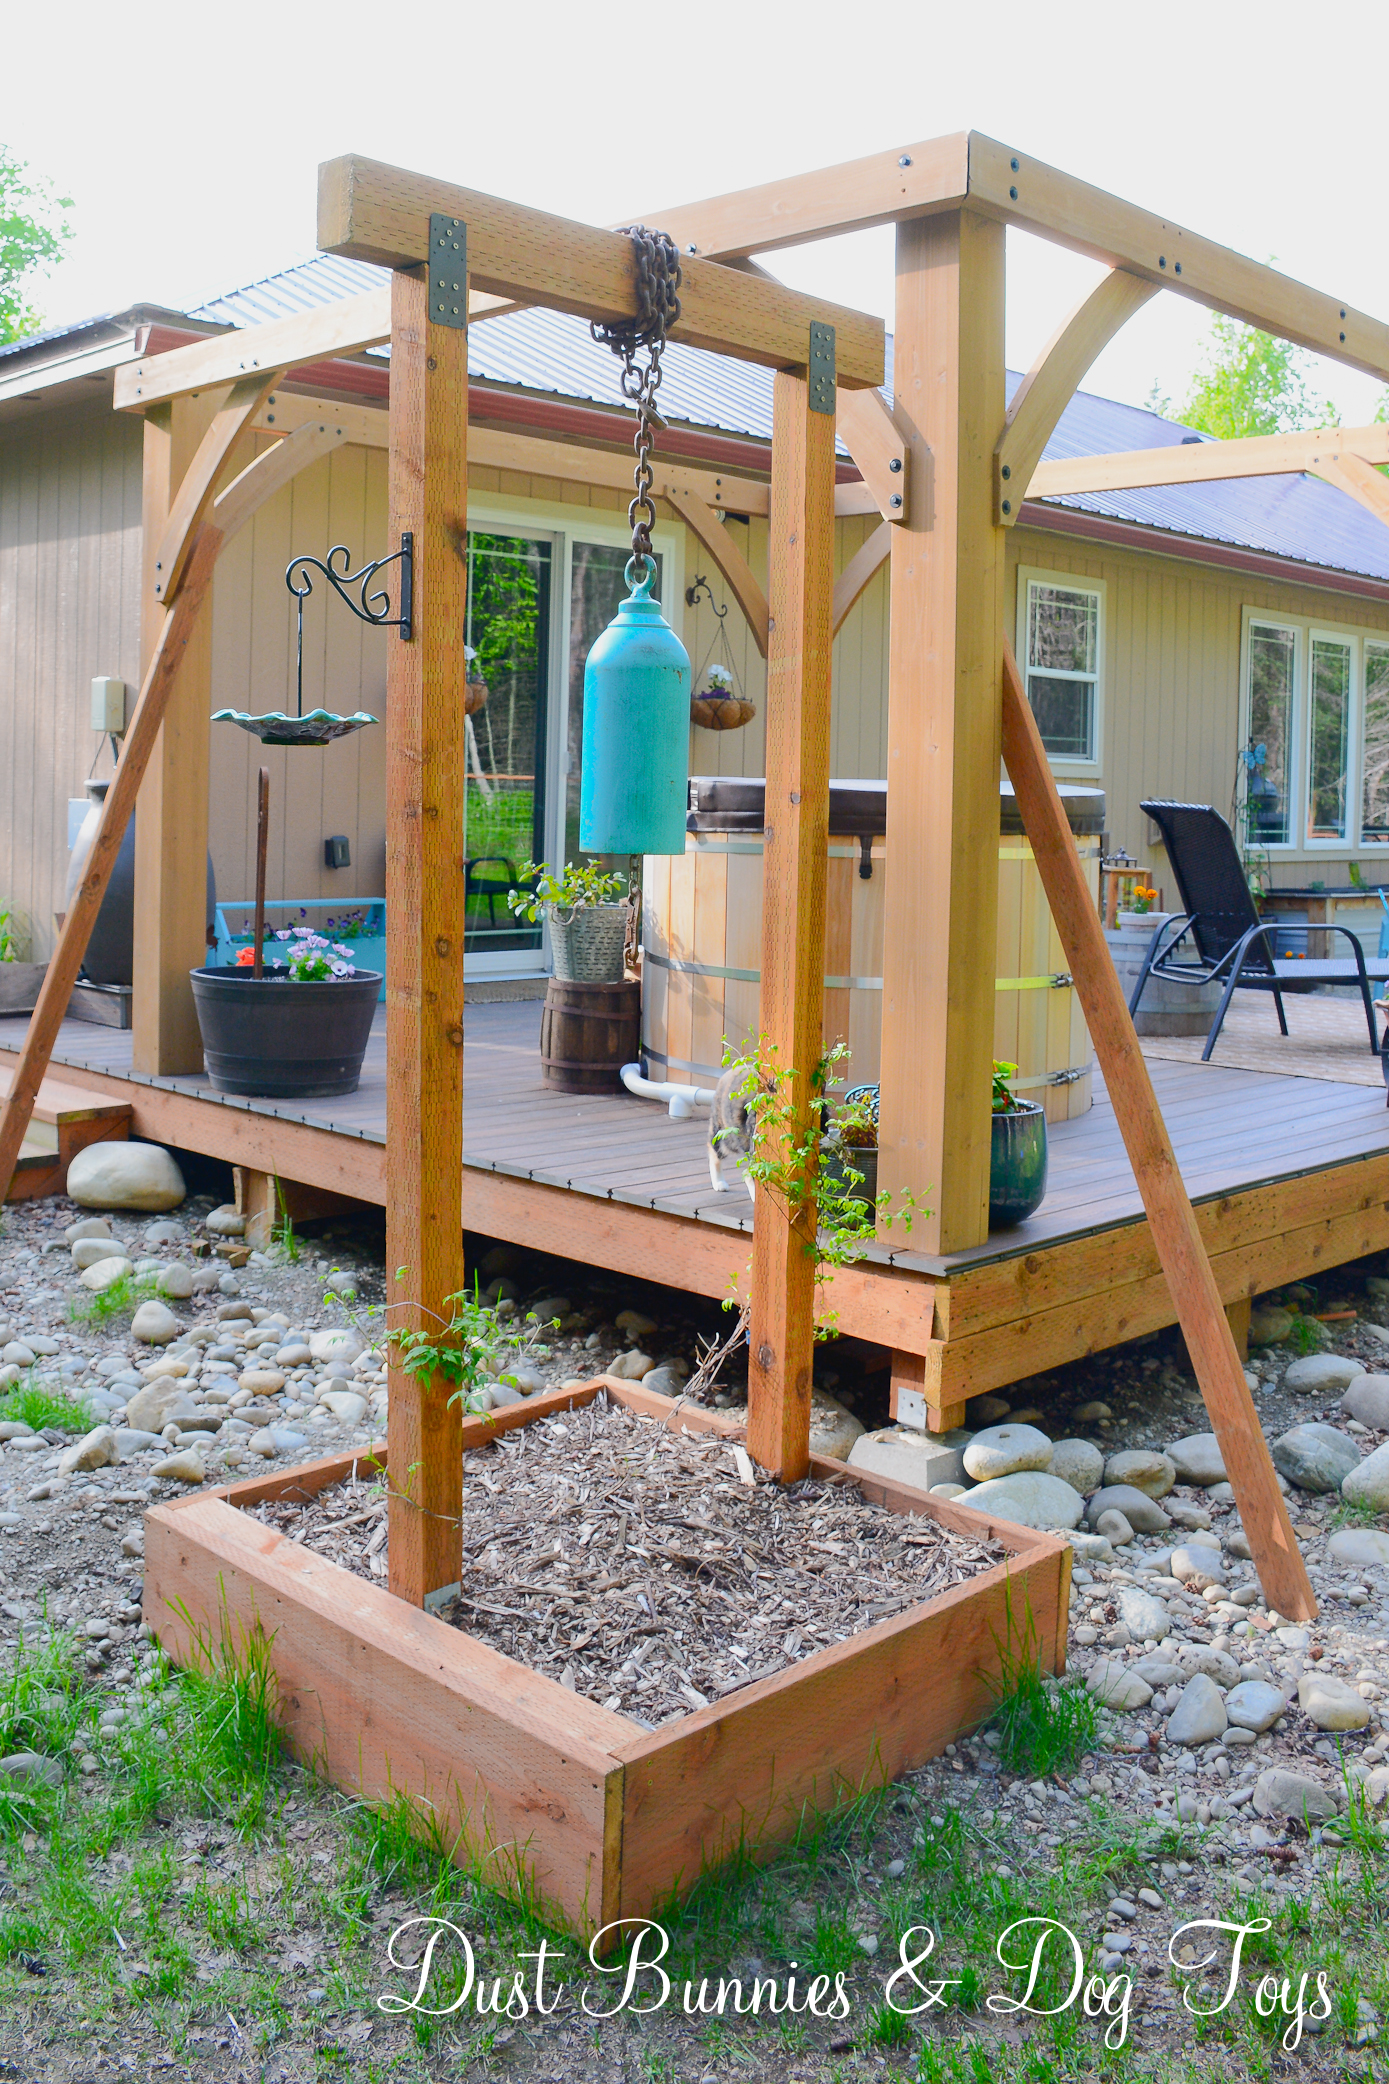
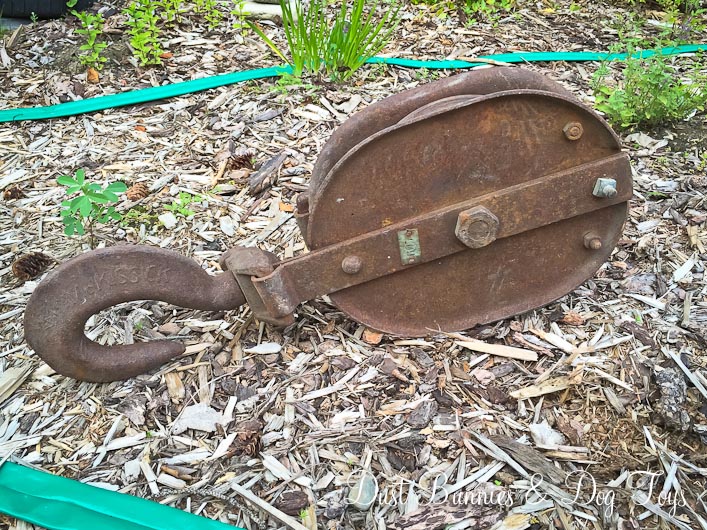
We also picked up this massive pulley at an estate sale last weekend for just $25.  I love the little number tag on the side!  It’s found a home down in the rain garden.

PullyHook

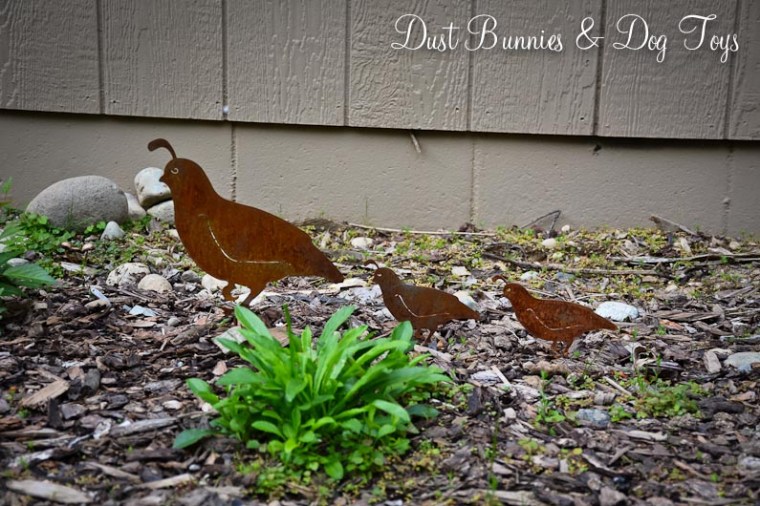
Back in the gifted garden, I adore how these metal quail figures we found at the junk show look in the garden too. I’ve wanted some ever since I saw some just like them in a family friend’s amazing garden so I made sure to snag a few when I spotted them at the show. They remind me of living in the desert and watching the little quail families dart between the tumbleweeds. 🙂

Quail

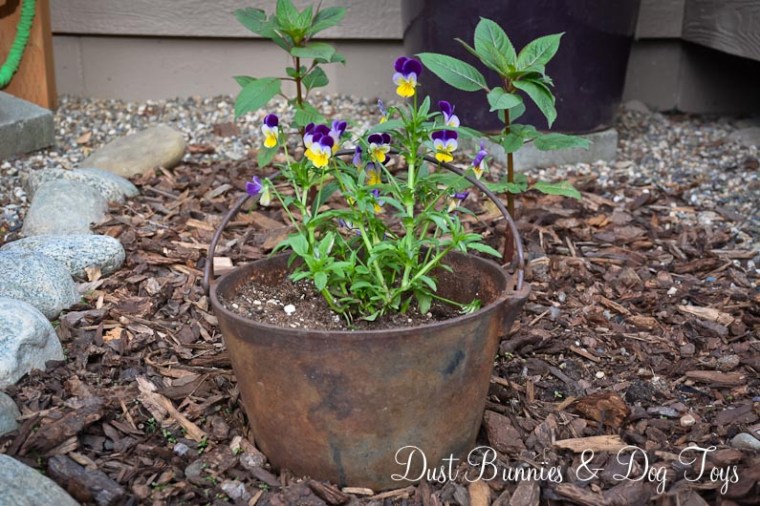
My last find of the day at the junk show, a cast iron campfire cook pot now holds Johnny Jump Ups the neighbor brought over.  I admit this picture is a week or two old because those plants behind the pot are now massive!  They were also gifted to us by the neighbor but I have no idea what they are.  They sure seem to like this spot though, because they are 5 times this size now!

JumpUps

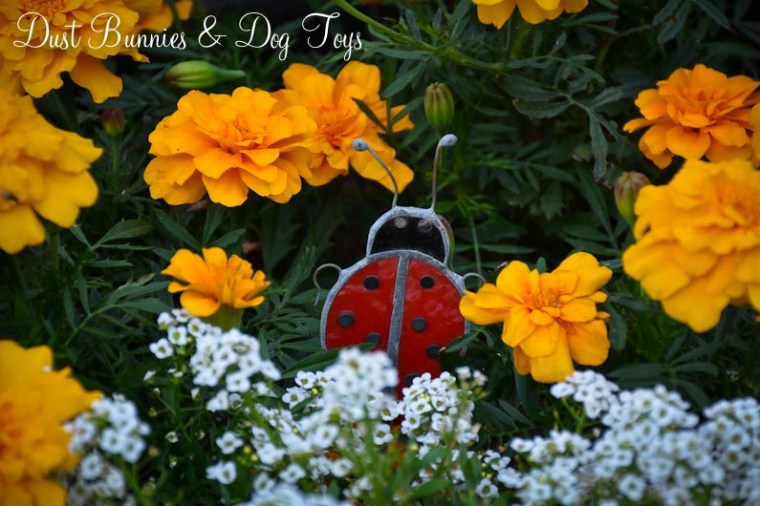
This little stained glass lady bug – an appropriation from my sister’s garden – now adorns my marigolds in the front yard.  He’s so cute I might have to make a few more, and possibly do some dragon flies and butter flies while I’m at it!

LadyBug

Beyond the junk things are still blooming.  We got home just in time to see the iris, which I was so happy about.  I have a few varieties including water iris, wild iris and arctic iris.  They each have slightly different colors and leaves but they’re all beautiful to me.

Iris2

Iris

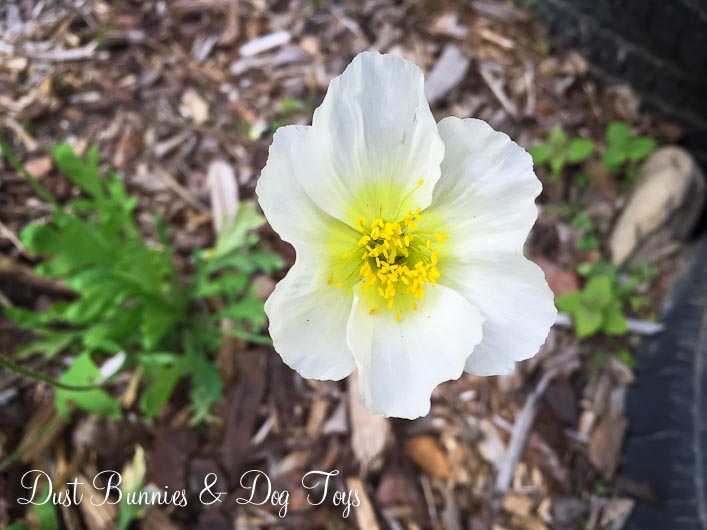
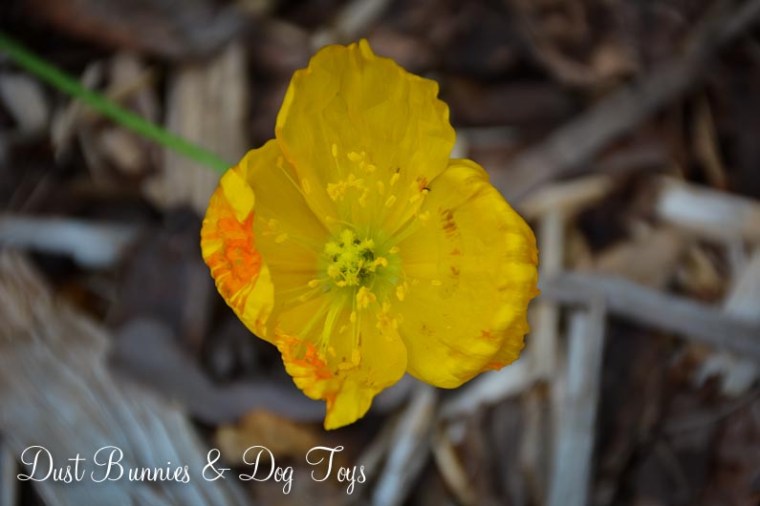
We also have a few poppies blooming.  These were another gift from the neighbor – have I mentioned how much I love having a gardening neighbor?! 🙂  The fact that I’ve done nothing to them and yet they seem to be doing quite well makes me even happier.

PoppyWhite

Poppy

The hydrangea I planted this season is also blooming!  I’m so excited to have this one establish itself and grow bigger and bigger each year.  The blooms started out pretty small but now they are  almost full.  I’m torn between cutting some to bring inside and letting them continue to grow.  Thus far I’ve just let them grow, but as the season wraps up I might go ahead and snip a few.

Hydrengea

Hydrengea2

I do need to add a little support for it though since the back side seems a bit heavy for the thin stalks.  I’m thinking one of those large rings might work well since it’s not very tall yet.

HydrengeaBush

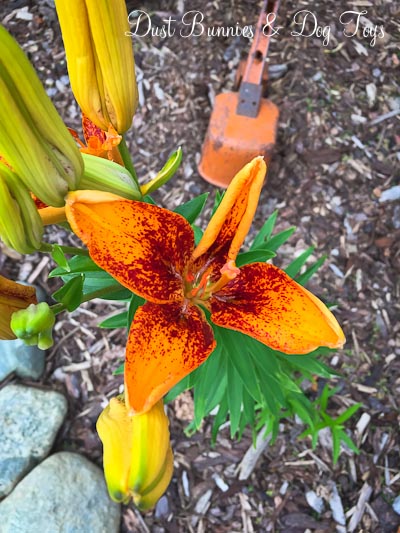
My lilies are also making an appearance after teasing with tightly sealed buds for weeks.  I have several varieties of these as well including pink, orange and yellow.  I made sure to get a few shots of them to enjoy right away since I know they won’t last long. LillyPink

I love how the orange lily compliments the little excavator in the background. 🙂

LillyOrange

YellowLilly
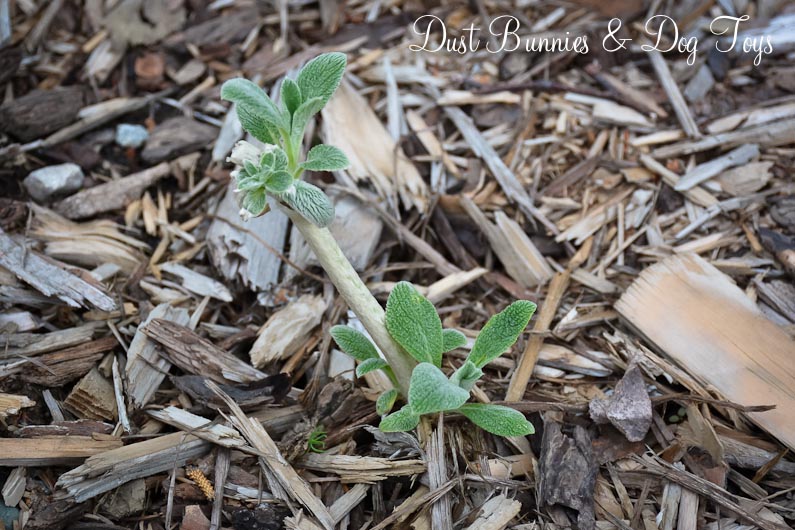
The lambs ear I brought back from my mother-in-law’s yard is doing well in the rain garden.  It’s certainly not going gang-busters, but it’s green and healthy after an overnight trip in a ziplock baggie on a plane, so I’m not going to be too critical.

LambsEar

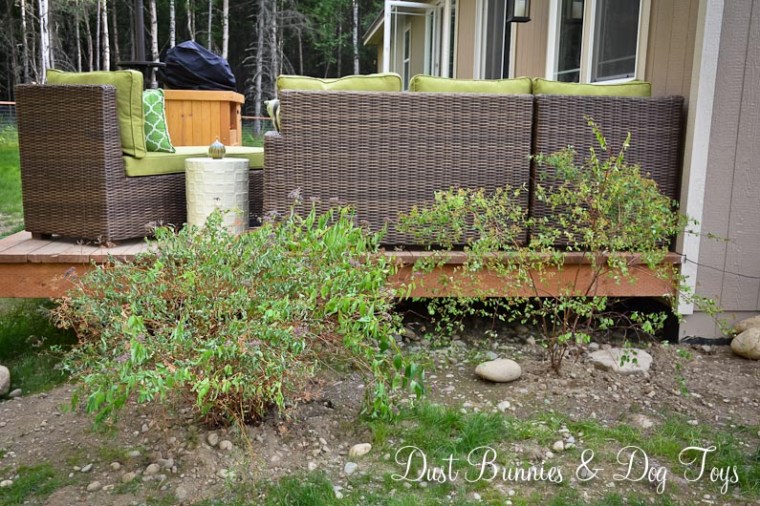
I added some bushes I got for $20 on the buy/sell page to the side of the deck to get that landscape started.  I don’t remember the names of these right now so I’ll have to dig the tags out of the gardening cabinet, but I believe they are both varieties of spirea.  The one on the left gets pretty purple flowers and the one on the right has small white flowers.

DeckBushes

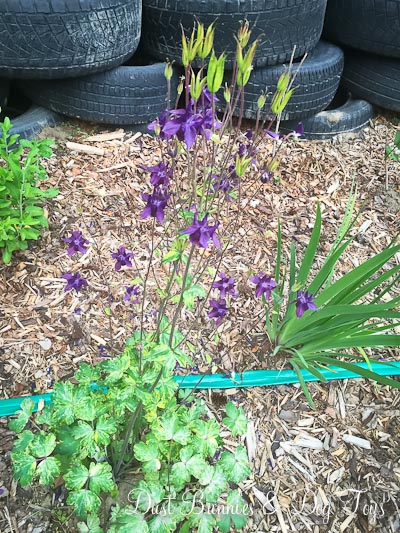
My Columbines are doing well, both in the rain garden and the gifted garden.

Columbine
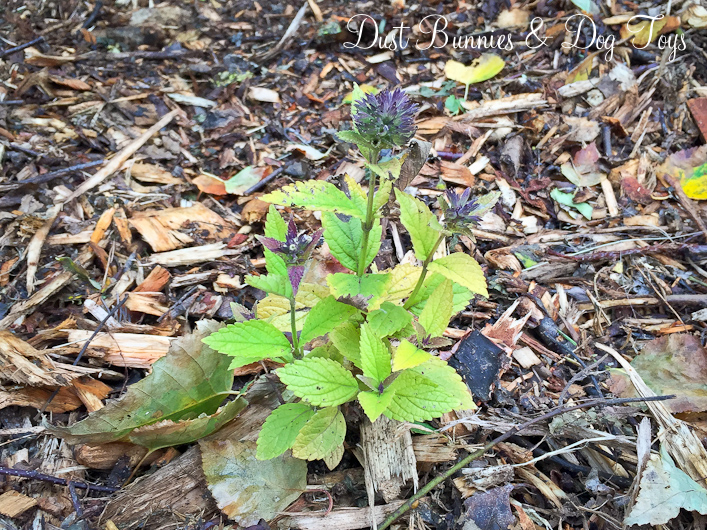
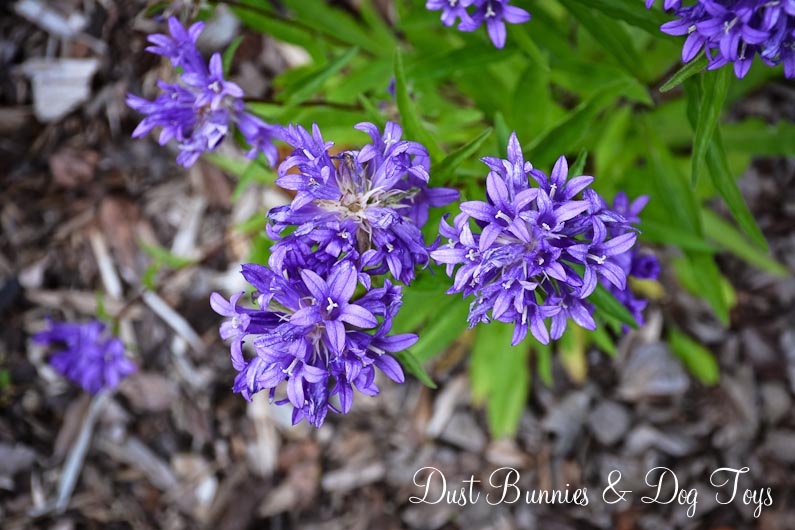
And after some pretty lush leaf growth all season the campanula is finally blooming.

Speedwell

My freebie raspberries are slowly getting established, so I’m just letting them be for now.

Raspberries

But there is a potential harvest this year if these little guys come in a bit more and ripen!

RaspberriesHope

That is of course if I can keep this big boy out of them!  He stopped by the other night during a huge downpour and thankfully seemed more interested in the weed patch just in front of the raspberries.  Good thing I haven’t been able to keep a super tidy landscape yet!  Luckily, the raspberries are close enough to the back yard fence that the dogs typically keep the moose at bay.

Moose

So that’s how we junked up the yard.  Do you have ‘junk’ in your gardens?  I’d love to see it, so share a photo or a link below!

Knock-Off Designer Garden Art

While touring my Mother-in-law’s neighborhood on our recent trip I spotted a beautiful craftsman style home that I adore. In addition to beautiful timber columns on the porch they had a large rustic metal sphere in their landscape that I fell in love with even though I it was likely a designer piece that was light years outside my budget.

I thought about that metal sphere on the drive home and decided to look for a way to DIY my own. I’d seen several similar projects for light fixtures so I knew it was doable. I just had to find a material that could stand up to the elements.

I pinned a couple of ideas, but put the project on hold since I had several others already in the works. Then I happened to spot these beauties on a Target clearance rack! They weren’t the color I wanted, but I knew a coat of spray paint could fix that. I got all three for about $21. I all but danced out of the store!

Spheres

They lived as is in the flower bed for a while since I was busy with those other projects I mentioned, but when I started spray painting my cache pot from yesterday’s post I decided to knock these out as well.

Spheres

I love the copper color on the small one, but because it was a metal flake paint it was a little difficult to work with and required several small coats to get all the angles. The ORB color on the other two is a dead ringer for the original designer inspiration and only took two coats. The third sphere has found a home in the new rain garden, which isn’t finished just yet.  A few more steps and I’ll be ready to share that project too! 🙂

Sphere