Our last day in Scotland was spent back in Edinburgh. We had run out of time to see Holyrood Palace on Day 2 so that was the goal for today – and to handle the parking ticket we got while at Edinburgh Castle. This time though we opted to leave the car at the hotel and take the bus into town. I was quite excited to ride the double decker buses since we don’t have those here, so of course we immediately went upstairs upon boarding. We sat toward the back and enjoyed seeing the sights as we headed into town rather than navigating the streets and GPS.
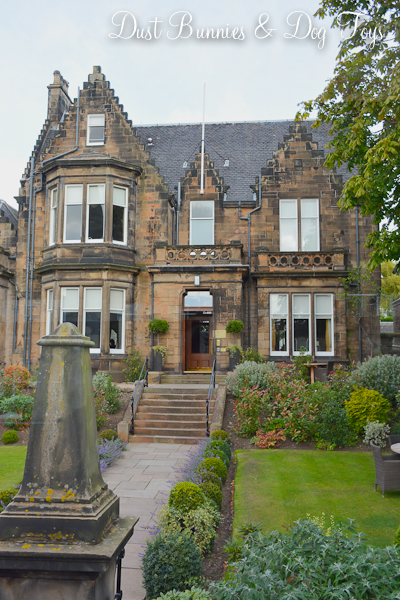
 There were grand old homes turned into B&Bs or businesses.
 And important looking structures like this one.
 When the seats up front became available we moved up and enjoyed views like this as we watched traffic go past.
 There were also numerous shop windows to take in.
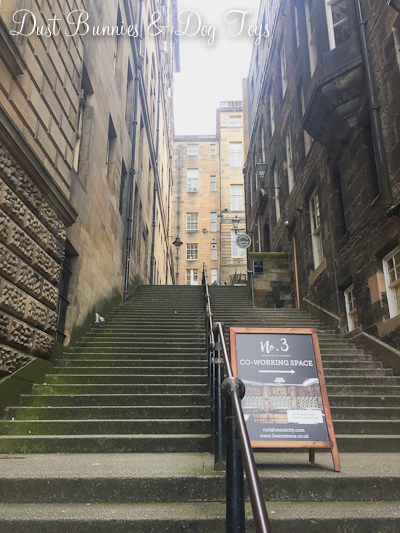
 It was a relatively short ride to reach the area near the magistrate’s office where we had to go to contest the ticket. Once off the bus we got our bearings and soon realized we had to climb these stairs to get to the right street.
 We took a short breather at the mid-way point to peek in the windows of the shops along the way. I had to wonder how they handled deliveries of goods, but I guess that’s just part of the usual routine in this area.
 The stairs took us to the Royal Mile, just down from the castle. We were still a few blocks from the parking office, so we headed that direction as we enjoyed the sights.
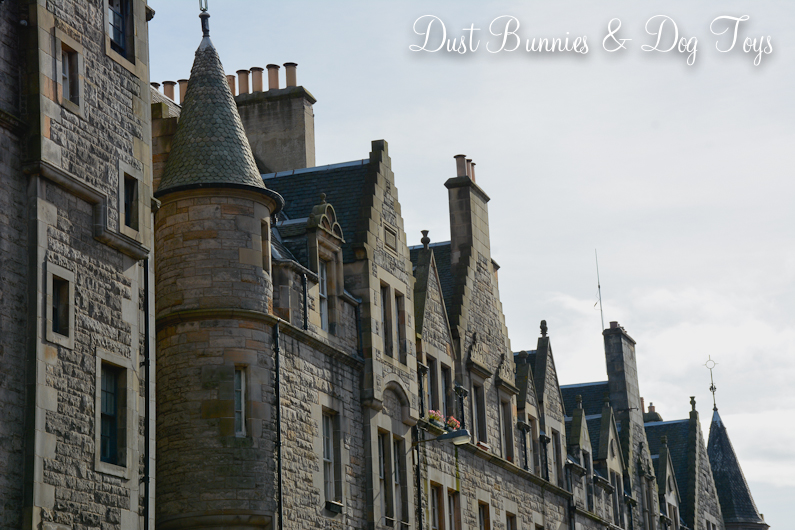
 Including architecture like this!
 And shop windows like this. I seriously considered buying that dress for my company holiday party, but didn’t think the Hubs would be up for the matching kilt!
 After a couple mis-turns we found the right office to contest our ticket, spoke to the officials and learned that we had parked in an area where you have to have a special resident permit, not just the kiosk permit. They told us we could appeal the ticket with a written statement and explain that we were tourists and hadn’t understood the difference. We wrote up our statement and submitted it along with our contact information back home in case they had any questions. Then we headed back out to the Royal Mile to make our way to Holyrood. Having handled the pressing item of the day we were both in lighter spirits and totally got a chuckle out of this display!
 Several shops had unique and clever names like this one.
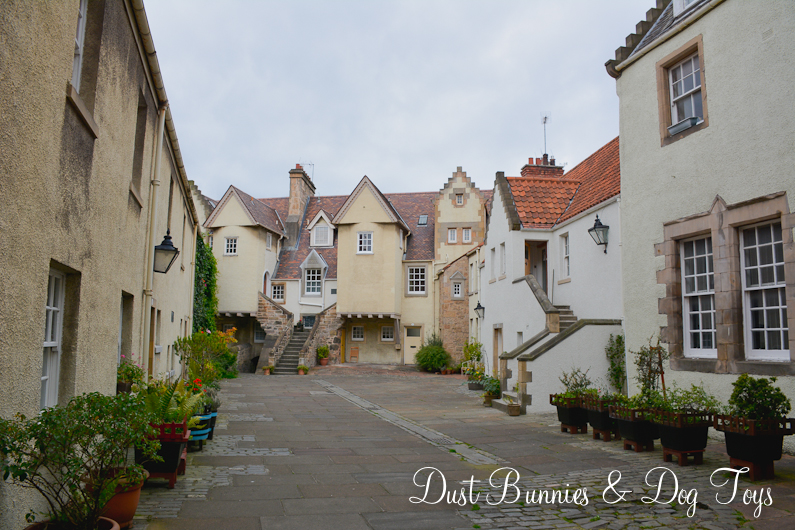
 And there were several more picturesque spots like this little alleyway, where I could envision Belle walking along reading a book.
 I spotted this sign and had to pause, since I grew up on a Manse Rd. I’d always figured it was a family name but never thought about it being older than that.
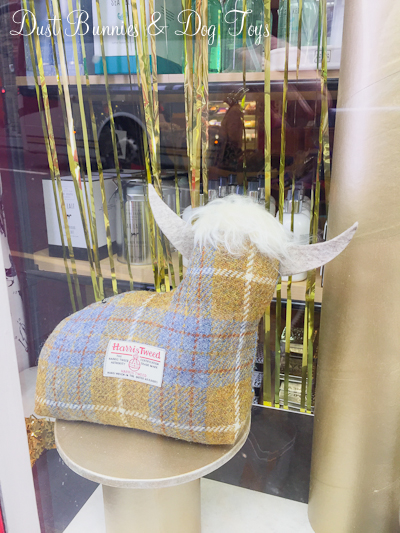
 Along the Royal Mile I spotted this guy in one of the shop windows and fell in love. So we stepped inside to find out how much he was. It turned out he was quite heavy as he was constructed to be a door stop, but they had other similar designs as pillows and ornaments.
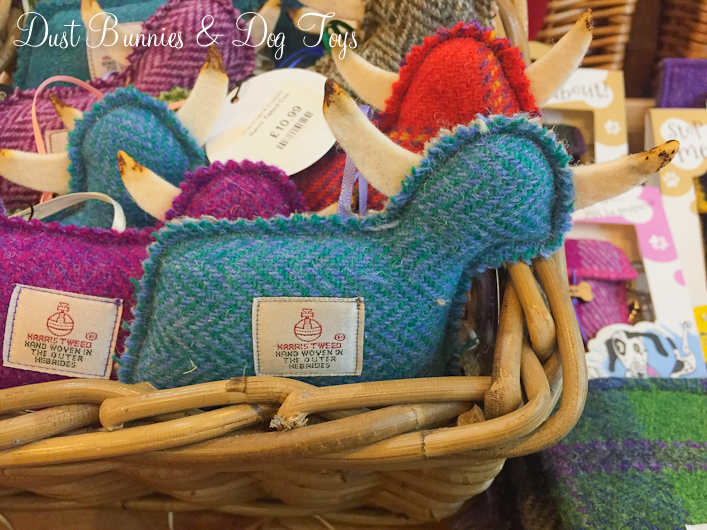 They also had this amazing Highland Coo bag that I had to have. I offered to get one for my sister, but she turned it down – much to her disappointment when she saw mine in person later!
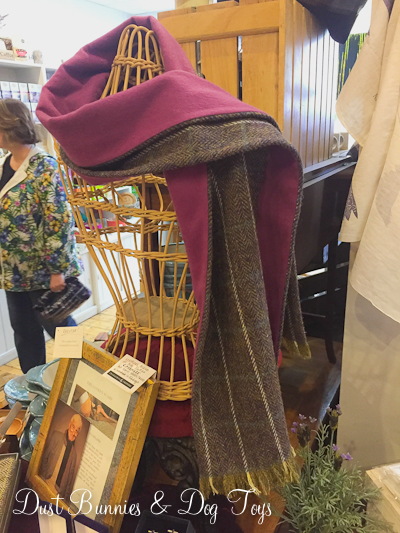
 I also eyed this pretty scarf, but it was a bit beyond my budget so I got a picture instead.
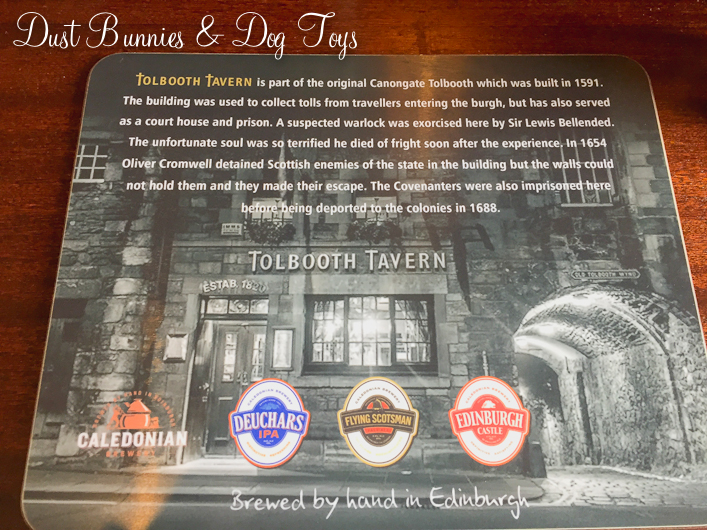
 We were getting hungry after our trek down the Royal Mile so we decided to stop and eat before getting to the castle. We ducked into a quaint little pub, which we soon learned was the Tolbooth Tavern – full of history and stories. We ordered and were pleased to see the hearty meals that were presented.


 I had a few giggles watching the Hubs try to eat this massive burger without getting it all over himself. I’m pleased to say that he did a pretty good job!
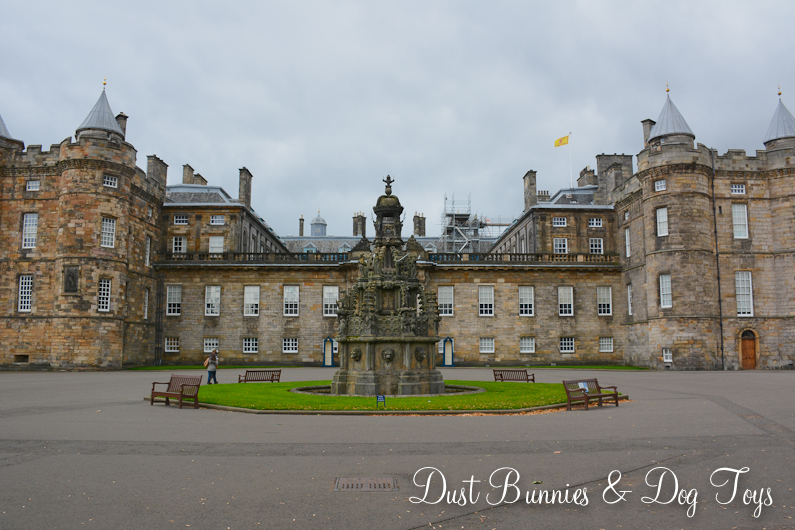
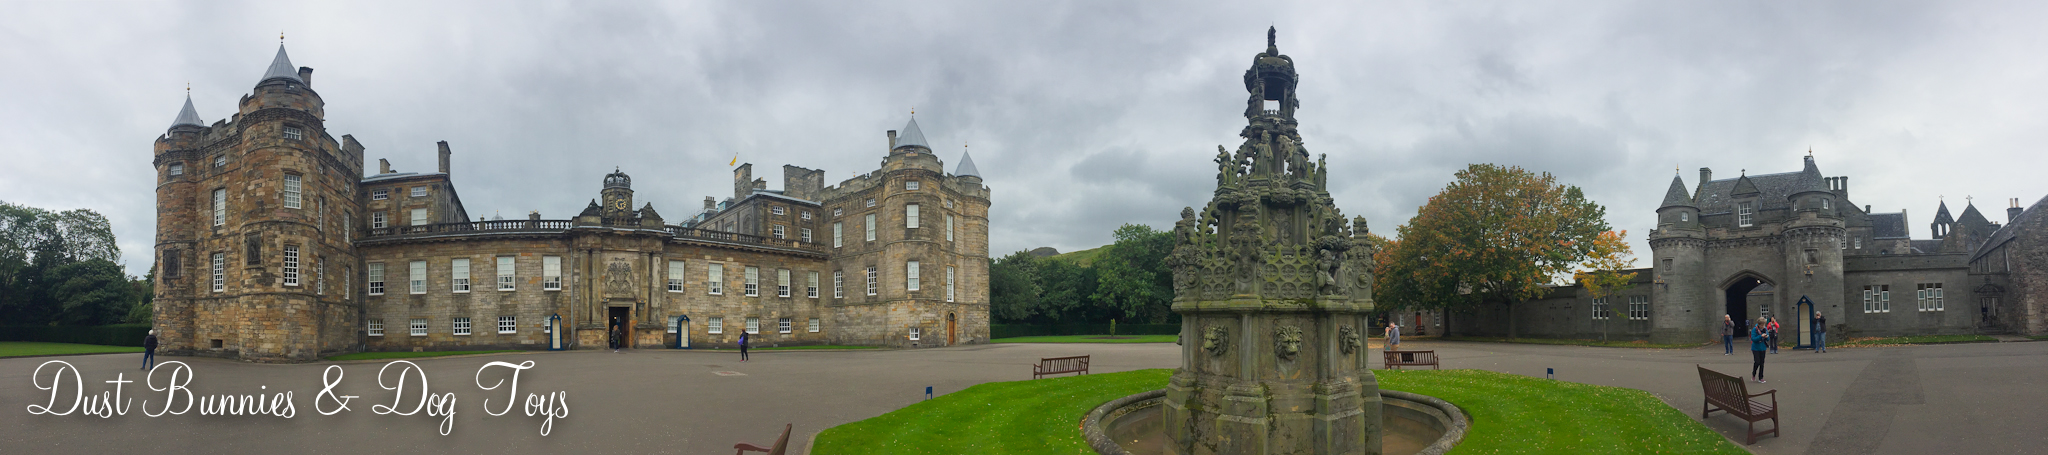
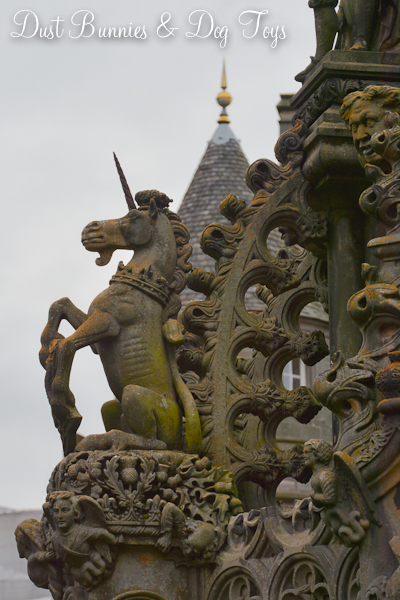
 We walked off our food comas with the remaining blocks to Holyrood, where we quickly toured the gift shop and purchased our entrance tickets. The courtyard in front of the palace has a magnificent fountain with ornate carvings of several historical Scottish figures.
 There were dragons and lovers, and of course unicorns – the official animal of Scotland.

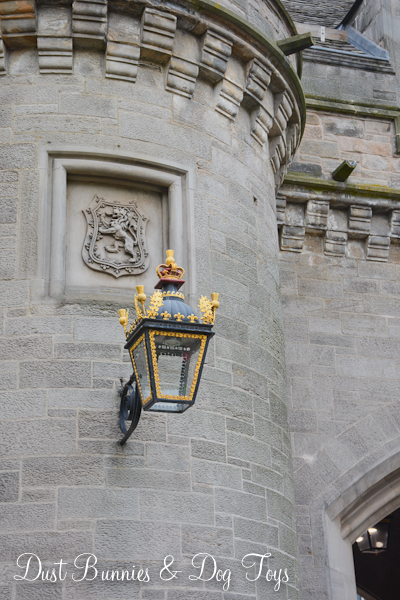
 The palace had several impressive details like the stone carvings and gilded lanterns on the front wall.
 Across the courtyard I spotted these cross windows. I’m not sure what room they were for inside the wall but it was quite an interesting design that took countless hours of crafstmanship.
 Photography is not allowed inside the palace, but the exterior gave plenty to take in.
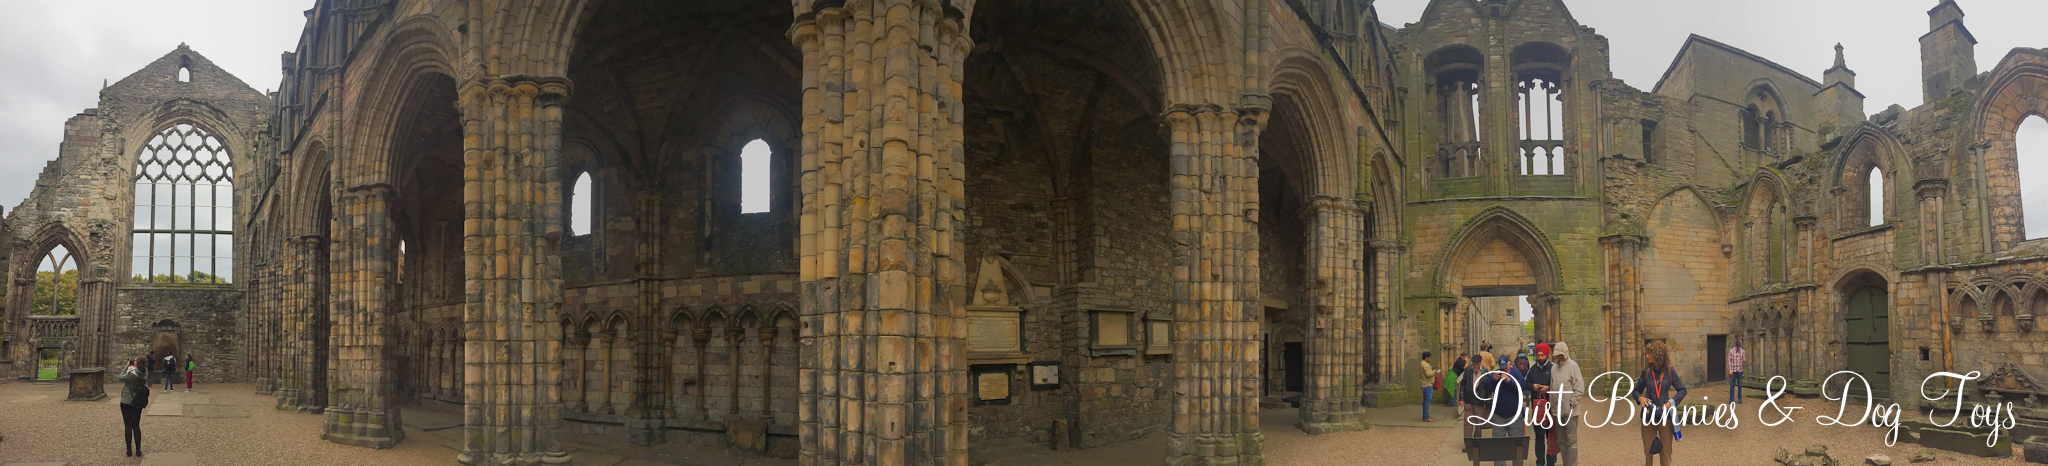
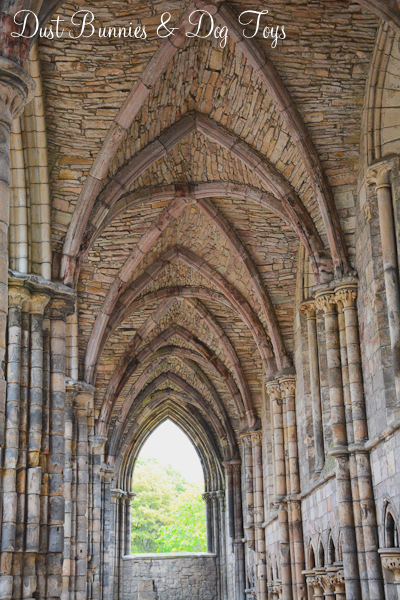
 After touring the palace, including the apartments of Mary, Queen of Scots, where David Rizzio had been murdered we made our way over to the abby ruins. They were absolutely stunning.


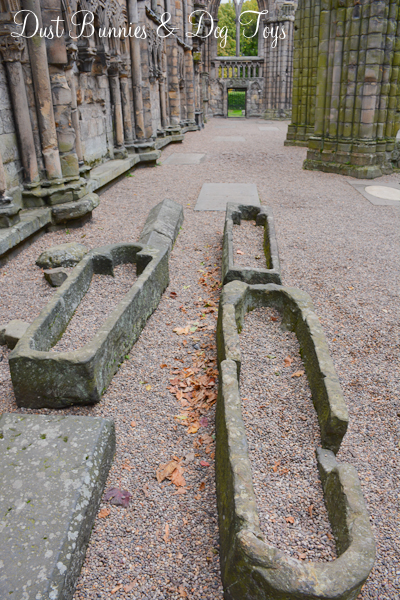
 These stone caskets were likely pulled from the sealed tombs within the abby when it was raided. We headed out into the Queen’s gardens and made our way around the outside of the abby.
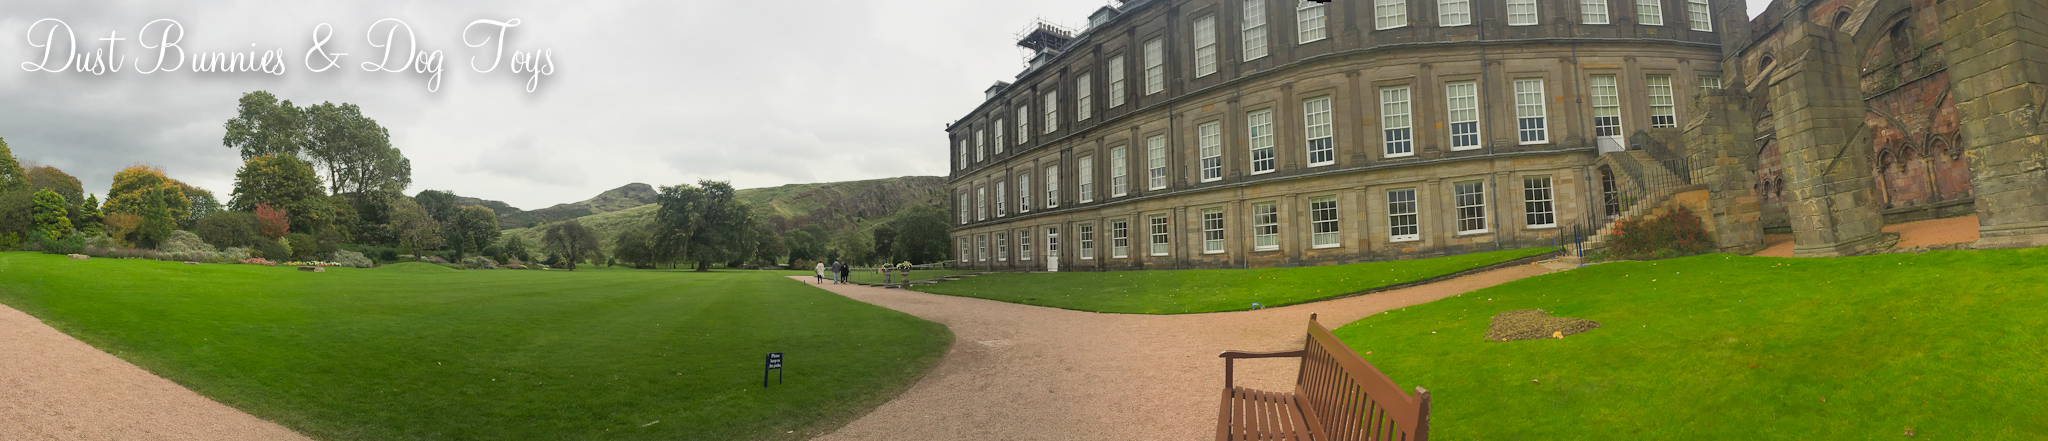
 It was a beautiful landscape, where a giant jubilee is held each year. I was so enamored with the gardens that I didn’t notice the stone ruins on the hillside beyond until I was editing these images! The large crag behind the palace is Arthur’s Seat.
 We sat for a bit just taking in the grounds and the history in this place, then made our way along the path to the exit.
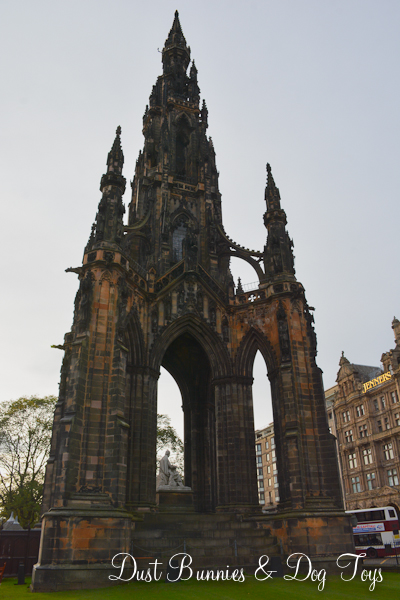
 On our way back to the bus station we stopped to see the Scott Monument, a victorian monument to Scottish author, Sir Walter Scott. Luckily, it was just a few blocks from our bus stop so it wasn’t far out of the way since we were quite tired from all the walking we’d done that day.
 We took in the skylines of the city as we boarded the bus, knowing these would be our last glimpses of the city and it’s history.
 The ride itself was very entertaining as the buses, kept stopping so close to each other that we made noises each time and then giggled. Just to give you an idea of how close they get there was only inches between them at this stop.
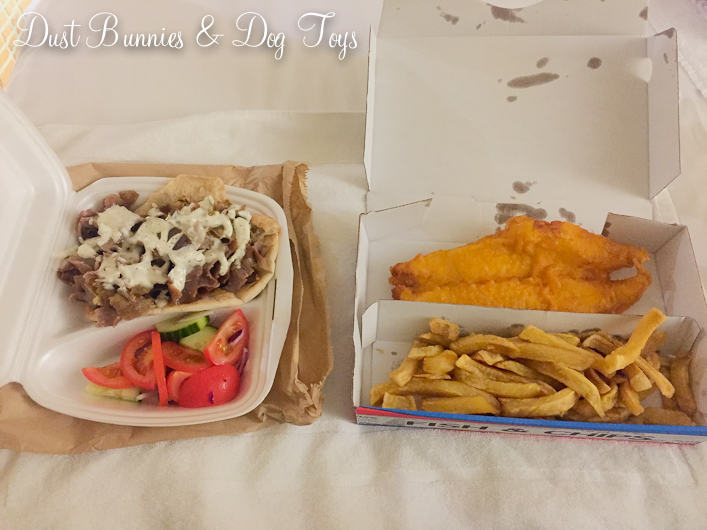
 Back at the hotel we asked our new friend Steven, who works as a concierge, where the best nearby spot to go for dinner was. I was wanting fish and chips for my last night and he drove us to a spot just a few miles away that did to-go orders. With fish and chips and a Greek gyro in hand we grabbed a cab back to the hotel to rest our feet and dig in. It was the perfect ending to our trip.
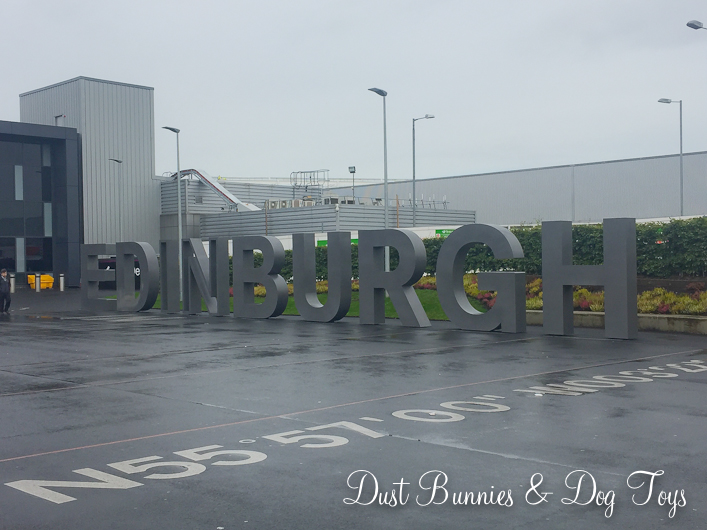
 The next morning was rainy and gloomy as we headed to the airport. But the rain did have an upside – I finally got a full shot of the Edinburgh sign without gaggles of tourists on it.
 We lugged our very stuffed suitcases into the terminal and checked in as we thought about the wonderful trip we’d had. It’s been fun reliving it through these posts and I hope it inspires you to go see some of these amazing places. We’ll definitely be back again at some point!
Check out our other Scotland adventures:
And our travels through Iceland on the same trip with Day 1, Day 2, Day 3 and Day 4.

 This project had been bouncing around in my head for quite some time, so when the Hubs was in the mood for a project I decided it was the perfect opportunity to direct his motivation to this update. I’d previously had a ladder shelf in this spot holding all my crafting projects, but it wasn’t super sturdy and it didn’t really fit my style so I wanted to replace it with an industrial style rolling bookcase. I showed the Hubs this and this style to give him an idea of what I wanted and we talked through the pros and cons of the two. He took a few measurements and within two days I had this beauty.
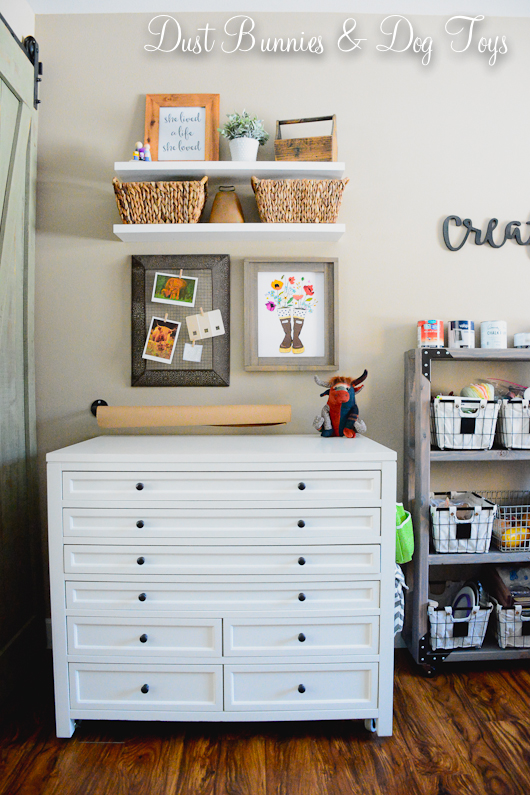
 I forgot to get a picture of it as bare wood, but I’m sure you can imagine it. This is what it looked like with two coats of the same grey stain I used on the barn wood frames he made me. He spray painted the metal corner brackets he’d picked up for the project and added those to complete the look. And here it is all filled and in use!
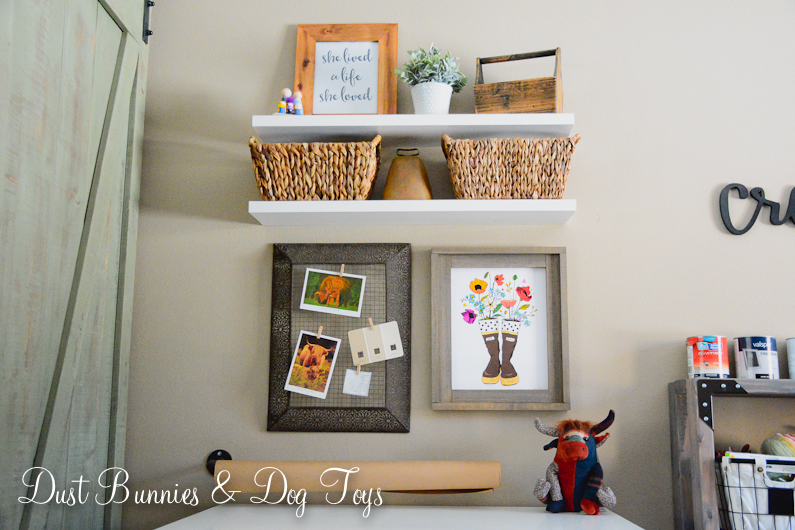
 With the new shelves done I was finally ready to hang the “create” art I got forever ago. It looks great with the shelves and coordinates with the dark bed frame and baskets. Now that it’s up I’ll have to share the story behind it soon.
 My often used paints and stains found a home on the top shelf for easy access. I reused the baskets I already had and filled in the extra spot with a gym basket I already had as well.
 I’m still debating painting the screw heads on the corner brackets, so I’ll live with it for a while and if it bothers me in a few weeks I’ll make them match. The Hubs also got wooden dowels to make faux steel rods along the back of the shelves like the inspiration pieces had, but we haven’t added them yet. I really liked that detail, but because I’m using baskets rather than styling it with decor they wouldn’t be super noticeable, so it may not be worth doing. I’ll decide on that eventually. 🙂
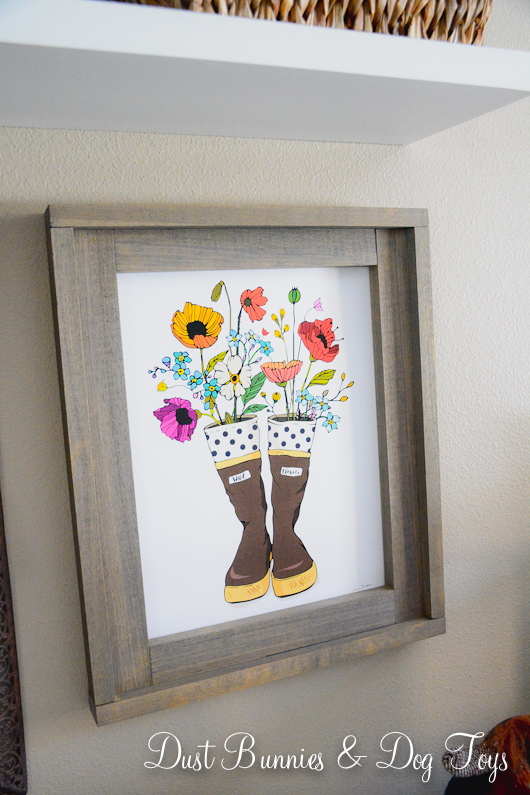
 This whole area has seen several updates since we moved in 4 years ago including revamping the shelves, painting the cart knobs, adding the craft paper roll, moving the day bed out to this space and adding the DIY frame. I’m loving how it’s all looking together. And how it compliments the wall-to-wall desk on the other side of the room, which has also seen several updates since this post. I’ll have to share that soon!
 If you’re looking for more tutorials for these style of shelves, check here, here, here, here and here. It’s a popular style so there are many variations available out there. I hope yours turns out great!