I’ve mentioned before that my hair and I have a love/hate relationship. Maybe it’s the whole, “you always want what you don’t have” theory that makes me detest the limp, straight, baby fine hair I’ve been cursed with. I seriously lust after the thick curls that seem to dominate Pinterest these days a’ la’ Kate Middleton’s gorgeous locks, but I know I’ll never achieve that exact look – unless I bite the bullet and get hair extensions to increase my skimpy strands.
Thankfully, I view my hair as an accessory in the way that if I don’t like it, I can change it and with my creative personality that tends to happen A LOT! Although I was born blonde and remained so through high school, I’ve sported strawberry blonde, brunette, auburn and now red manes. And my hair stylist knows I have a routine of growing my hair out and then chopping it, only to grow it out once again – which luckily is a fairly quick process for me.
I’ve spent the last several months growing my hair from a bob to below my shoulders and now I’m getting tired of the extra styling it requires so the itch to chop it all has returned. My husband is that one strange man who prefers women to have short hair, so he of course would vote for me to give in and chop several inches.
However, I know full well that short hair styles can sometimes require more styling time than long hair does, which can be a big hiccup on the rare mornings when I wake up late. Short hair also usually means you’re stuck with the same look all the time. Plus, when I see pictures of myself with shorter hair I think my face looks very round which I don’t care for on myself.
 I’ve really liked some of my mid-length cuts, especially when layered for volume like this one, but they tend to be just short enough to not work for multiple styles so I end up wearing it the same way all the time and when I do pull it up the shorter pieces fall out, making the rest of the do more likely to ‘migrate’ on my head due to a lack of volume holding it in place.
So which look do you think I should sport? Short, medium, or long? Here are examples of me with each.


Granted the long picture isn’t much longer than the medium, but it looks shorter then it was because of the curls. It’s now quite a bit longer than this. One option I’ve been toying with is keeping the length, but having long layers added in, like this.
My concern is that fine hair tends to get super frizzy when layered. But Jennifer Aniston seems to make it work, so there’s hope right? Maybe all I really need is a live in hair stylist like that stars! 🙂

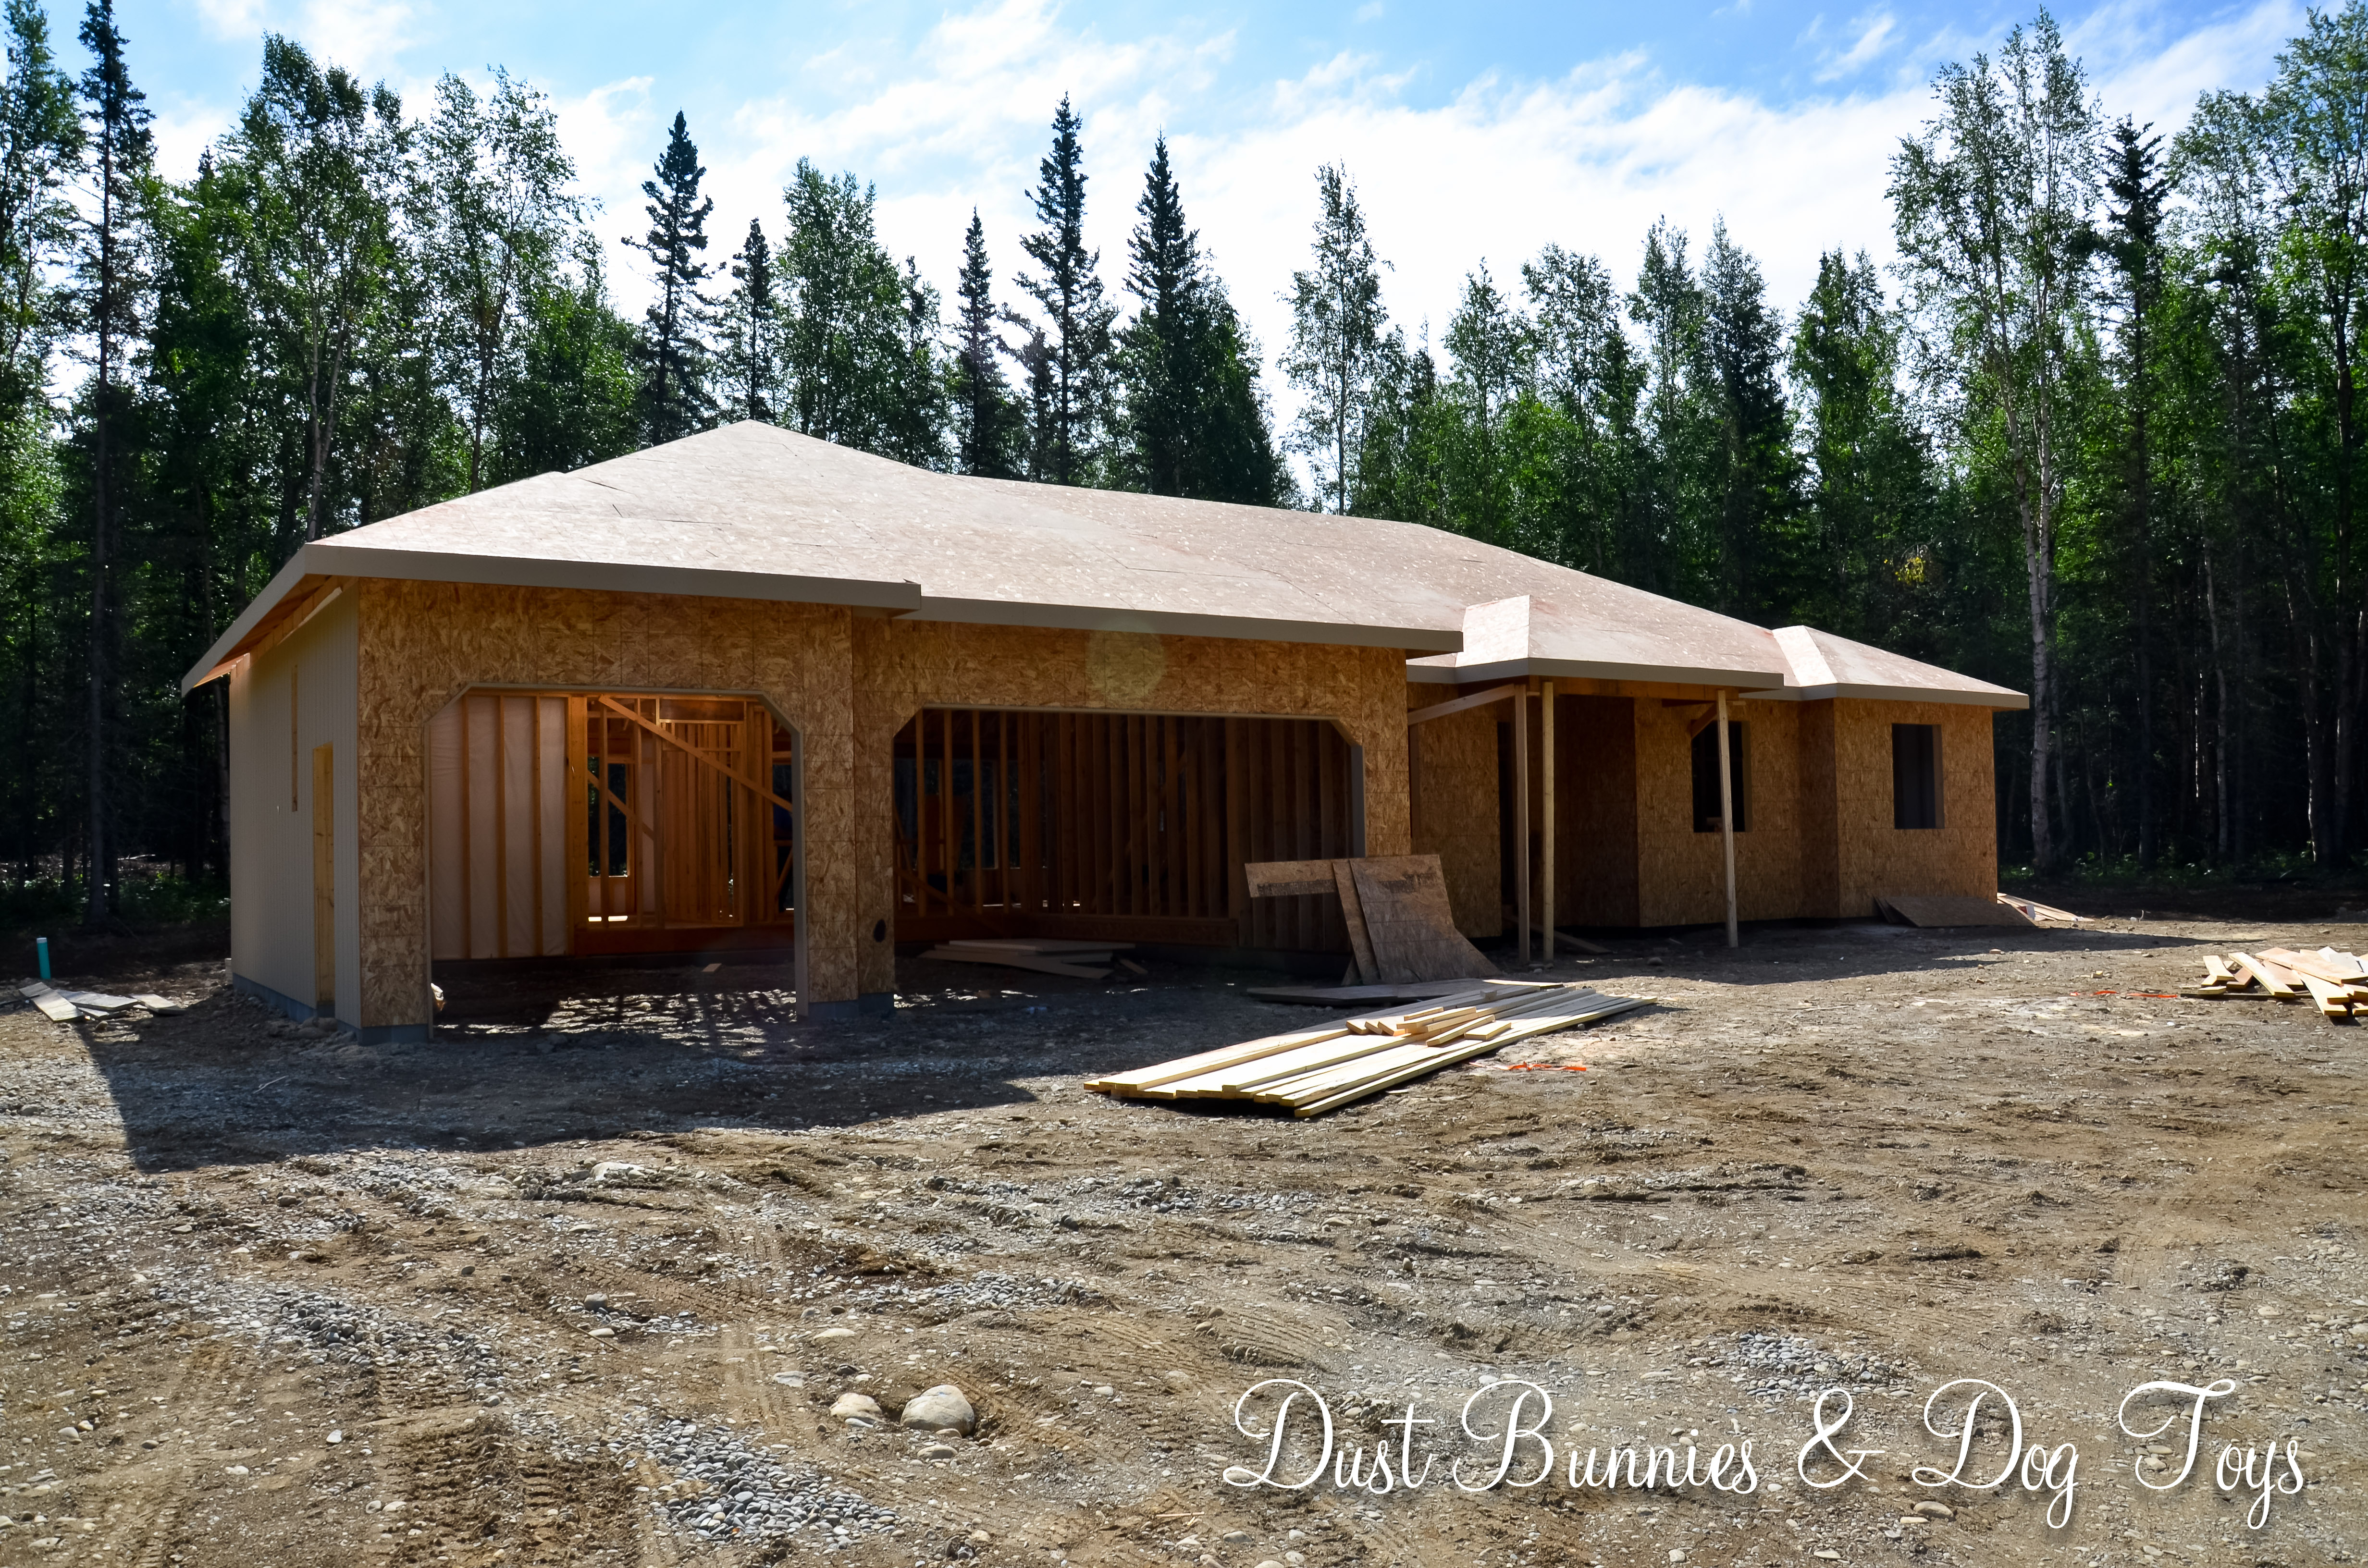

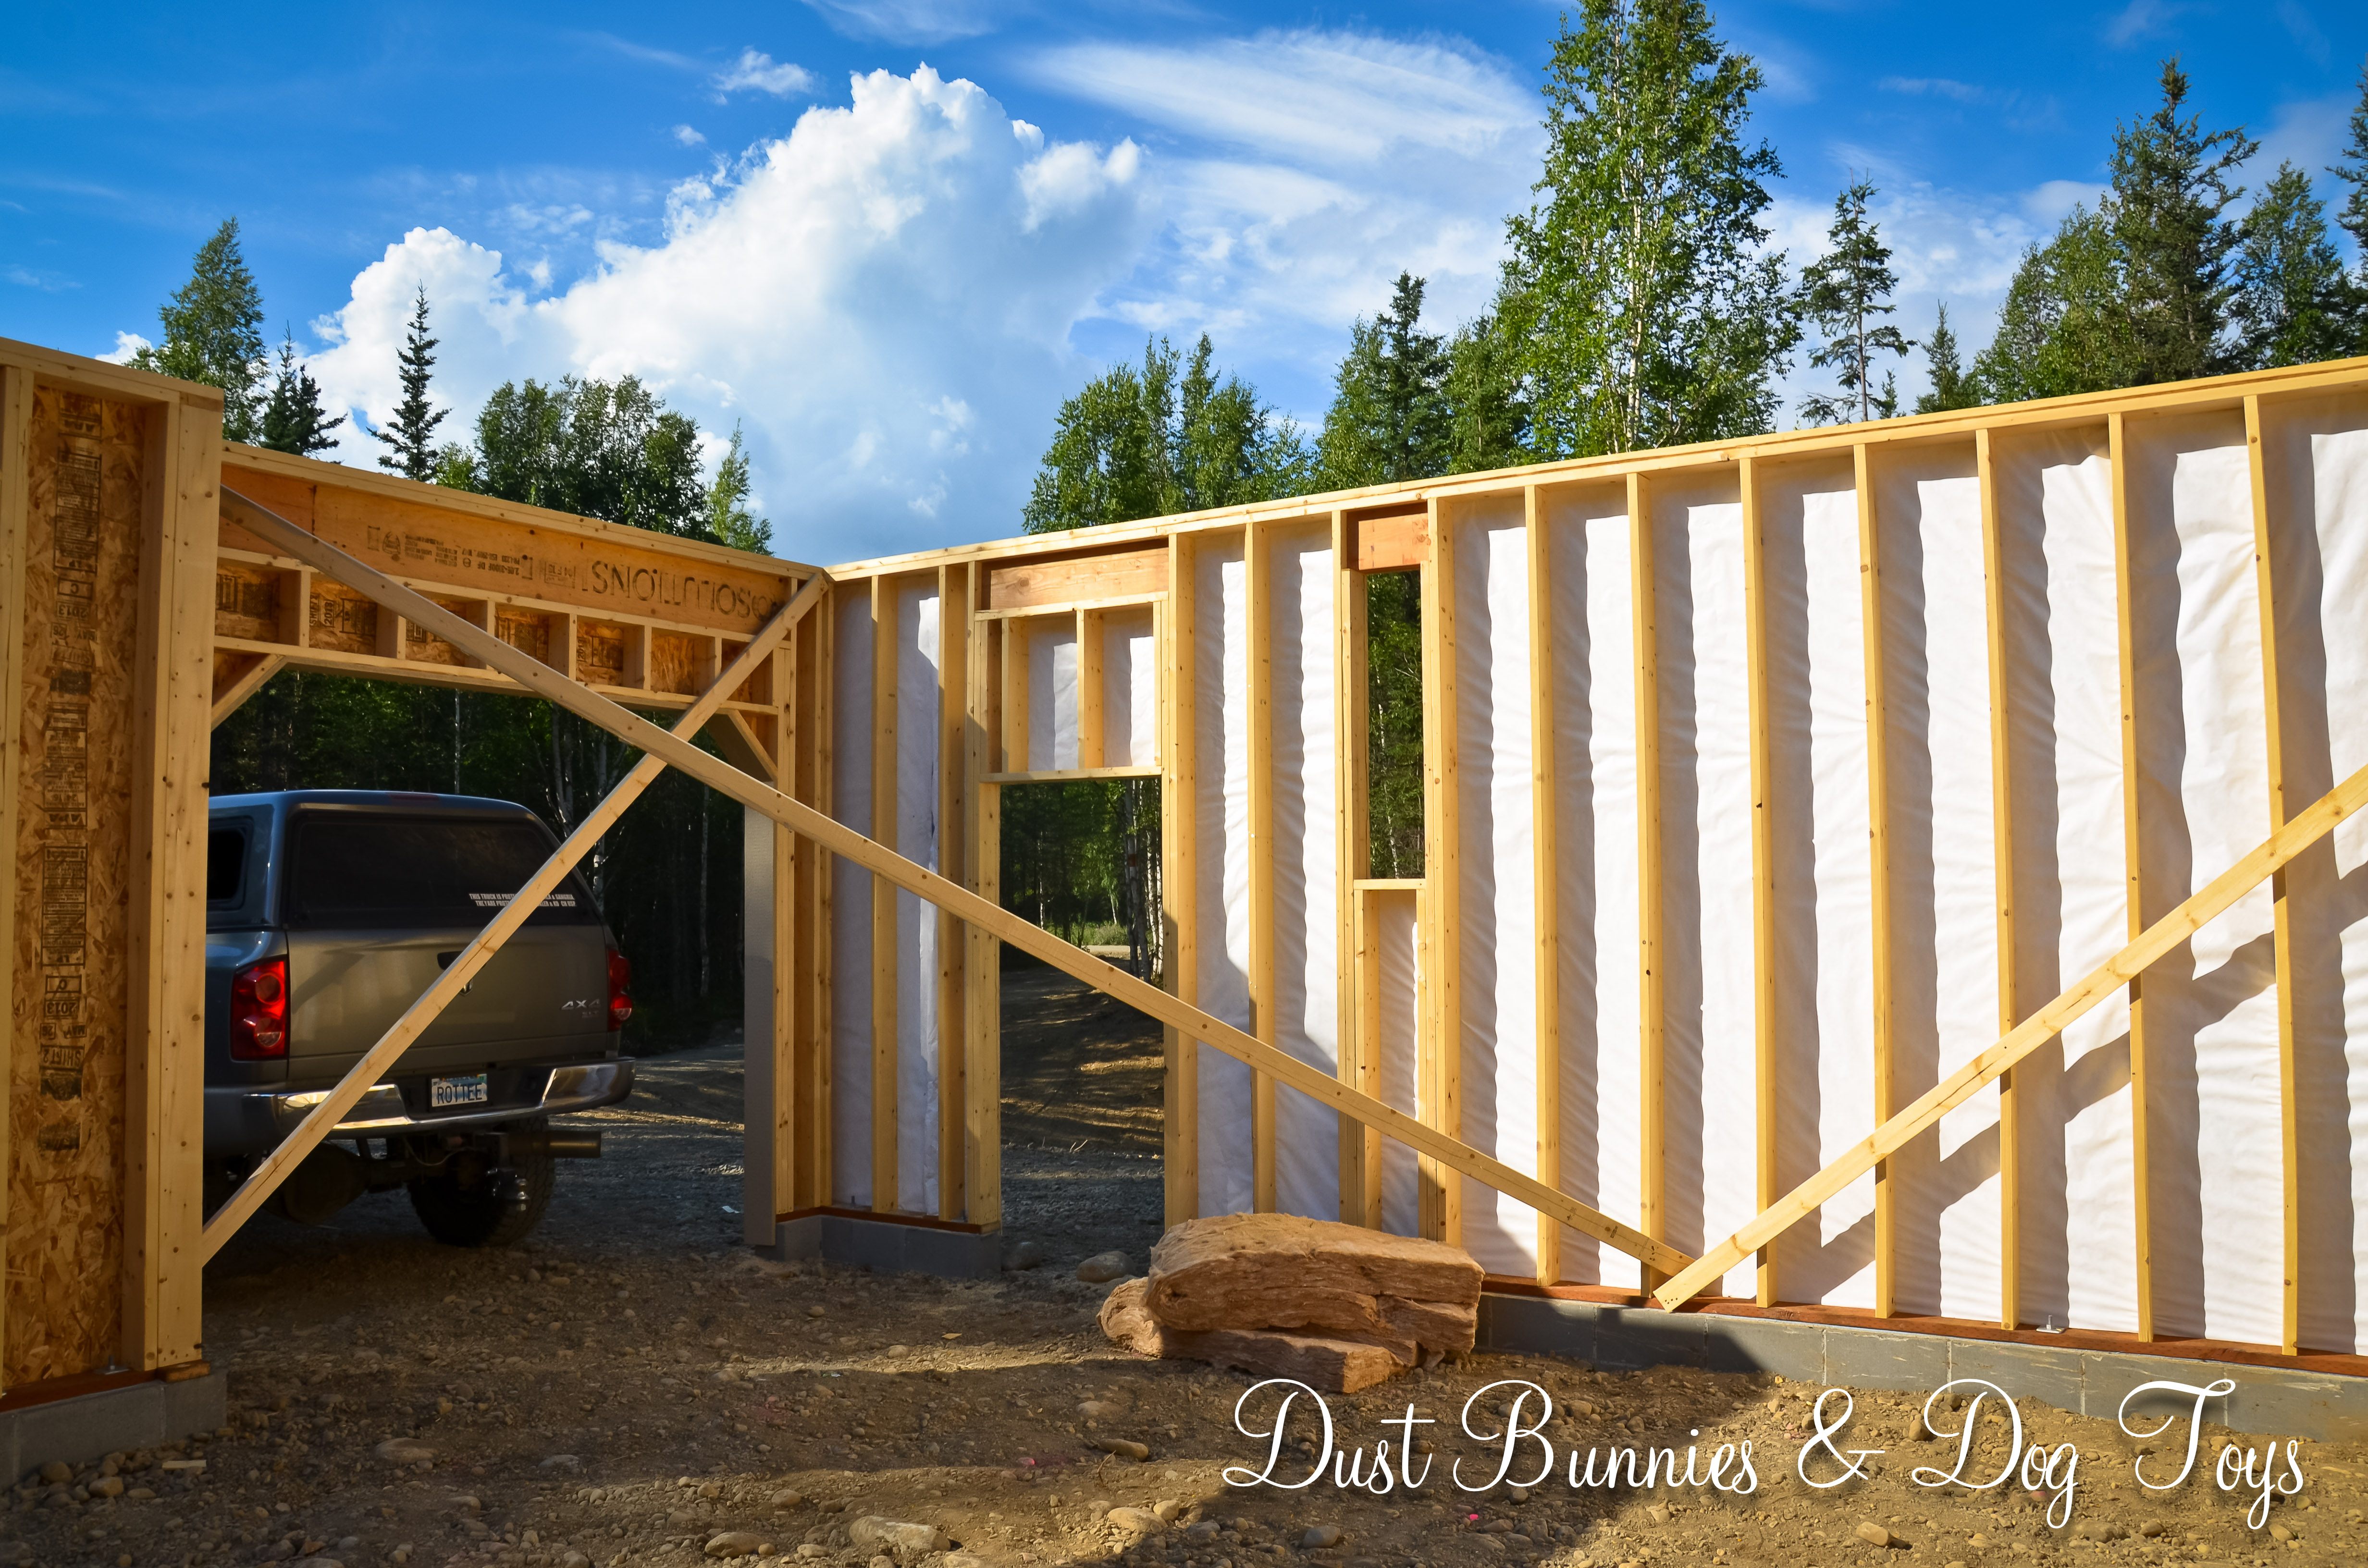
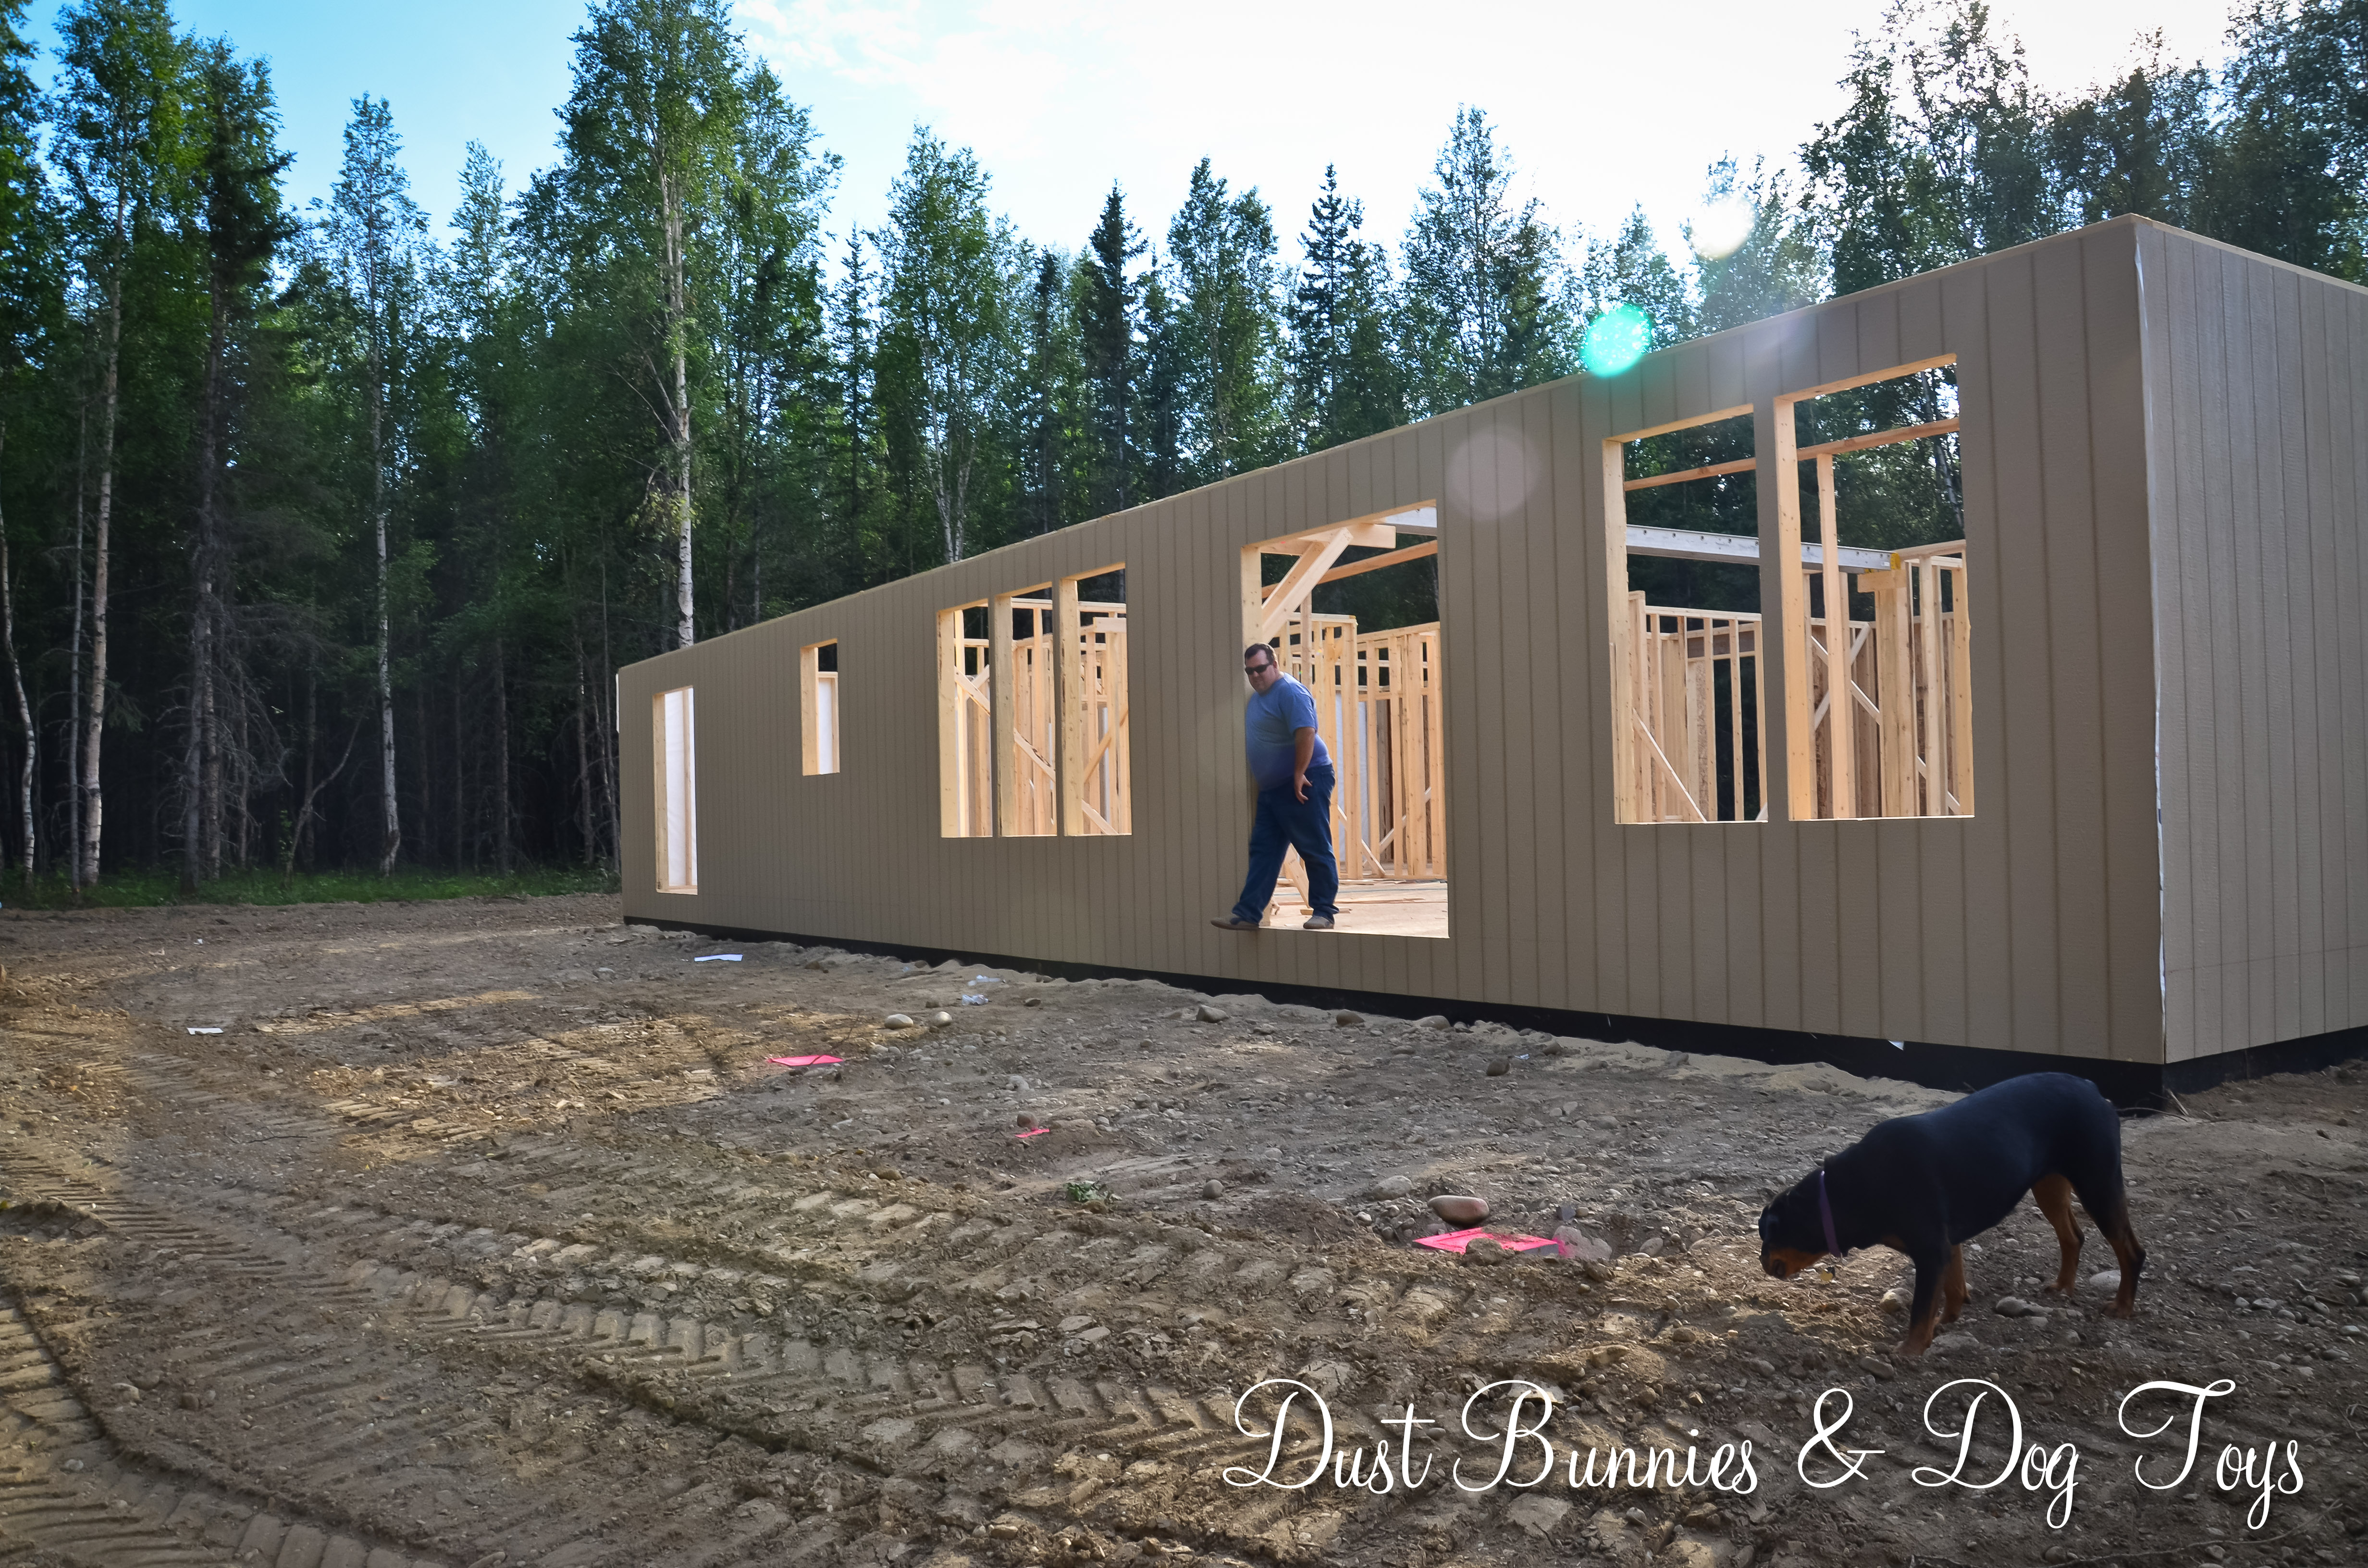
 The front porch where I’m want a rocking chair in the corner for savoring our slice of mountain view.
 The garage. Tequila is standing in the doorway to the laundry room.
 The garage from the laundry room doorway.
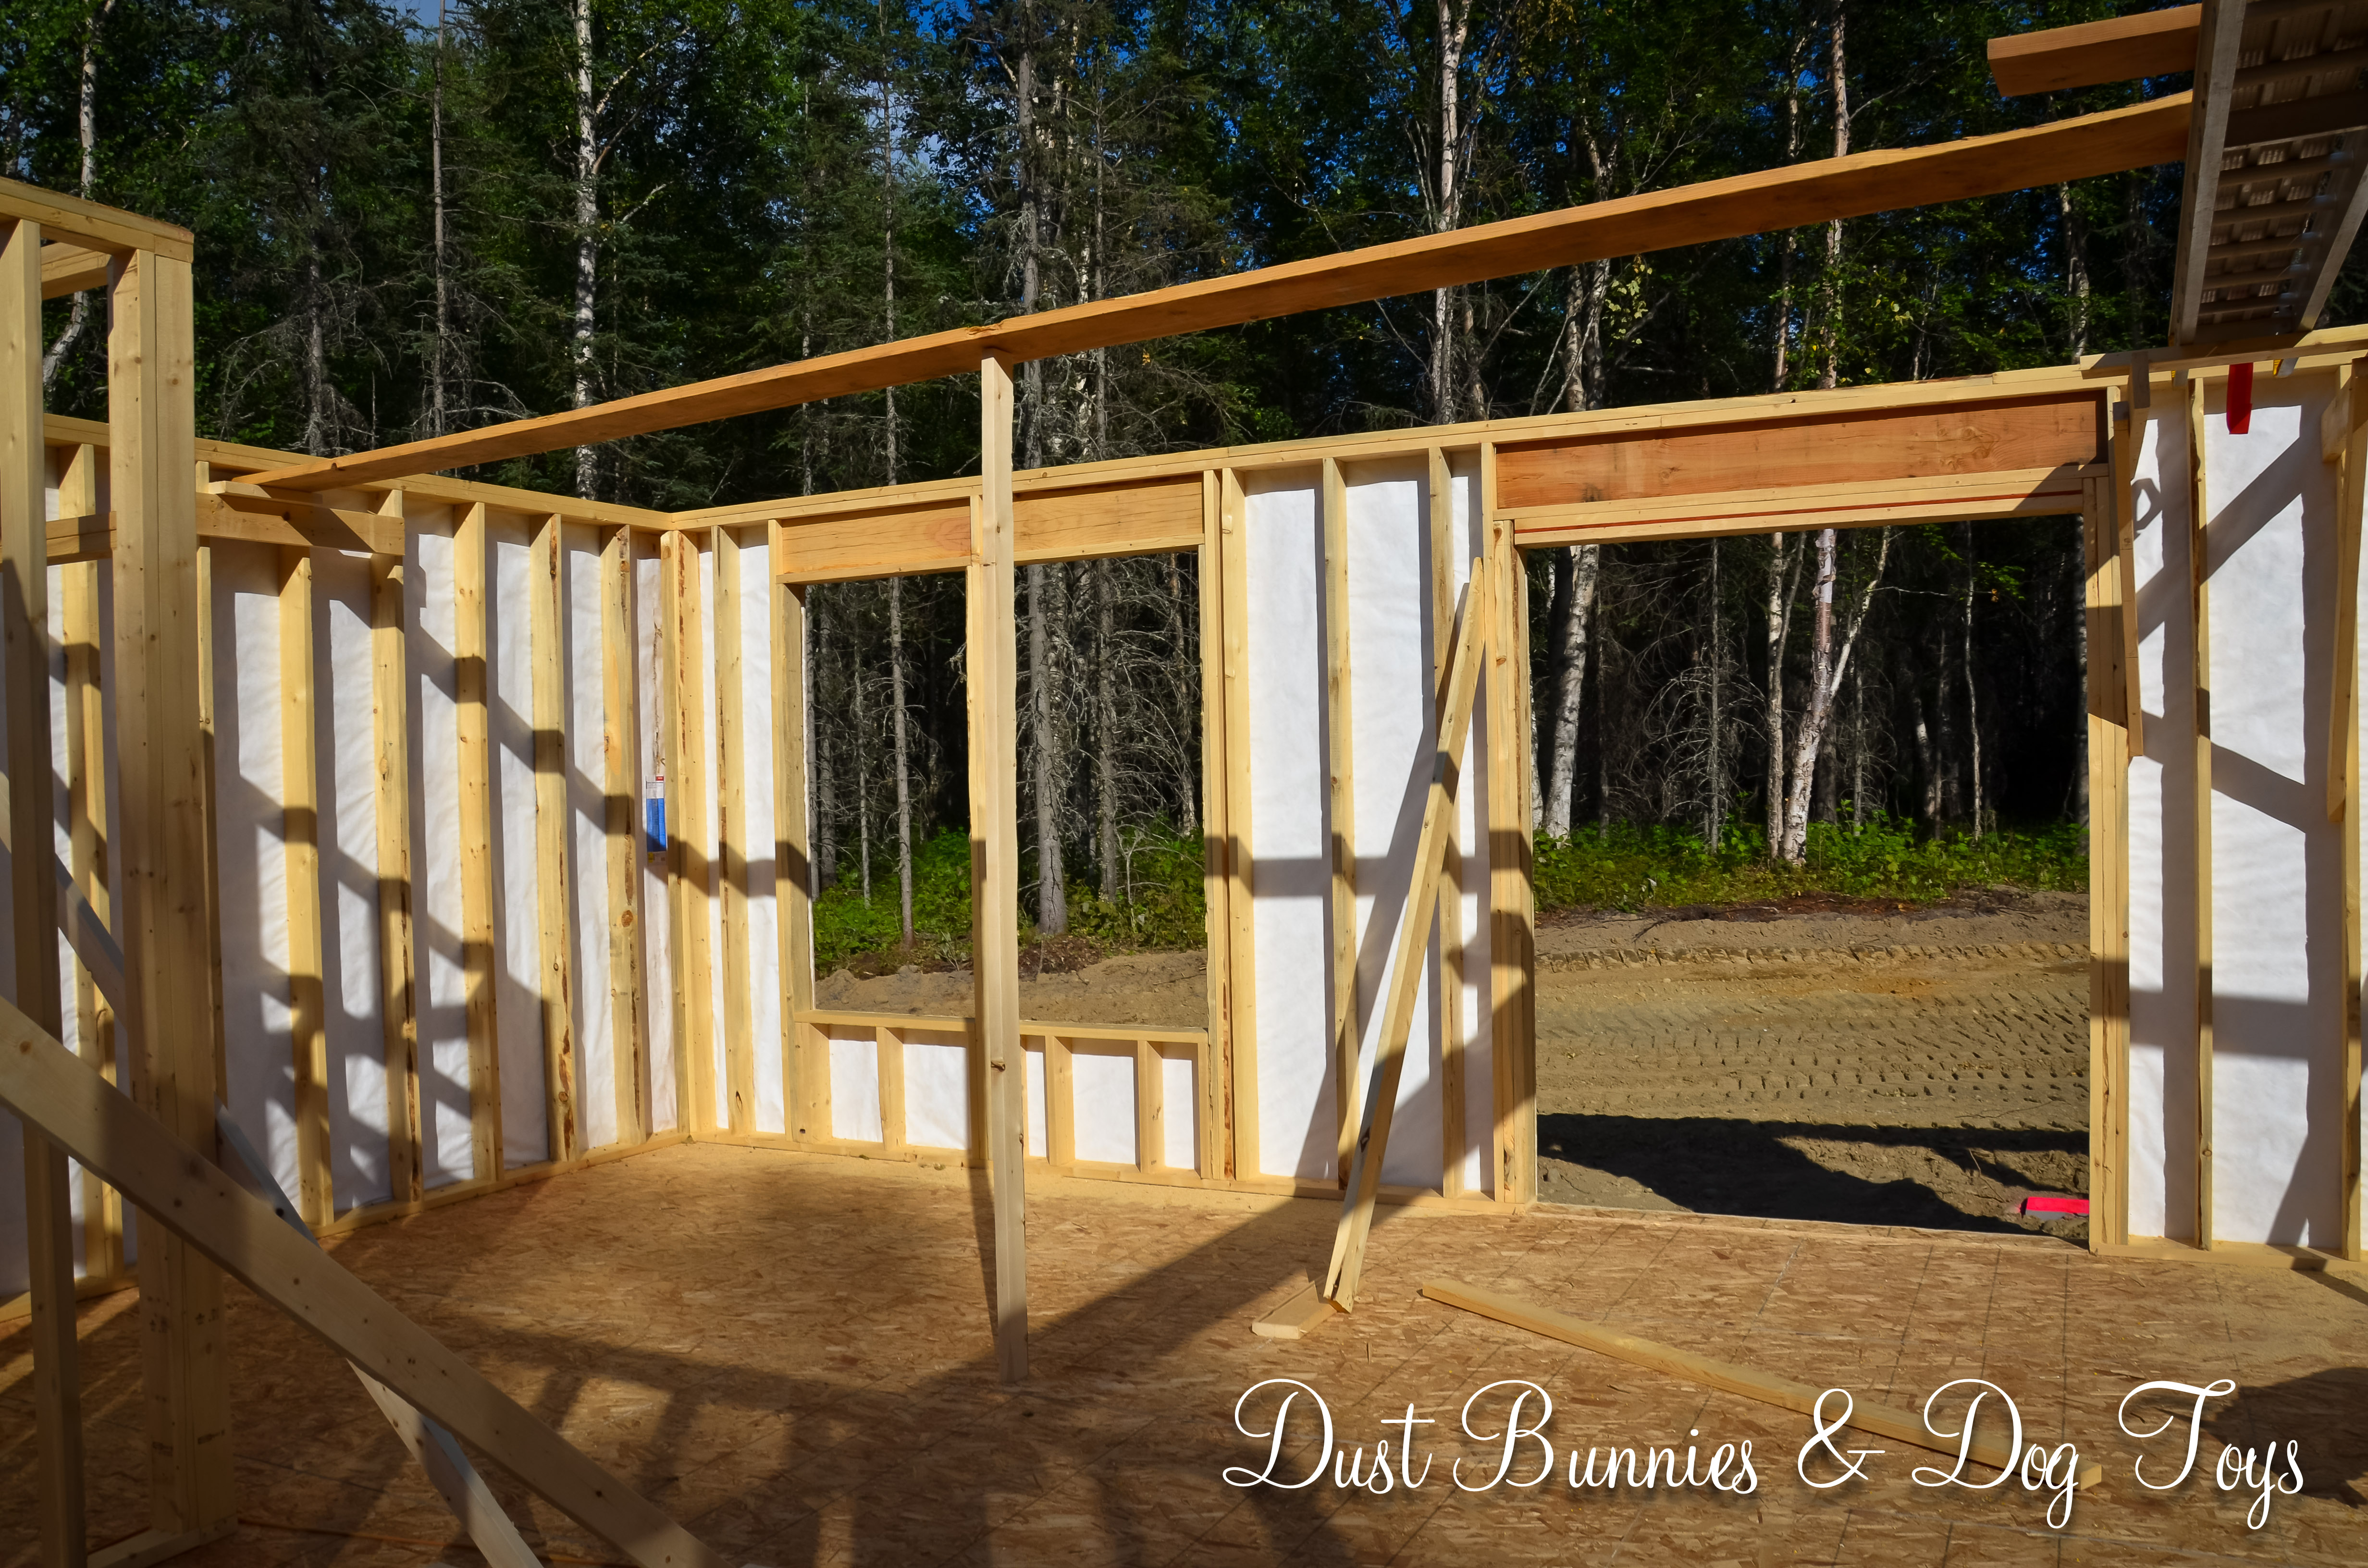
 The kitchen and great room from just outside the laundry room.
 The kitchen, studio and entry way from just outside the laundry room.
 The dining room and kitchen from the great room. The laundry room is off to the left.
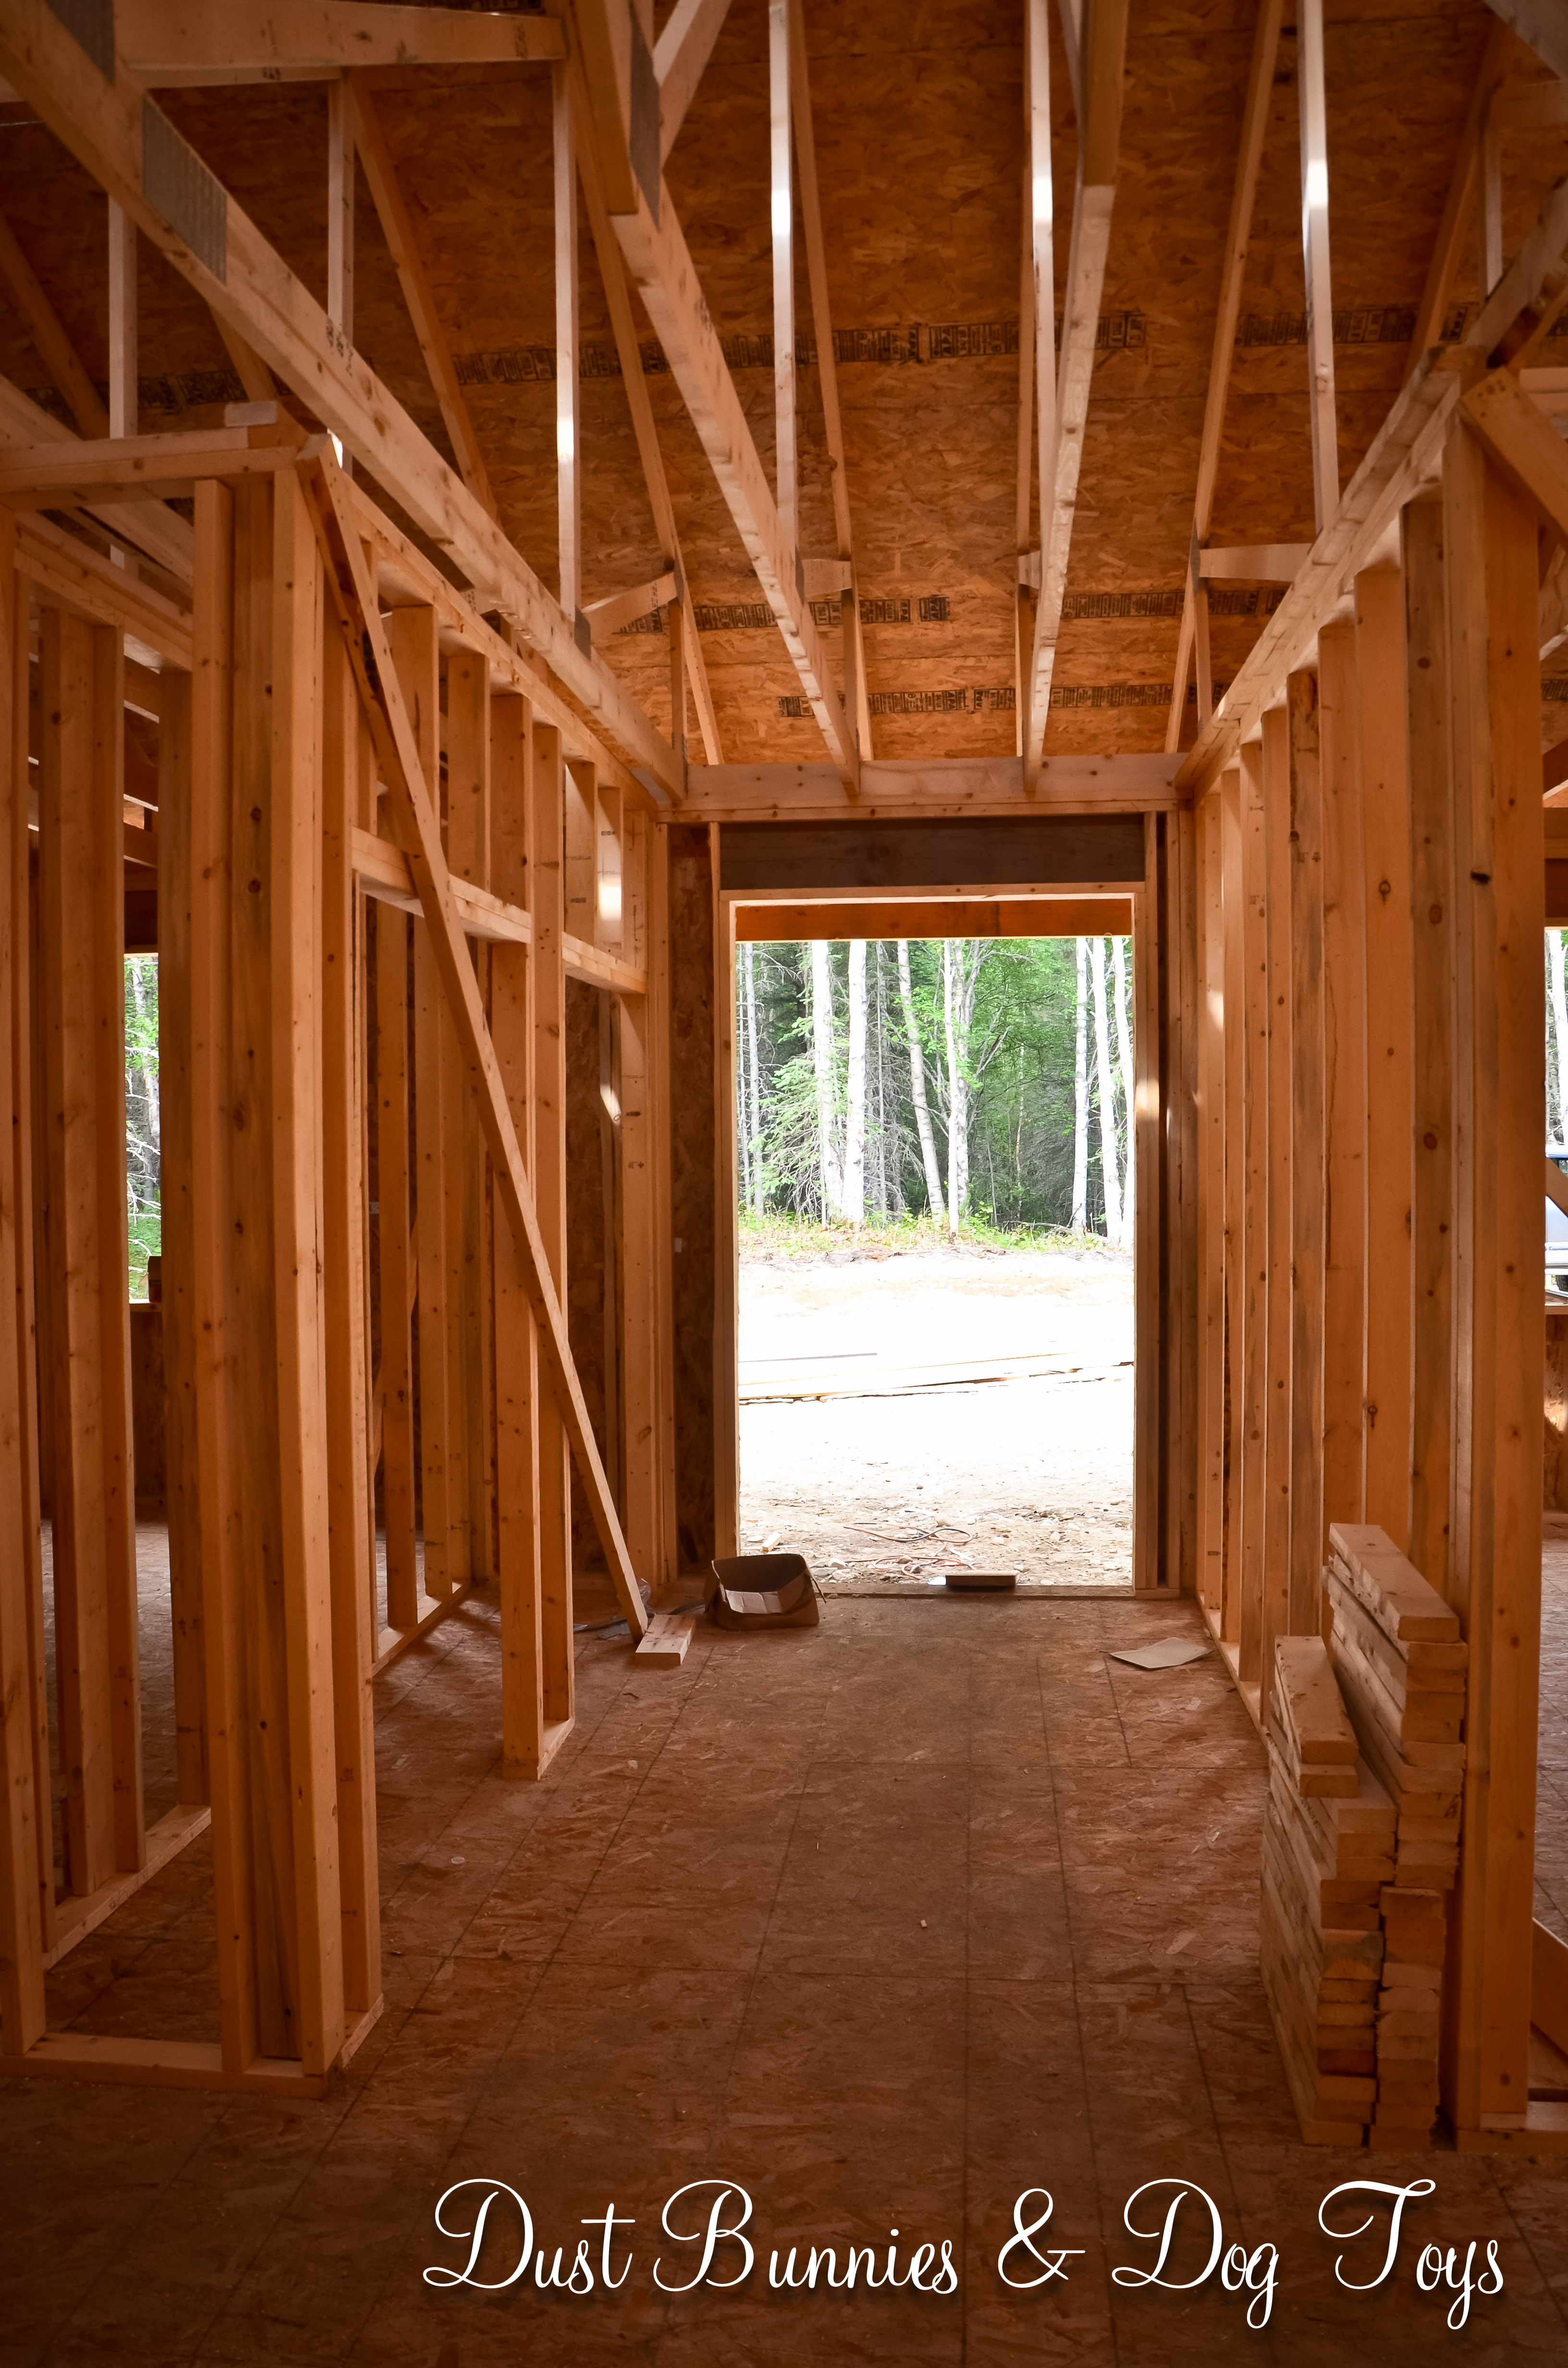

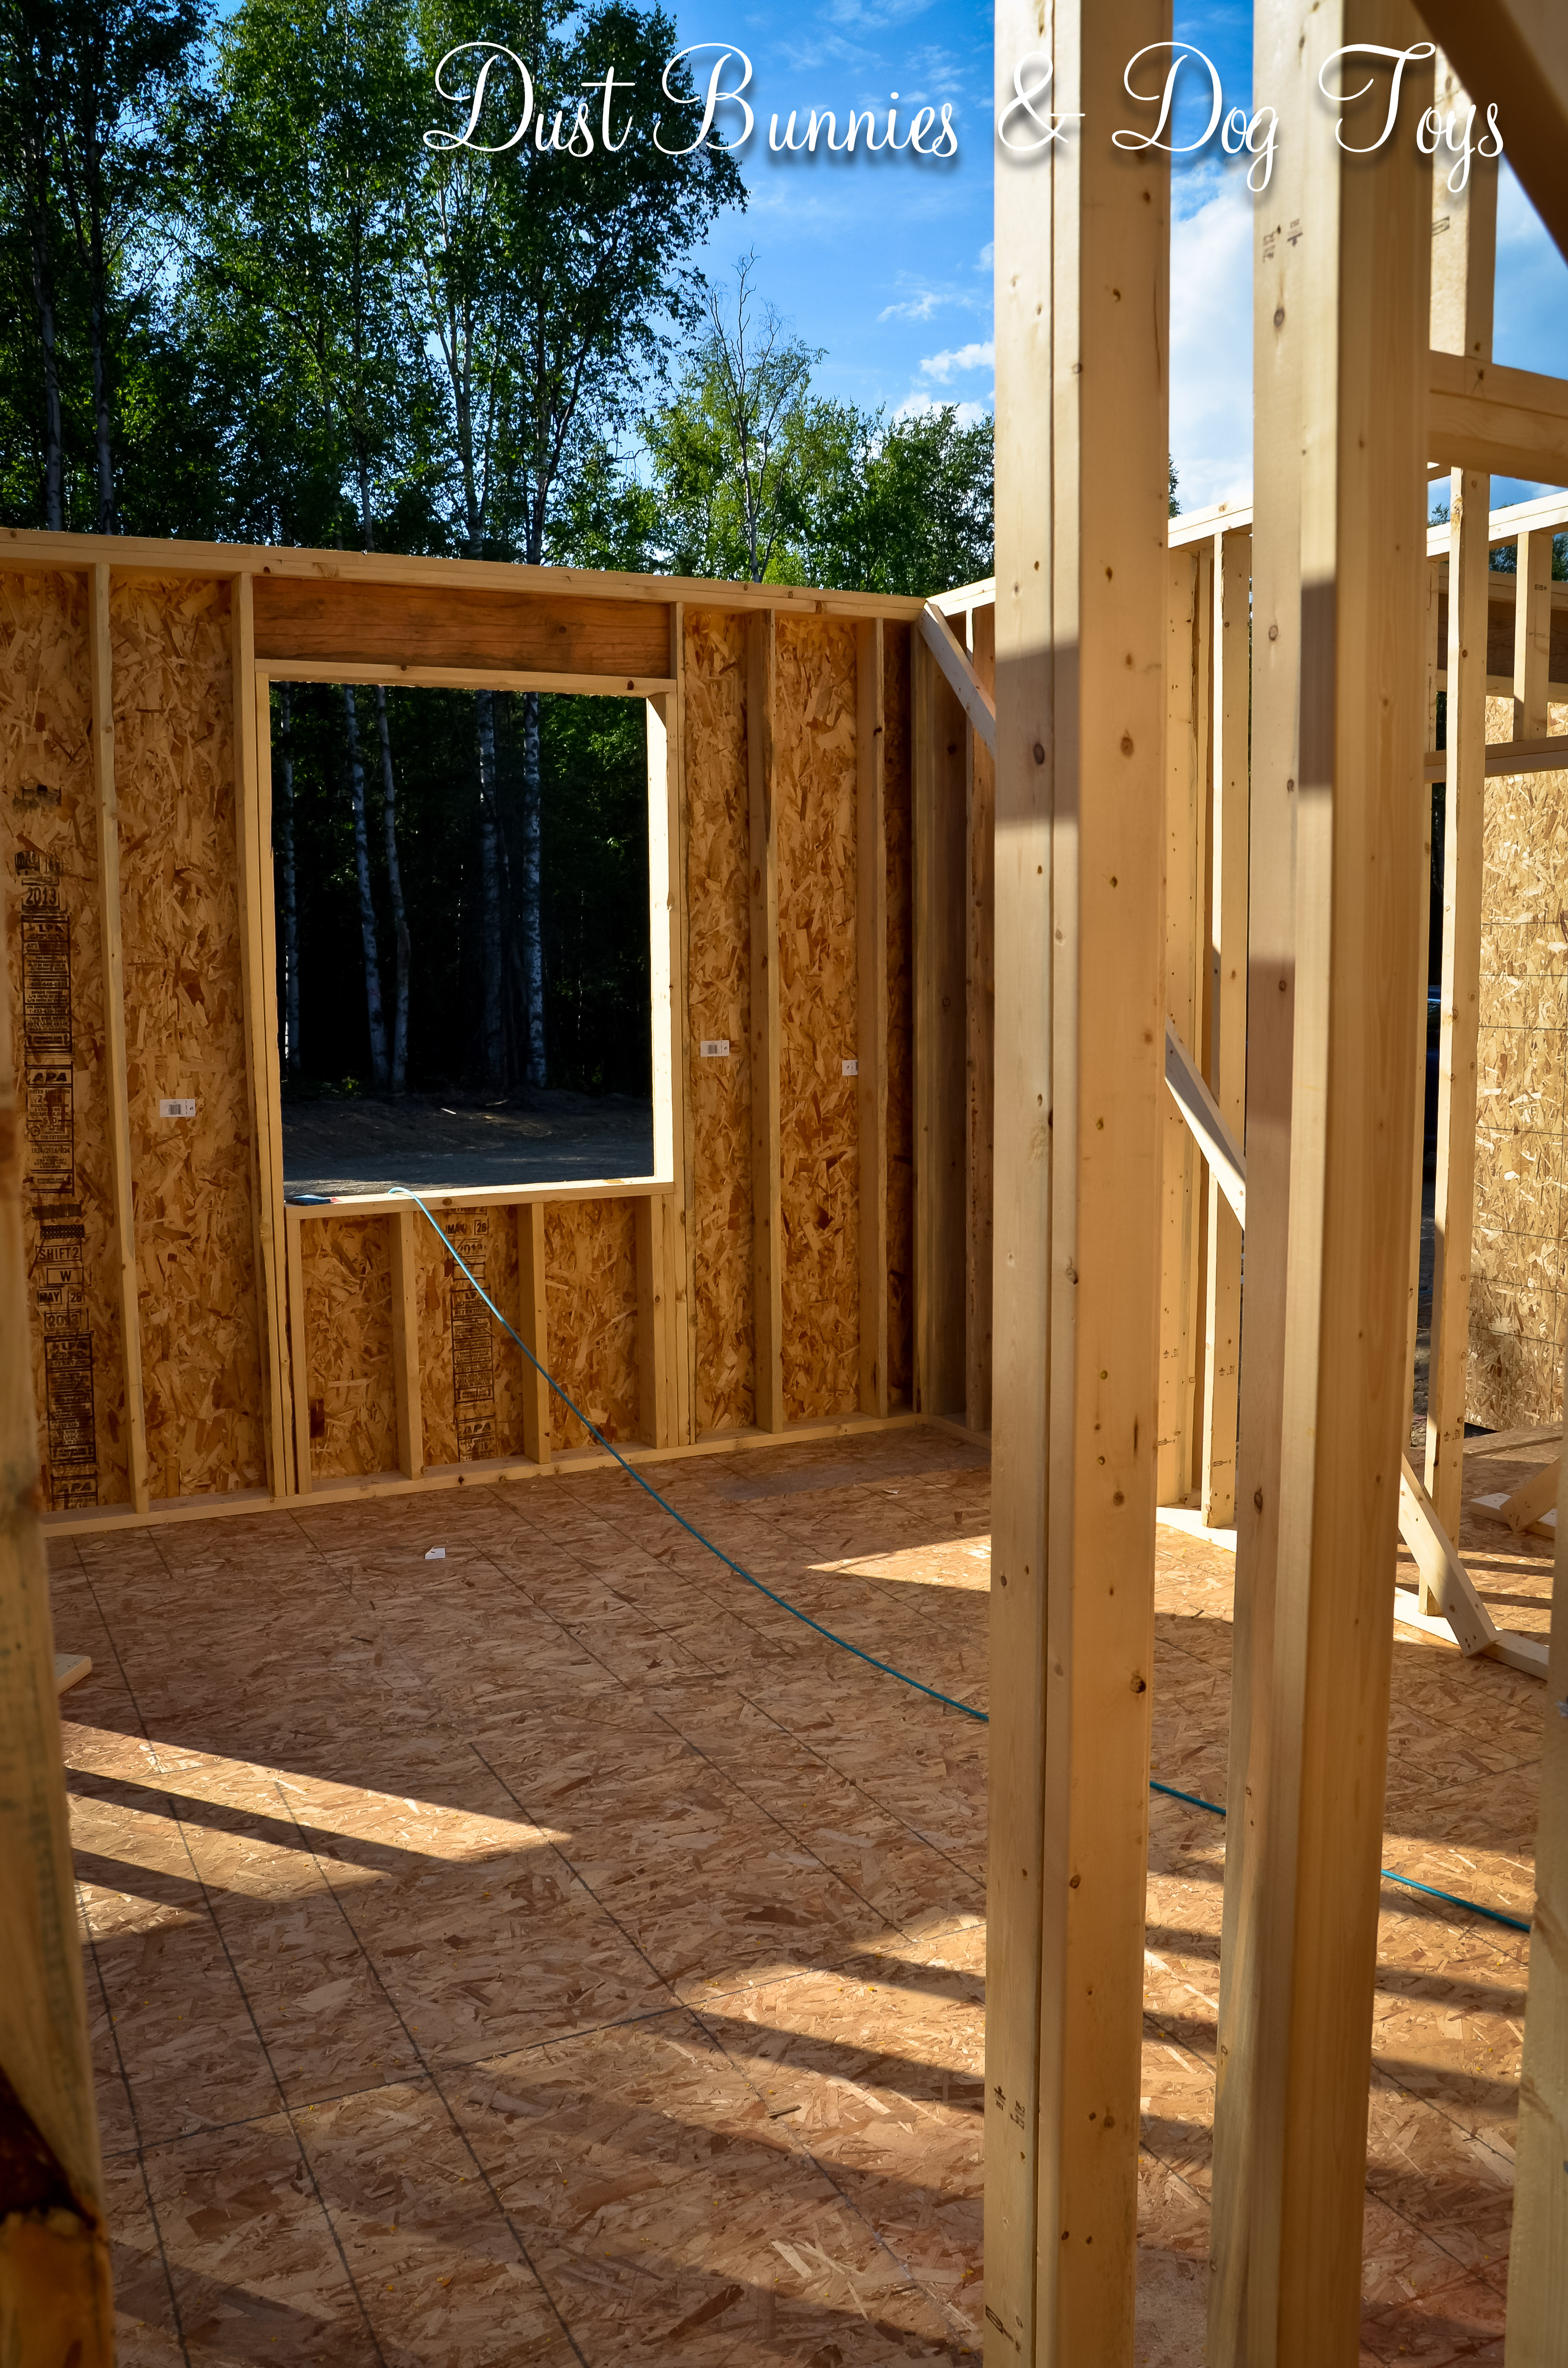
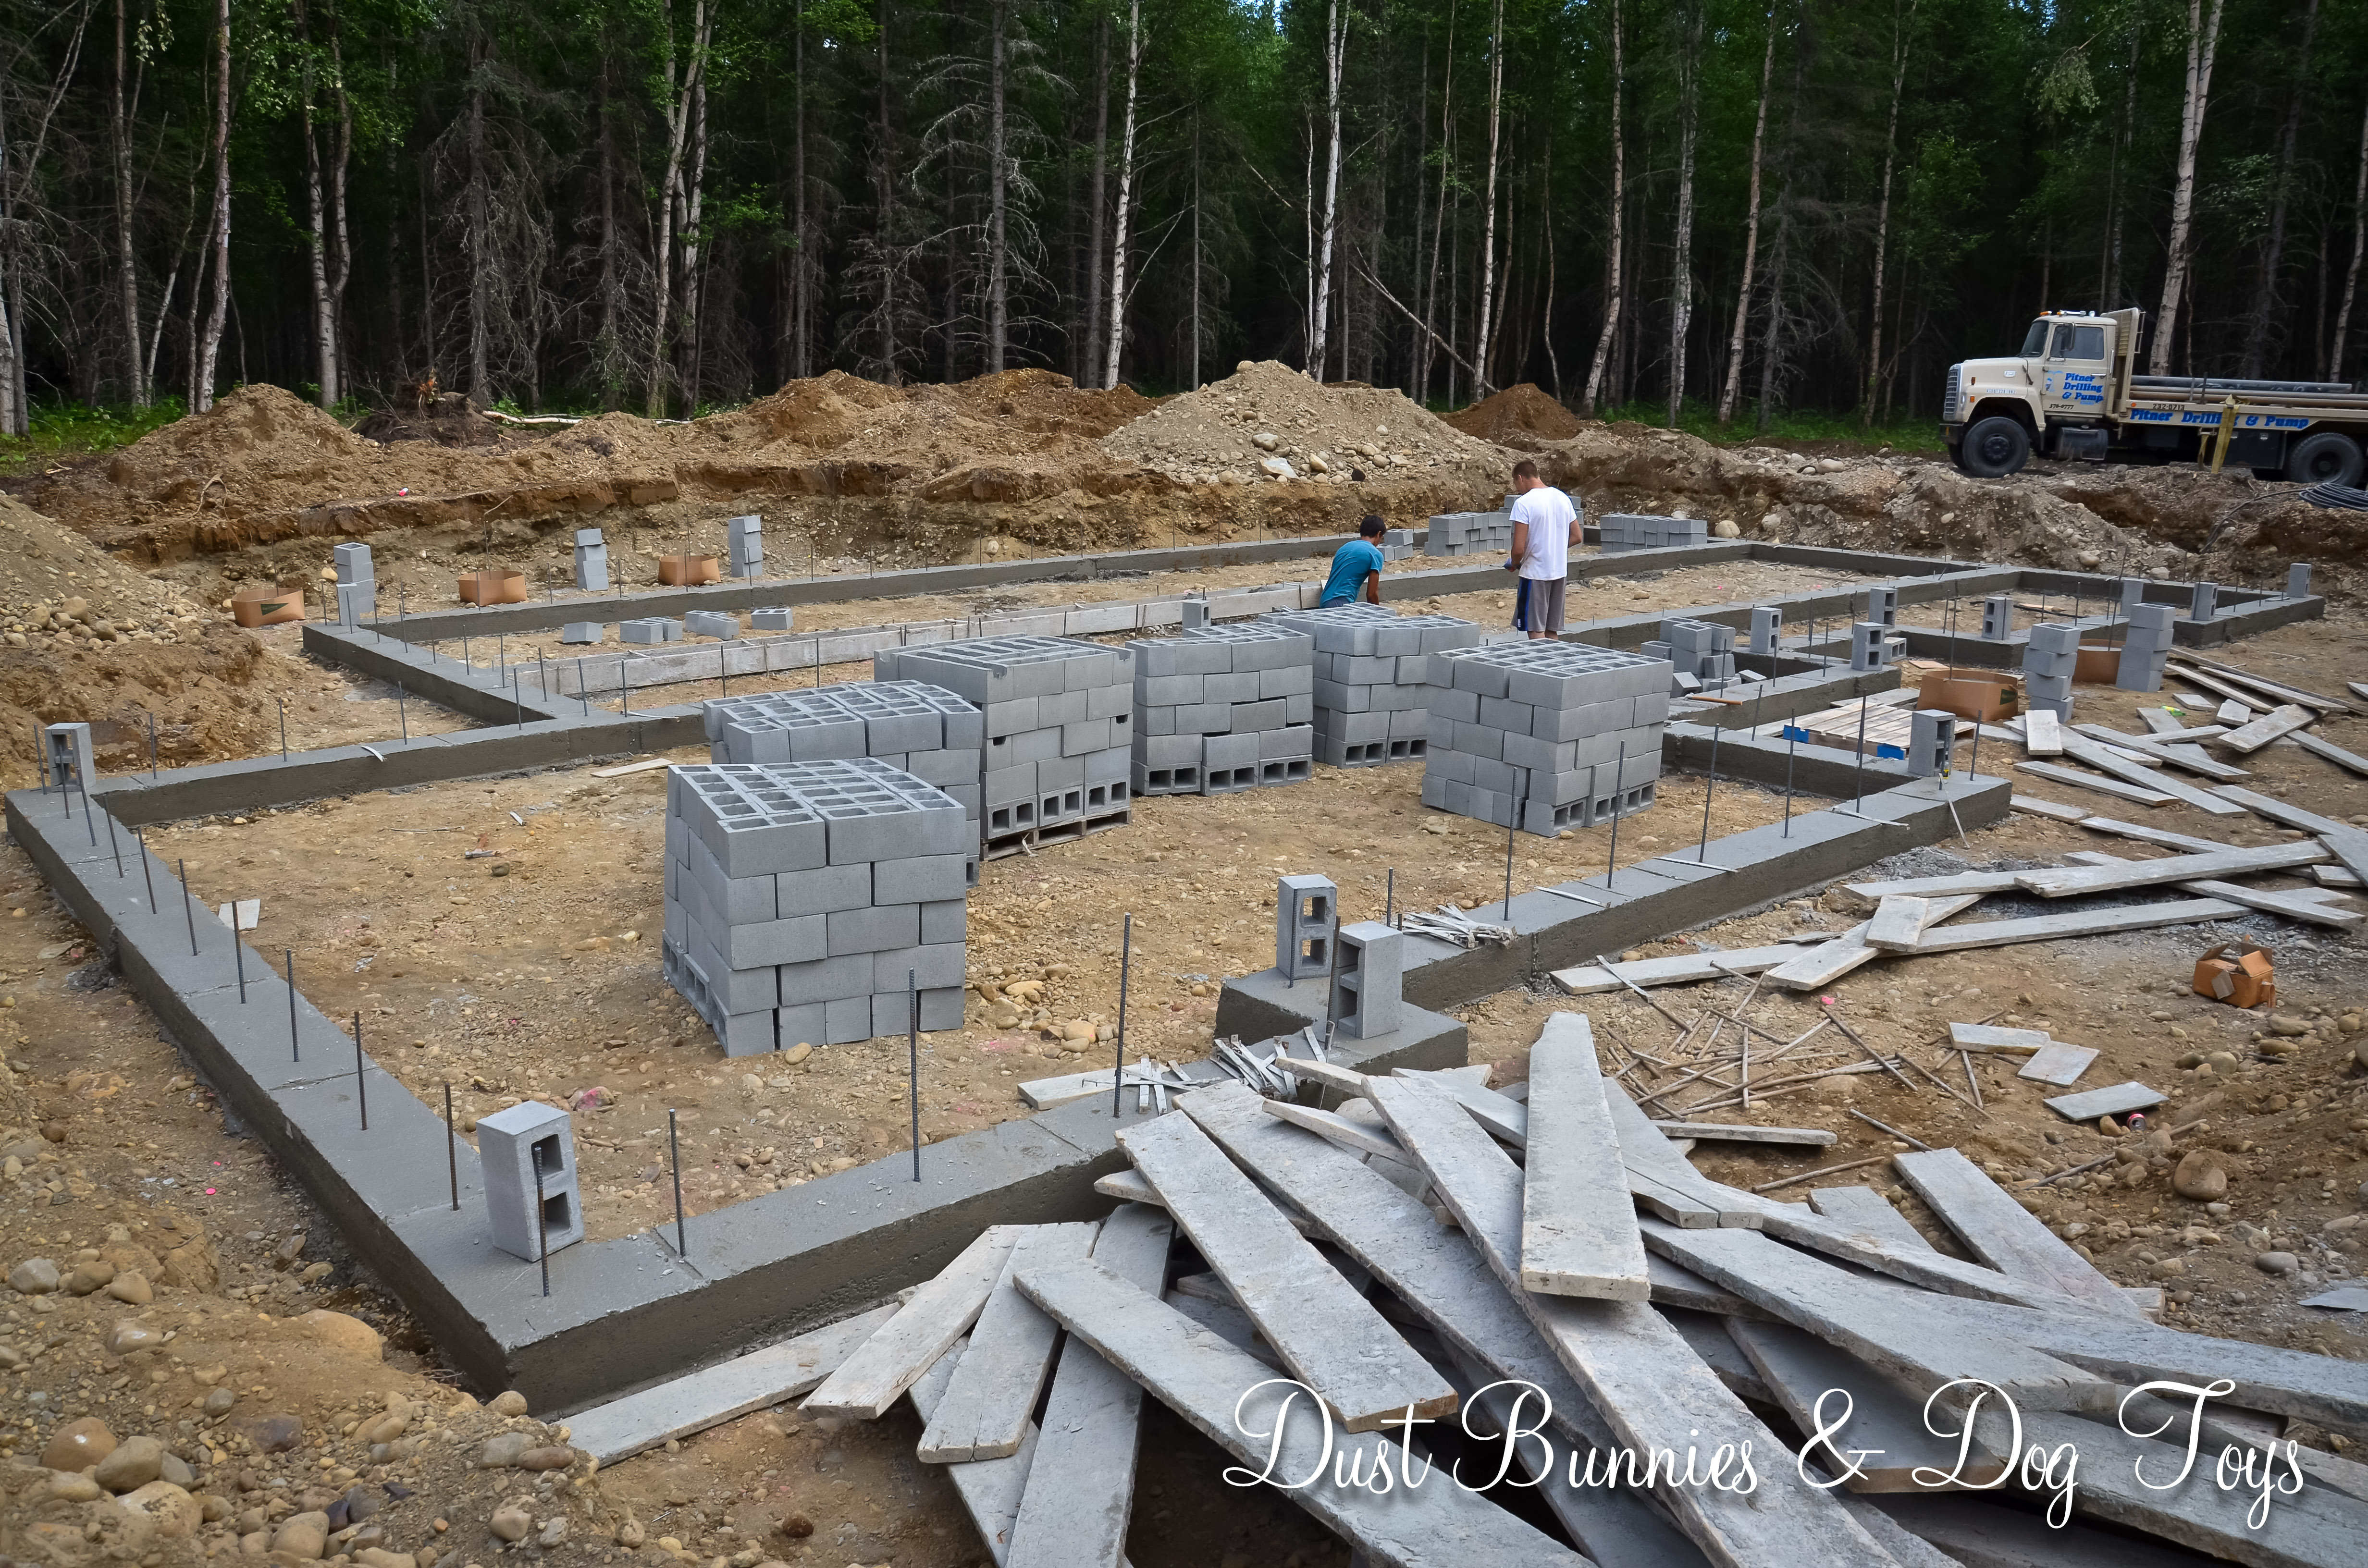
 My studio is taking shape! EEKK! 🙂
 Guest room #1
 Guest room #2
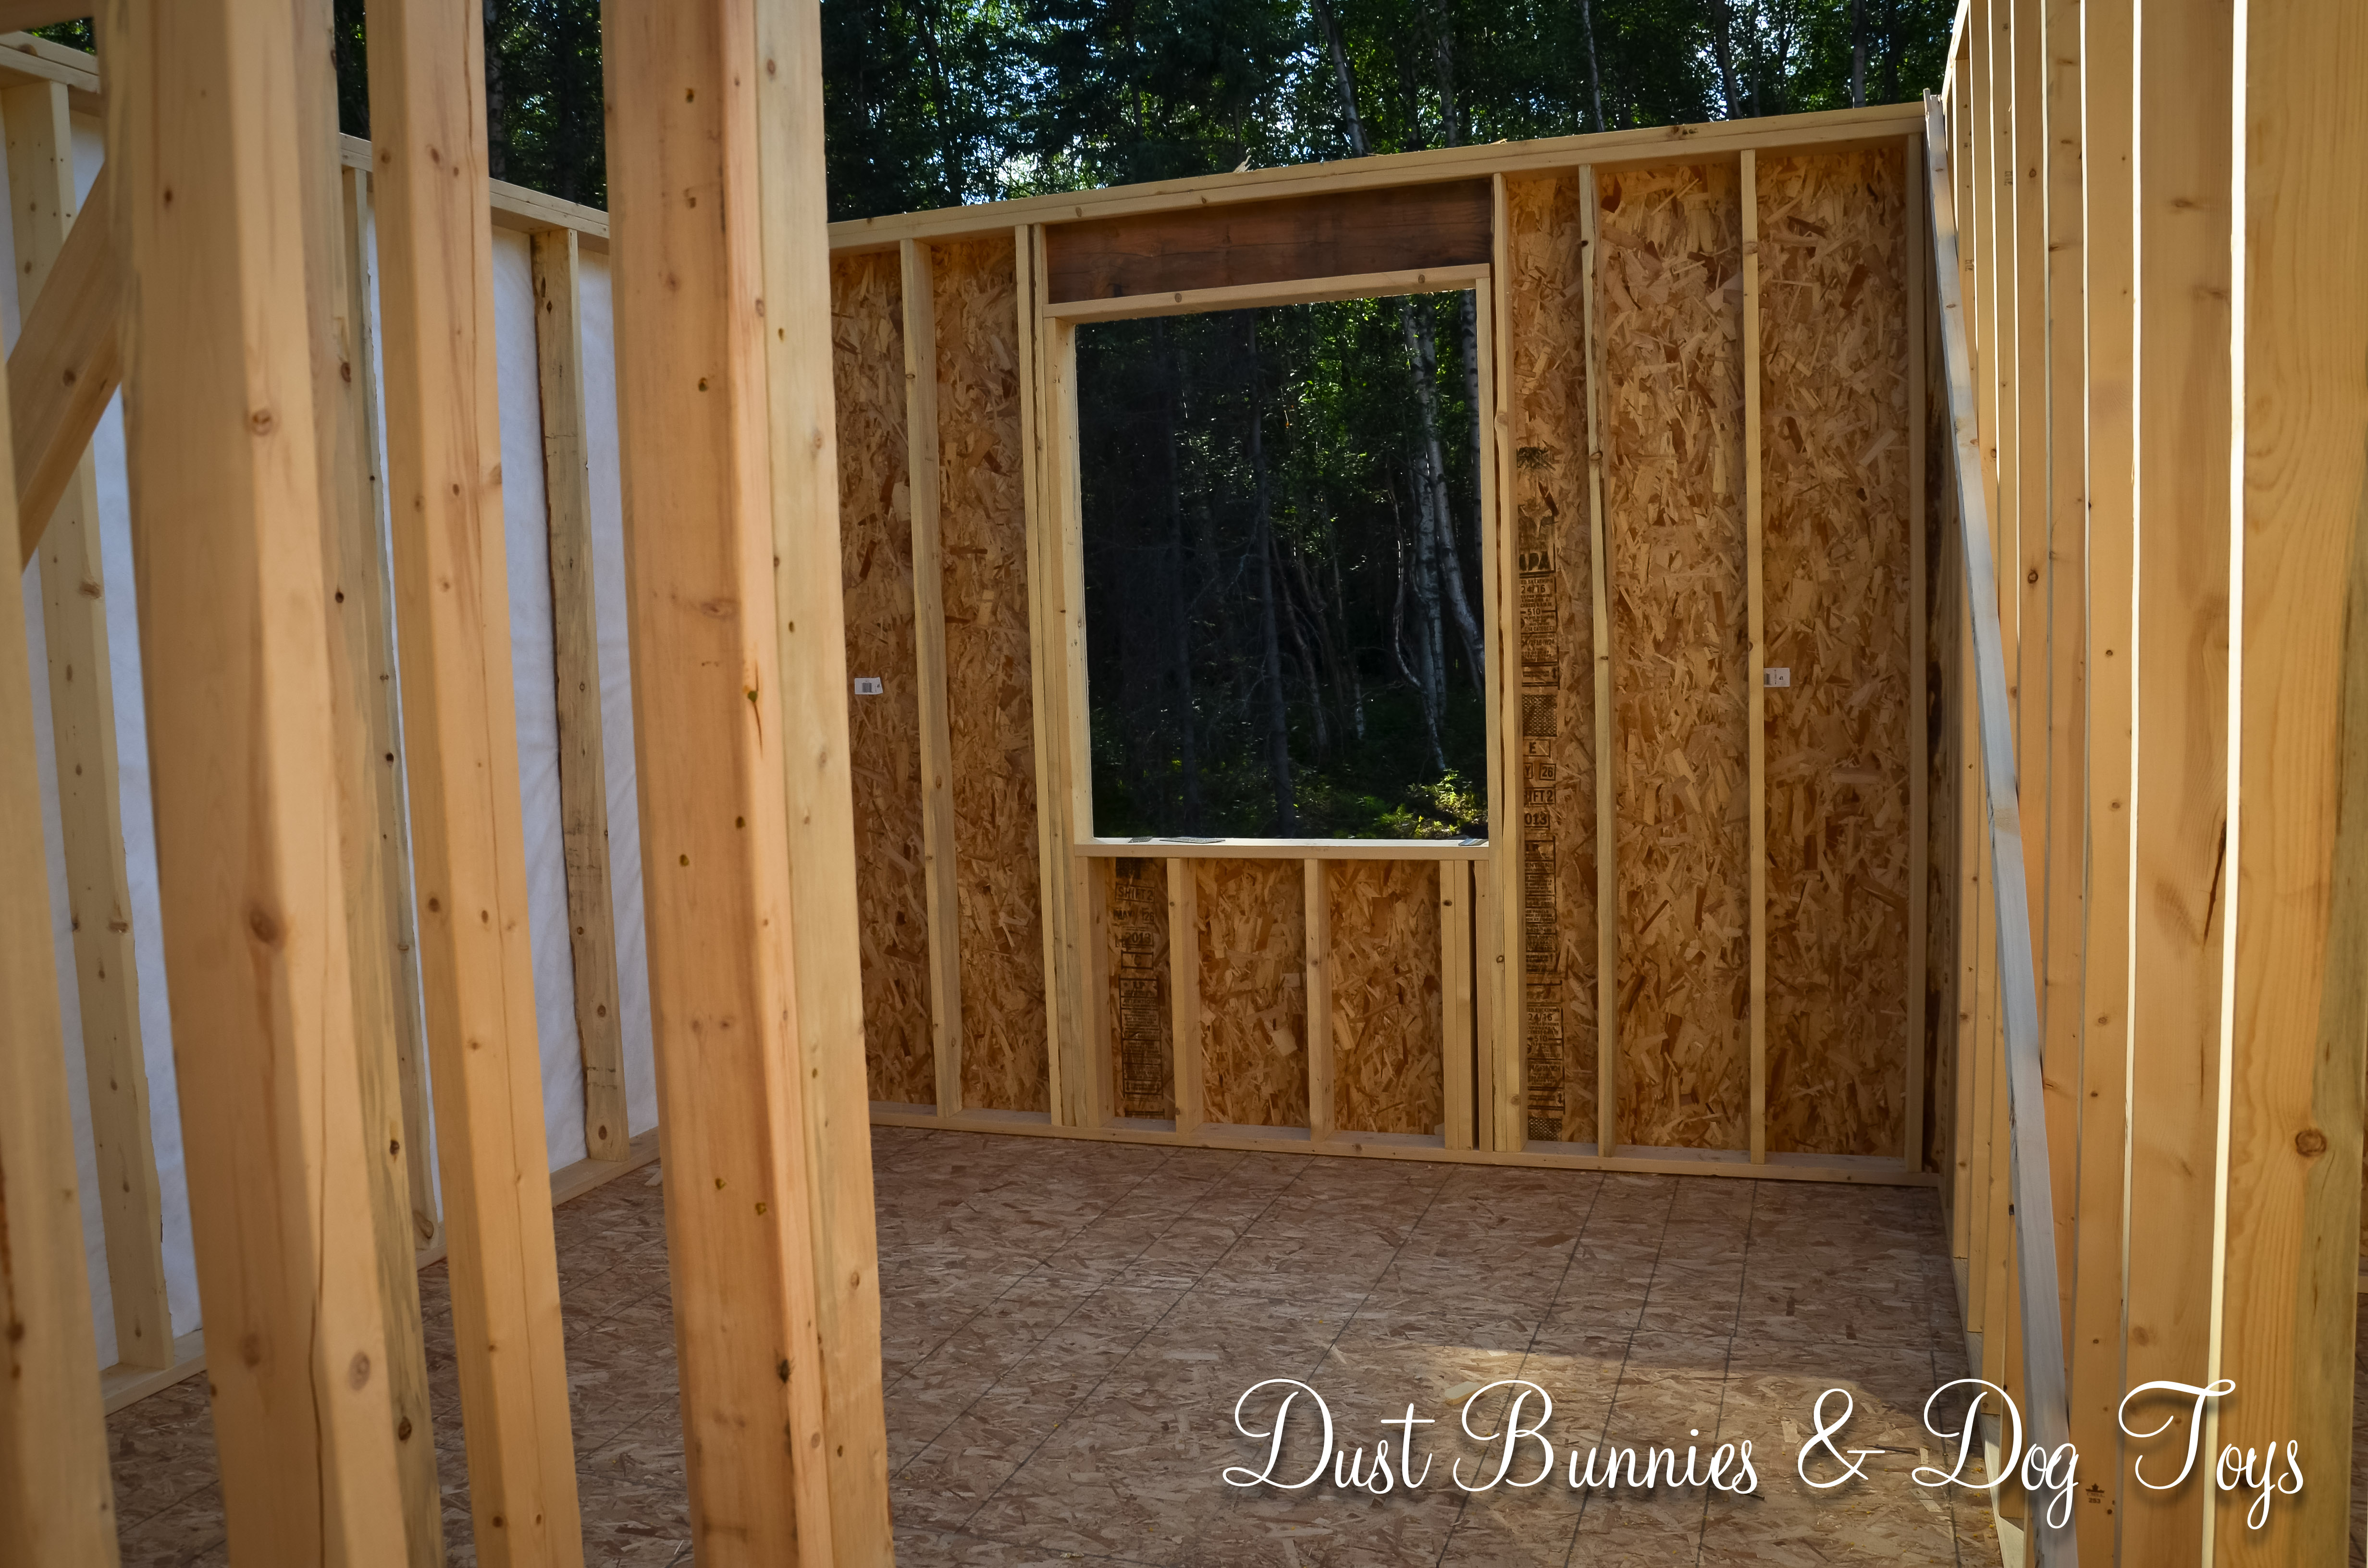
 The Master Bedroom!
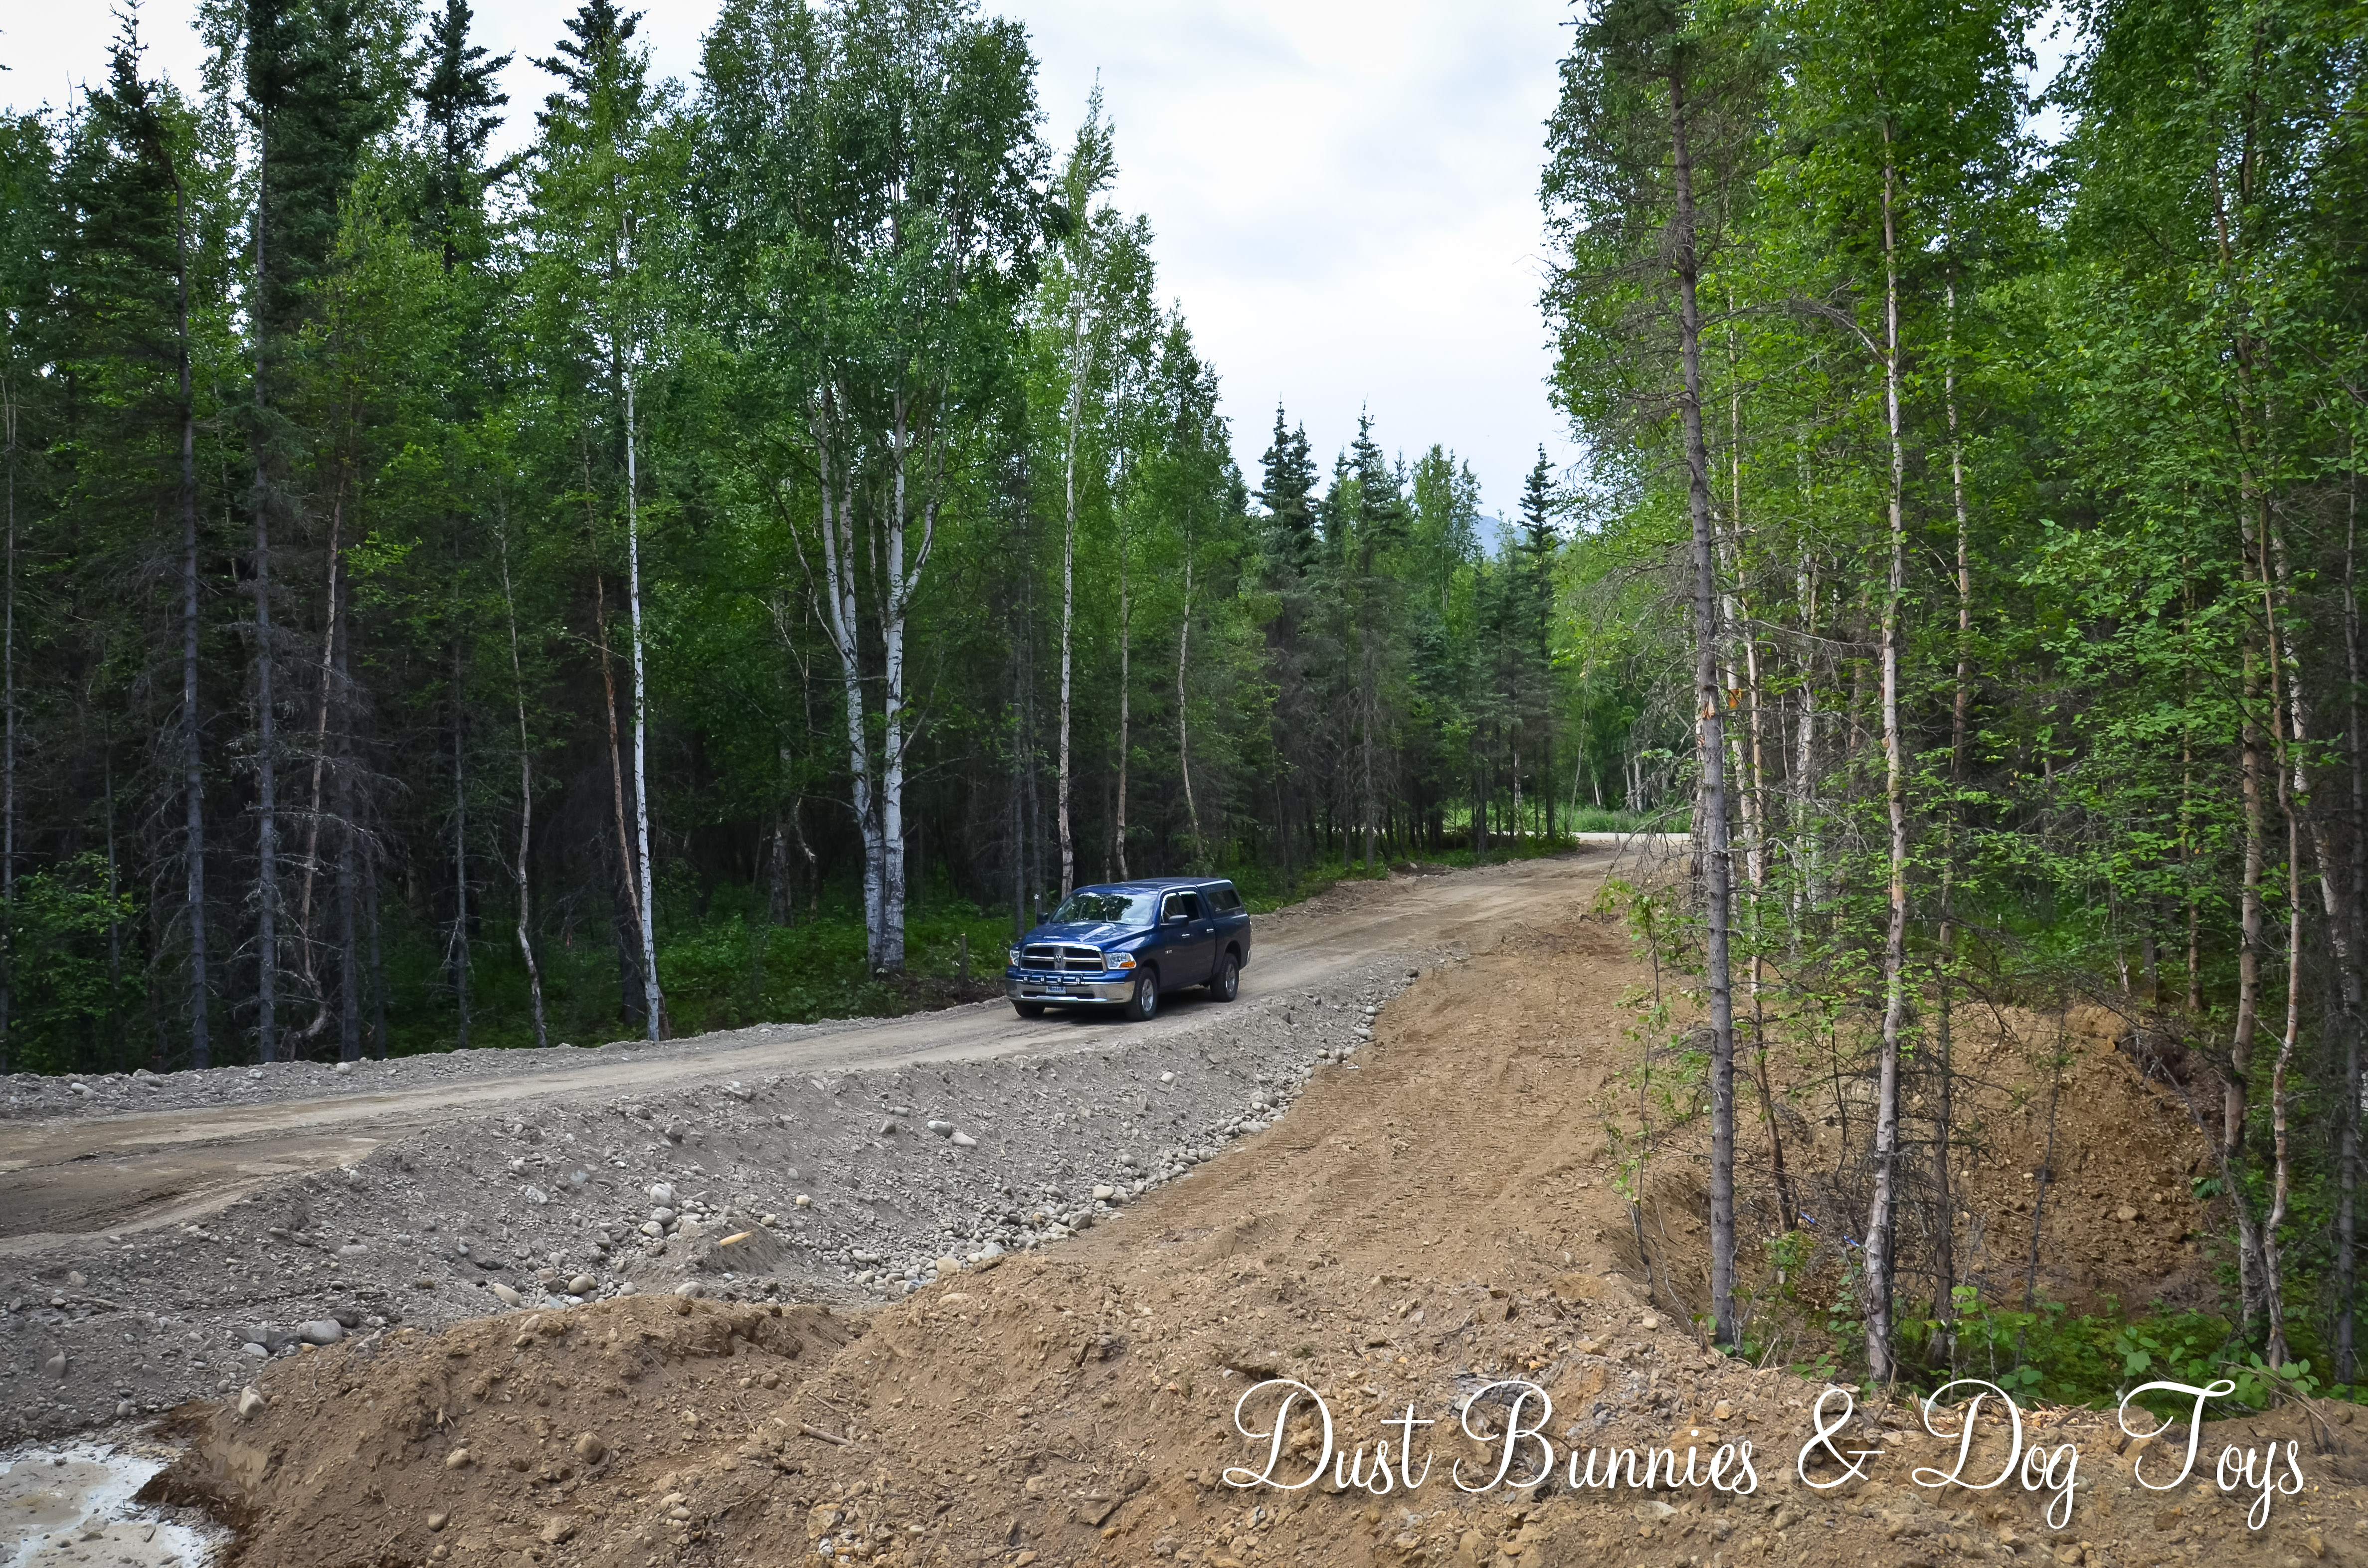
 From the rear, garage side. I’m thinking my garden will fit nicely in that area behind the garage there!
 The rear, bedroom side. A little extra cleared room as part of the backyard.
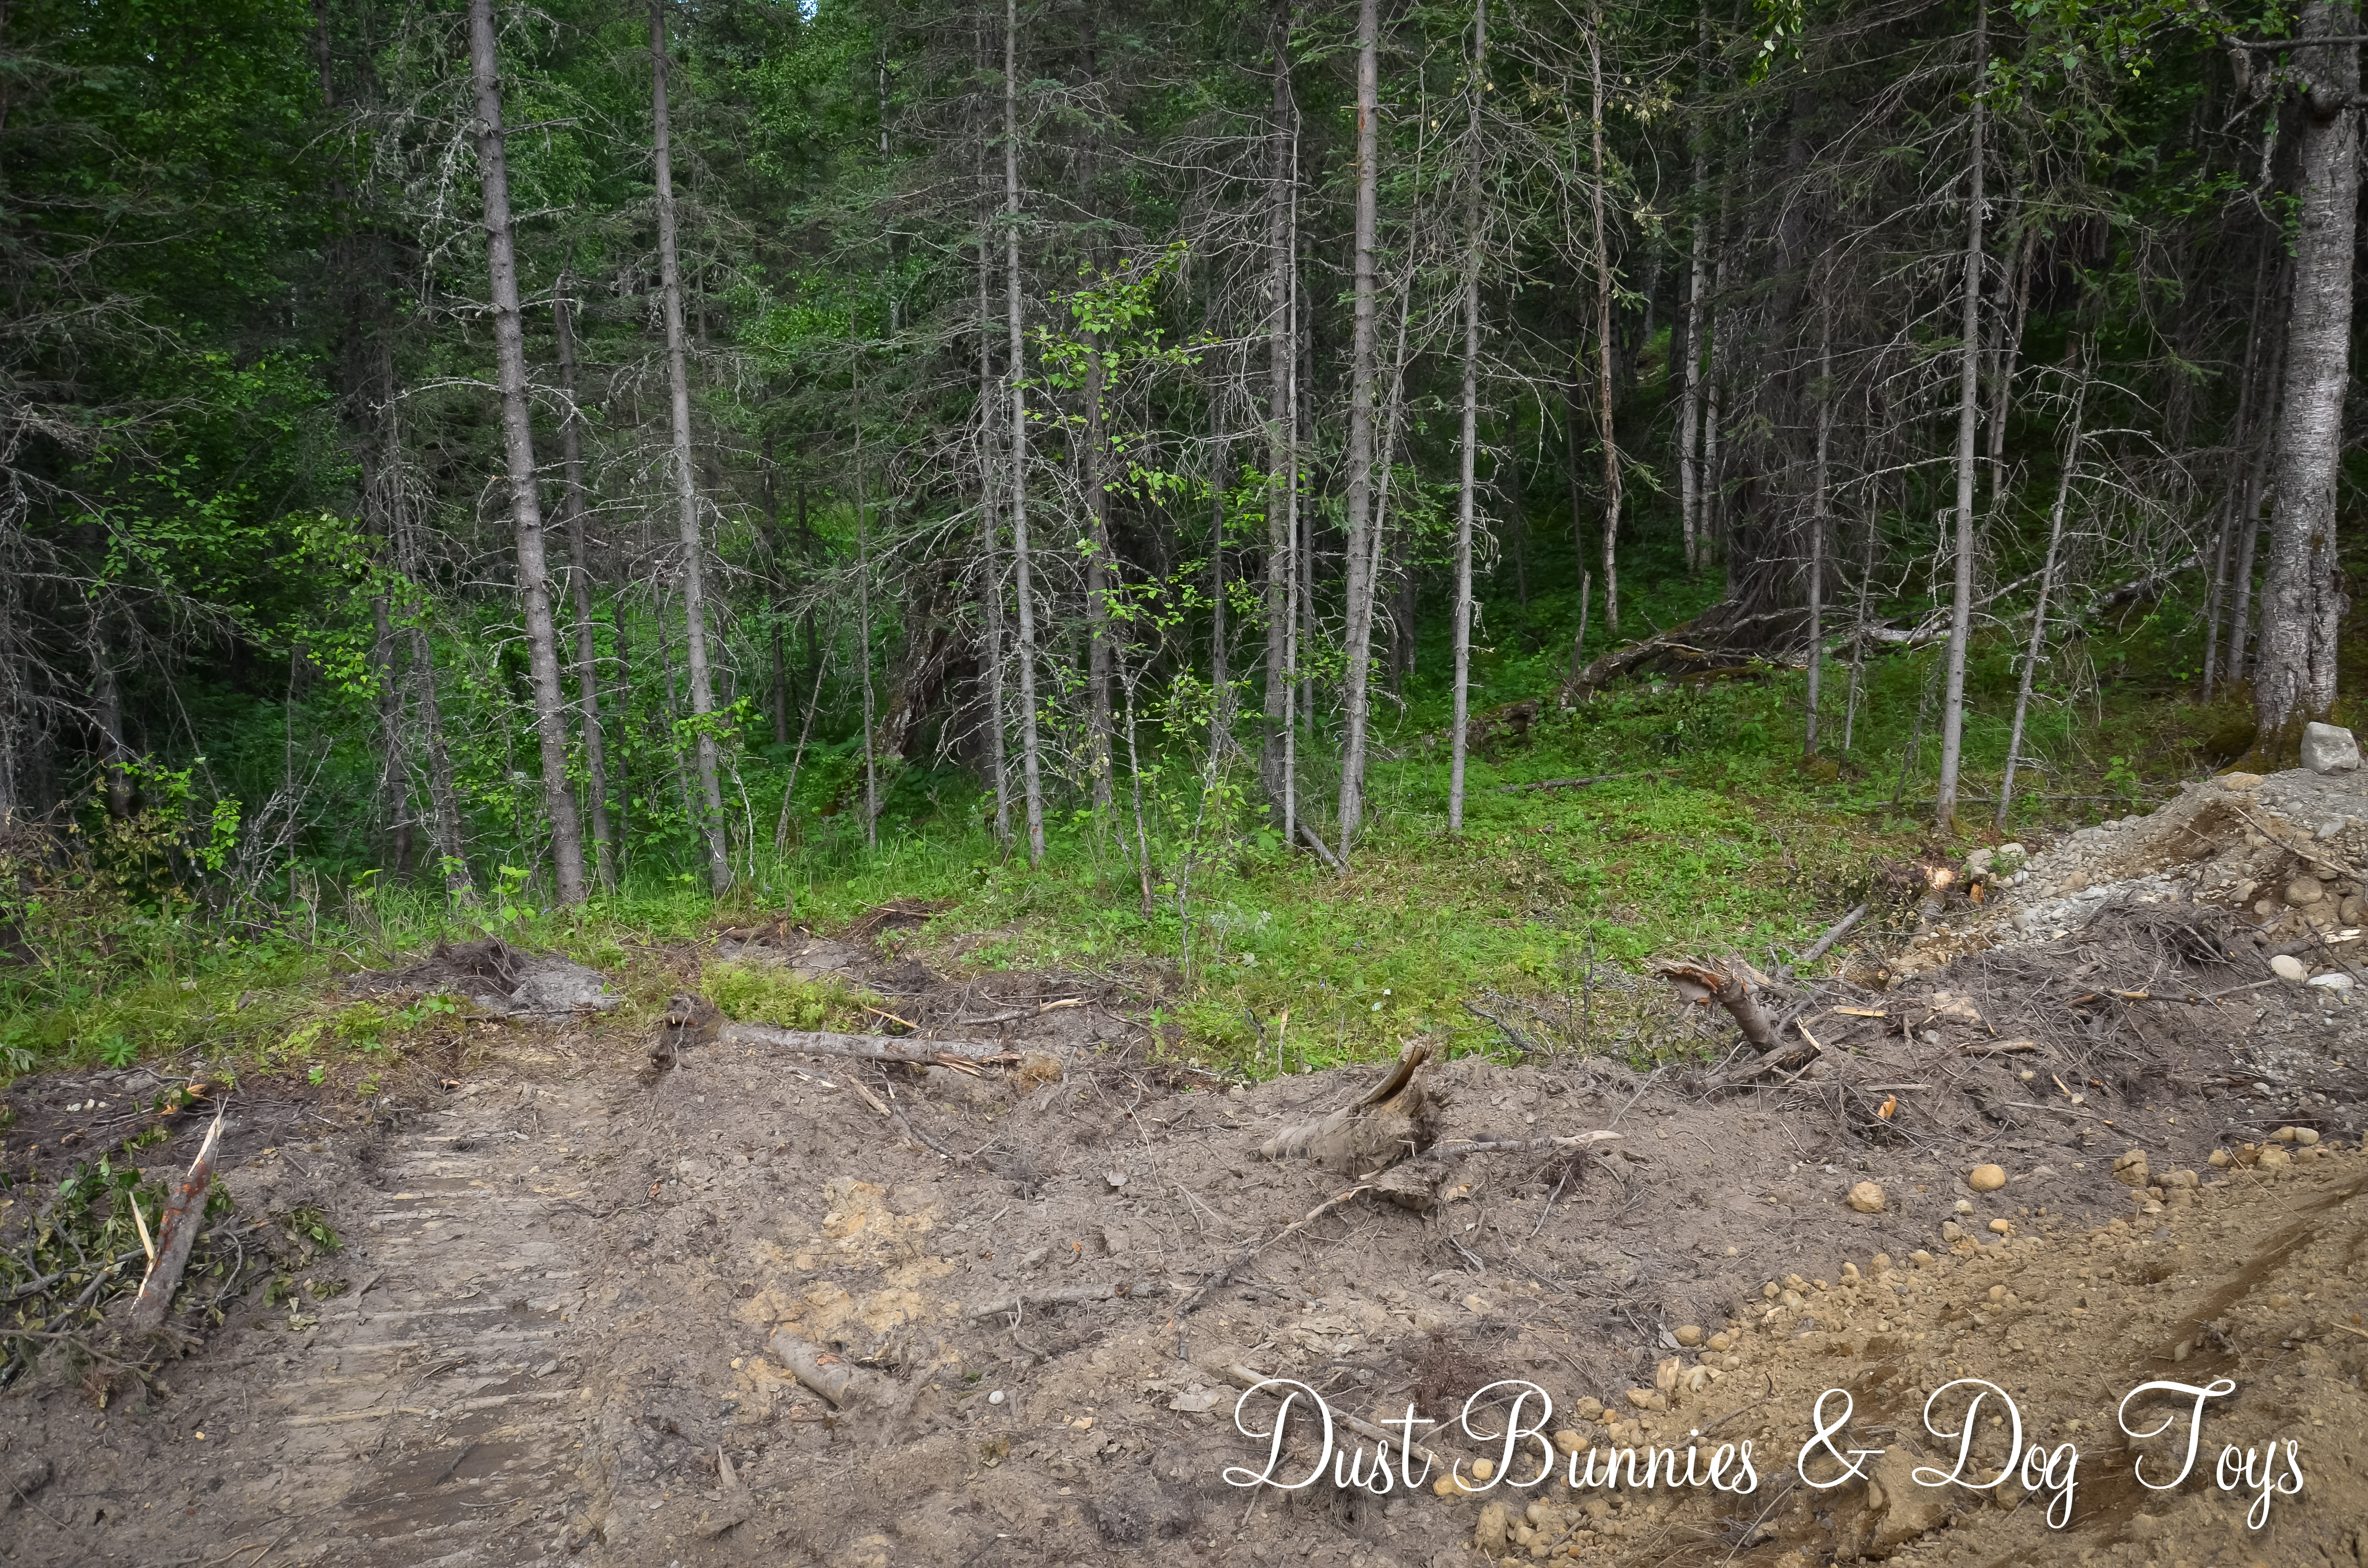
 SOOO going to be making friends with the owners for access to an AMAZING photo location! I’m already dreaming up cool ideas for family and senior sessions here!