Even though we have a three car garage in our new home there still isn’t enough room to park our two daily driver trucks, my classic truck and our side-by-side and still fit all the things that tend to end up stored in the garage. To solve this problem the hubs decided to build a shed. But this isn’t just any lil ‘ol shed. It’s a mega shed. Seriously. It’s 11′ wide by 20’ deep! But it has to be pretty big to house the lawn mower, yard tools, our side-by-side and various other odds & ends.
I don’t have much of the step-by-step info since he’s been doing the construction solo while I’m busy crafting, cleaning and editing photos but hopefully these pictures give you a good idea of the basic framing and set up. He started with freebie I-beams that were headed for the dumpster at a job site to lay out the base of the shed. Because the location of the shed was a bit uneven, he used cinder blocks we had on hand under the subframe on one side to make everything level.
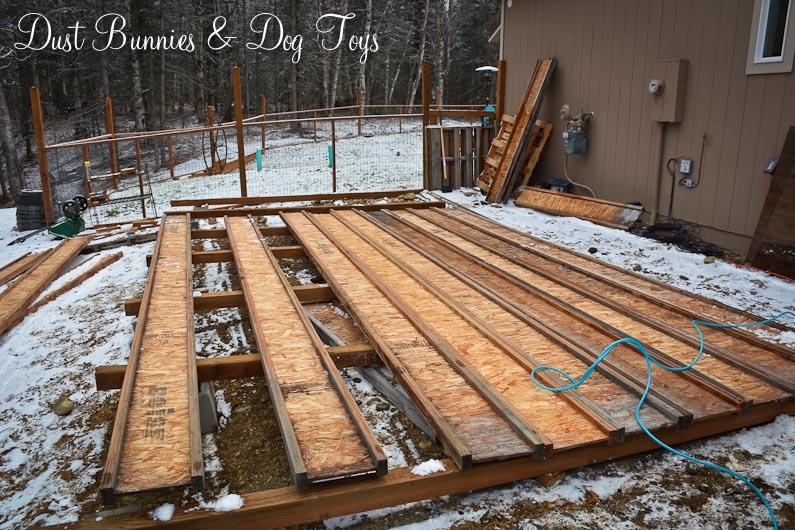
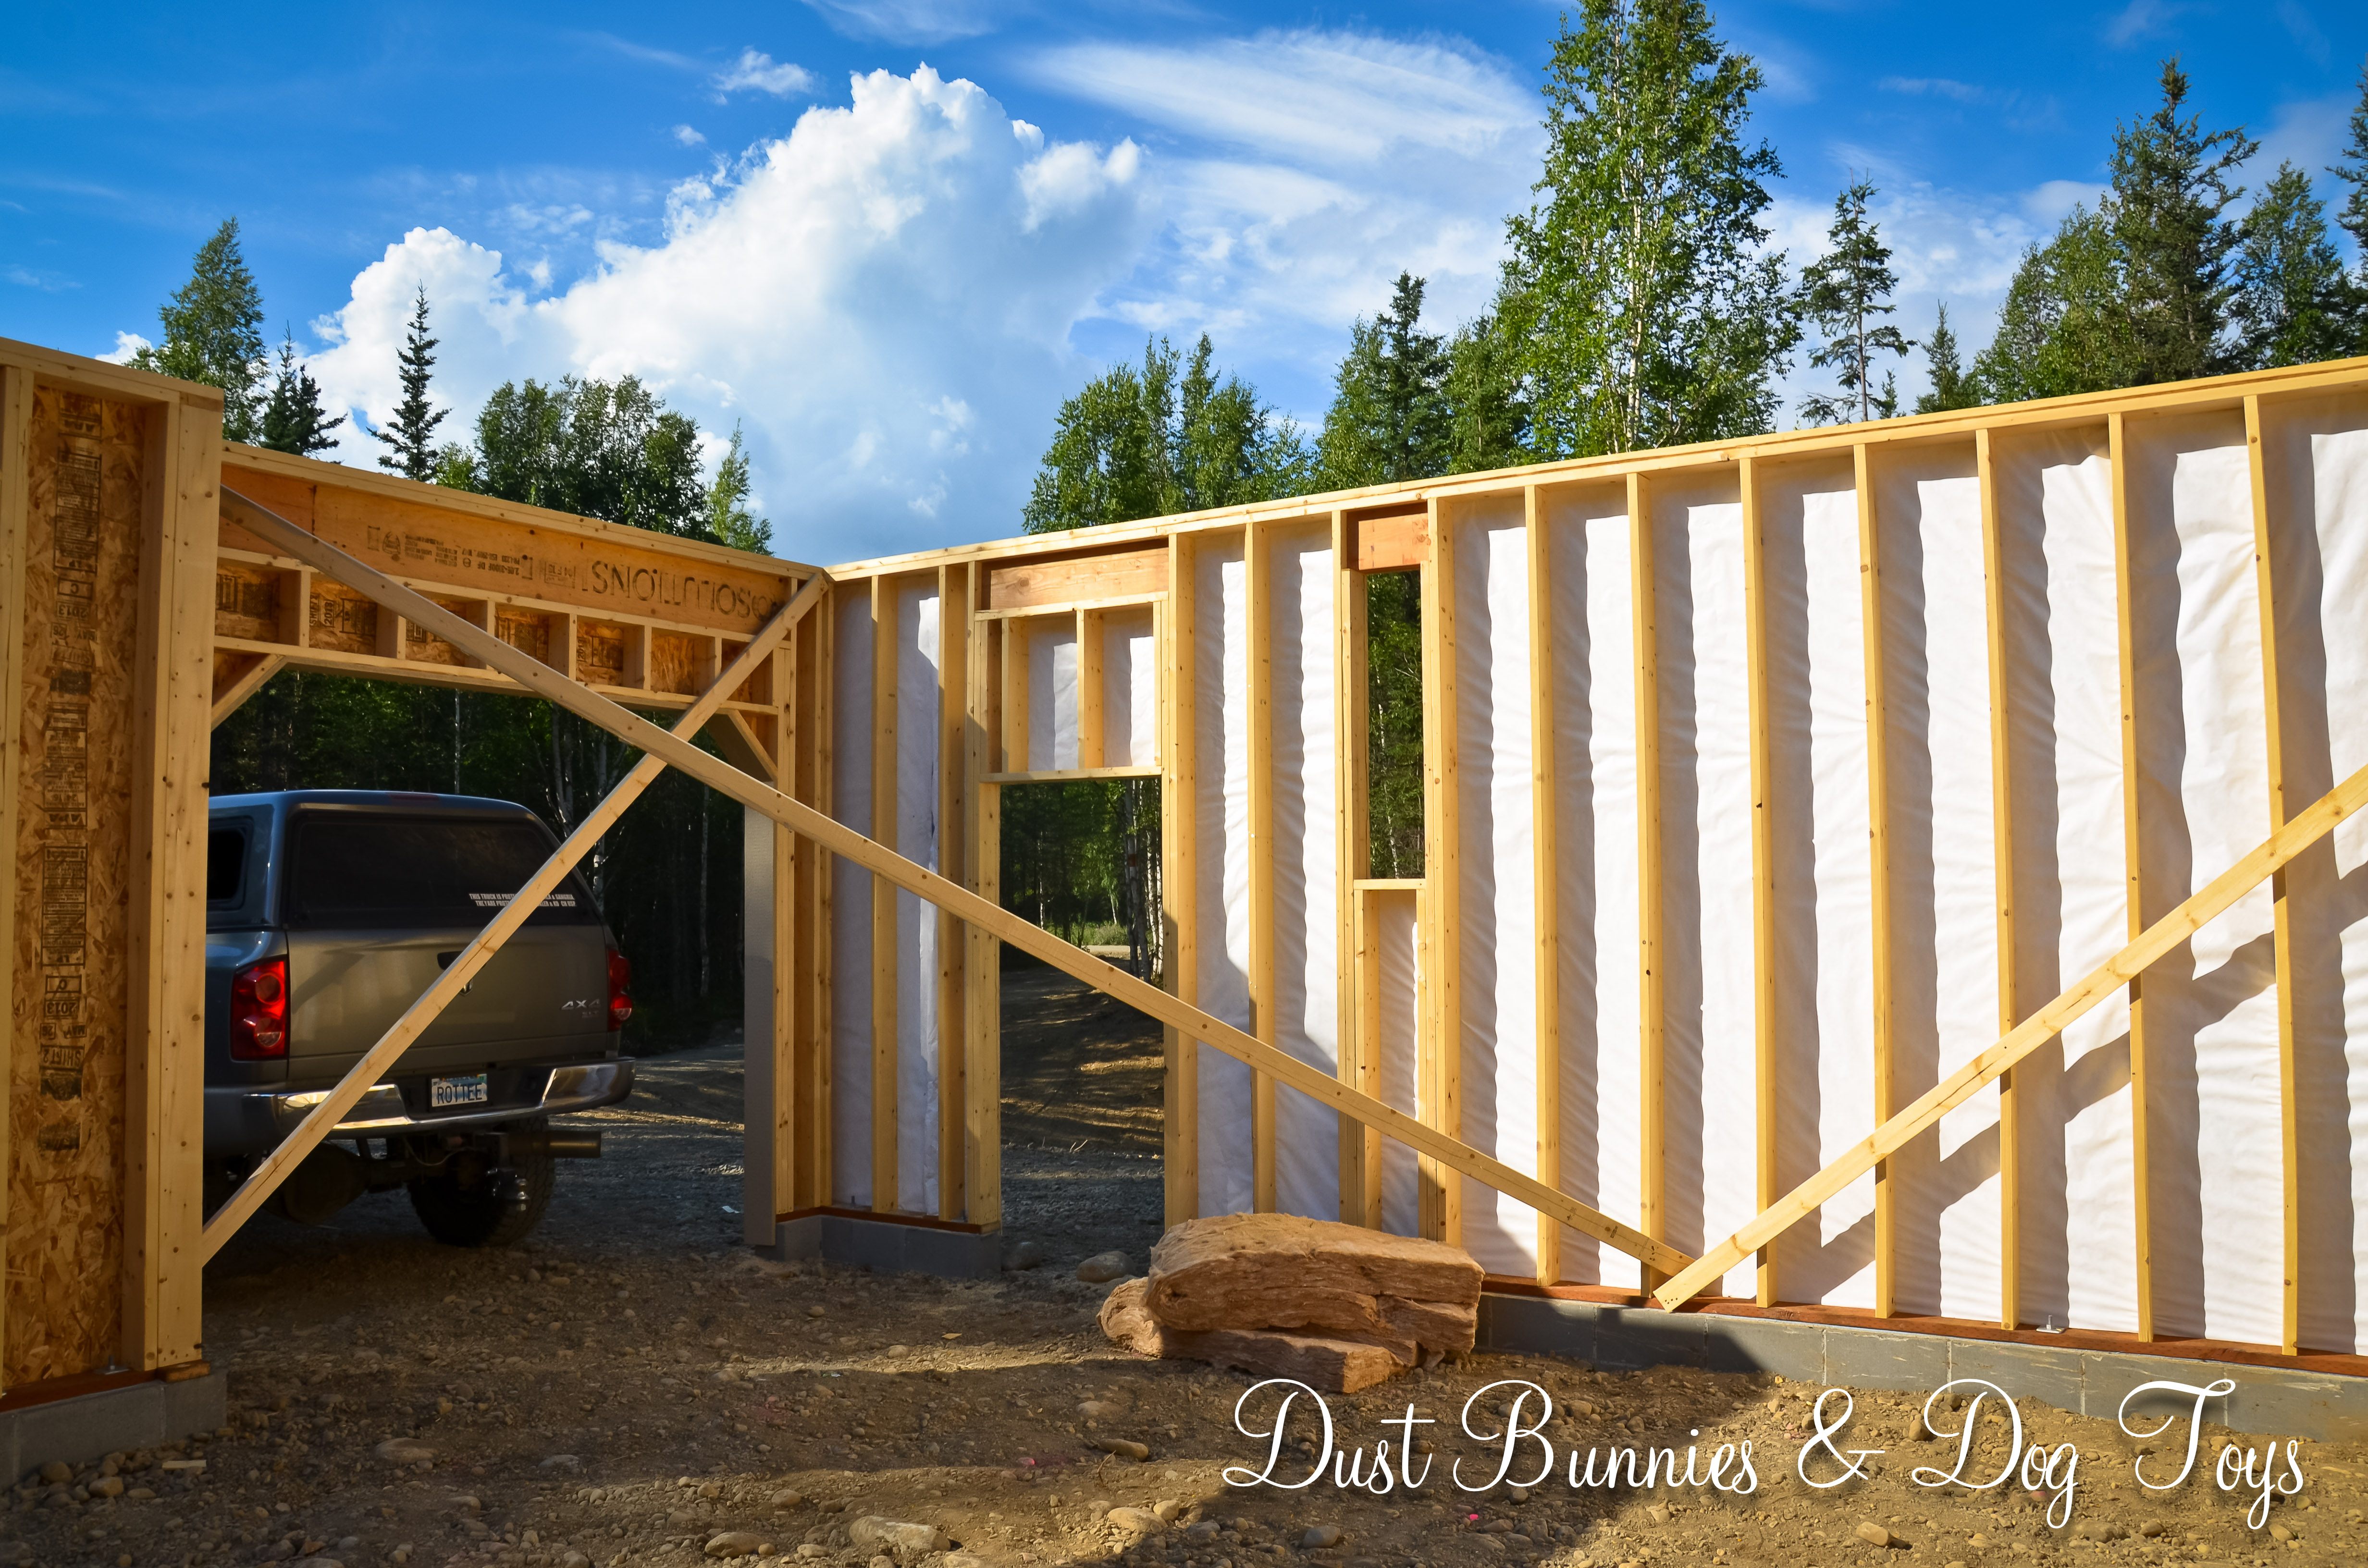
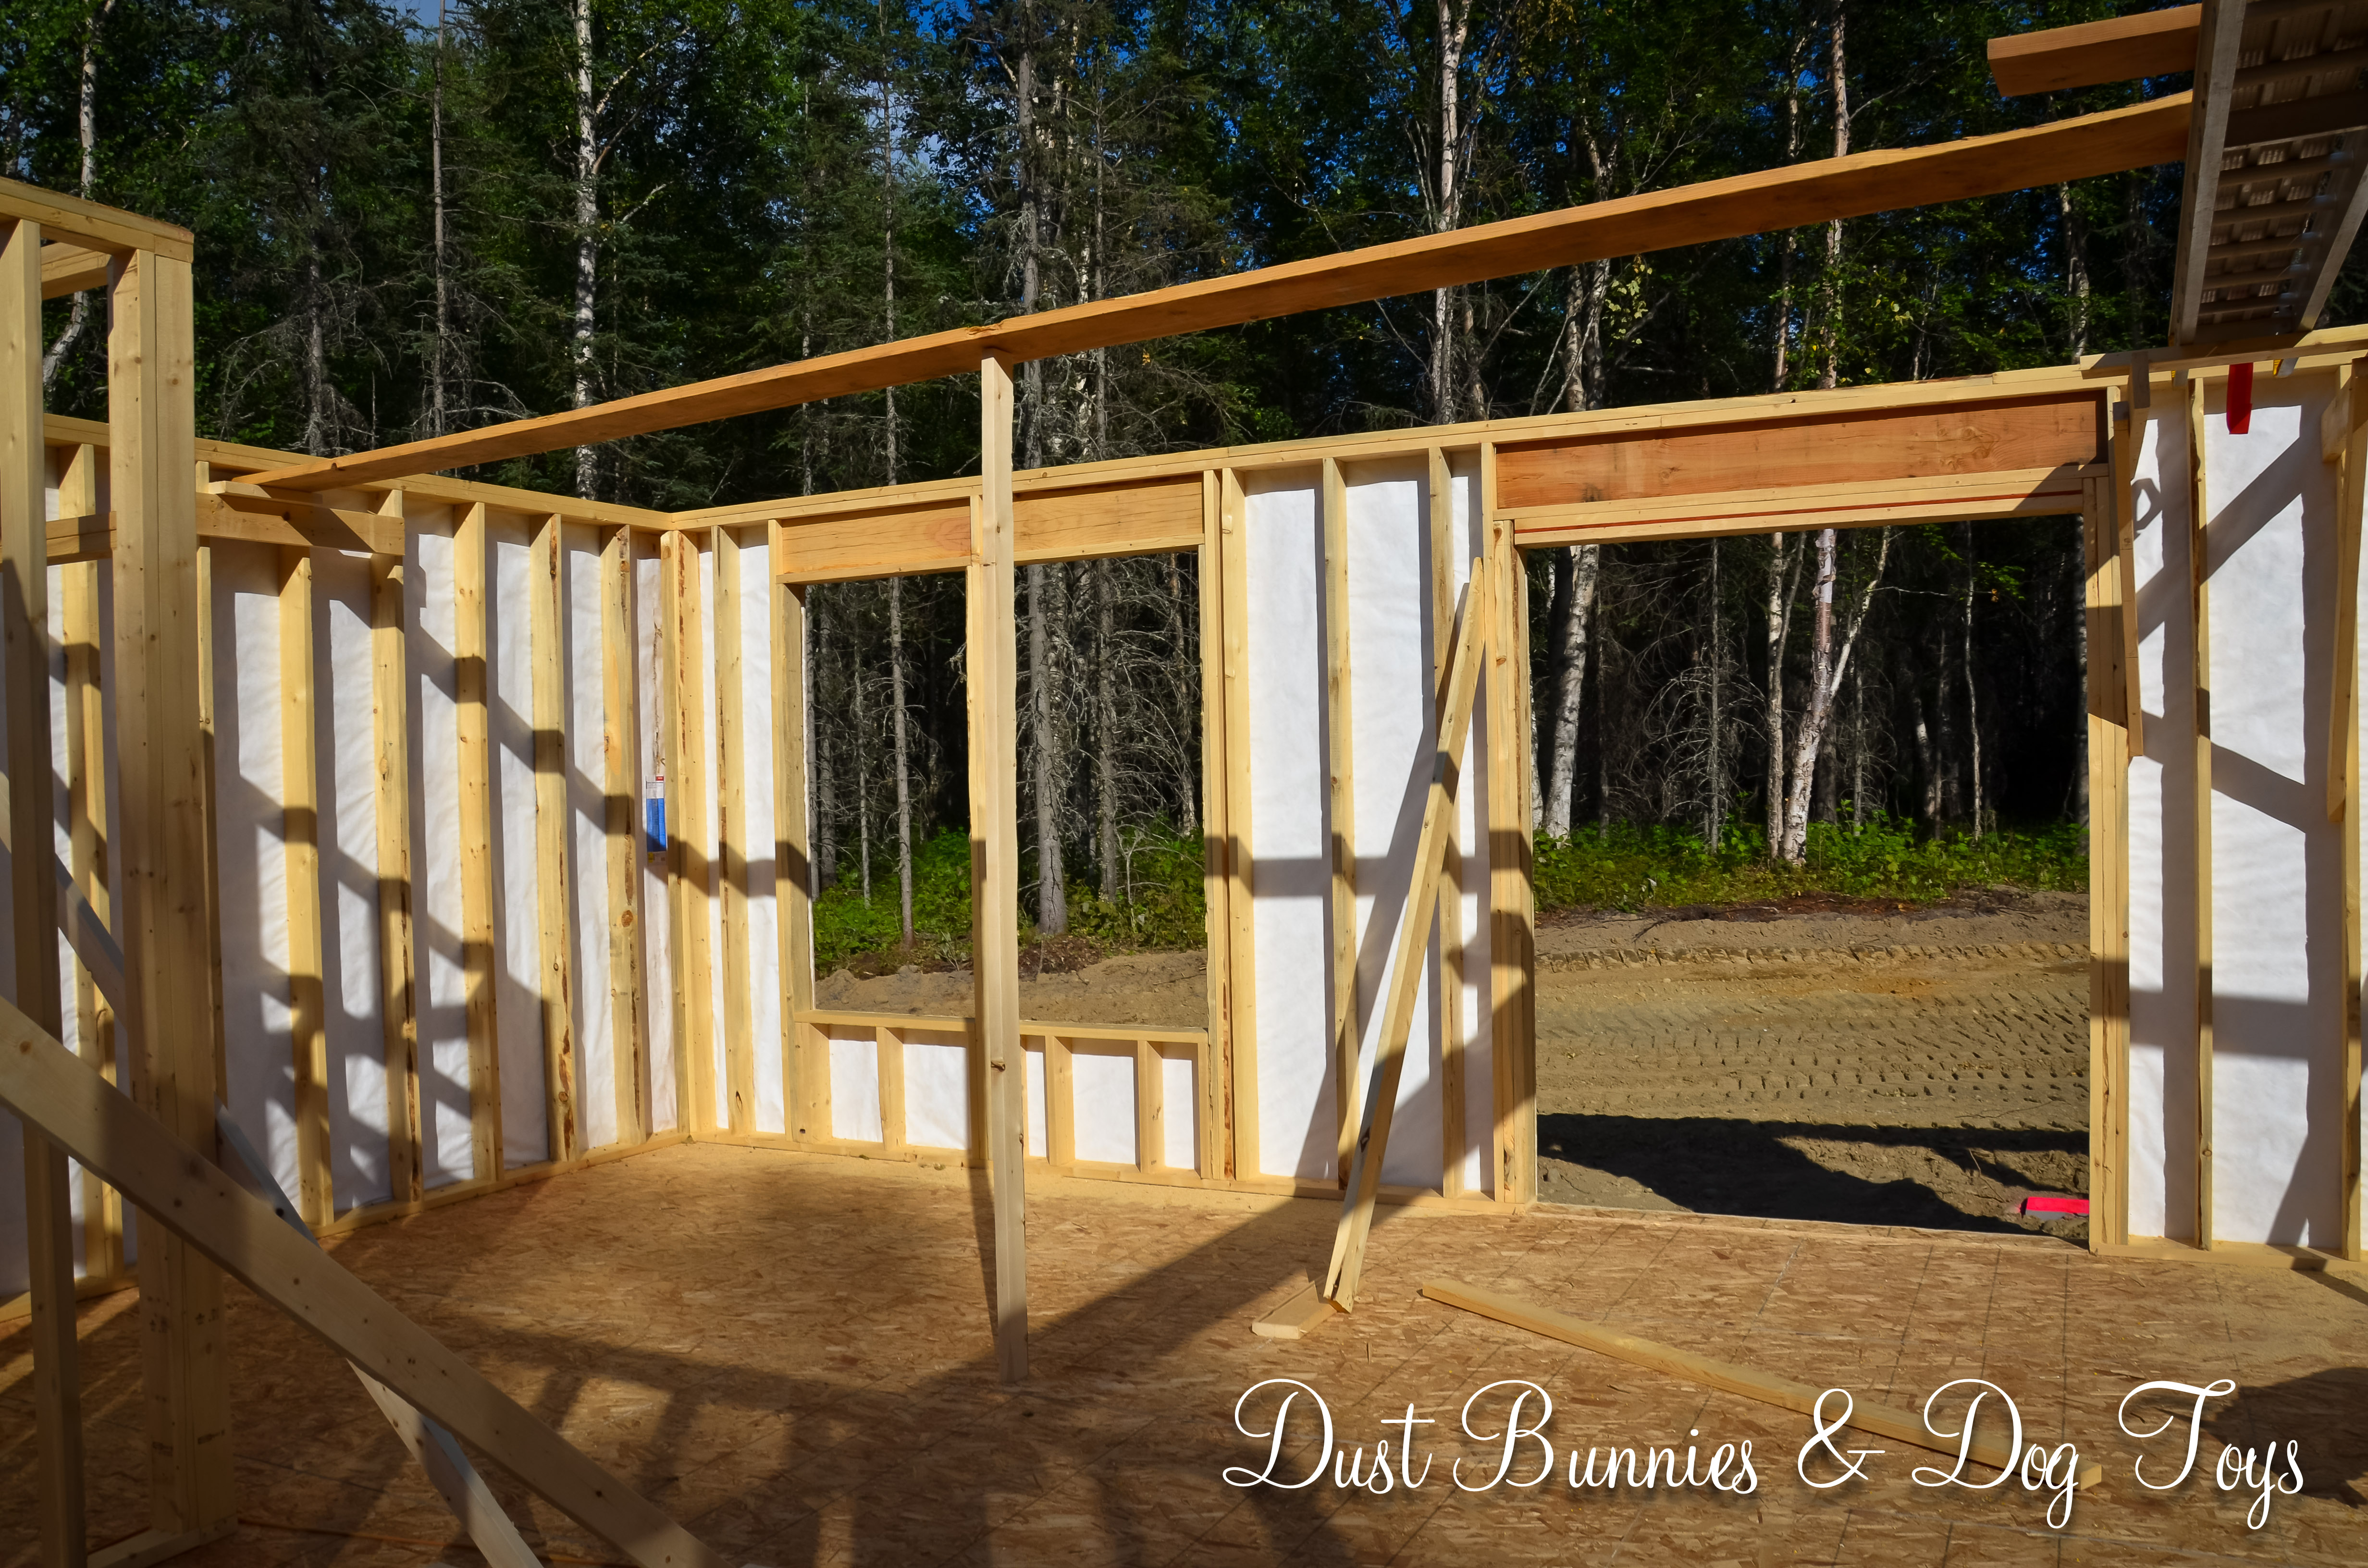
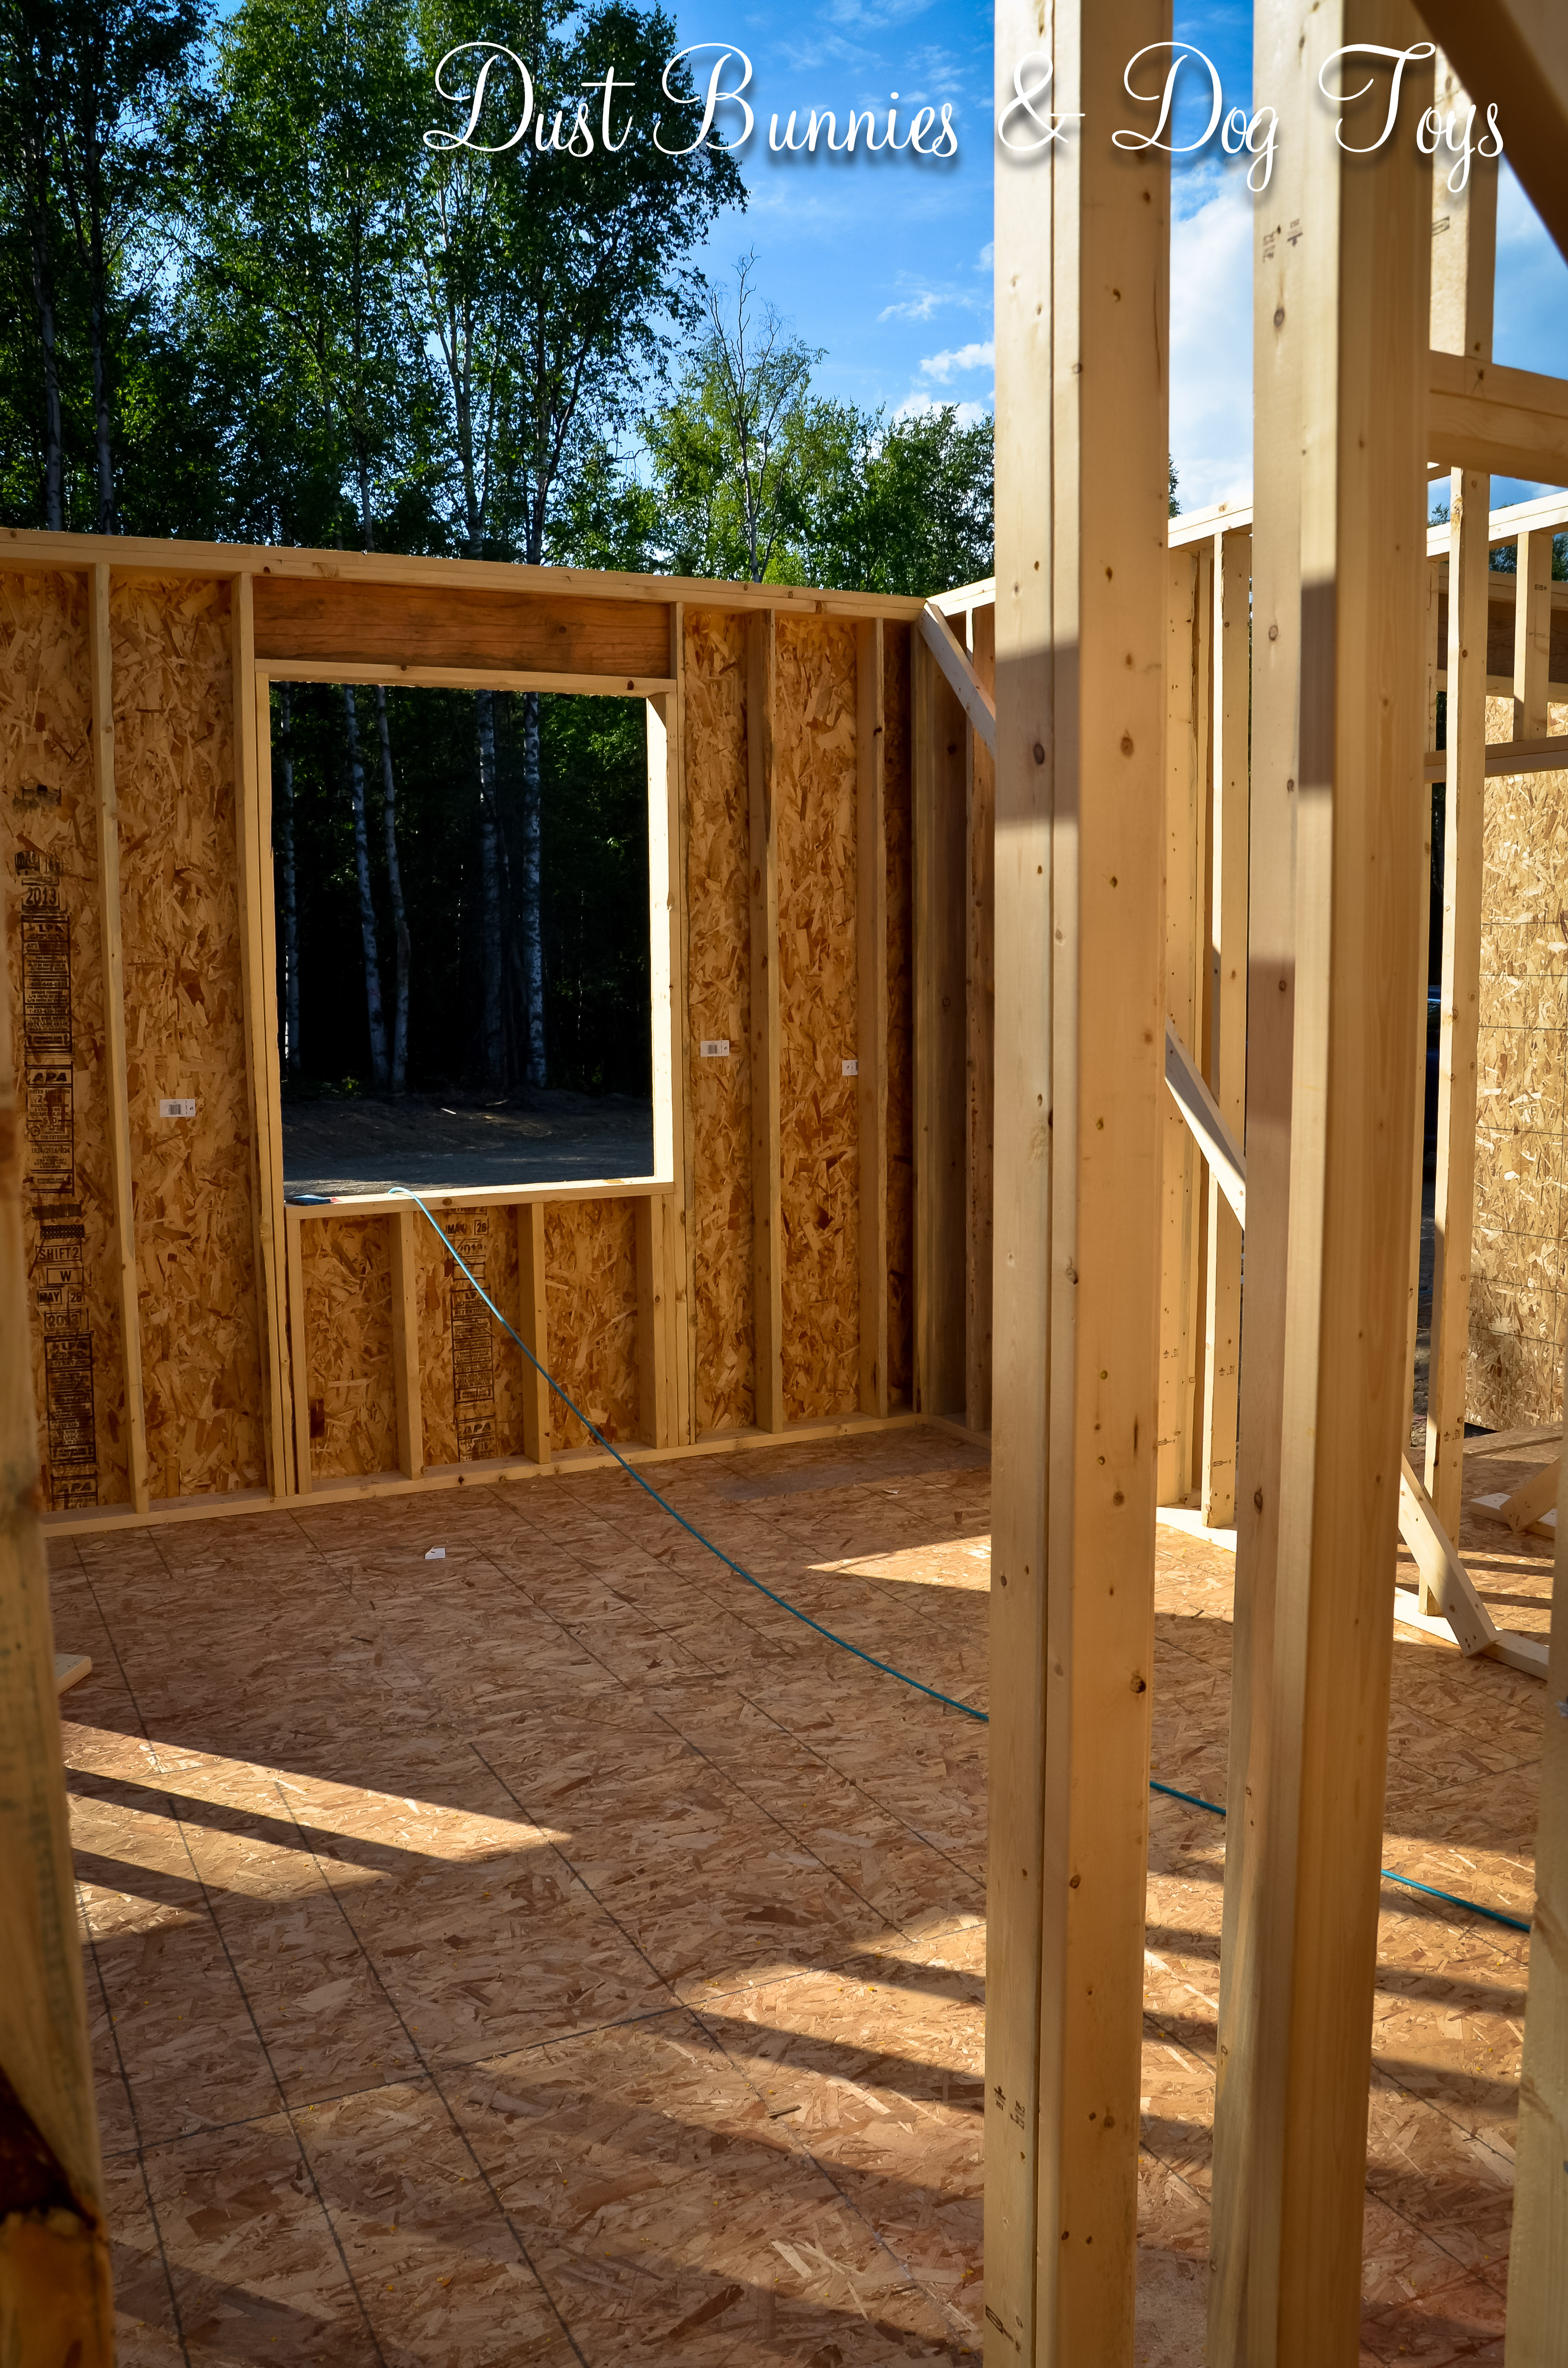
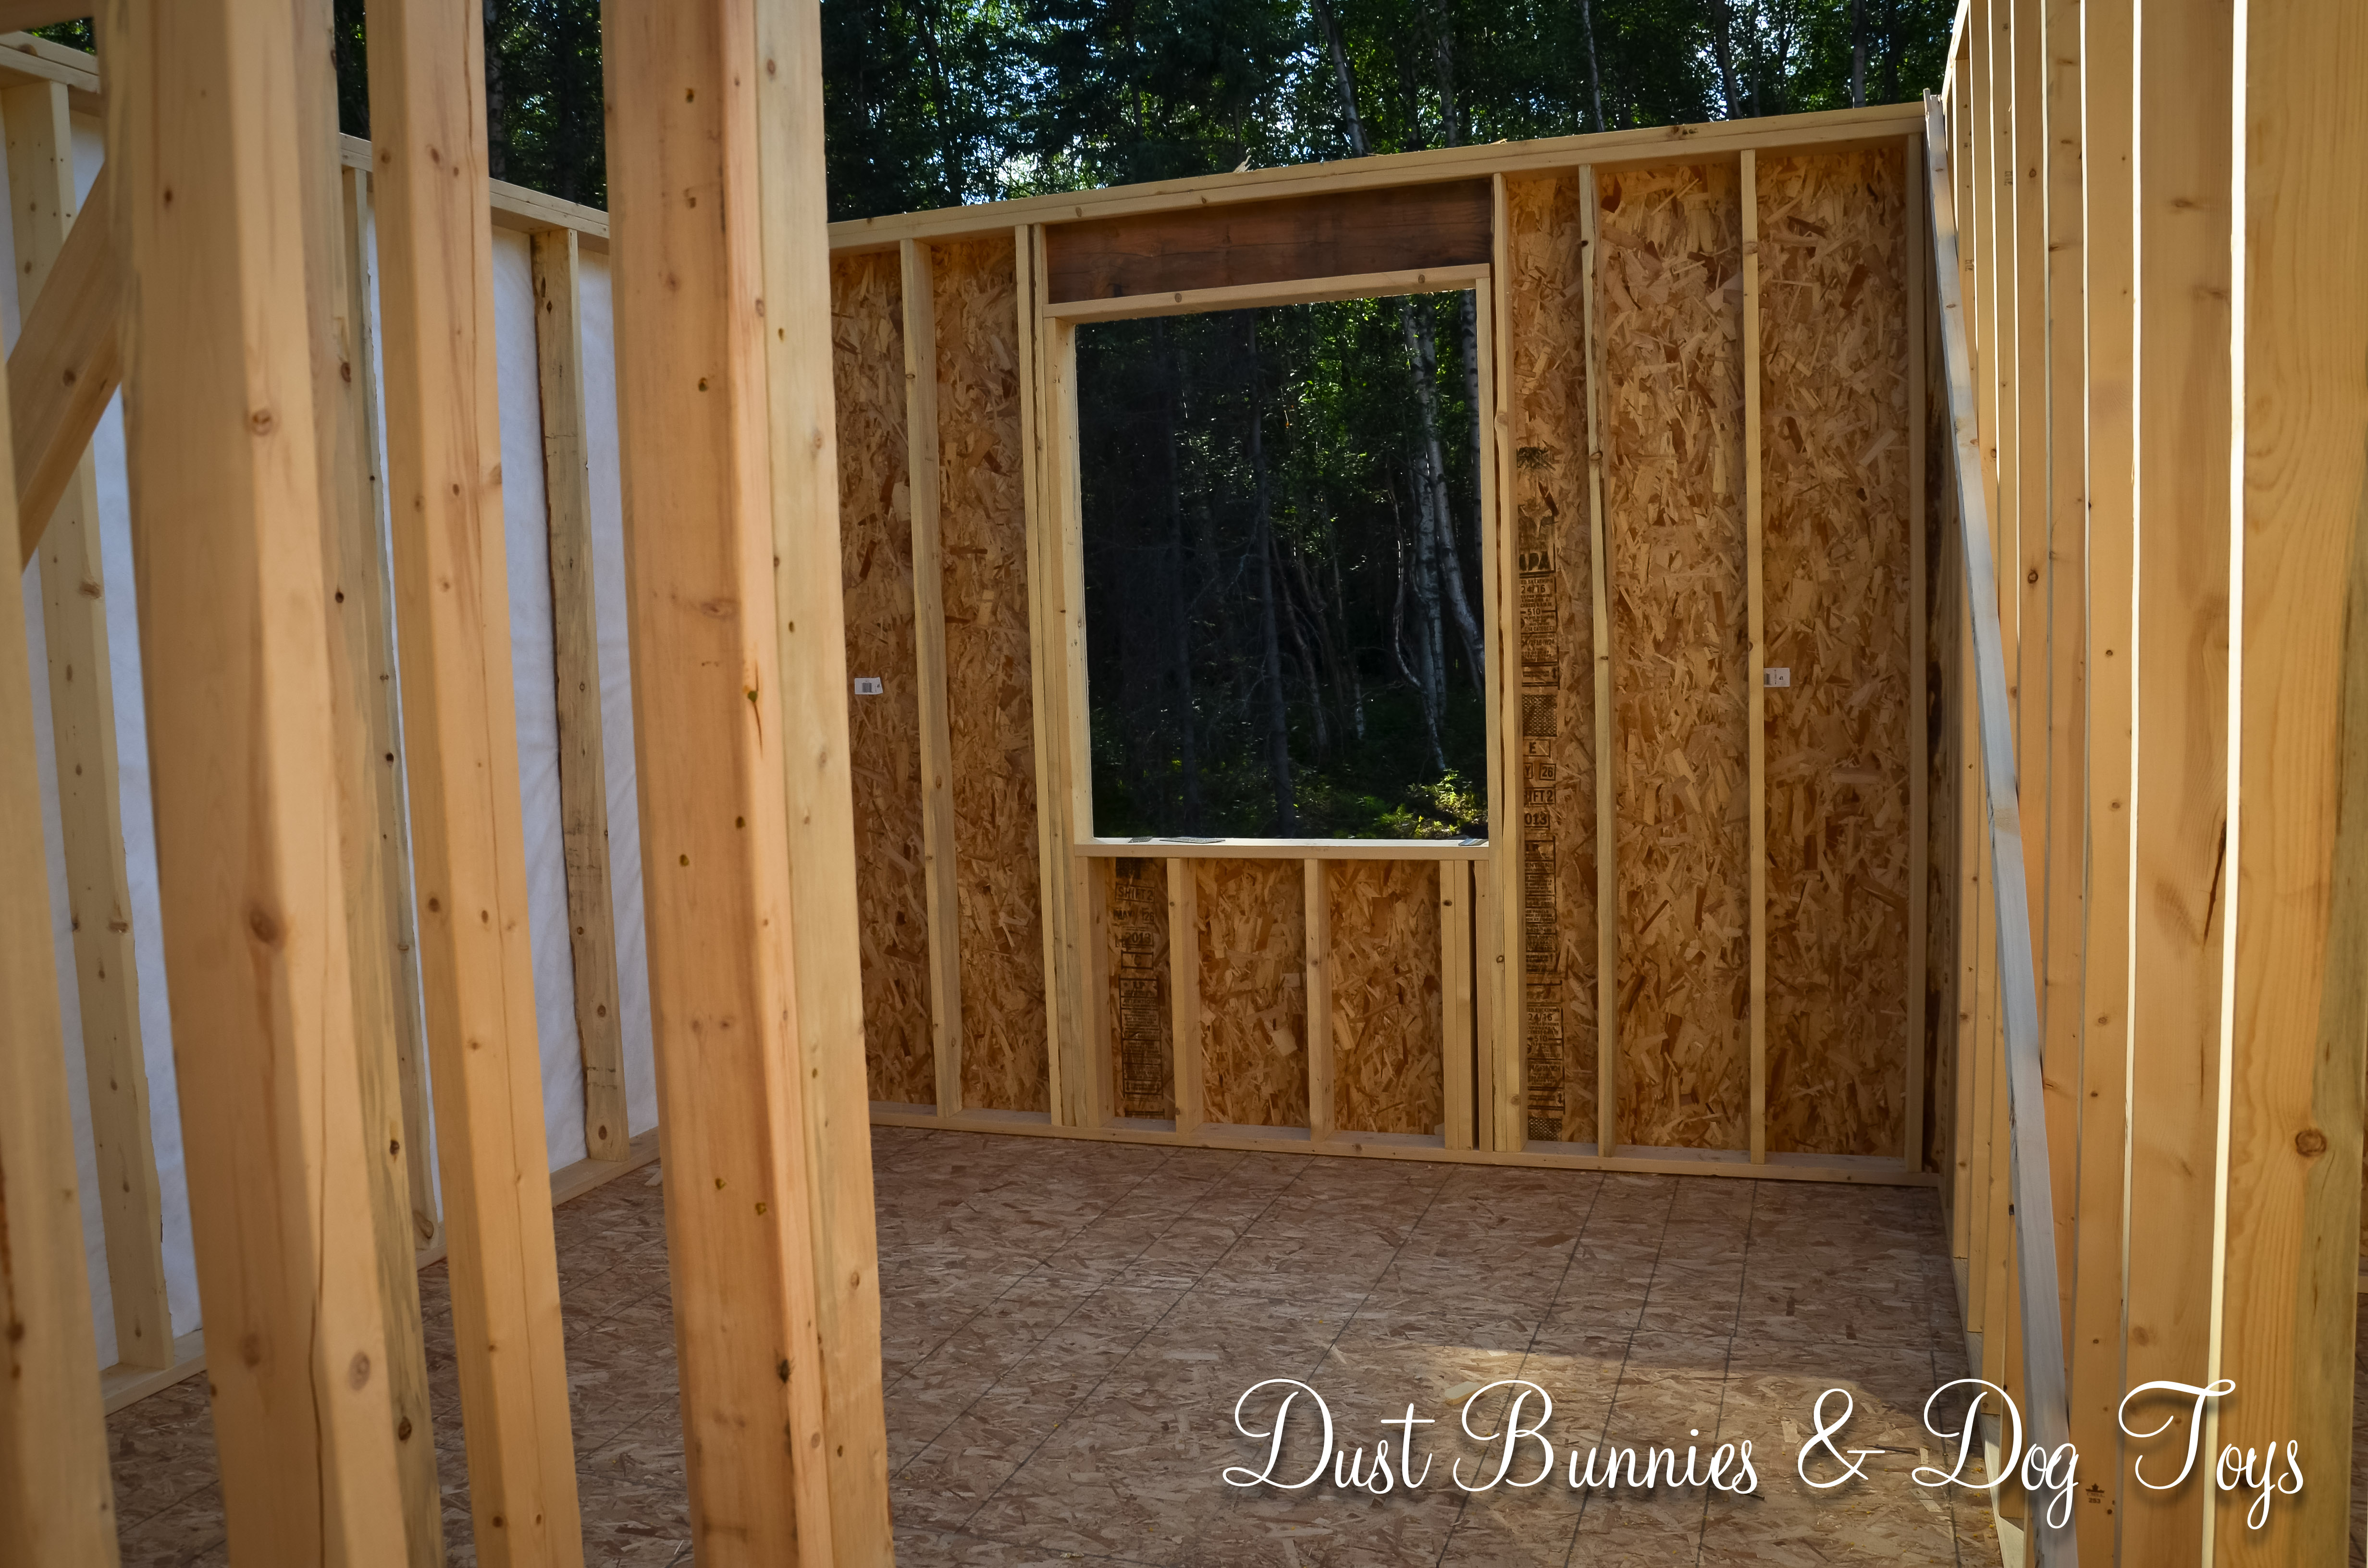
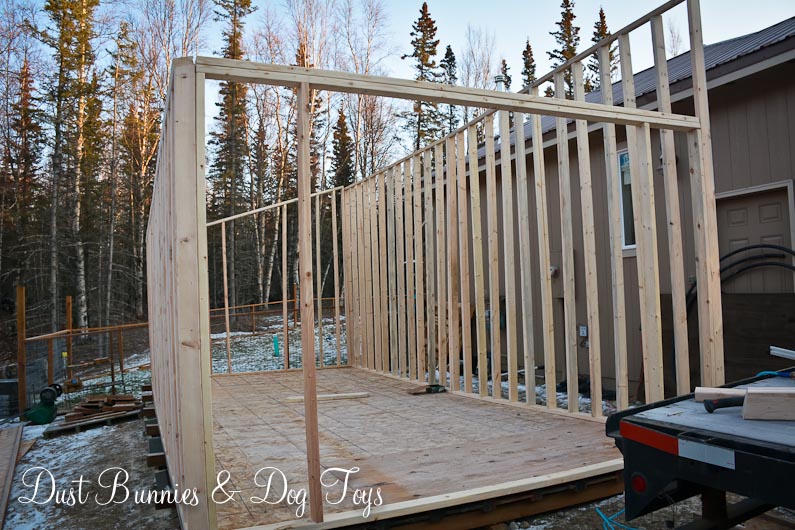
The I-beams were topped with a layer of plywood and OSB so the floor of the shed has a solid surface and additional strength. Next he framed up the walls, figuring out the angles needed to create the pitched roof line. The side walls were made in two panels.

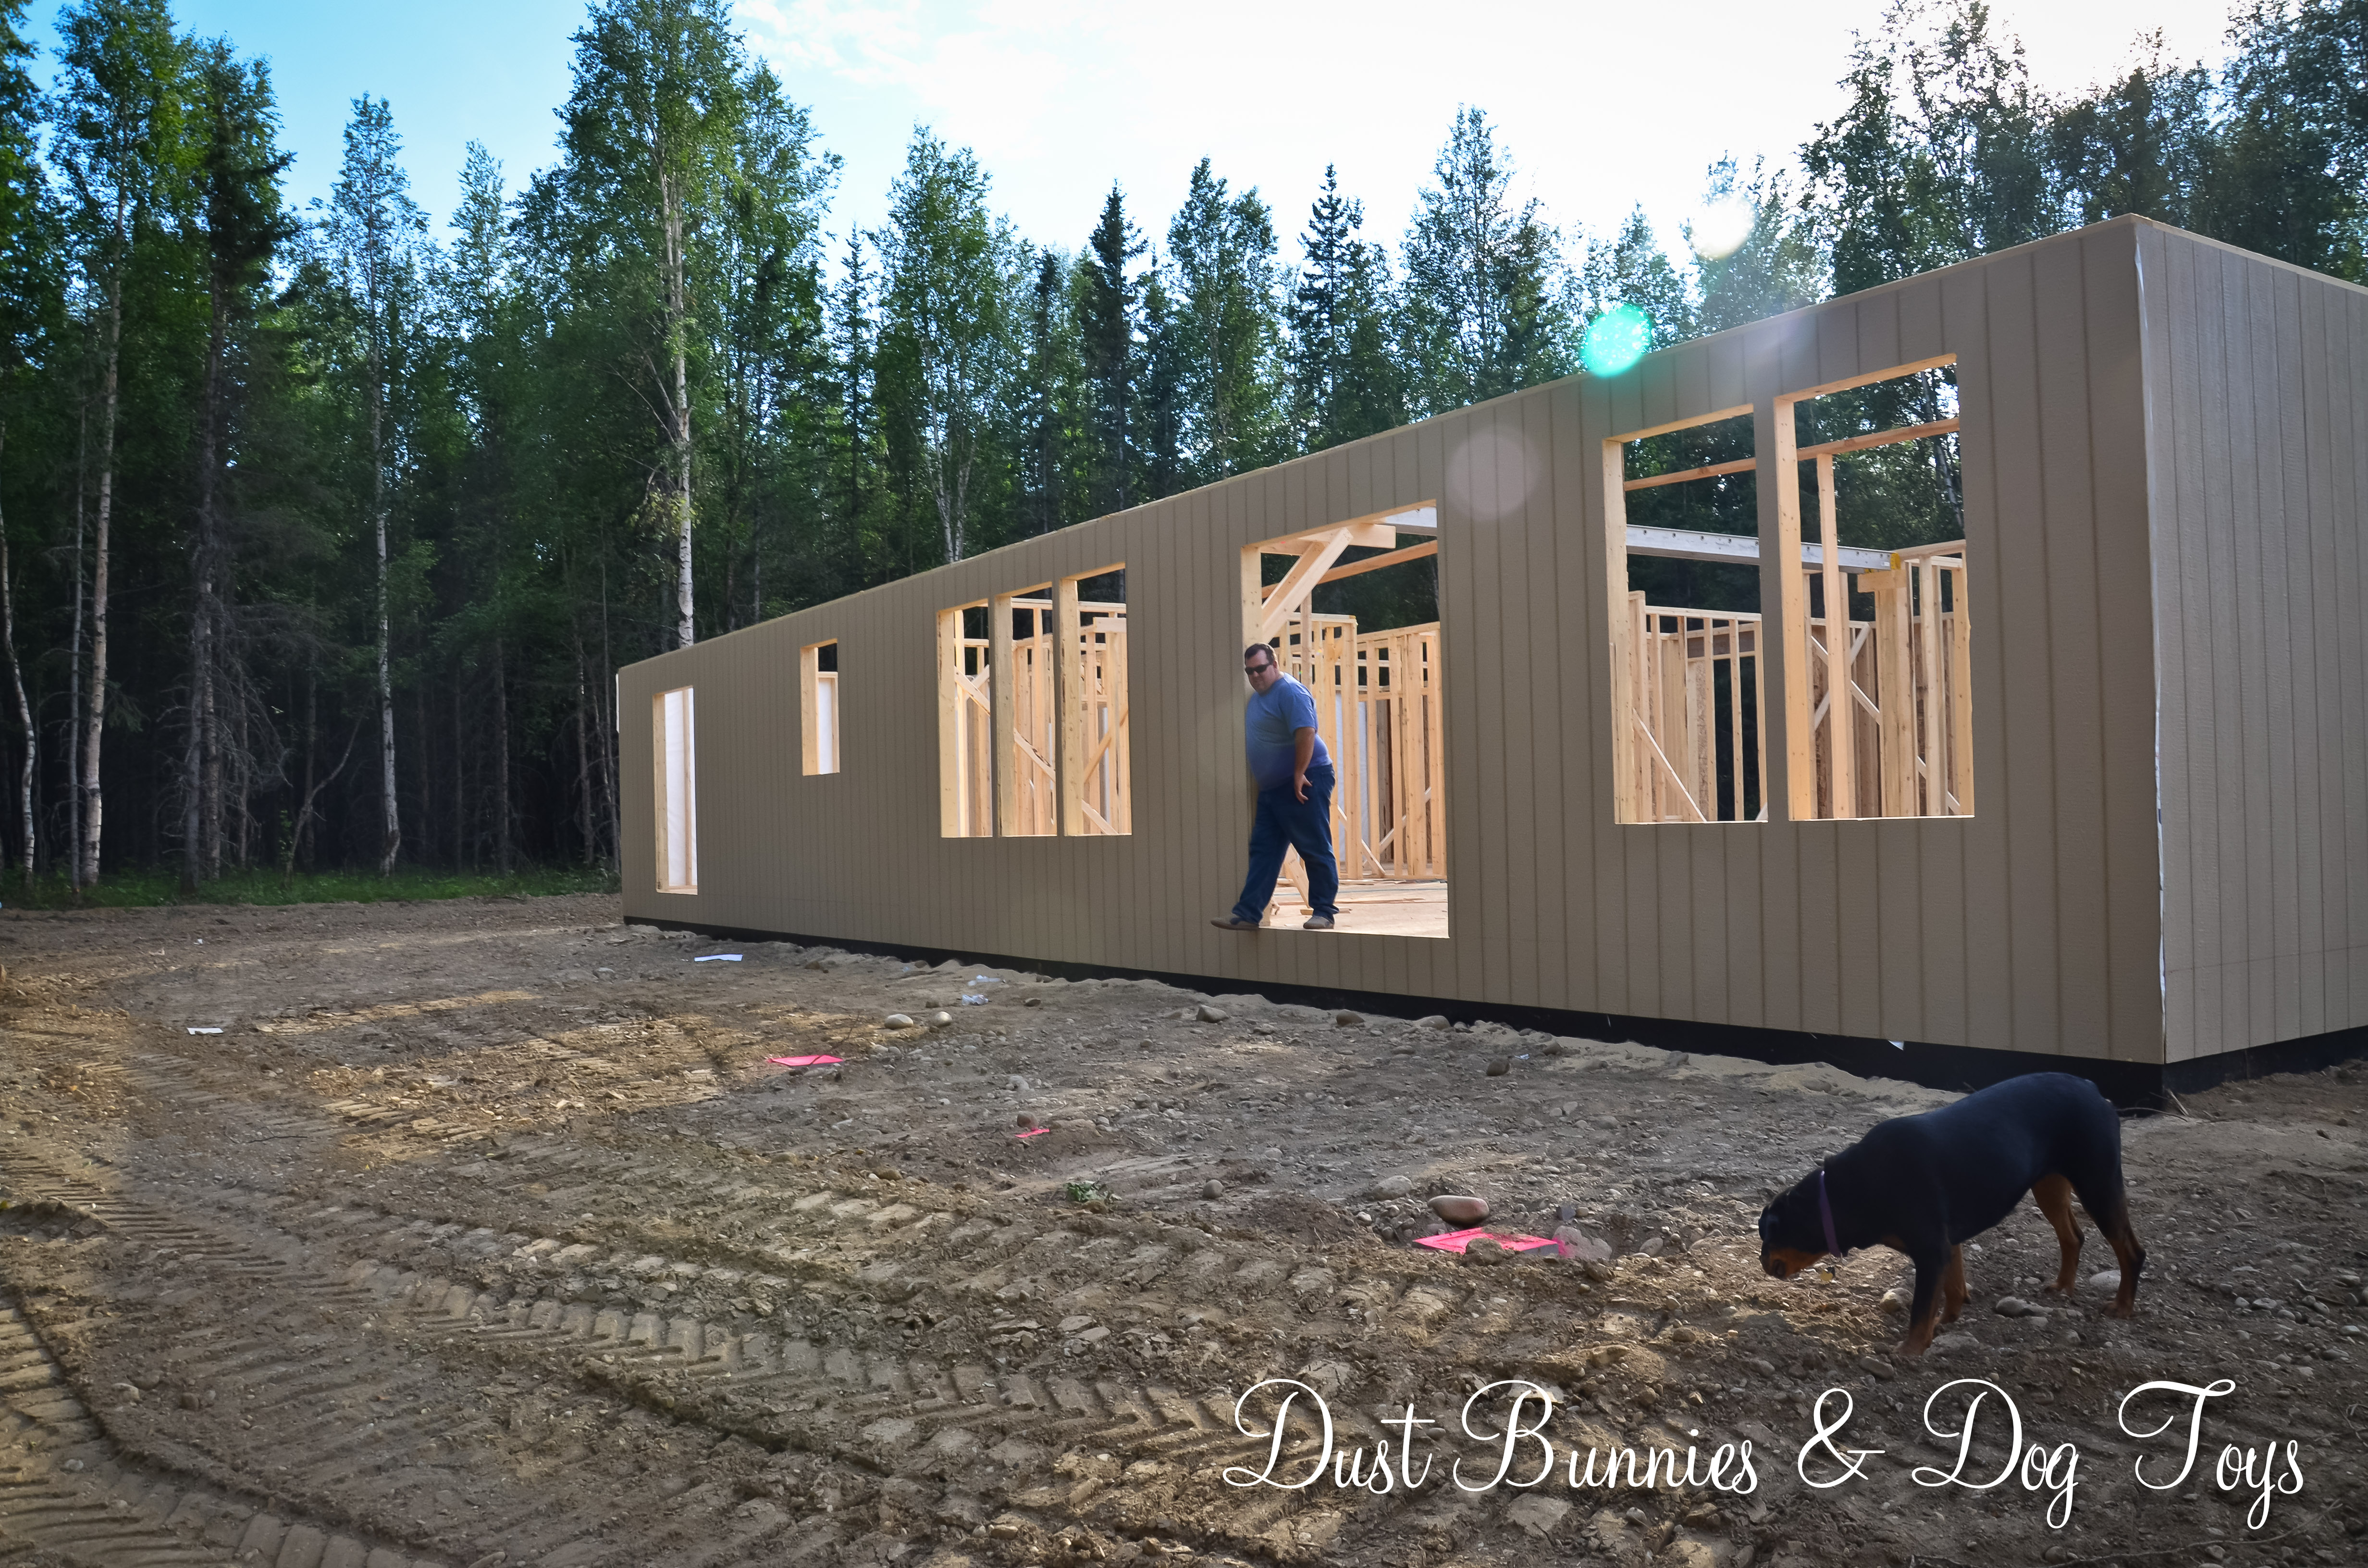
Once those were ready I helped raise the walls and held them in place while he nailed them in. That’s when you start to get a sense of just how big this thing will be.

The side closet to the house will be taller than the far side, which should help reduce snow build up during the winter and eliminate any water build up during the rest of the year.
He’s now moved on to framing the roof and adding the clear panels which will let in natural light. Both sides of the roof have a bit of overhang, which should help keep water away from the base of the shed.

That’s the progress thus far. He’s hoping to get it finished and filled before winter hits, but we’ve already had one snow (as seen in the first pictures) so who knows how long that will be. I’ll post another update once we have some more progress to show, so stay tuned!
He’s added supports between the rafters for additional strength. After the first few rows he had the ingenious idea to use left over pieces of the I-beams to save the more costly wood for other areas.