Pinterest Pass/Fail Roundup

Not many posts on this blog don’t mention Pinterest, so I figured it was high time I do a recap of which Pinterest projects were considered ‘pass’ and which were a ‘fail’.  So let’s look back and see just which is worthy of it’s own “nailed it” joke.

Passes:

  • Pantry Spice Rack – Although we deviated from the original design a bit, it still worked perfectly.
  • Cache Pot – Still the easiest Pinterest project ever, although I’ve found that the glue dots don’t hold quite as well as I thought they would and opening the jar can be a bit of a pain since it seals so tight.  I’m still trying to figure out a bag system so the inside won’t rust, but overall it does what it’s supposed to.
  • Mason Jar Soap Dispensers – We’ve had a few of the pump heads pop off, but I blame that on the quality of the item.  I’ve screwed them right back on and they worked fine. 
  • Crown Molding Shoe Racks – These turned out a little different than I envisioned but they are working great.  Now I just have to get around to painting them!
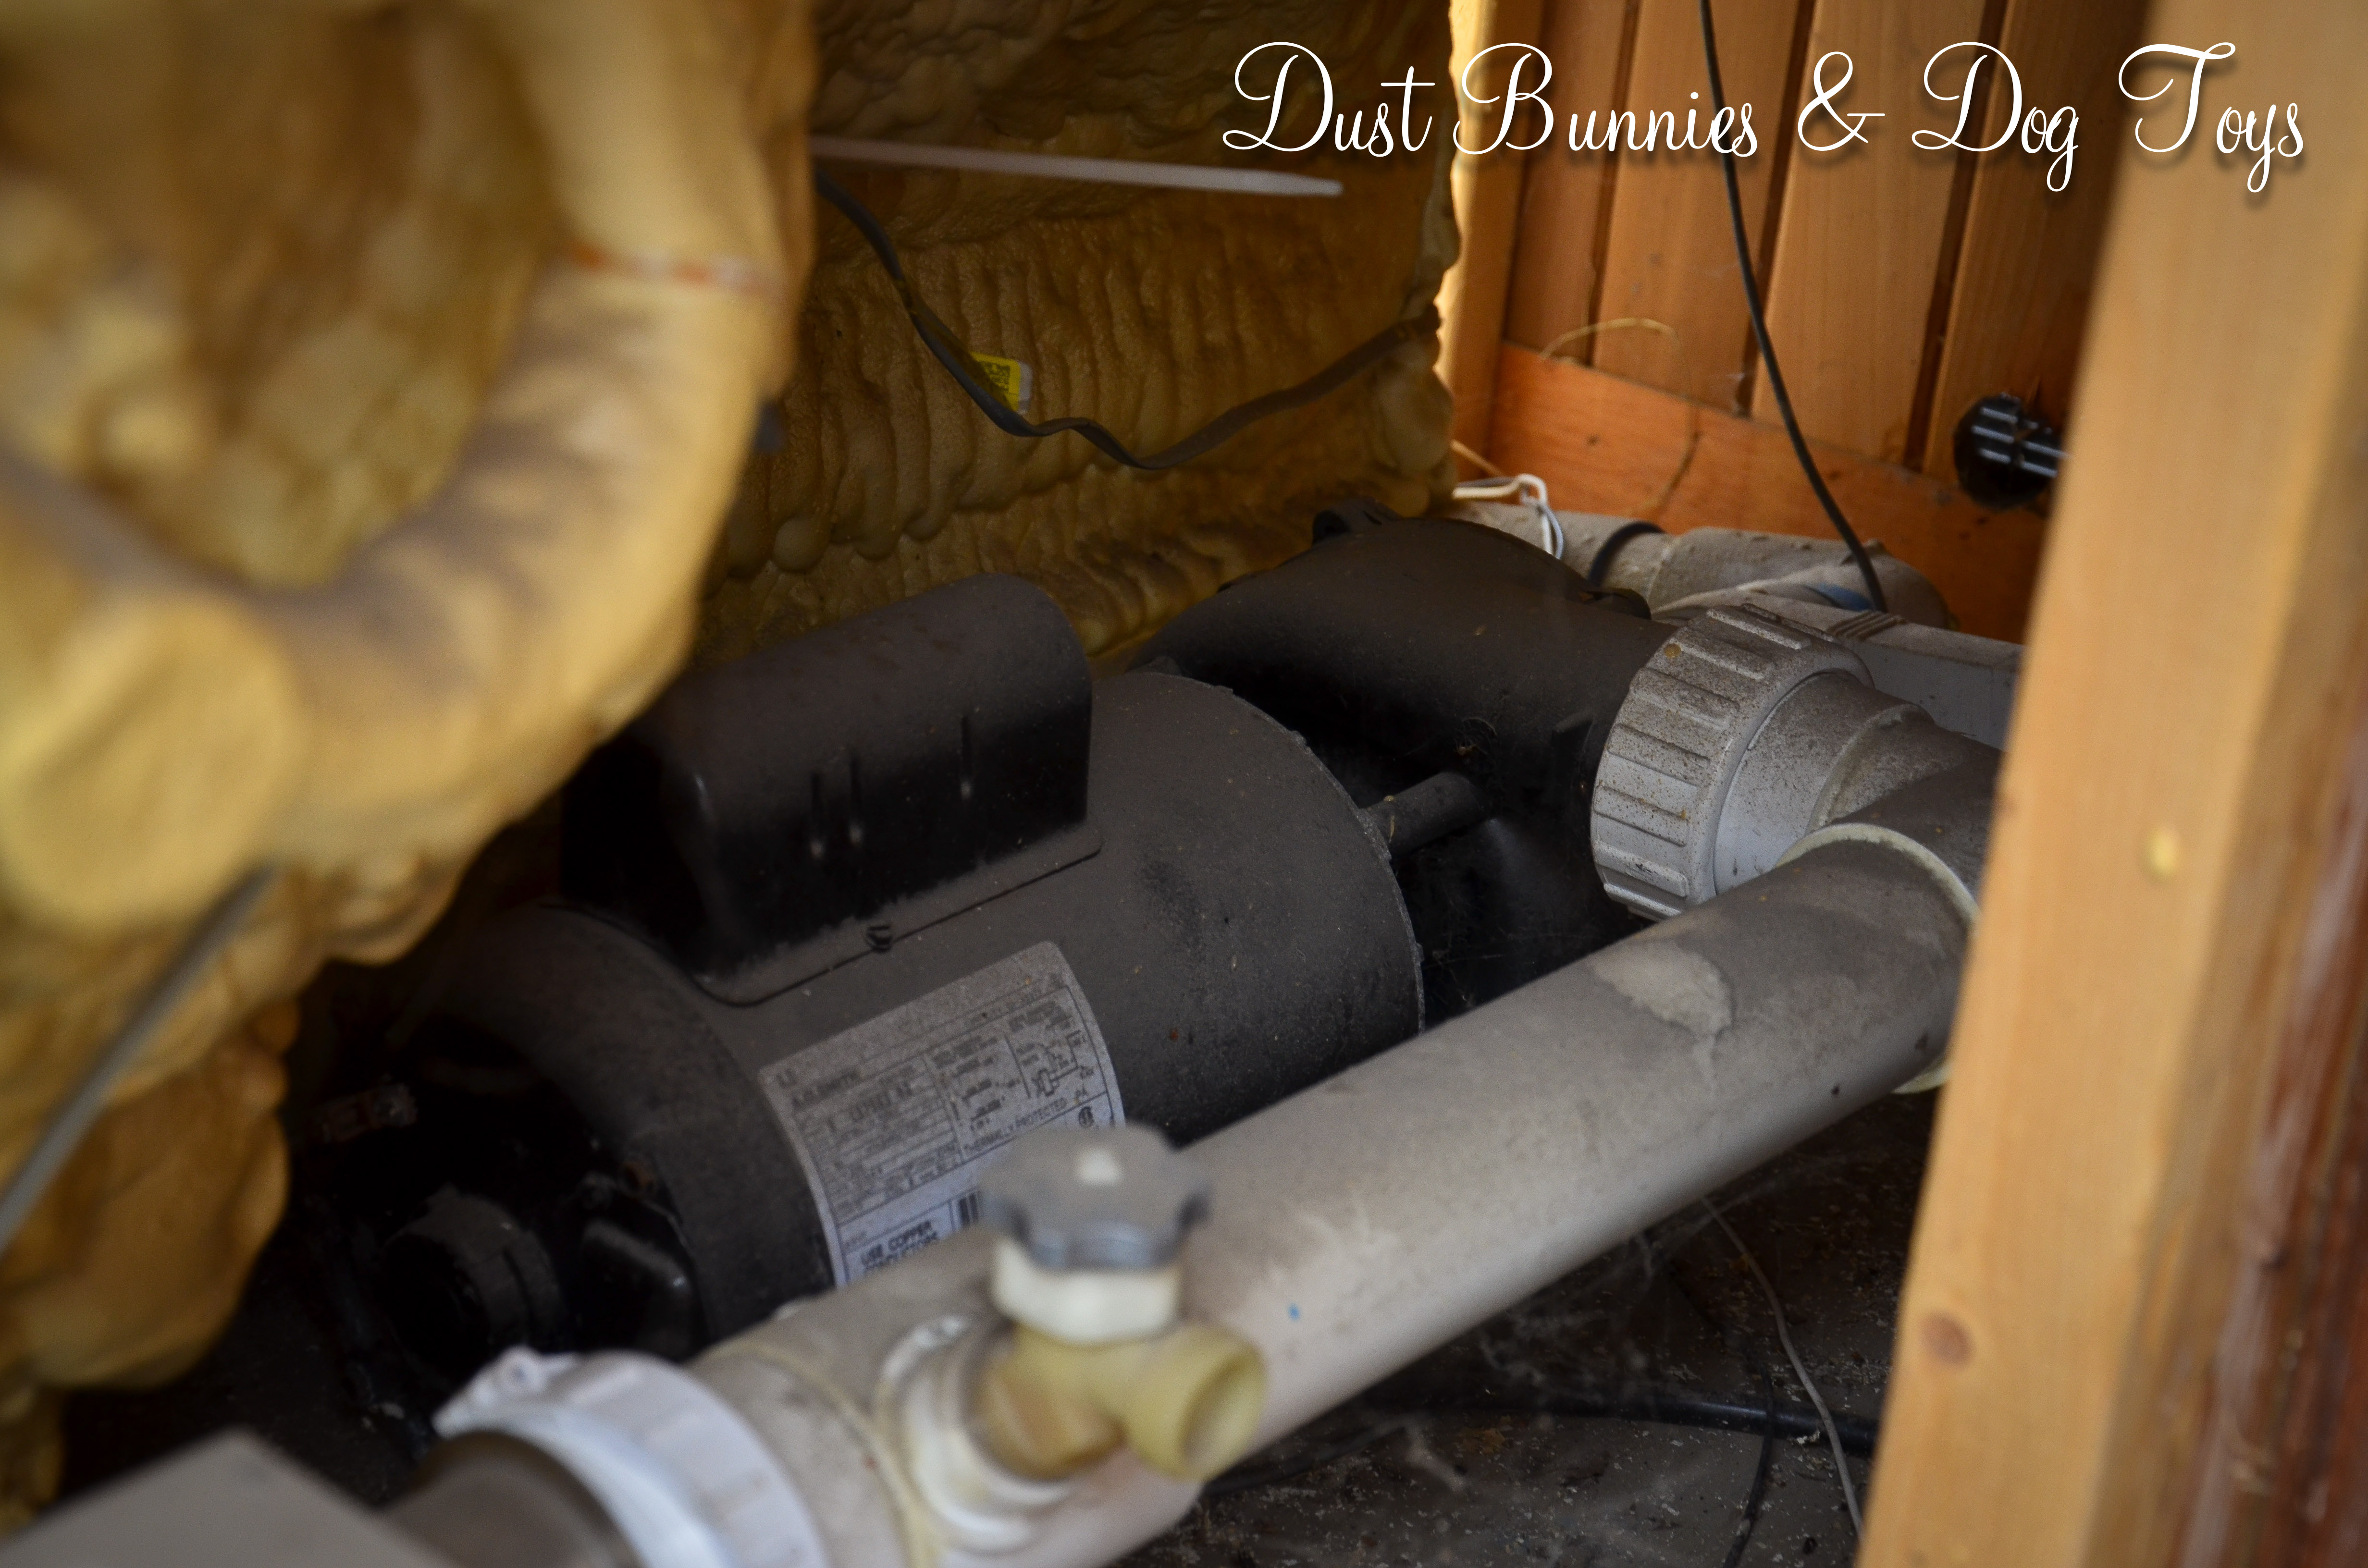
  • Washer & Dryer Pedestals (post coming soon) – I love having the washer and dryer raised.  Unfortunately, our platform was damaged during construction and hasn’t been fixed yet, which is why the post hasn’t happened. 
  • Closet Laundry Baskets – Still one of the best Pinterest finds in my book.  We again deviated a bit from the original design, but it works for us and that’s what matters.
  • Baby Shower Diaper Cake – Granted mine wasn’t quite as pretty as the Pinterest version, but it got lots of ooohhhs and ahhhs at the party.
  • Cupcake Stand – I love how this turned out, although the hot glue wasn’t strong enough to hold for transit back and forth.  I plan to reattach the pieces with a stronger adhesive when I need such a piece again.
  • Party Punch – Yummy and simple.  Can’t beat that!
  • Upholstered Guest Headboard (pre-blog) – It was so simple I showed the hubby a picture and he did it one afternoon before I got home from work without any direction.  Our design was similar to this, but with different fabric.
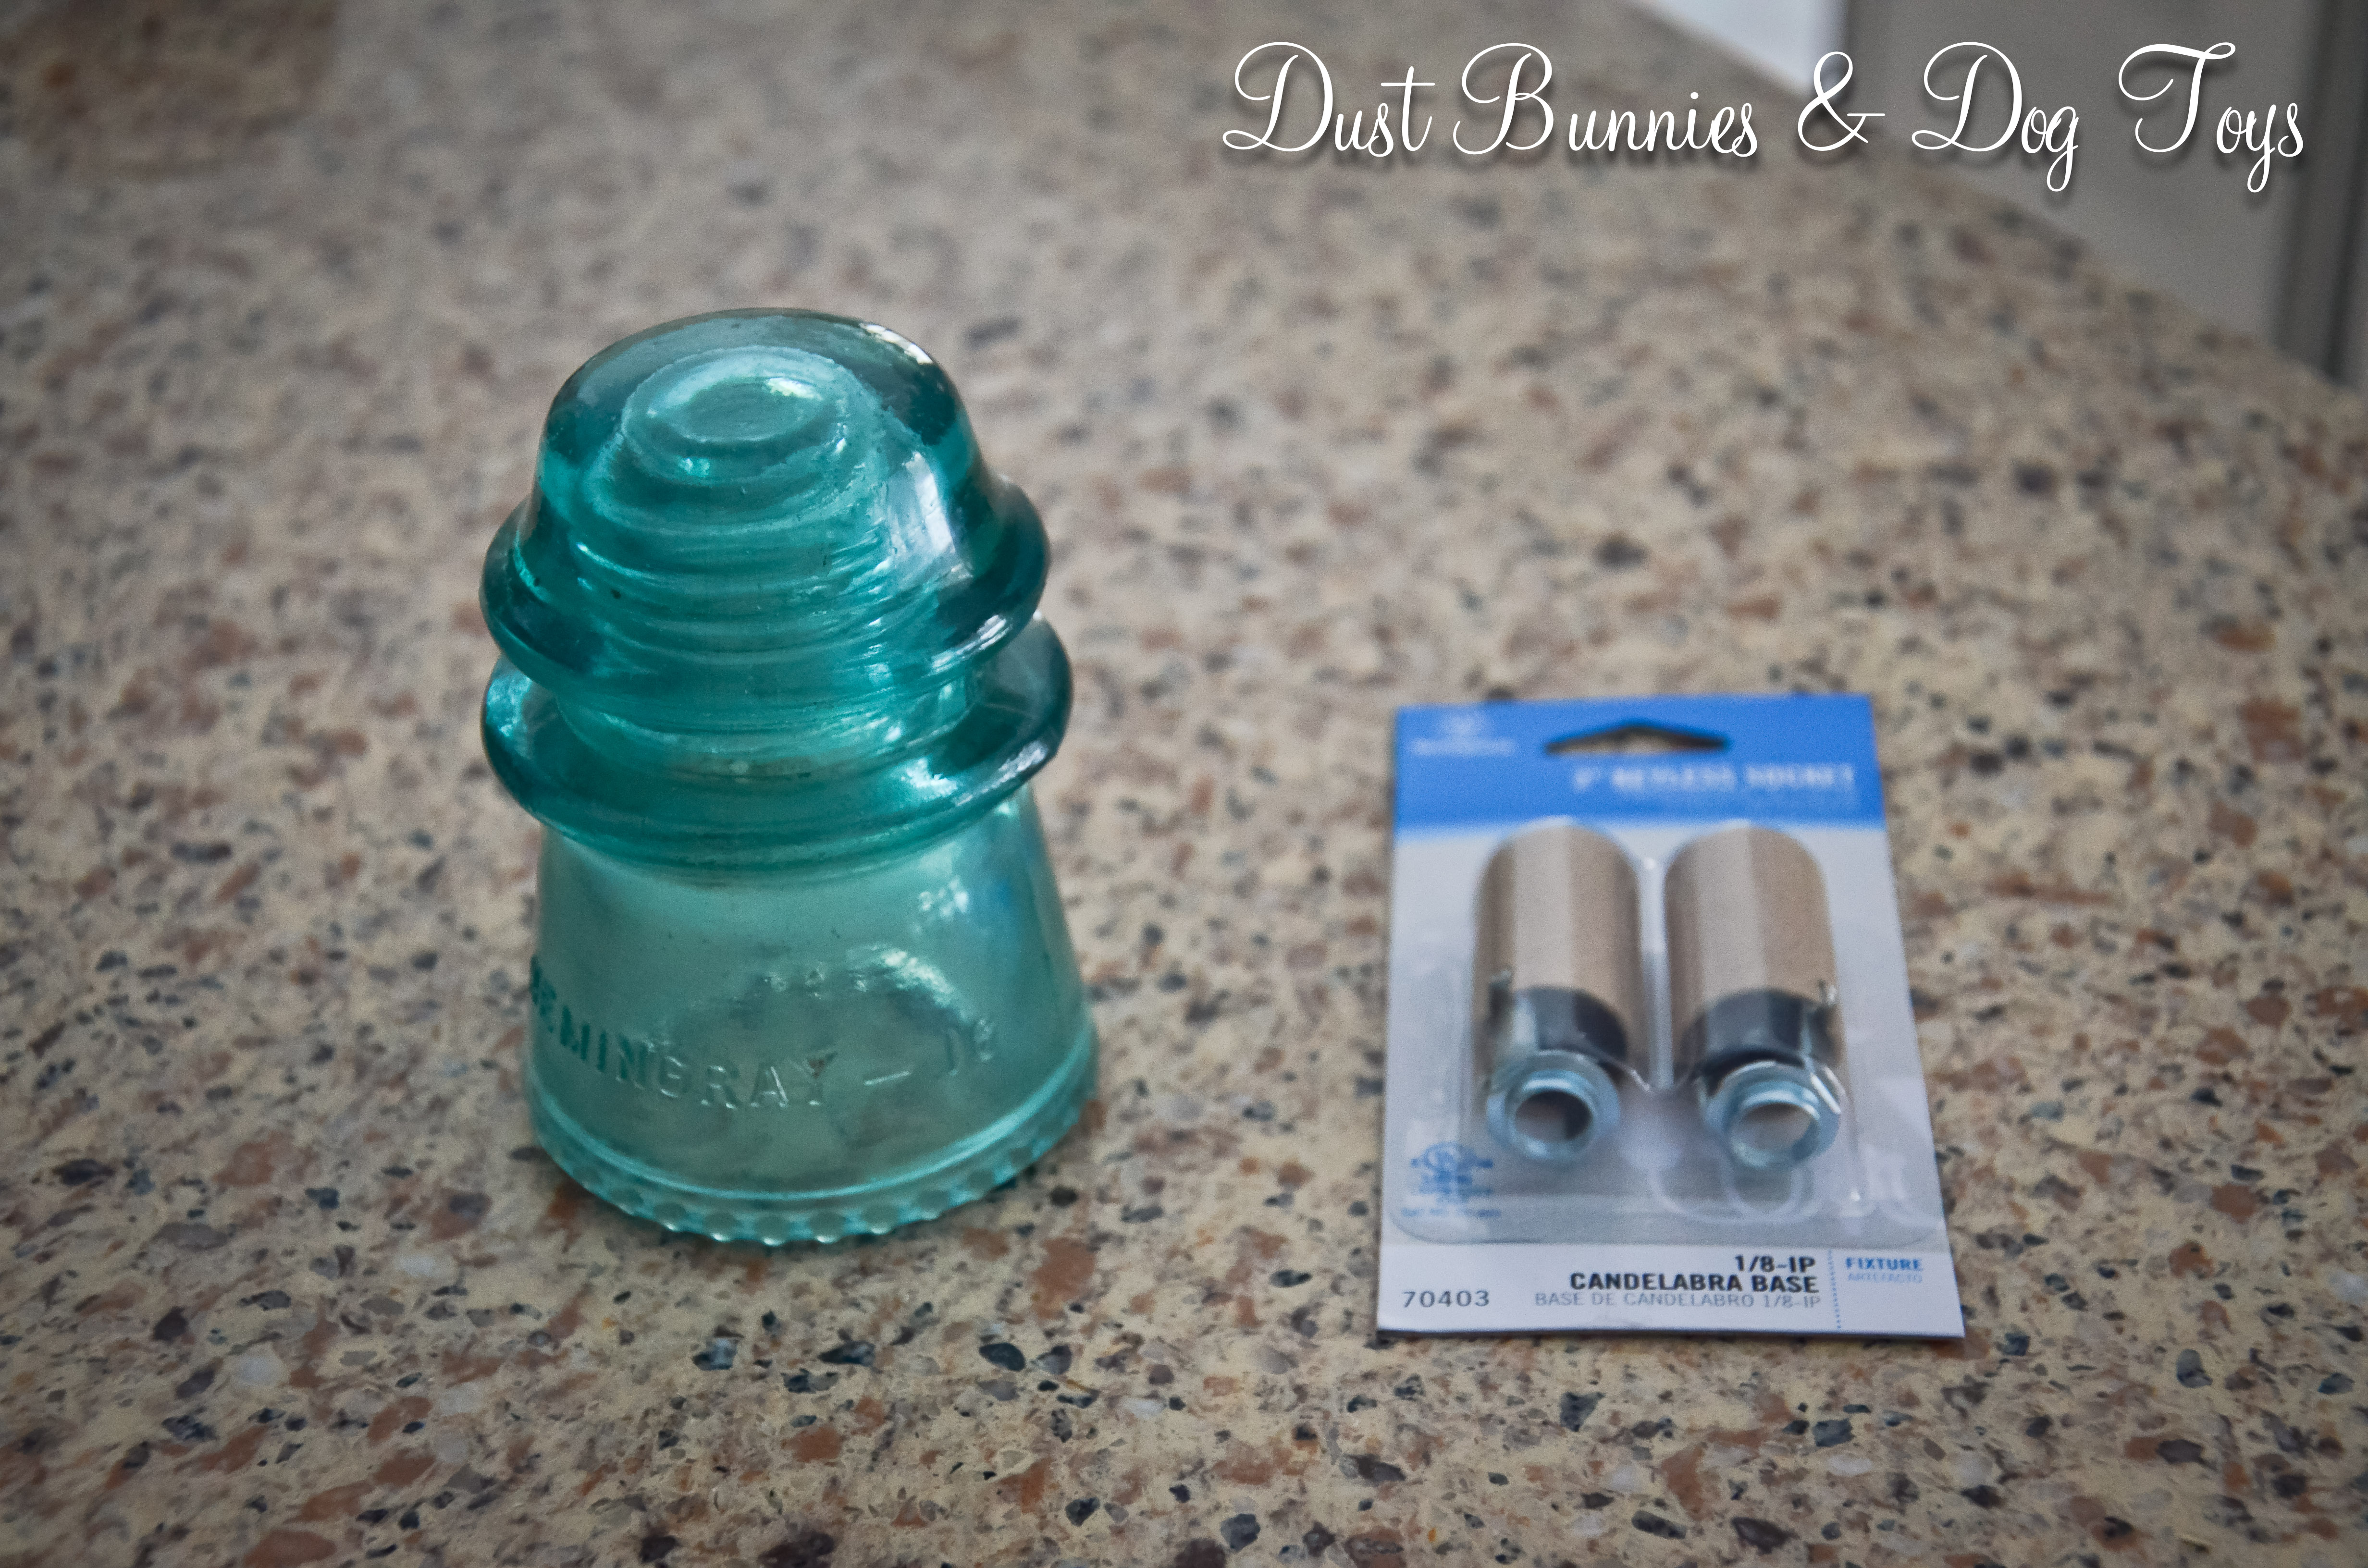
  • Kitchen Island Glass Insulator Pendant Lights – Still one of the most visited projects on this blog and one of my favorites.
  • Permanent Marker Removal – Who knew!  And it works!
  • Desk – It’s still not my dream set-up, but it works for now and it’s sure better than a folding table!
  • Gold Toed Shoes – I’m not sure mine are as cute as her’s, but I might be a bit self critical.
  • Curly Bun Updo – A success from a fail.  Gotta love that.
  • Lemon Blueberry Bread (pre-blog) – This recipe has created addicts and raised over $300 for charity!  I bet it’s original creator never imagined that.
  • Stove Cleaner – I certainly don’t miss the flat surface stove, or cleaning it.
  • Natural Cleaners – I actually need to make up another batch of DIY Febreeze because I finally ran out. Love how both work and plan to continue using them.  I also started using the DIY makeup brush cleaner recipe and am pleased with that as well.
  • Terrariums – These suckers did so well that the plants literally outgrew their containers and had to be replanted.  A few didn’t survive the transplant, but that happens.
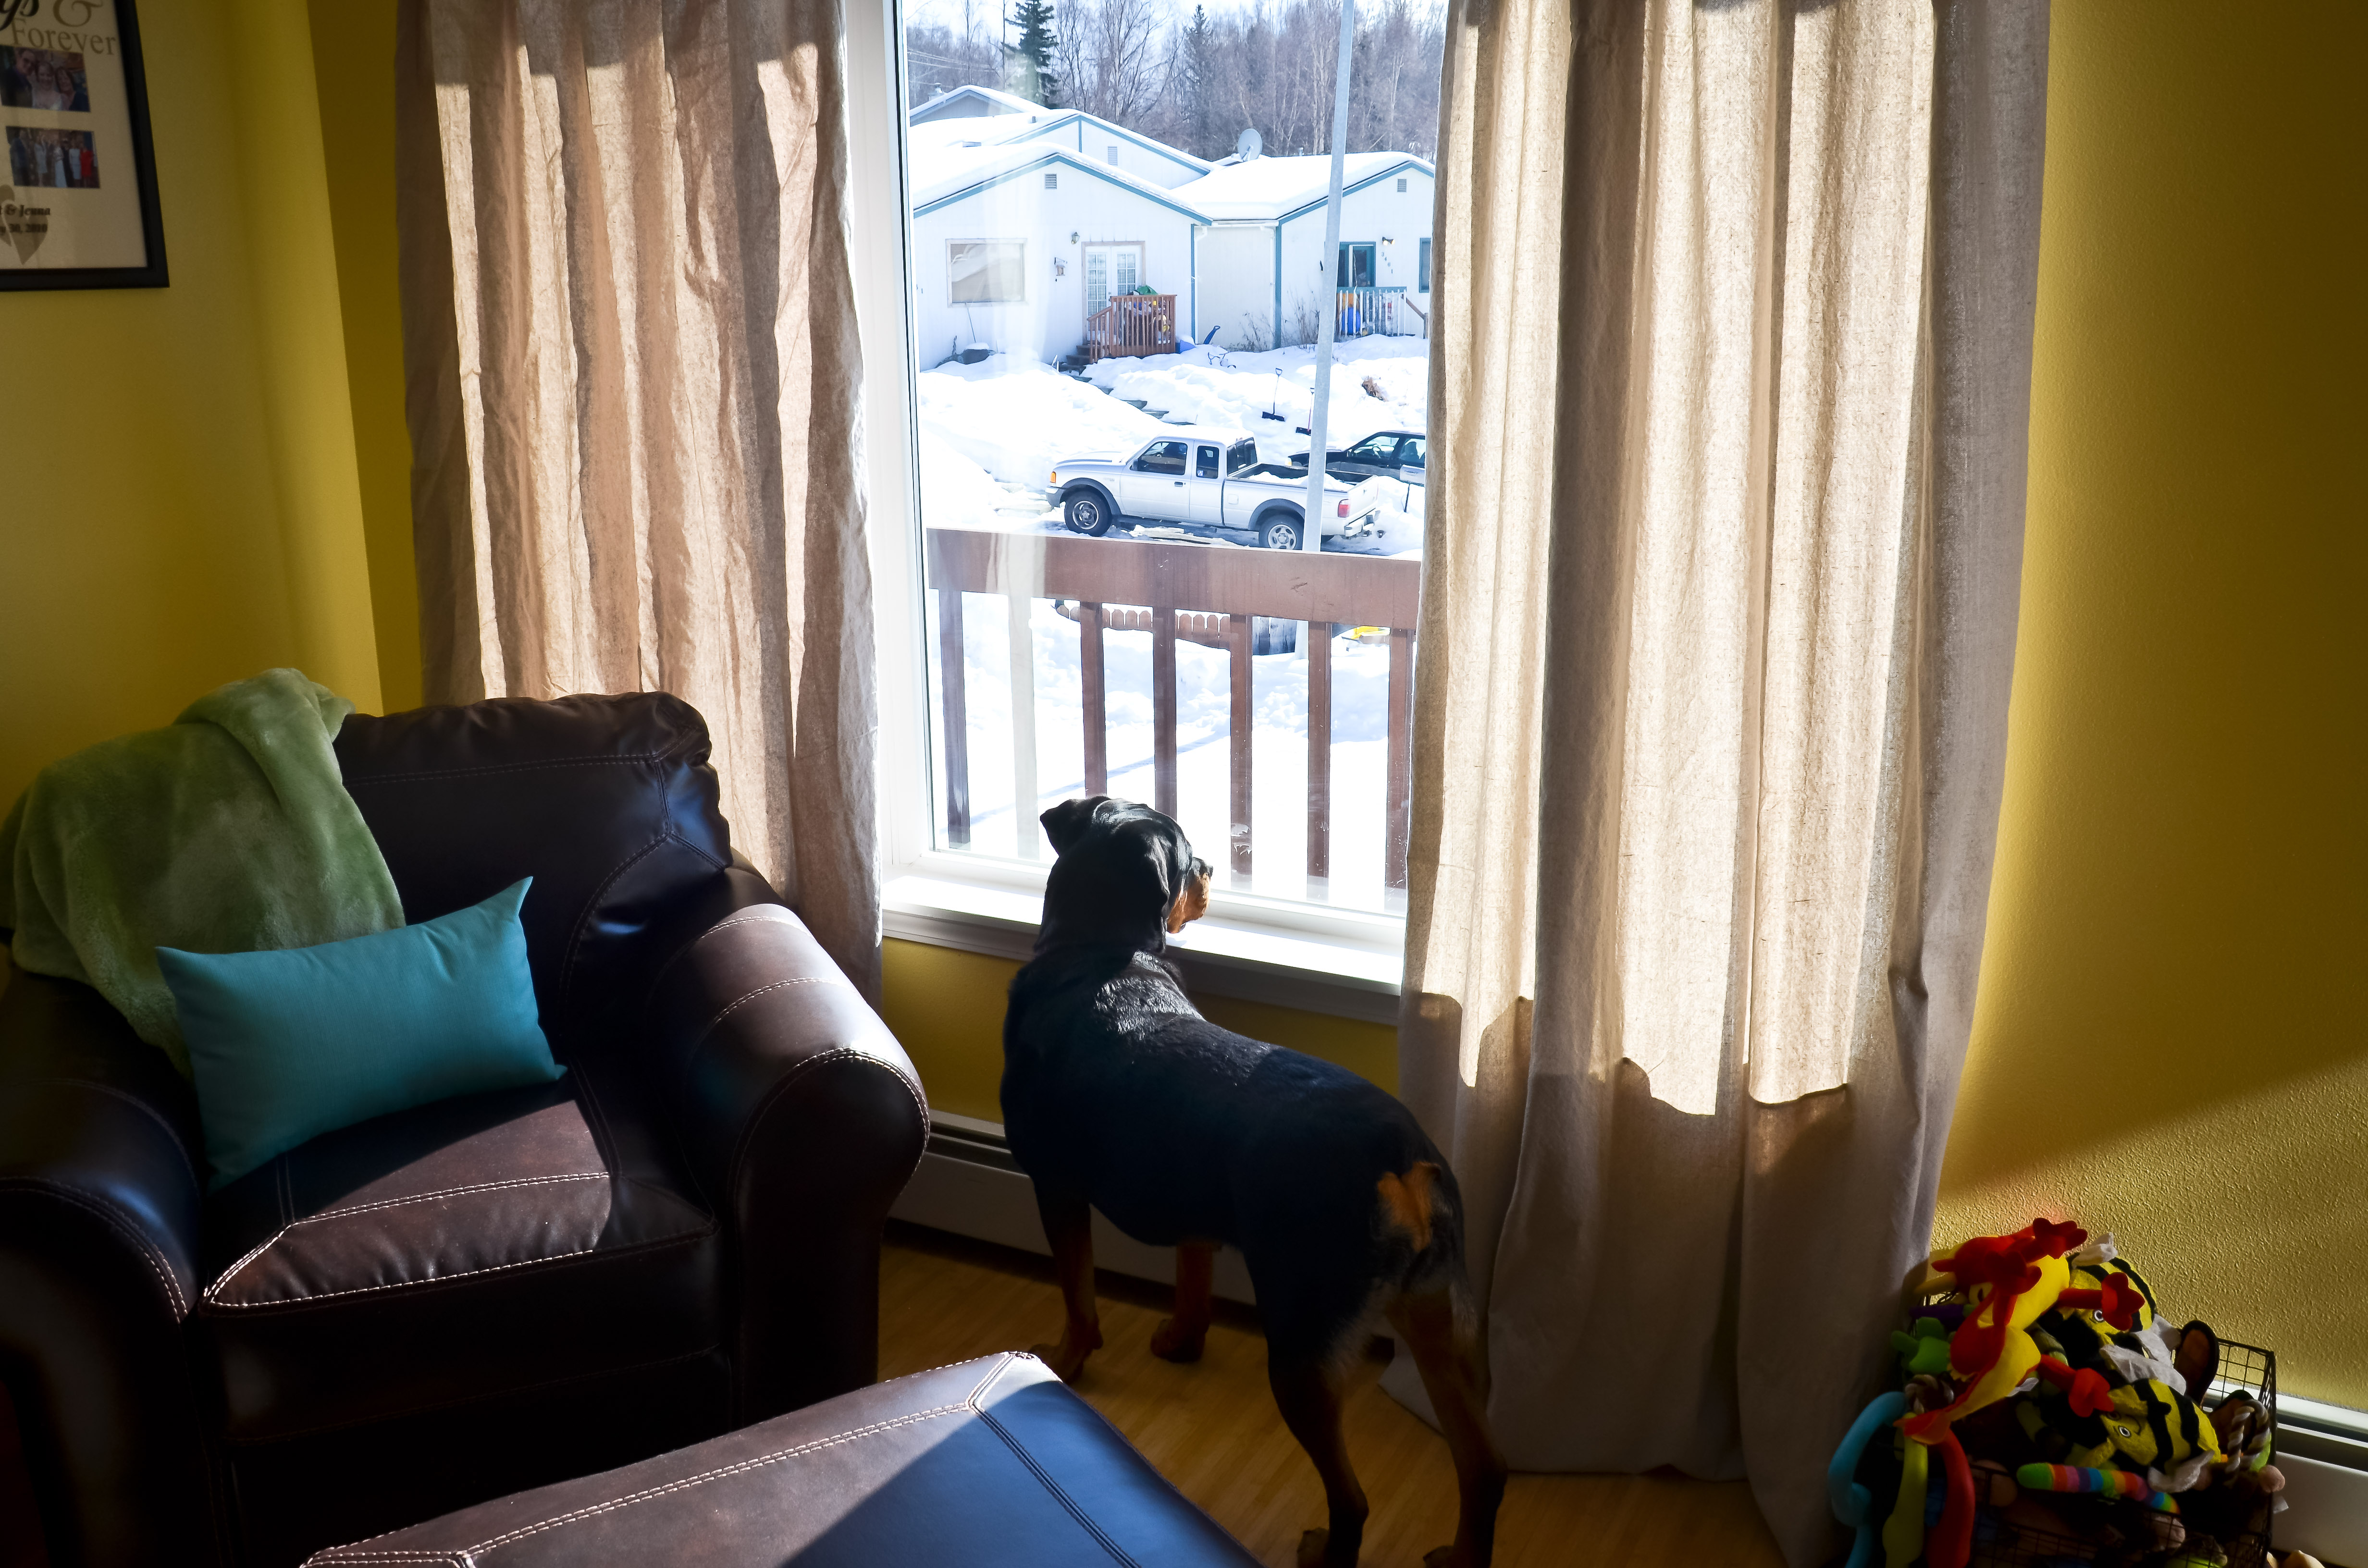
  • Drop Cloth Curtains (update coming soon on how these are being used at the new house) – So glad I found this idea now that we have SUPER tall windows!
  • Magnet Bobby Pin Holder – A close runner-up for easiest project yet.  And it works like the dickens.
  • DIY Laundry Detergent (post coming soon) – I wanted to use the recipe for a while before talking about it, but so far so good.  And it’s not that complicated to make either.

Fails:

  • Ombre Shirt Dying – This project didn’t turn out all bad, but it certainly didn’t end like I thought it would, which is why I’ve classified it as a fail.
  • No Heat Curls – Epic failure.  Maybe it’s the magic of YouTube or minimal detail on web cameras, but whatever it is, my hair does not respond well to this method.  Seems I’m destined to get my curls the time-consuming old fashioned way (shakes fist in the air)
  • Rug Stop Silicone – I’ve seen this idea all over Pinterest, and with two rambunctious pups running around it seemed like an easy solution to a constant problem.  Unfortunately, it did NADA for our sliding rugs.  However, the store bought rug stop under the entire rug does seem to do the trick.

And the winner of the “nailed it” award is….No Heat Curls!  It was so horrible I couldn’t even take a picture of it! LOL

Now that I’ve rounded up the good and the bad and the down-right ugly, it’s obvious that the majority of the ideas I find are acceptable passes.  I guess that means my Pinterest addiction isn’t that bad after all. 😉

Advertisement

An Organized Routine

If you’ve read this blog at all you know I crave organization.  Maybe I’m OCD, maybe I’m just weird, but whatever the reason, I need a routine and having a ‘home’ for everything.  It makes life less stressful when I know where things are and can find them right away.

That’s exactly why my morning routine needed some organizing.  I had all the items I use on a daily basis in the bathroom, but most of them lived under the counter and had to be pulled out one-by-one as needed.  Then I saw this post on one of my favorite blogs and had an epiphany.  I could put all of those items in one container and pull it out each morning!  When I’m done, I just put it back under the counter, out of sight.

1

It took a few shopping trips to various retailers, but I eventually found a three compartment basket made of vinyl.  Not only is it pretty, it’s durable and waterproof.  Perfect for daily use in a bathroom!  I organized everything into groups of how I use each.  First are the things I apply after getting out of the shower – lotion, deodorant, perfume.  All of my hair brushes and products are in the back compartment because they are usually taller.  The center compartment holds my toothpaste, jewelry cleaner and other items that don’t fit into either of the other compartments.

I also brought some organizing to my make-up drawer, by lining all my items up in the order I tend to use them.  Luckily, I keep it pretty minimal when it comes to make-up so I was able to keep it pretty simple.  I have a few items that I only use occasionally, so I keep them in the back of the drawer. This is the same drawer I described in my last post, where I used magnets to hold my bobby pins.

Drawer

Have you organized your morning routine?  Do you have tips on what worked or advice on what not to do?  Share them below!

DIY Glass Insulator Pendant Lights

We knew we wanted something unique for the pendant lights over the bar in the kitchen, but weren’t sure exactly what that might be.  I spotted this idea on Pinterest and immediately loved it.  Surprisingly, so did the hubs who took me to an antique store he’d just discovered to pick out insulators for our project a few days later.

We also acquired some heirloom insulators from the hubby’s Aunt in Colorado during our road trip in September, so we had quite a selection to choose from.  I set them all out and tried different combinations to decide which we liked best.

We hadn’t given the project much more thought since then as we were busy with other details and the house wasn’t ready for light fixtures just yet.  But now that it is, we suddenly had to figure out how to make it happen and choose exactly which insulators to use.

Option1

Option2

Option3

And finally decided this was just right.

Winner

My handy dandy hubs found the right bit and snuck in time on a drill press at work to drill the holes.  The first four drilled without a hitch, but then while drilling the last one it cracked!

1

2

Crack

We had a few others in the same color and size, but they all had pretty big chips, so that wonderful hubby of mine made another trip to the antique store and picked up two more for $9 each.  He drilled both without a problem, but one did develop an internal crack.  We decided to still use it since it added character, and that left us a spare in case any ever did meet an untimely fate and require being replaced.

We followed the tutorial from Pinterest and purchased the same materials to retrofit the pendant cords the builder installed.

Supplies

It took a little trial and error to figure out the best method for removing the parts we didn’t need and reusing the parts we did, but the hubs made it happen – even though he was super tired!

Work
Notice that mess on the counter? That’s how the rest of the house looks too.. I think I have hives.. LOL

Work2

It also took a bit of adjusting to get them all at the same height, but they look awesome!

Finish2

The builder thought we were nuts when we showed him what we were planning, and all he had to say when he saw the finished product was “It’s different.  I’ve never seen that before.”  But at this point, if it’s something he doesn’t have to do, he’s game.

The LED bulbs don’t put out much light at 0.6 wt, but the recess lighting in the main area of the kitchen supply plenty of light to cook by.  They do make a nice ‘night light’ when on by themselves, so that’s probably how we’ll use them the most.  We will be on the lookout for brighter bulbs that will fit, but for now these it the bill.

Finish

I just adore the finished result.  Not only are they unique and repurposing something that is otherwise unused, but they bring a piece of family history to our new home.

Have you ever used old glass insulators for projects?  If so, please share!  We still have several and need some ideas.

Shared at Knick of Time’s Vintage Inspiration Party #203!

I’ll Take That As a Yes!

In my last post I mentioned that we planned to add a hot tub to the back of the house near the slider in our Master Bedroom.  We originally thought we’d purchase a smaller close-out model as our ‘joint’ Christmas present to ourselves, but while browsing Craigslist recently I noticed that they tend to pop up for FREE with only minor issues.  Apparently many people get them or inherit them when they move in and don’t want to maintain them, so they want someone to haul it off to make room for other things.  Works for us!

We’d called about one advertised as ‘working but has a crack due to water being left in it over the winter and freezing’.  Apparently so did a lot of other people and we were too far down the list to end up taking it home.  It must have been fate because the other night I spotted another post for a free hot tub that said it ran, had a new pump and heater, but had a small leak.  I emailed the contact and asked to come take a look the next afternoon.  Luckily, I was the first to do so because the gal said we had first dibs before she responded to other emails.

The hubs went to look at it after work Monday night and made arrangements to come back when the lady’s boyfriend was off work since he owned a nearby equipment rental business and could load the massive 8 PERSON tub on our 4-wheeler trailer with a forklift!  So, later that afternoon the hubby went back to their house with our trailer in tow and came home with this.

1

It’s in desperate need of a good scrubbing, but upon inspection of the inner workings it seems to be in great shape albeit home to many creepy crawlers – who didn’t seem to faze my hubby from inspecting every nook and cranny.

3

6

From what my jet engine mechanic husband can tell, it just needs a fitting on this pipe (photo on the left) next to the power box replaced so it looks like its match on the other side (photo on the right), and a new plug.

4  5

Hubs estimates the fitting to be under $15 and thinks the plug should run less than $50!  There is a hot tub store nearby so we plan to take it by there to confirm the parts needed and order them.

The standard cover was included, although it too needs a good pressure wash.  The new heater is still in the box, so we’ll keep it as a spare if everything works fine when we fire it up.  It also came with a box full of chemicals to maintain the PH and whatnot.  I haven’t checked for expiration dates on any of it but I’m sure there’s enough in there to get us started and figure out what we’d need to have on hand.

2

I’m sure this will be one of the first items ‘set up’ upon move in, and plan for it to be in use when we do finally have a house warming party!  We plan to build a deck off our bedroom to match the builder provided deck off the dining room and have a lower area between them covered with pavers or gravel for additional seating.  The hot tub will sit on a paver or concrete pad just to the right of the deck off the bedroom so it’s an easy step down into it rather than having to climb in and out of it on the deck.  That plan also eliminates the need for extra support beams and braces when we build the deck, saving money yet again.

Now I’m on the hunt for ideas on how to update the worn exterior paneling on the tub, which I’m thinking can be lightly sanded and restained or painted.  I’m sure Pinterest will have a host of ideas for that rather large project!   But the elbow grease will be well worth it in the end! And the hubs and I will be singing Phil Vassar’s “Hot Tub” song while enjoying the fruits of our labor! 🙂

I Can See The Light

Now that we are moving forward with construction on our new home – finally breaking ground THIS WEEK!! EEKK! – I’m starting to think  obsess about the little details we will soon be choosing.  Light fixtures are my current focus.  I know it’s one of the LAST things we will need to pick out, but it’s what my brain wants to think about apparently.

Ever since I heard someone on HGTV describe the basic builder grade fixture as a “nipple light” or “boob light” I’ve been obstinately prejudiced to them.   I also don’t want fixtures that will collect dust and require me to climb on ladders to constantly clean or suffer increased allergies if I’m lazy busy.  PropFanLuckily the hubs isn’t extremely picky when it comes to these types of details and lets me pretty much have free rein since I usually pick something he’s ok with.  I really love that we have such similar tastes!

I did drag him to a lighting store downtown that I’d spotted and wanted to check out, but in the end he’s glad I did because we found this!  A propeller styled ceiling fan!  How cool is that?!  (Sorry for the crappy iPhone pic, but that’s the best I could get looking up and trying to crop out the other displays.)  Yes, it’s a little spendy, but we can make it fit within our allowance and I think it’s a great fit for his love of flight and the craftsman style of our home.  At first he thought I was joking that I liked the prop style, but when he realized I wasn’t kidding the light bulb went on (pun intended) and he was suddenly more interested in the rest of the lighting choices.

The kitchen island will have pendant lights over it which sounds simple, but there are literally hundreds of styles of pendant lights out there these days.  I was originally thinking of doing mercury glass shades, but then stumbled upon this idea and found that the hubs really likes it and wants to help make them!  I guess we’ll be on the hunt for old insulators now! 🙂

I’ve been eyeing this pottery barn fixture for over year now for the dining room and found similar options like this at the big box stores for much more reasonable prices. Again the hubs liked my suggestion!  I’m sensing a trend here…

Then we spotted this ceiling fan at the big box store and both immediately liked it.  We thought it would be a nice compliment to the prop fan, but at a lower price tag for the Master Bedroom.  We plan to add a light kit the to the bottom, which seems pretty inexpensive and easy to do.  We just might have to spray paint a not so pretty brass light with ORB so it jives with the rest of the fan’s hardware.

Although I don’t love its hefty price tag, I absolutely ADORE this fixture and think it would be perfect in the entryway.  I didn’t see Entryit at the store the last time I was there and haven’t had much luck tracking it down online, so I might have to go back to the store and ask them to order me one.  This is where the hub’s enthusiasm wore out.  He apparently doesn’t have an opinion one way or another on this one other than the price.  If you know of where I can find something similar please let me know so I can compare!

Granted there are a few spots where I plan to have the builder install a basic fixture which we will change out with a creative DIY later like this little cutie I found on Pinterest.  I think it would look nice in the laundry room since I have a subtle rustic Americana theme in my laundry room décor – which is currently packed away since our rental has the washer and dryer in the garage!  I’d also like to create something like this for the Studio/Office if I can find some antique crystal decanters, or try my hand at making faux mercury glass with a tutorial I found online.

We have an appointment with a sales rep at the store downtown Monday evening so we’ll see if he can fit it all in within budget.  If not, we’ll get a few specialty pieces for the main traffic areas and then supplement basics elsewhere to be swapped out later as inspiration strikes.   We are also narrowing in on our final choices for cabinets and counter tops so watch for a post about that soon too!

Trying Something “Different”

My hair and I have a love-hate relationship.  I love to hate it.  I guess it’s that thing about you always want what you don’t have.  I have thin, limp, straight hair.  So I’m totally in love with any style best suited for full, thick, wavy/curly hair.  I recently grew my hair out from the bob haircut I was sporting about a year ago just so that I could curl my hair and do the pretty up dos that abound on Pinterest.

Unfortunately, I’m not extremely proficient at hair styling, especially on myself.  And the fact that I have to apply product, curl and then style each morning takes more time than I usually care to spend on my hair.  So I searched for ideas on how I could comfortably curl my hair while sleeping and found this tutorial which I gave a try last night since it was the weekend and we planned to go trail riding in the morning, so it didn’t really matter what my hair looked like as it would be wind-blown by the time we were done.  It’s a good thing because when I pulled out that headband in the morning, it looked like I’d been in a fight with a curling iron wielded by a beauty school drop-out!  I was too frustrated to take pictures of what it did look like, and even if I had I probably still wouldn’t have posted them.

Let’s just say it wasn’t a style I plan to use again, but I figured I had some texture so why not try out an updo style I want to start using to hide the fact that they weren’t pretty curls.  I’m in love with all of the tutorials Kate over at The Small Things Blog does, especially her messy buns like this one and this one.  So I combined elements of each.  And this is what I ended up with.

CloseUp

I was pleasantly surprised!  It’s definitely better than the typical pony tail or twist & clip styles you typically see sported for casual outdoor activities.  I think it needs some teasing for volume at the crown and the side twists should be done looser, but with a little practice and refining it might even be suitable to wear to work!  And even better is that it’s comfortable and seems to hold fairly well.  I had a few pieces come out while riding, which I just twirled and tucked back into the mess.  I had the hubs take a typical side and back shot so you can get an idea of how the whole thing looked.

  Side   Back

So maybe that headband curl idea wasn’t such an epic fail if it provides a base of texture to create something like this quickly.  Perhaps I’ll give it another try next weekend when I have time to ‘play’ with the results.  When I asked what the hubby thought of this new look he said, “It’s different.”  *SIGH*  He’s such a great friend who I want to share everything with that sometimes I forget he’s a GUY and not a girlfriend!  I asked if it was a ‘good’ different or a ‘bad’ different.  He said, “Well it smells good.” Um.  Ok.  I pointed out that it smells exactly the same as it does every day because I used the same hairspray I do every day!  At least I know I smell good – according to him anyway!  LOL

DIY Drop Cloth Curtains


BeforeThe family room of our rental is like a greenhouse.  A massive southern facing window and then a glass door leading out to a small balcony flood the space with light. You can see this wall of windows in this picture from the day we moved in.  Mind you I love how bright it is, but even with temps hovering around freezing outside we’d be roasting in this room by mid-afternoon.  Plus being in a cul-de-sac means all of my neighbors can see in just as much as I can see out!  But most importantly my husband was concerned with how the sun would interfere with watching TV in the space! Of course a man would find that the most important reason to need curtains.

I didn’t want to spend a lot because I’m sure I’ll want to do something different in our new house so I went straight for my “Window Treatments” board on Pinterest.  And of course I found a perfect solution.  Drop cloth curtains.

I hit Home Depot and picked up three 16′ x 9′ clothes for about $15 each.  While browsing the size options a young man in the infamous orange apron asked if he could help me find anything.  He probably thought I was lost looking at my phone and then back at the shelf.  When I said I was just trying to decide what size I’d need to make curtains based on a tutorial I’d pinned he immediately asked to see what it would look like!  I was stunned.  But he was genuinely interested and seemed excited for my little project.  He wished me well and moved on to assist another customer.  I almost wanted to ask if he wanted me to bring in a picture of how mine turned out!

Layout
Most of the tutorials I found involved cutting and hemming, which I was hesitant to do not knowing what the dimensions of our new home will be or which room I’ll use these in when we move.  So I did what any DIY frugalista would do.  I laid them out on the floor folded them to the length I wanted and pinned them! (See what I mean about how bright it would get in there?!)

PinSideA couple of pins down the sides of the folded section and then across the top and I was ready to hang.  I dug out some curtain rings I had from window treatments at our old house and just clipped a cloth up on either side of the window.  I didn’t measure the spacing for the clips I just guesstimated by finding the center and then the 1/4 mark after clipping both ends.

I did wash each of the drop clothes before hand.  I probably should have ironed them too, but I don’t iron.  Seriously.  I don’t iron.  If something in our house needs ironing my husband does it.  It’s like my cryptonite.  So the end product is a little wrinkled, but I figure that will fade the longer they hang.FinishedAnd here’s the finished product.  I didn’t plan it but the folded excess hits right at the window ledge, creating the illusion that the darker color at the bottom is from the lack of light from behind at that point.  Wish I could claim that was sheer genius planning.  But it wasn’t.  I’m sure the dogs appreciate that they don’t prevent them from continuing their daily neighborhood watch.  And my husband appreciates being able to pull them closed to watch a movie!  I plan to make them a little more fancy at our next house with a stencil of some type once they are really hemmed! 🙂