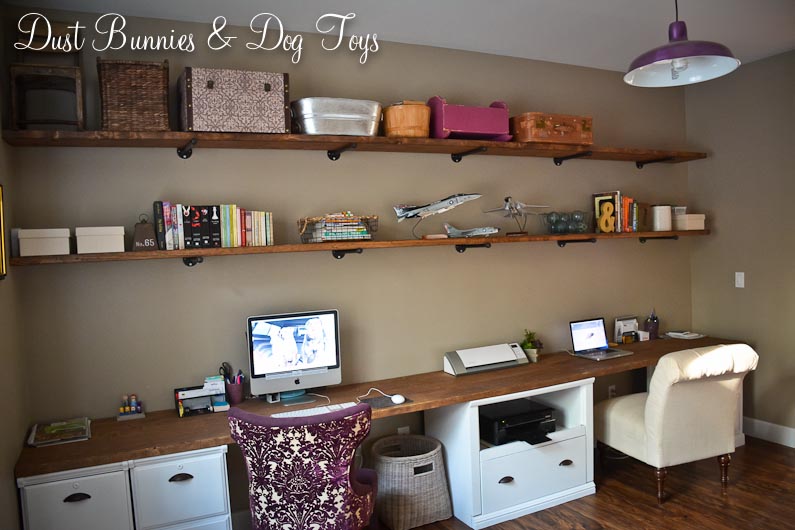
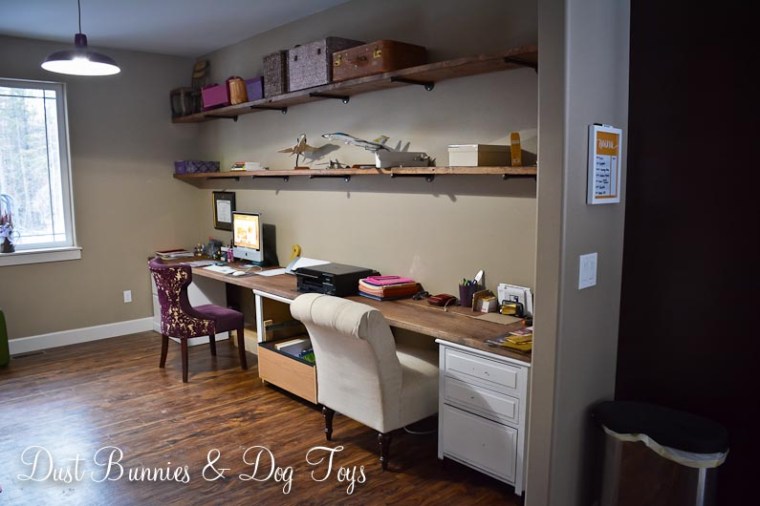
Hi everyone! The hubs and I were so busy working on projects last week that I didn’t get a chance to write about any of them, so this week I’ll be playing catch up and have a lot to share! Up first is the biggest project, our wall-to-wall desk in the office!

It’s come a long way from the first DIY set-up we did with two filing cabinets and a freebie door when we were in the rental. I started to get a sense of how my dream workspace would function when we expanded the desktop after we moved in to the new house and the recent addition of the industrial style shelves took it up another notch. Next we stained the raw desktop to match the shelves, which made the desk visually ‘heavy’. Unfortunately, I somehow neglected to take a picture of this stage, but even the hubs agreed that the darker desktop made the entire unit feel a bit big and bulky. Luckily, painting the cabinets was the next step. To prep, we removed all the hardware and gave the surfaces a light sanding. The hubs taped off the areas around the cabinets and I painted them white. It took a couple of coats, but it definitely brightened the space.

I wasn’t loving the white at first, but decided to live with it for a while before I made any final decisions. A few days later the hubs installed the new hardware we’d purchased to match the pulls on the cabinet nearest the door and that made all the difference. Suddenly I LOVED the white. Maybe I couldn’t see past the displaced clutter before then or maybe I just needed some contrast so they didn’t feel like big white blobs. Whatever it was, I did another happy dance when I saw them together with the white.
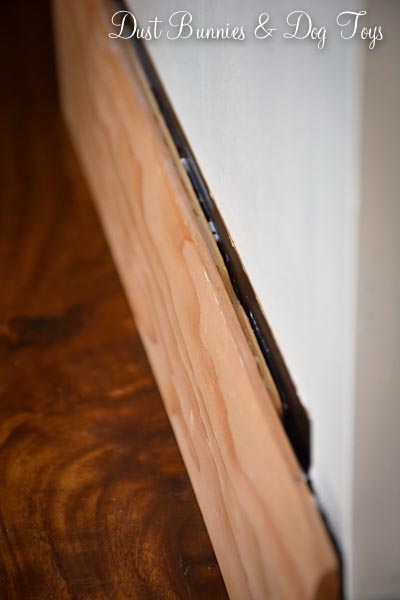
Three of the four cabinets went all the way to the floor, but the cabinet nearest the door had legs. Not only did this not match the other cabinets, it was the perfect place for dust bunnies to collect which meant they had to go. The easy option would have been to cut off the legs, but that would have made the cabinet too short, so instead we opted to install molding around the legs. We picked up a plain baseboard molding with a small curve at the top and cut it to size. Unfortunately, it wasn’t quite tall enough to cover the entire height of the legs, so we got creative.
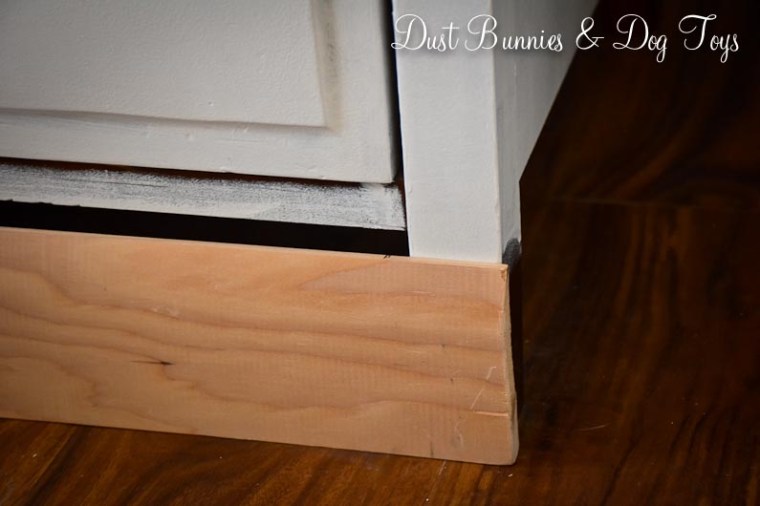
A piece of scrap wood filled the space between the legs, but because the legs stick out from the body of the cabinet a bit, there was a gap between the filler board and the molding. The hubs solved this with a paint stick and some wood filler. Genius! Once everything was painted you’d never notice.


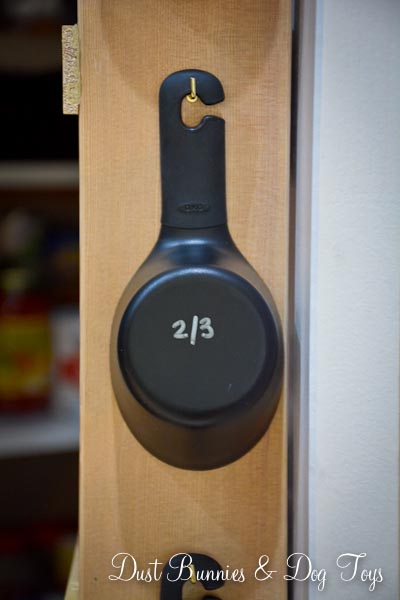
The hubs also rigged up a shelf for the printer in the middle cabinet. He added a small platform on tracks so it can be pulled out when we need to replace ink cartridges or clear a jam.
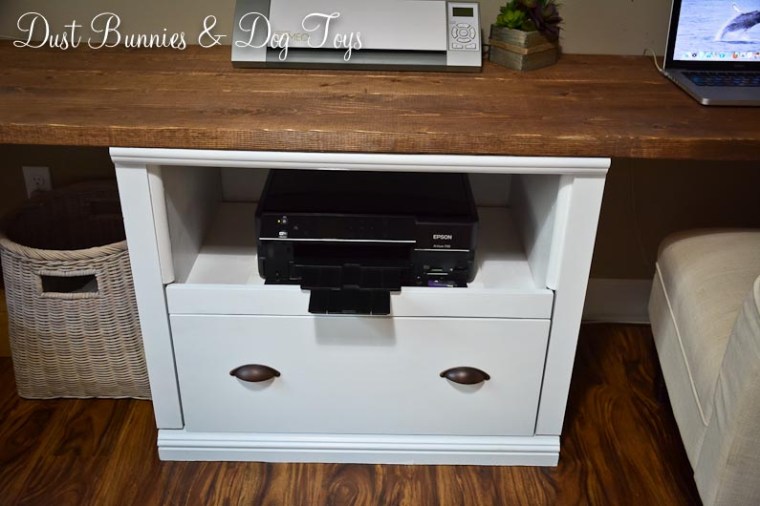

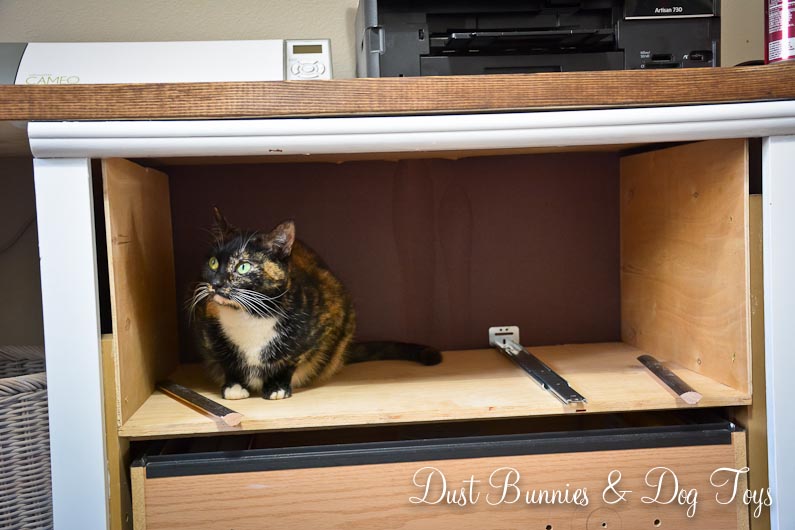
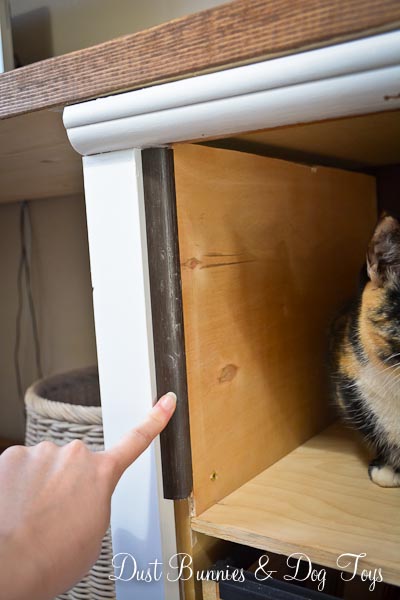
Because the space where the shelf was had previously been another drawer there were some odd supports on either side of the interior of the cabinet. Once again the hubs flexed his thinking muscles and came up with a solution. A thin panel attached to the supports made everything flush and quarter round hid the supports from the front. Luna made sure to inspect his handiwork and apparently approves.


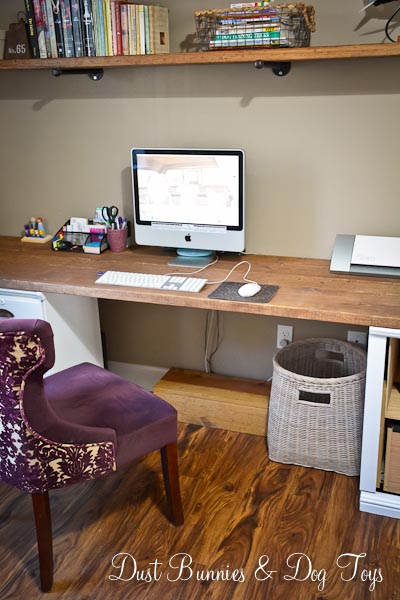
I swapped out the blue bag the local shred company provides for a much prettier basket I picked up at Target. The grey material has a bit of white, which plays off the cabinets nicely. I keep the bag tucked behind the basket so I can fill it when I need to take it in, but since we typically use our shred file for fire starter and filler in the fire pit that’s not very often. This change was also approved by Luna, who loves her new hiding spot. 🙂

I also stained the cord box so it blends in more with the flooring and is less noticeable. Now that everything is finished, I cleaned up the wires and will soon hide them in a channel that can be painted to match the wall so you’ll never even notice them. Now that the printer is tucked away, my Silhouette sits in the middle of the desktop and both of us have plenty of room to work.
I’m still finessing the accessories on the desktop and shelves, but it’s pretty much done. The top shelf is strictly for photography props (including some room for new items!) and we each took a third of the bottom shelf. The center third is home to models of the planes the hub’s dad flew when he was in the Navy. On my side, my photography guides and smaller extra gear fit in two decorative storage boxes, which also hide the driveway monitor speaker. Next to that are my books and a basket for a few magazine style guides I keep.
The hub’s side became home to his cookbooks that had previously lived in the pantry. I gave him a storage box and canister so he could also store all of the cords and miscellaneous gear he wanted to have handy. And that means the tub of “stuff” that has sat on the other side of the room since we moved in is now gone!

I’m loving the industrial farmhouse look the whole project has and the storage it provides has created so much space in this room. Now it really functions as an office, craft room and studio with style. And that make me very, very happy!
This post linked to Tatertots and Jello’s Link Party Palooza, Knick of Time’s Vintage Inspiration Party and