Adding Function to the Laundry Room

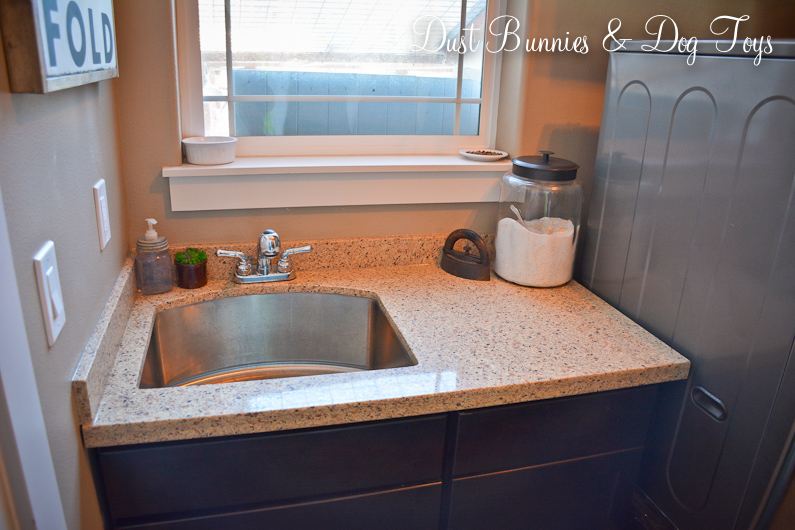
Today I’m sharing a quick addition I made to the laundry room.  Now that we’ve got the counter top finished and the sink operational I found that we needed a spot for a hand towel to dry your hands.  I’d been eyeing this vintage industrial style shelf and towel bar for a while so when I spotted it for a good price I ordered it quickly, figuring it would either work in here or the guest bathroom.  Due to shipping costs I had to have it sent to my Mother-in-Law’s house and wait to pick it up until our trip earlier this summer.

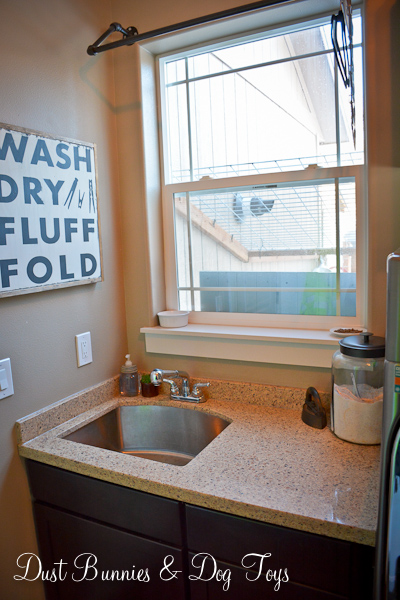
This spot has had several variations since we moved in.  First I had some DIY decor here, then there was a rustic laundry sign, but I decided to sell that and have a different one made for the wall above the board and batten on the other side of the room where the tobacco baskets are currently.  Those will move to the guest room above the new headboard.  I plan on making that change this winter, when there’s not so much going on in the yard.

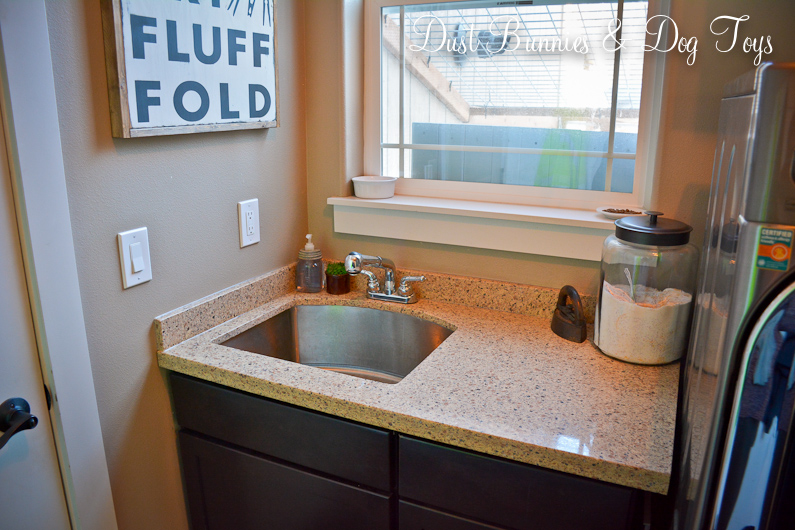
The metal look ties in perfectly with the DIY drying rack the Hubs built me above the window.  I styled it with one of my faux succulent planters and a blue mason jar that I’ll be filling with vintage clothespins.  I may add a few other little things, but will let those “find” me in the coming months.  You can’t tell from this angle but the bottom of the shelf is an open style wire so whatever I use on it will have to be big enough that it does’t fall through.

As you can see from the winkles in the towel, it’s been getting plenty of use and it’s just the right size for the wall without blocking my DIY soap pump in the corner.  One more project done, and you know functional decor is my favorite kind! 🙂

Advertisement

The Finished Laundry Counter

I’m so giddy to be able to share this finished project with you all!  Remember way back to No-Spend January of 2015 when we installed this cabinet where the plastic sink used to be?  We’ve been living with a plywood top and no faucet for the sink since then which you’ve seen in a few posts like this.  It functioned for what we needed and there were higher priorities to tackle but it secretly drove me NUTS.

So why did this project take so long to finish?  We had a remnant piece of granite to match the kitchen and bathrooms but needed it cut to size and finished with the sink opening.  I’d attempted to barter the service with no luck and every quote we had gotten was insanely high – like in the range of you’d think they were selling us brand new marble counter tops rather than finishing material we provided.  So the hunt continued.  Until the Hubs found a vendor who was willing to cut the granite using a template we provided for just a couple hundred dollars!

He used a gator board political sign that had been left out on the side of the road long after the elections to trace the plywood top.  I was pretty proud of him for being genius enough to recycle material and help keep the roads clean!   Once he had the template traced he cut it down and marked where the sink would be.  The vendor said he did a great job and made it easy for them to layout the cuts.  They also complimented him on the A-Frame he built to transport the slab to them and the finished counter home.  Have I mentioned how I love having a spouse who can get things done?! 🙂

Miss Luna was not to pleased to have “her” space disturbed while we were installing the finished top, but she seems pretty ok with it now.  Especially since it gives her another inch or two above her doggie siblings.  Here, she does an excellent job of showing just how deep that sink really is!

The finished top makes all of my existing decor and laundry products look even better.  On one side is the vintage iron I picked up at the antique store and our DIY laundry soap container.  On the other is the last of our mason jar soap pumps – which I’ve been saving for this spot – and a simple little faux succulent planter from my recent spring project for a bit of greenery.

We did have to replace the faucet because we discovered that the one we’d saved from the original plastic sink didn’t have long enough posts to reach through the granite and the pull out nozzle required an extra line that we didn’t have space for.  So the Hubs picked up a bargain faucet for around $50 and got that installed quickly.  I took all of these pics last weekend with the old faucet standing in for the photo op, but the new one looks very similar.

Since we did the install ourselves, our total cost with the new faucet came in around $400, which was 100% worth it!  I still haven’t really used the sink much since I’m still getting used to having a working faucet in this spot, but I really love having the option and seeing this clean, finished space each day when we come home.