A Little Change

Does anyone else feel like we’re barreling through April? I can’t believe we’re half-way through the month already! It’s been another super busy week, but we’re slowly working on a few projects, including finishing up the wall-to-wall desk in the office and creating a tea station in the kitchen. I’ll share those updates soon, but today I thought I’d show you a little change we made in the guest room.

That room was a hot mess while we were installing the closet system. This is what progress looks like during the in-between stages! Just seeing this gives me hives. Luckily, I could close the door and somewhat ignore it until we got things back in order.

GuestRoomMess

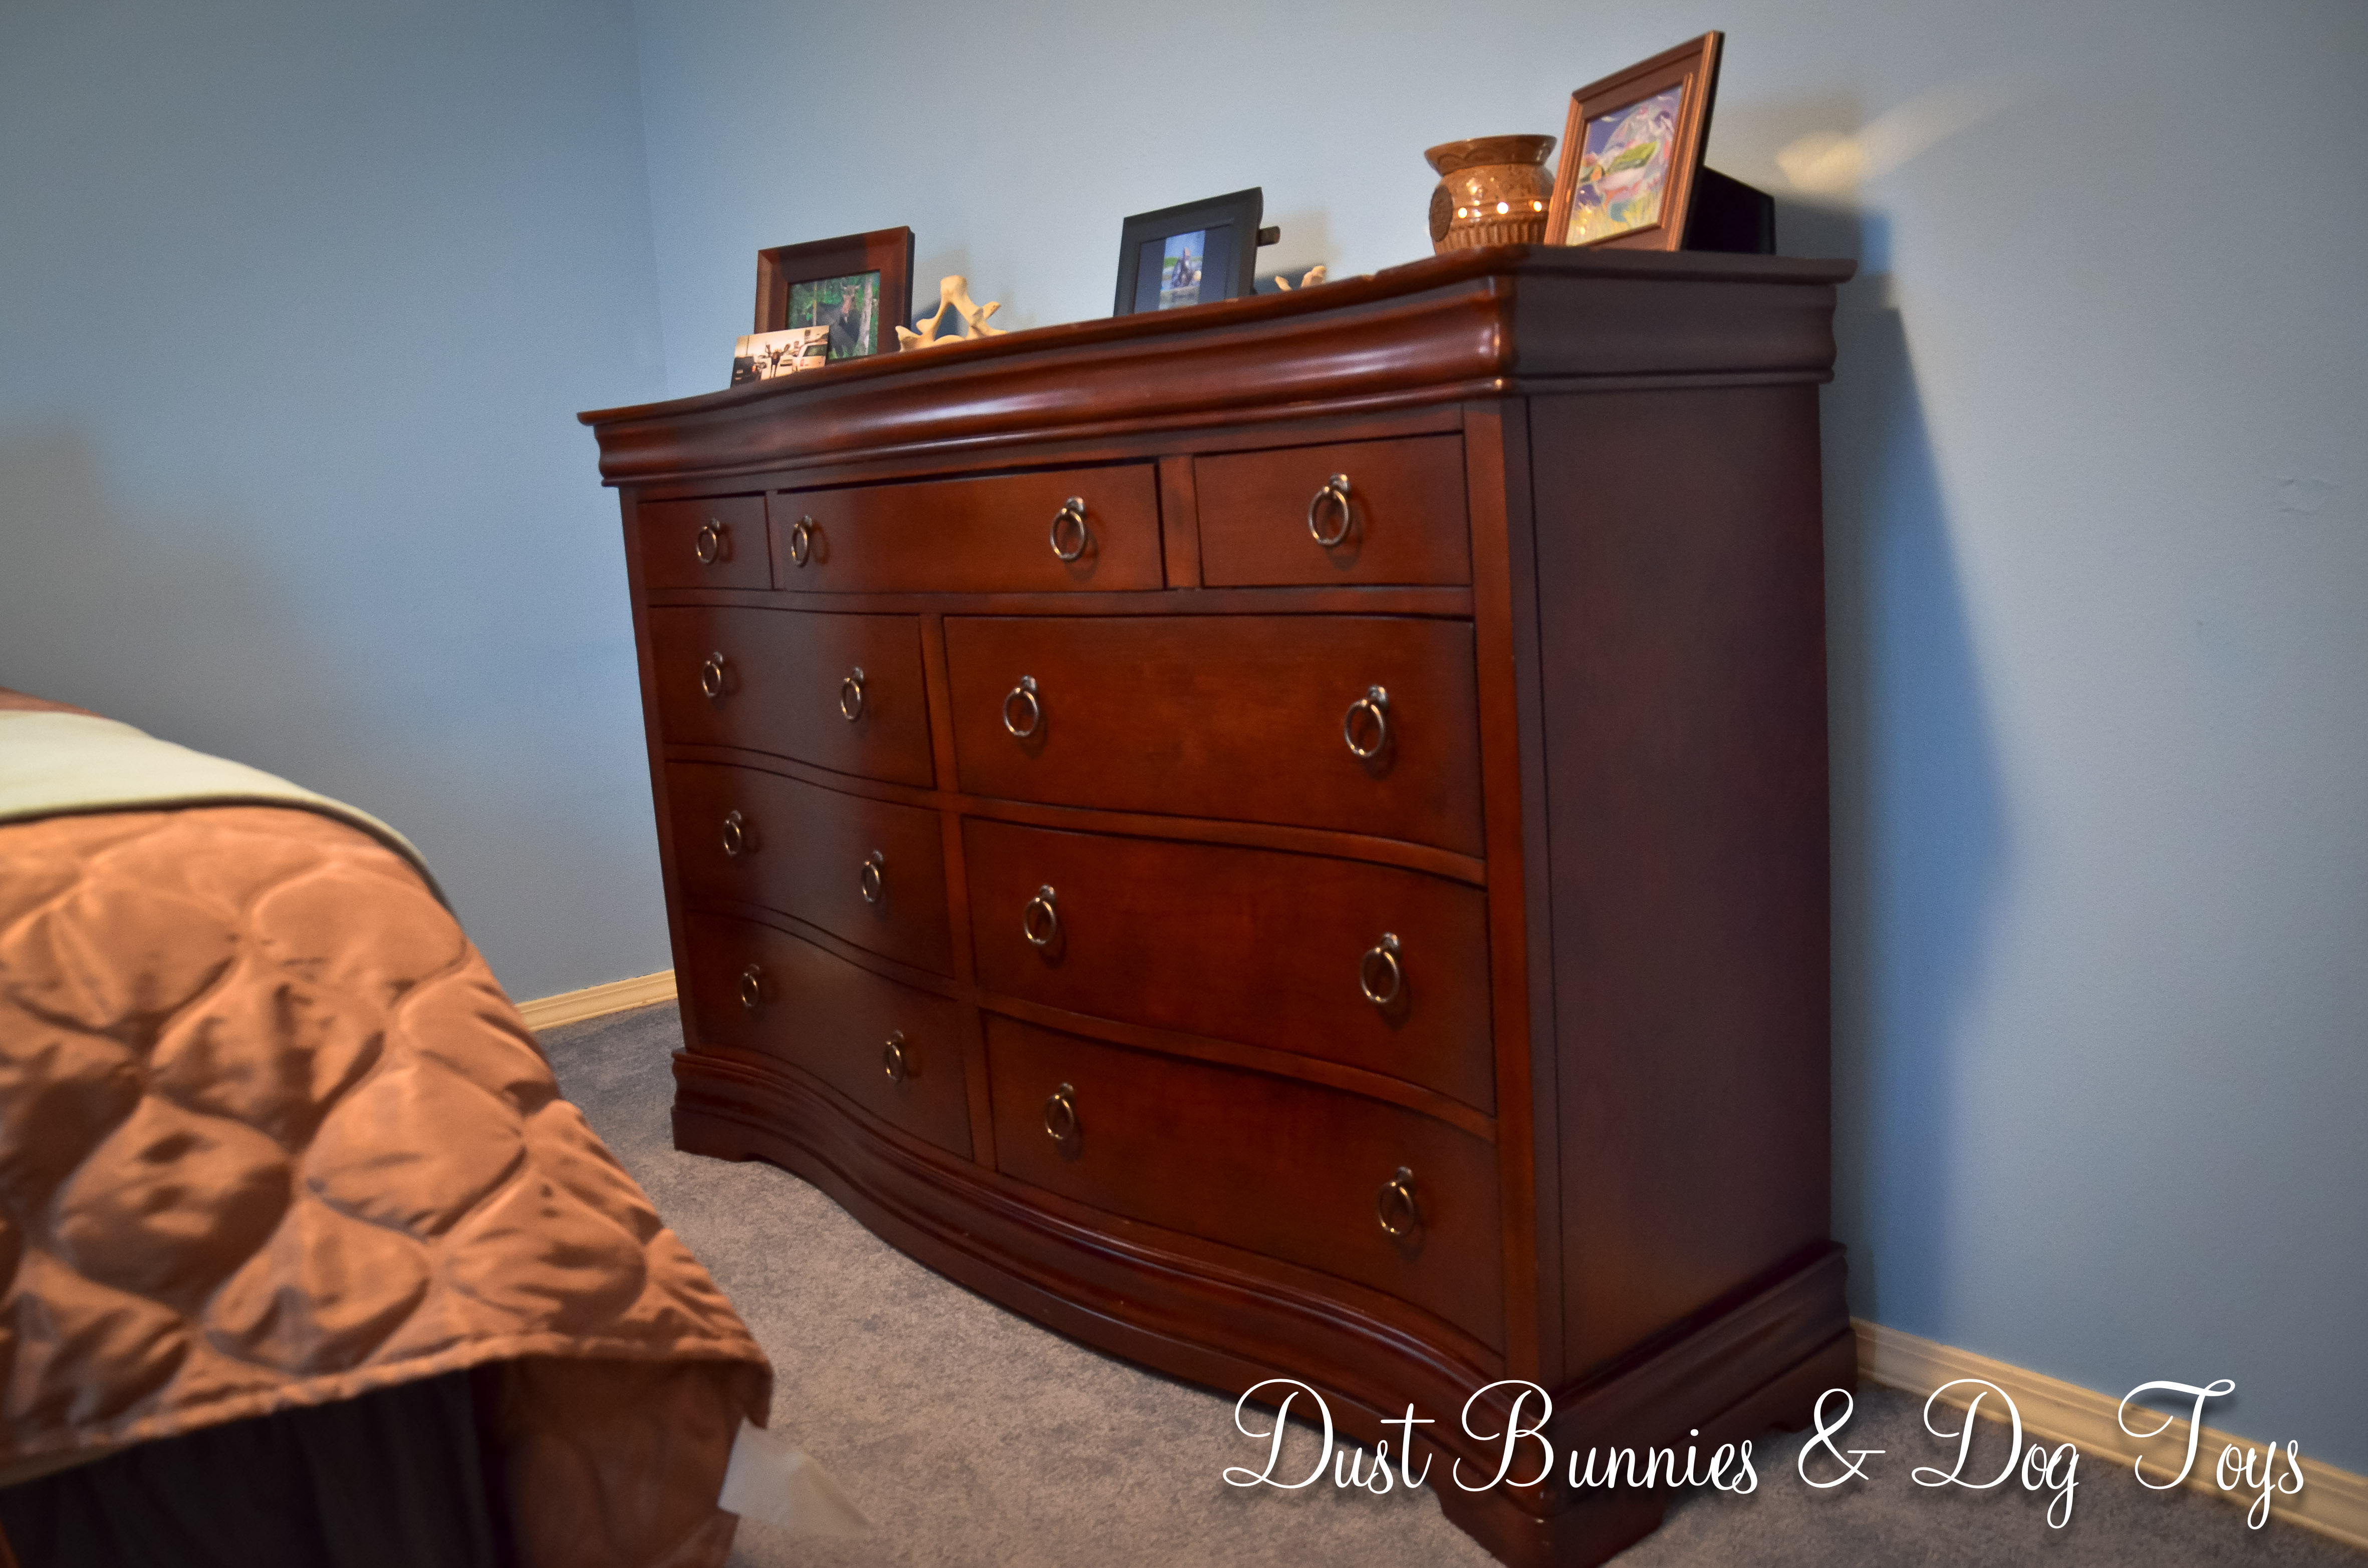
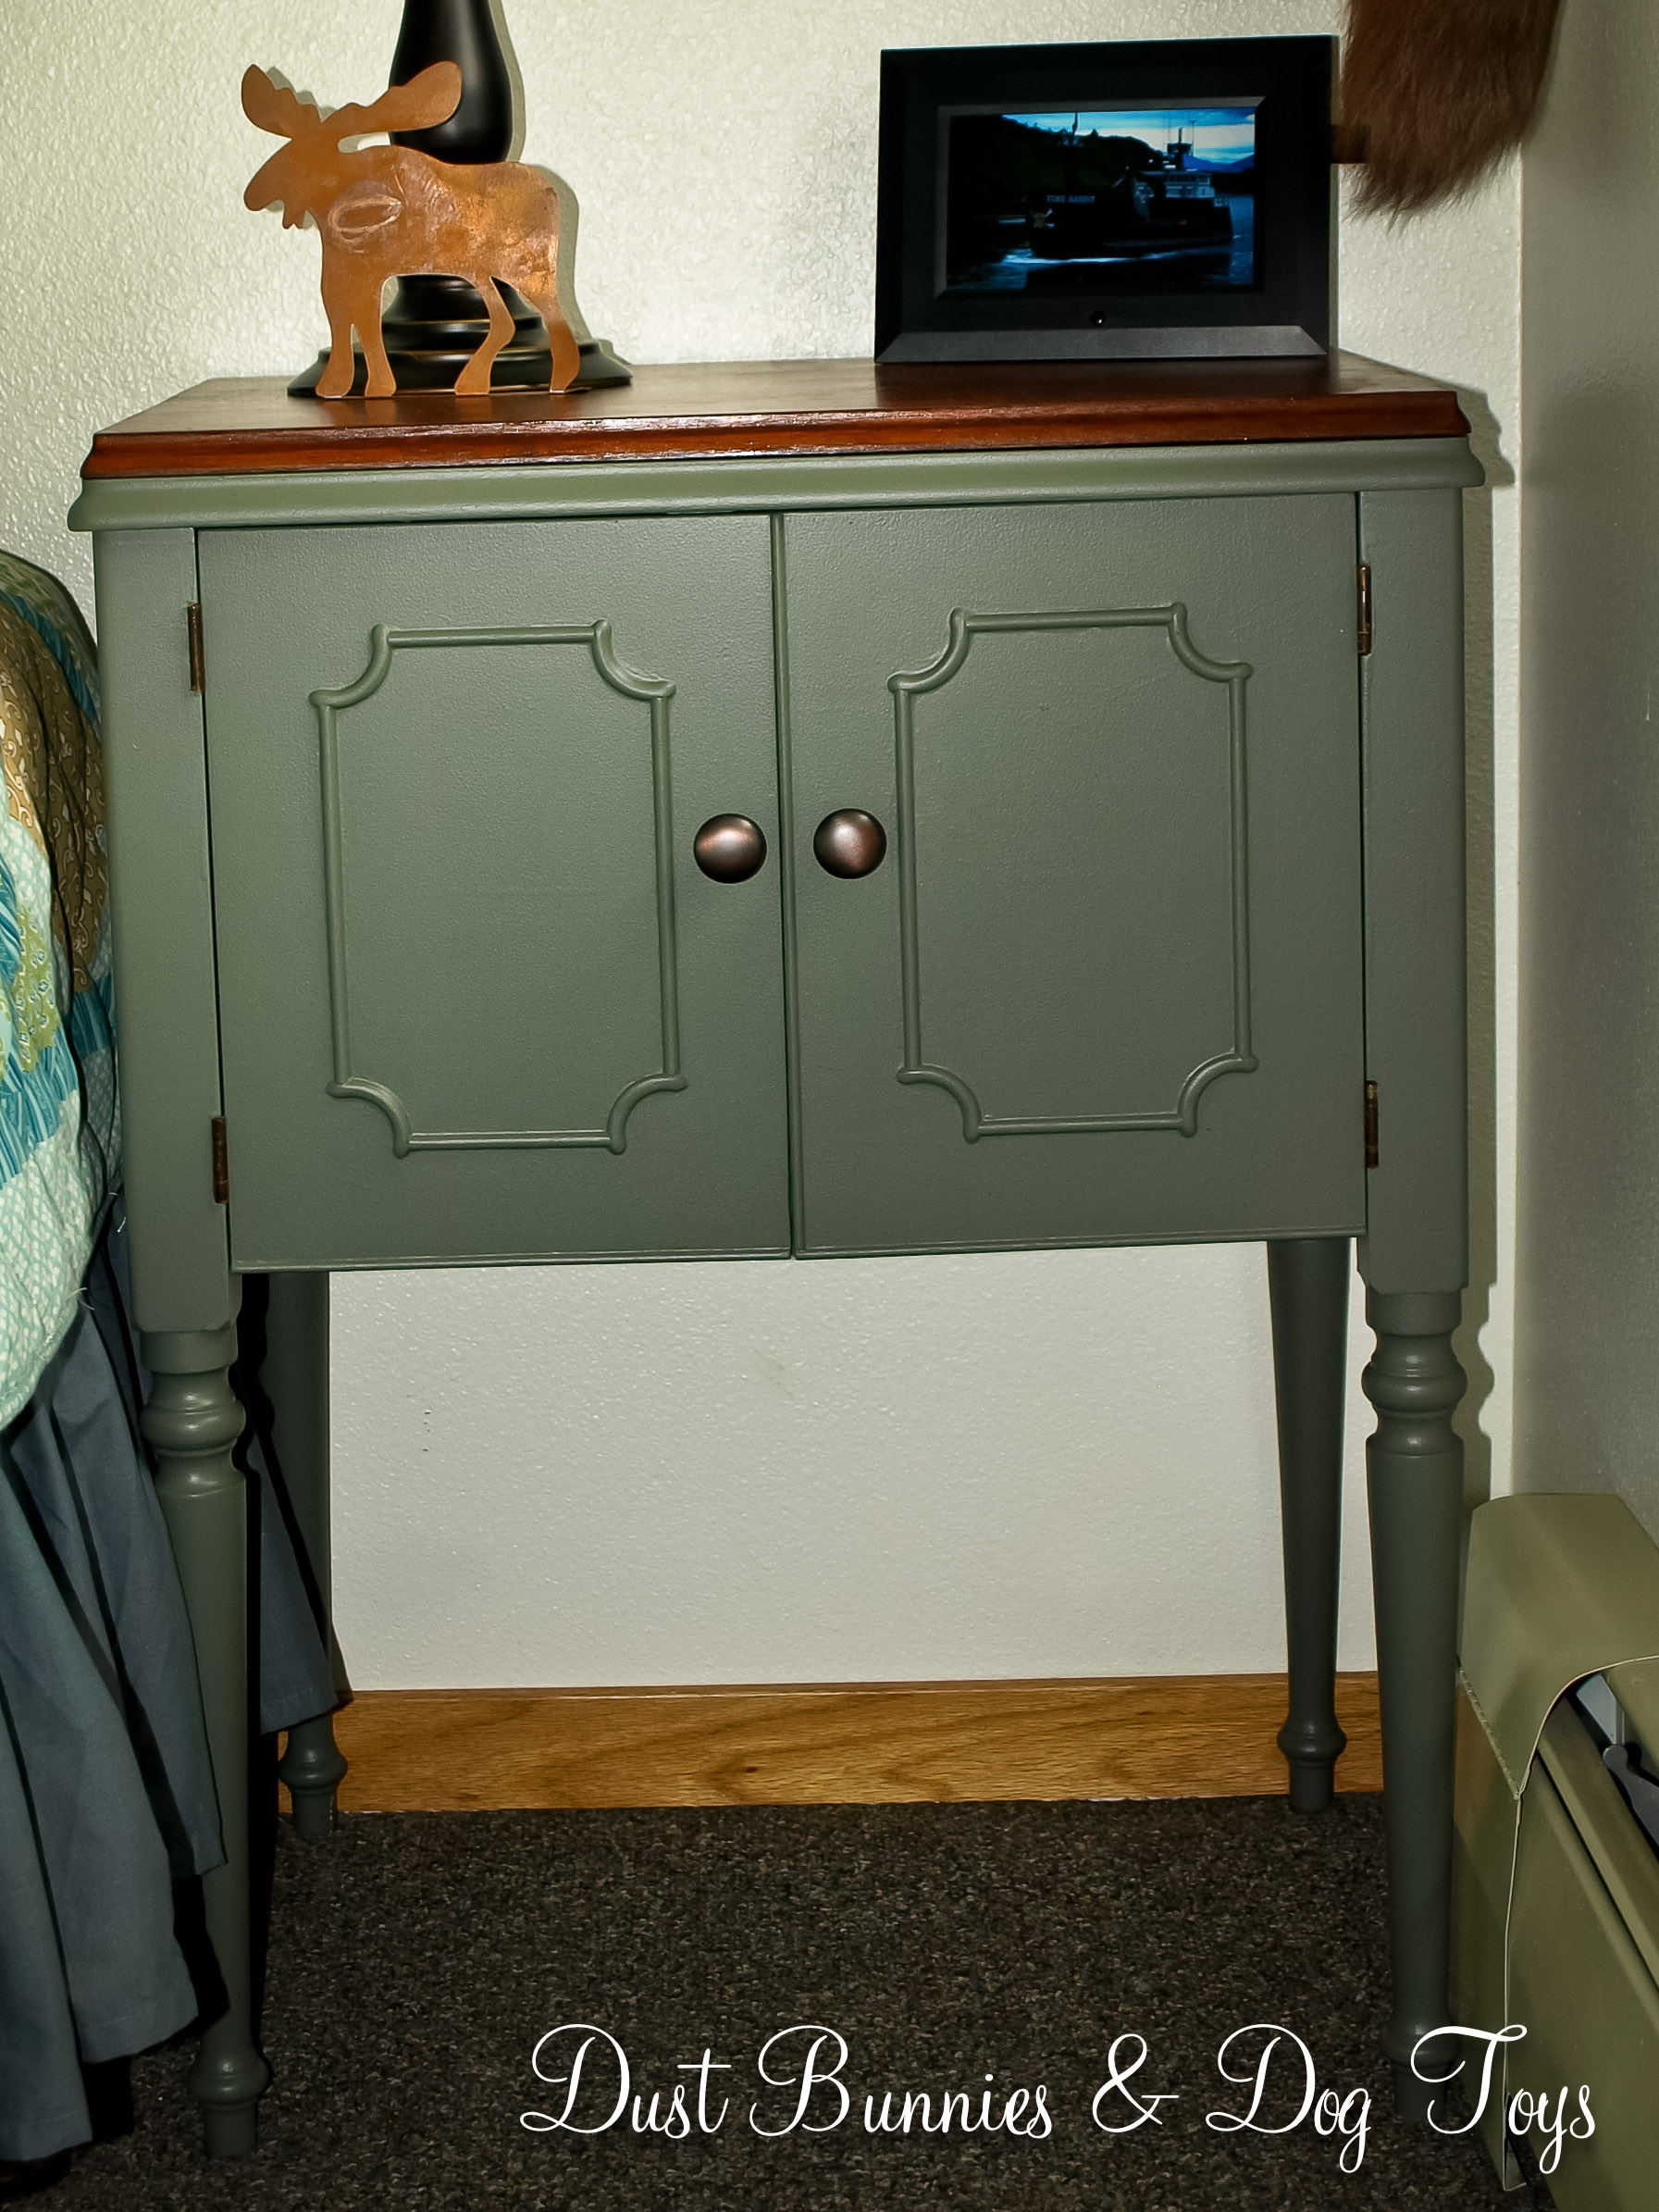
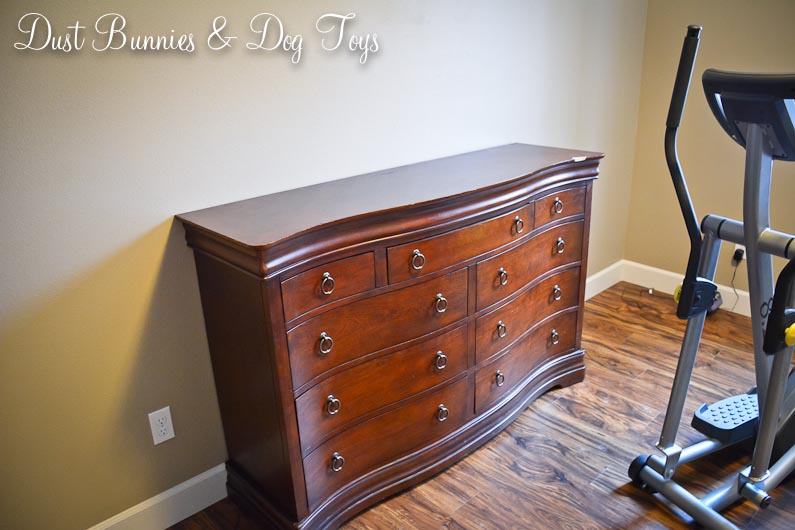
Now that the closet is done and my fabric stash is organized, I was ready to rearrange a bit. We finally brought back my family heirloom hope chest last fall when we did our big road trip. I wasn’t sure where we’d use it while we were building but, as the rooms came together I decided it would work best in the guest room. That meant the dresser needed to go elsewhere, so we moved it next door into the spare room, which I hope will one day be a child’s room. Here’s the space with the dresser and then the hope chest.

Dresser

HopeChest

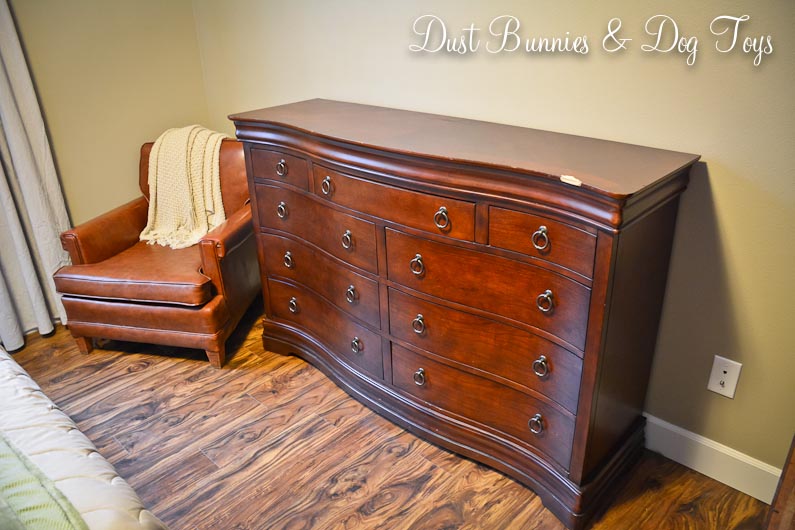
Since the hope chest is smaller and lower it now leaves the whole wall open for a large art piece. I’m contemplating a few ideas and will share some once I narrow it down a bit. I’m also toying with doing a full-length mirror that sits on the floor next to the chest in this awkward space just as you enter the room. I think guests would appreciate having a mirror in the room and it would give me a spot to do outfit pictures when I start doing fashion posts. Another option is to ditch the chair, which looks great but isn’t all that comfortable and put a mirror in the corner.  If I did that I’d probably move the hope chest to the foot of the bed as a bench so there was still a spot to sit.  What do you think?

HopeChest2

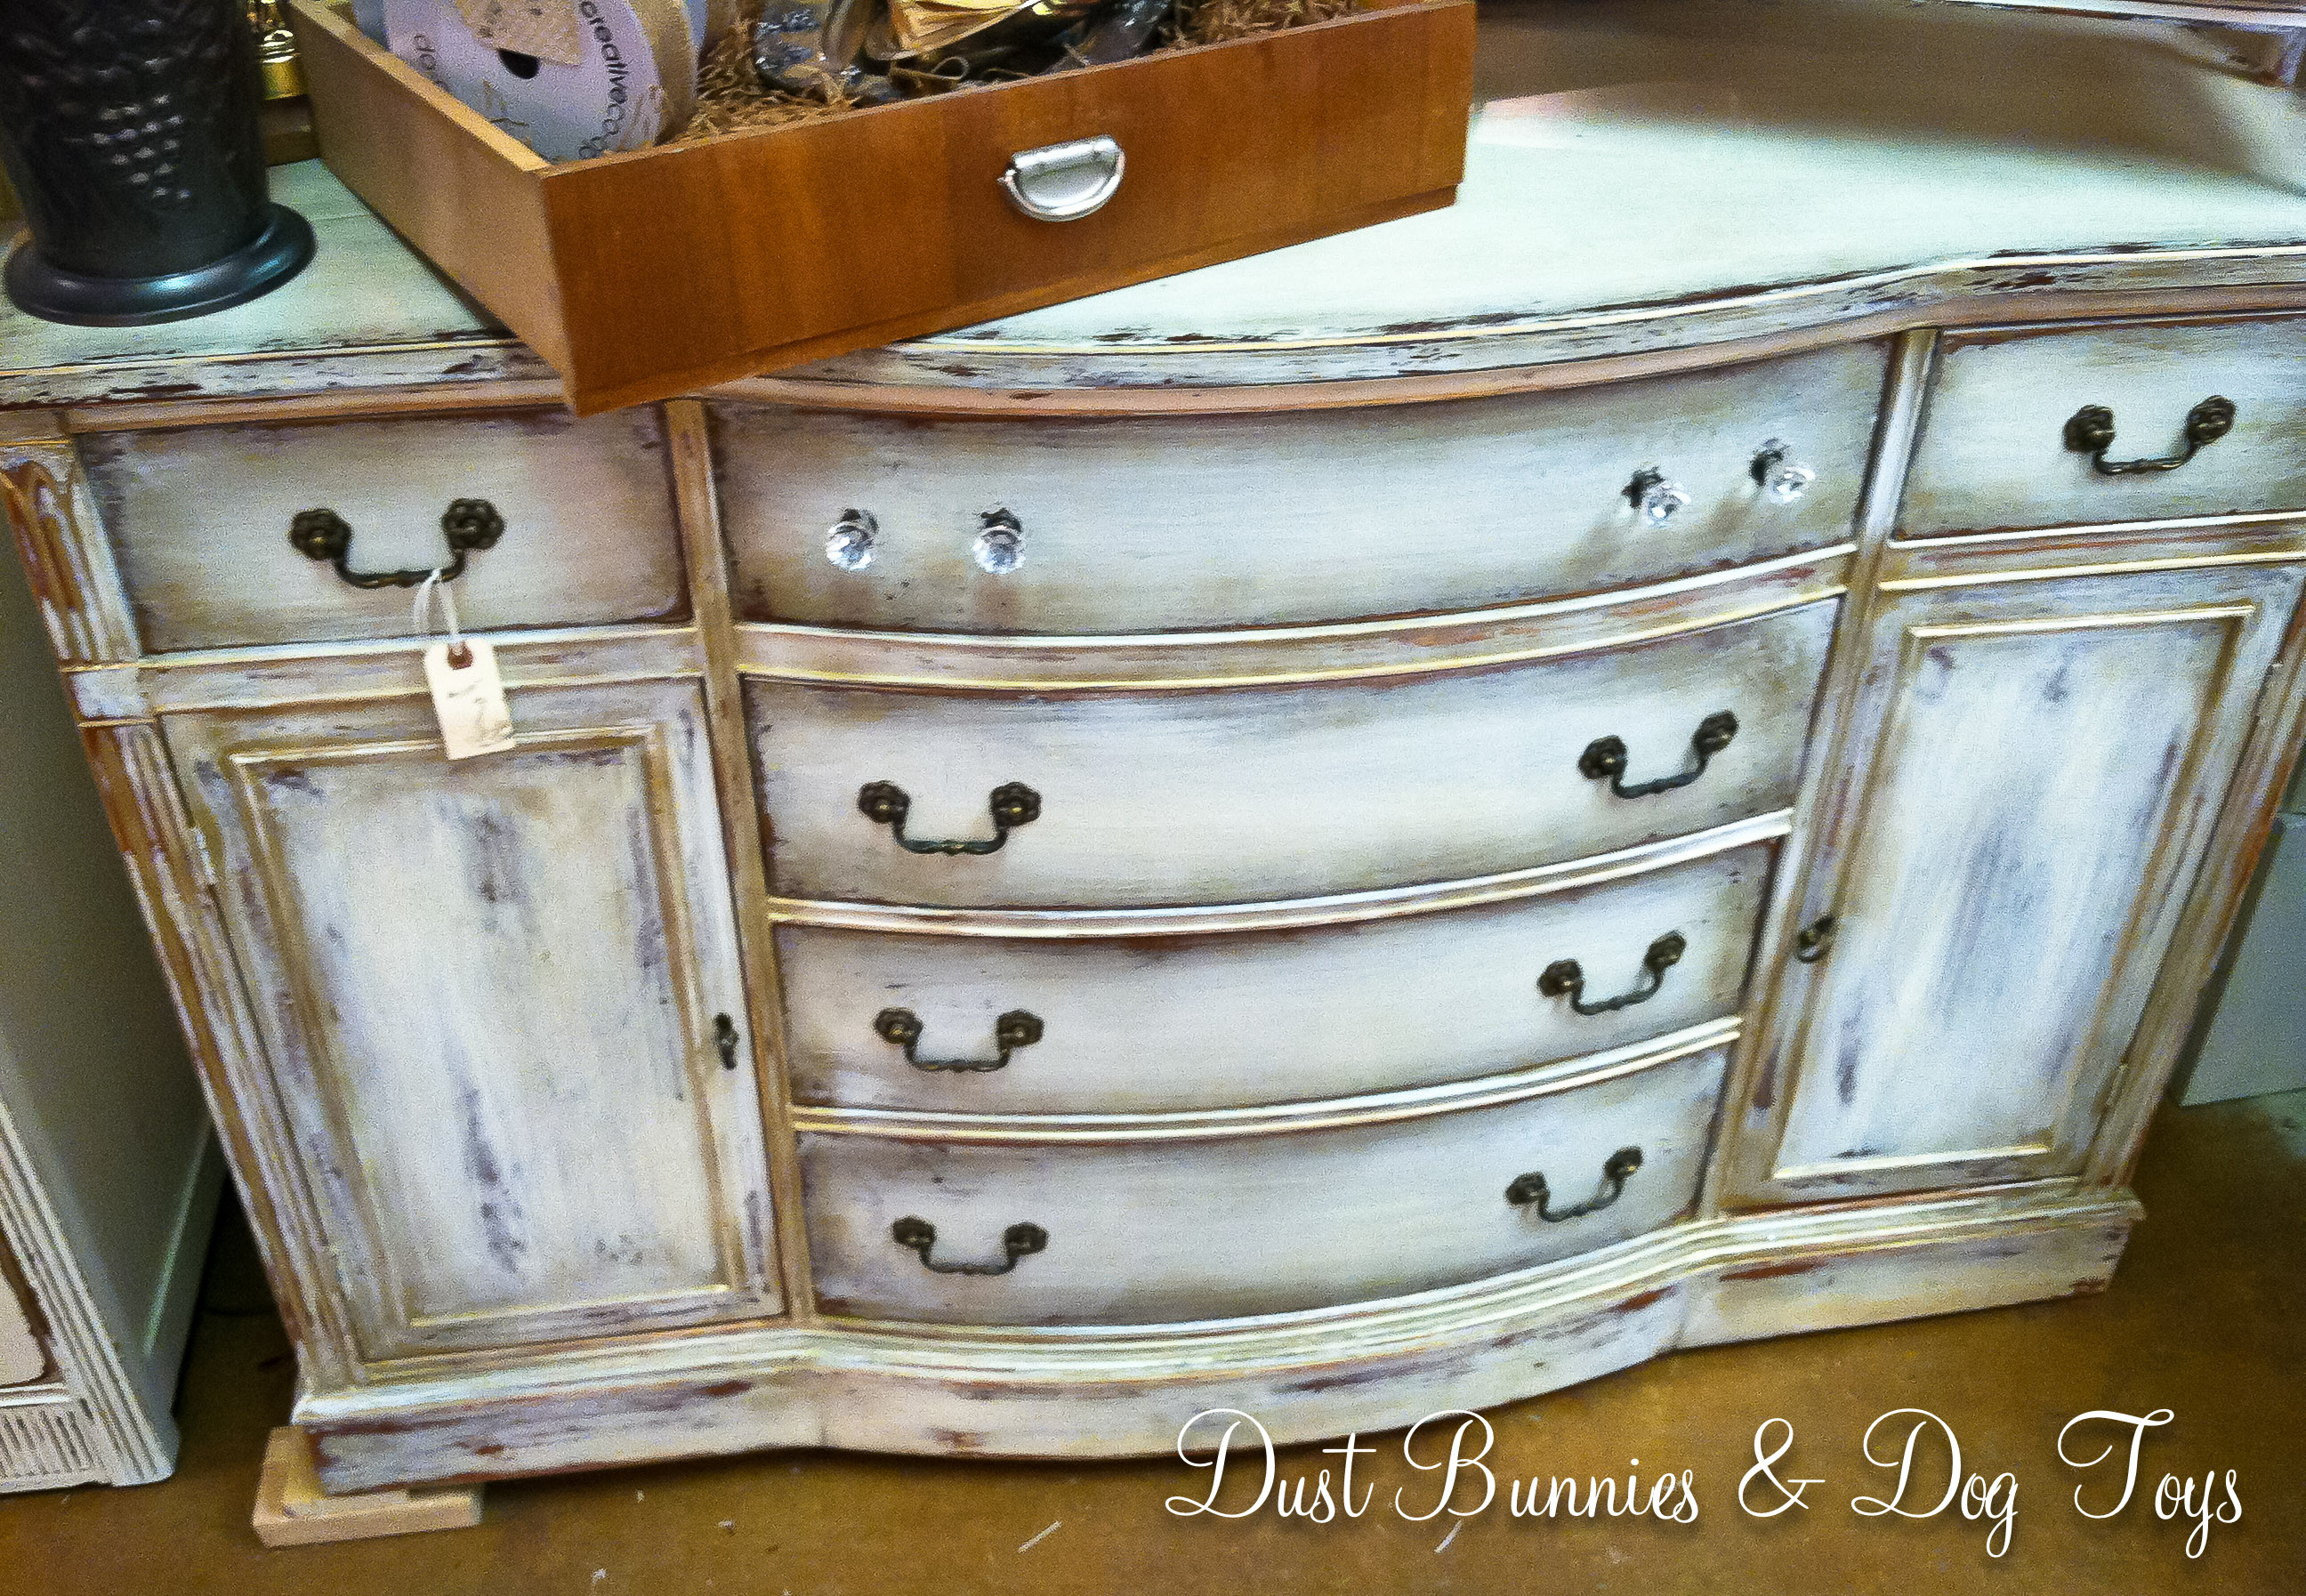
I plan to have the chest refinished in a cream color on the base and a dark stain on the top, but that might not happen for a while. In the meantime it’s the perfect place to store all of the extra sheets and blankets. The dresser will also be refinished at some point, but looks good in it’s new home for now. (Please ignore the not-so-lovely elliptical which has since been eliminated.)

DresserSpareRm

Little by little my plans for each space are coming together. I wish we were farther along, but looking back we’ve made pretty good progress in the 15 months we’ve lived here, especially considering we both also work full-time and run a side business! In the end what matters is that it’s home and those I love live there. 🙂

Advertisement

Big Plans for the Back Yard

Although the house is still under construction and we won’t move in until late fall, we’ve already been thinking about what we want the back yard to look like.  The builder will install a 20′ x 12′ deck off the family room – where the three ‘pink’ footers are in the picture below.  We specifically requested an additional slider door be included in our Master Bedroom rather than just a window so we can have back yard access on that side too.  The builder will provide basic ‘steps’ at that door for now, but next season we plan to build a deck to match the one on the other side.

Back

We had originally planned to continue the deck out the entire length of the house, but we decided it would be easier and more cost effective to have the two decks with a ground-level patio in between so that the hot tub could sit lower than the deck which eliminates the need to ‘climb’ into it.  Plus I won’t fret about the deck being stable enough to support a full hot tub!

I also like the idea of breaking the space up into different areas for different purposes.  I’m envisioning something like this on our ‘private’ Master Bedroom deck for lounging and a dining set on the deck off the family room.  On the patio below I would like to make something like this where guests could sit and relax near a fire pit which will be made from this free washing machine tub we snagged on Craigslist last week!

Pit

The plan is to use pavers like this or stamped concrete like this on the patio, then use landscaping stones to create a spot that the drum will slide into.  Eventually we’d like to have one or both decks screened in or at least covered by a pergola with some sort of rain protection to extend the usability in our short summer season.  But that of course is a year or five down the road.

Beyond the decks and patio we plan to have grass for the dogs.  Depending on when we get into the house, we might buy some of the ‘end of season clearance seed’ to put out and see what we get, but most likely we will have the yard hydroseeded next spring.  I was stunned to find out that they charge just $395 if the area to be seeded is less than 3,000 sq. ft.  Um, yeah!  Sounds good to me!  Definitely better than the Craigslist ad I saw for free sod if you come cut up and haul off some guy’s yard!  I might be thrifty, but I know my time is valuable and I’d spend a whole lot more digging up, hauling and replanting his old “who knows what’s in it” grass than paying the out call to have fresh, weed free grass growing within 2 weeks!  Knowing us we’ll measure out everything before we schedule and make sure we’re just under that figure. We should be able to do an L-shape around the back and side of the house well within that figure.  🙂

I don’t have much landscaping beyond the deck-patio-deck and lawn planned for the back yard, but I will probably put a small flower bed along the bedroom side of the house for perennials like bulbs and hostas.  Our garden will be to the right of the deck off the family room in the alcove created between the side o the house and 3rd bay of the garage, which you can see on the right edge of the photo above.  Watch for a post about that plan next week!

Another Little Update

I realized it’s been two weeks since I’ve done an update on the progress of the house, so here’s the latest.  Almost all of the exterior doors and windows are in and the natural gas lines are done.

GreatRmNotice how the windows in the nook are shorter than the family room and the extra framing they had to add to correct the hole size they originally framed?  Well this is what it looks like on the outside.  I’m not super keen on this little change and will certainly be watching to make sure it looks better than this when we do our walk through!  I’ve also questioned why one window opens and the other doesn’t.  Seems they should both be one or the other.

ExteriorPatch

Laundry   Studio
Laundry room and Studio

HallBath Master
Hall Bathroom and Master Bedroom

MasterBathMaster Bathroom

GarageThe little window in the garage.  I’m not sure of it’s purpose, since it doesn’t let in much light…escape hatch perhaps? LOL

The highlight of the recent progress is our front door being installed!  In the design we liked and asked for!  Here it is from inside with the framed entry way and outside where the covered front porch will be.  Below is a wide shot of the front entry from outside.  Can’t wait to see this bad boy painted purple!

FrontDoorInside   FrontDoorOutsideCloseup

FrontDoorOutside

Apparently, there was a delay with the roofing contractor and electrician because we were told those items would happen this week, but there was no sign of either being started yet.  Instead there was limited progress on the vented soffets and trim around the windows and corners on the front of the house.

Soffett

WindowTrim

There was also a pile of materials to begin the lap board siding on the front of the house and our back deck!  We’ve got big plans for the back yard so watch for a post about that later this week!

Materials

Moving Right Along…

We went to visit the house again last weekend to find the roof almost complete!  Here’s the latest:

1

2

3The front porch where I’m want a rocking chair in the corner for savoring our slice of mountain view.
4The garage.  Tequila is standing in the doorway to the laundry room.

5The garage from the laundry room doorway.

6The kitchen and great room from just outside the laundry room.

7The kitchen, studio and entry way from just outside the laundry room.

8The dining room and kitchen from the great room.  The laundry room is off to the left.

10   11
The entryway and hall bathroom.

9My studio is taking shape!  EEKK! 🙂

12Guest room #1

13Guest room #2

14The Master Bedroom!

15From the rear, garage side.  I’m thinking my garden will fit nicely in that area behind the garage there!

16The rear, bedroom side.  A little extra cleared room as part of the backyard.

And the best part of the site visit was finding this little gem just a few minutes away from our home!  17SOOO going to be making friends with the owners for access to an AMAZING photo location!  I’m already dreaming up cool ideas for family and senior sessions here!

Another Super-Sweet Craigslist Find!


1100I’ve been looking for a dresser or hutch to live in our guest room while in the rental and then become the entry way table when we move into our new home later this year.  I knew I wanted lots of storage, preferably with cabinets, but didn’t want to spend a lot if I still had to refinish it.

I had found this piece at a local antique store and fell in LOVE with it.  I seriously daydreamed about it.  But with a price tag of $1100 I just couldn’t commit.

1600I also found this one at a local furniture boutique and was smitten especially when I realized the bottom 5 drawers were false fronts making doors that opened to cabinets!  But at $1600 I walked away again.  So I continued watching Craigslist and the local refinisher’s Facebook profiles to see if I could find something similar at a more palatable price.

While browsing during a car wash – yes I multitask often! – I spotted a posting for a couple of dressers by someone moving out of state.  One looked like it would work, although it didn’t have the cabinets I was hoping for.  I showed the post to the hubs who liked it.  So I called the guy and arranged to come take a look that afternoon.

DresserScratchCash in hand we checked the piece over and noticed a sizable ding in the top front of the dresser.  The hubs thought he’d be able to repair it when we refinish the piece, so I made an offer $25 less than what they were asking.  And the seller accepted!  It came with a matching mirror, which I wasn’t interested in but figured we could clean up and resell to off-set some of the cost of the dresser.

So we loaded it up and headed home just a few blocks away.  Good thing it wasn’t far because this bad boy is MASSIVE and TALL.  It was interesting getting it inside and upstairs with just the two of us but we did it.  And then took a well deserved break.

I cleaned it up with some Old English and filled most of the drawers with my decor materials, leaving a few for guests to use.  Unfortunately some of my larger decor pieces like my glass cloche domes and candlestick stands are too big to fit in the drawers and still have to be stored in the closet, but it holds 90% of what I wanted it to, so I think it turned out alright.

So what do you think we paid for this piece?  Remember I’m a bargainista…..

Dresser

Would you believe we brought this baby home for just $100?!  It’s true!  And that included the mirror which I’ll clean up and sell in a few weeks making it even more of a deal!

We don’t plan to refinish it until we move since it will likely get dinged and scratched on the way to the new house, so that gives me time to ponder exactly what to do with it.  I’m sure we’ll paint it so that we can fix the ding in the top but need to decide on a color.  OLYMPUS DIGITAL CAMERAWe do have paint left over from the little sewing table nightstand we did while in Kodiak.  Since the new house will have an extra bedroom to furnish there is a good possibility it could remain a guest room dresser.  If we use the same gray/green color as the nightstand and distress it a little to show some brown it would make a nice ‘set’.

I did find this DIY tutorial to make the same style as the $1600 dresser, so we may still end up with that in our new entry way, but I’d want it to have a molding on the bottom so I’m not constantly fishing Sangria’s tennis balls out from under it, which is a feature I was very happy to get on this bargain piece.  Although even if it didn’t, I’d still think I found a sweet deal! 🙂