How Will My Garden Grow?

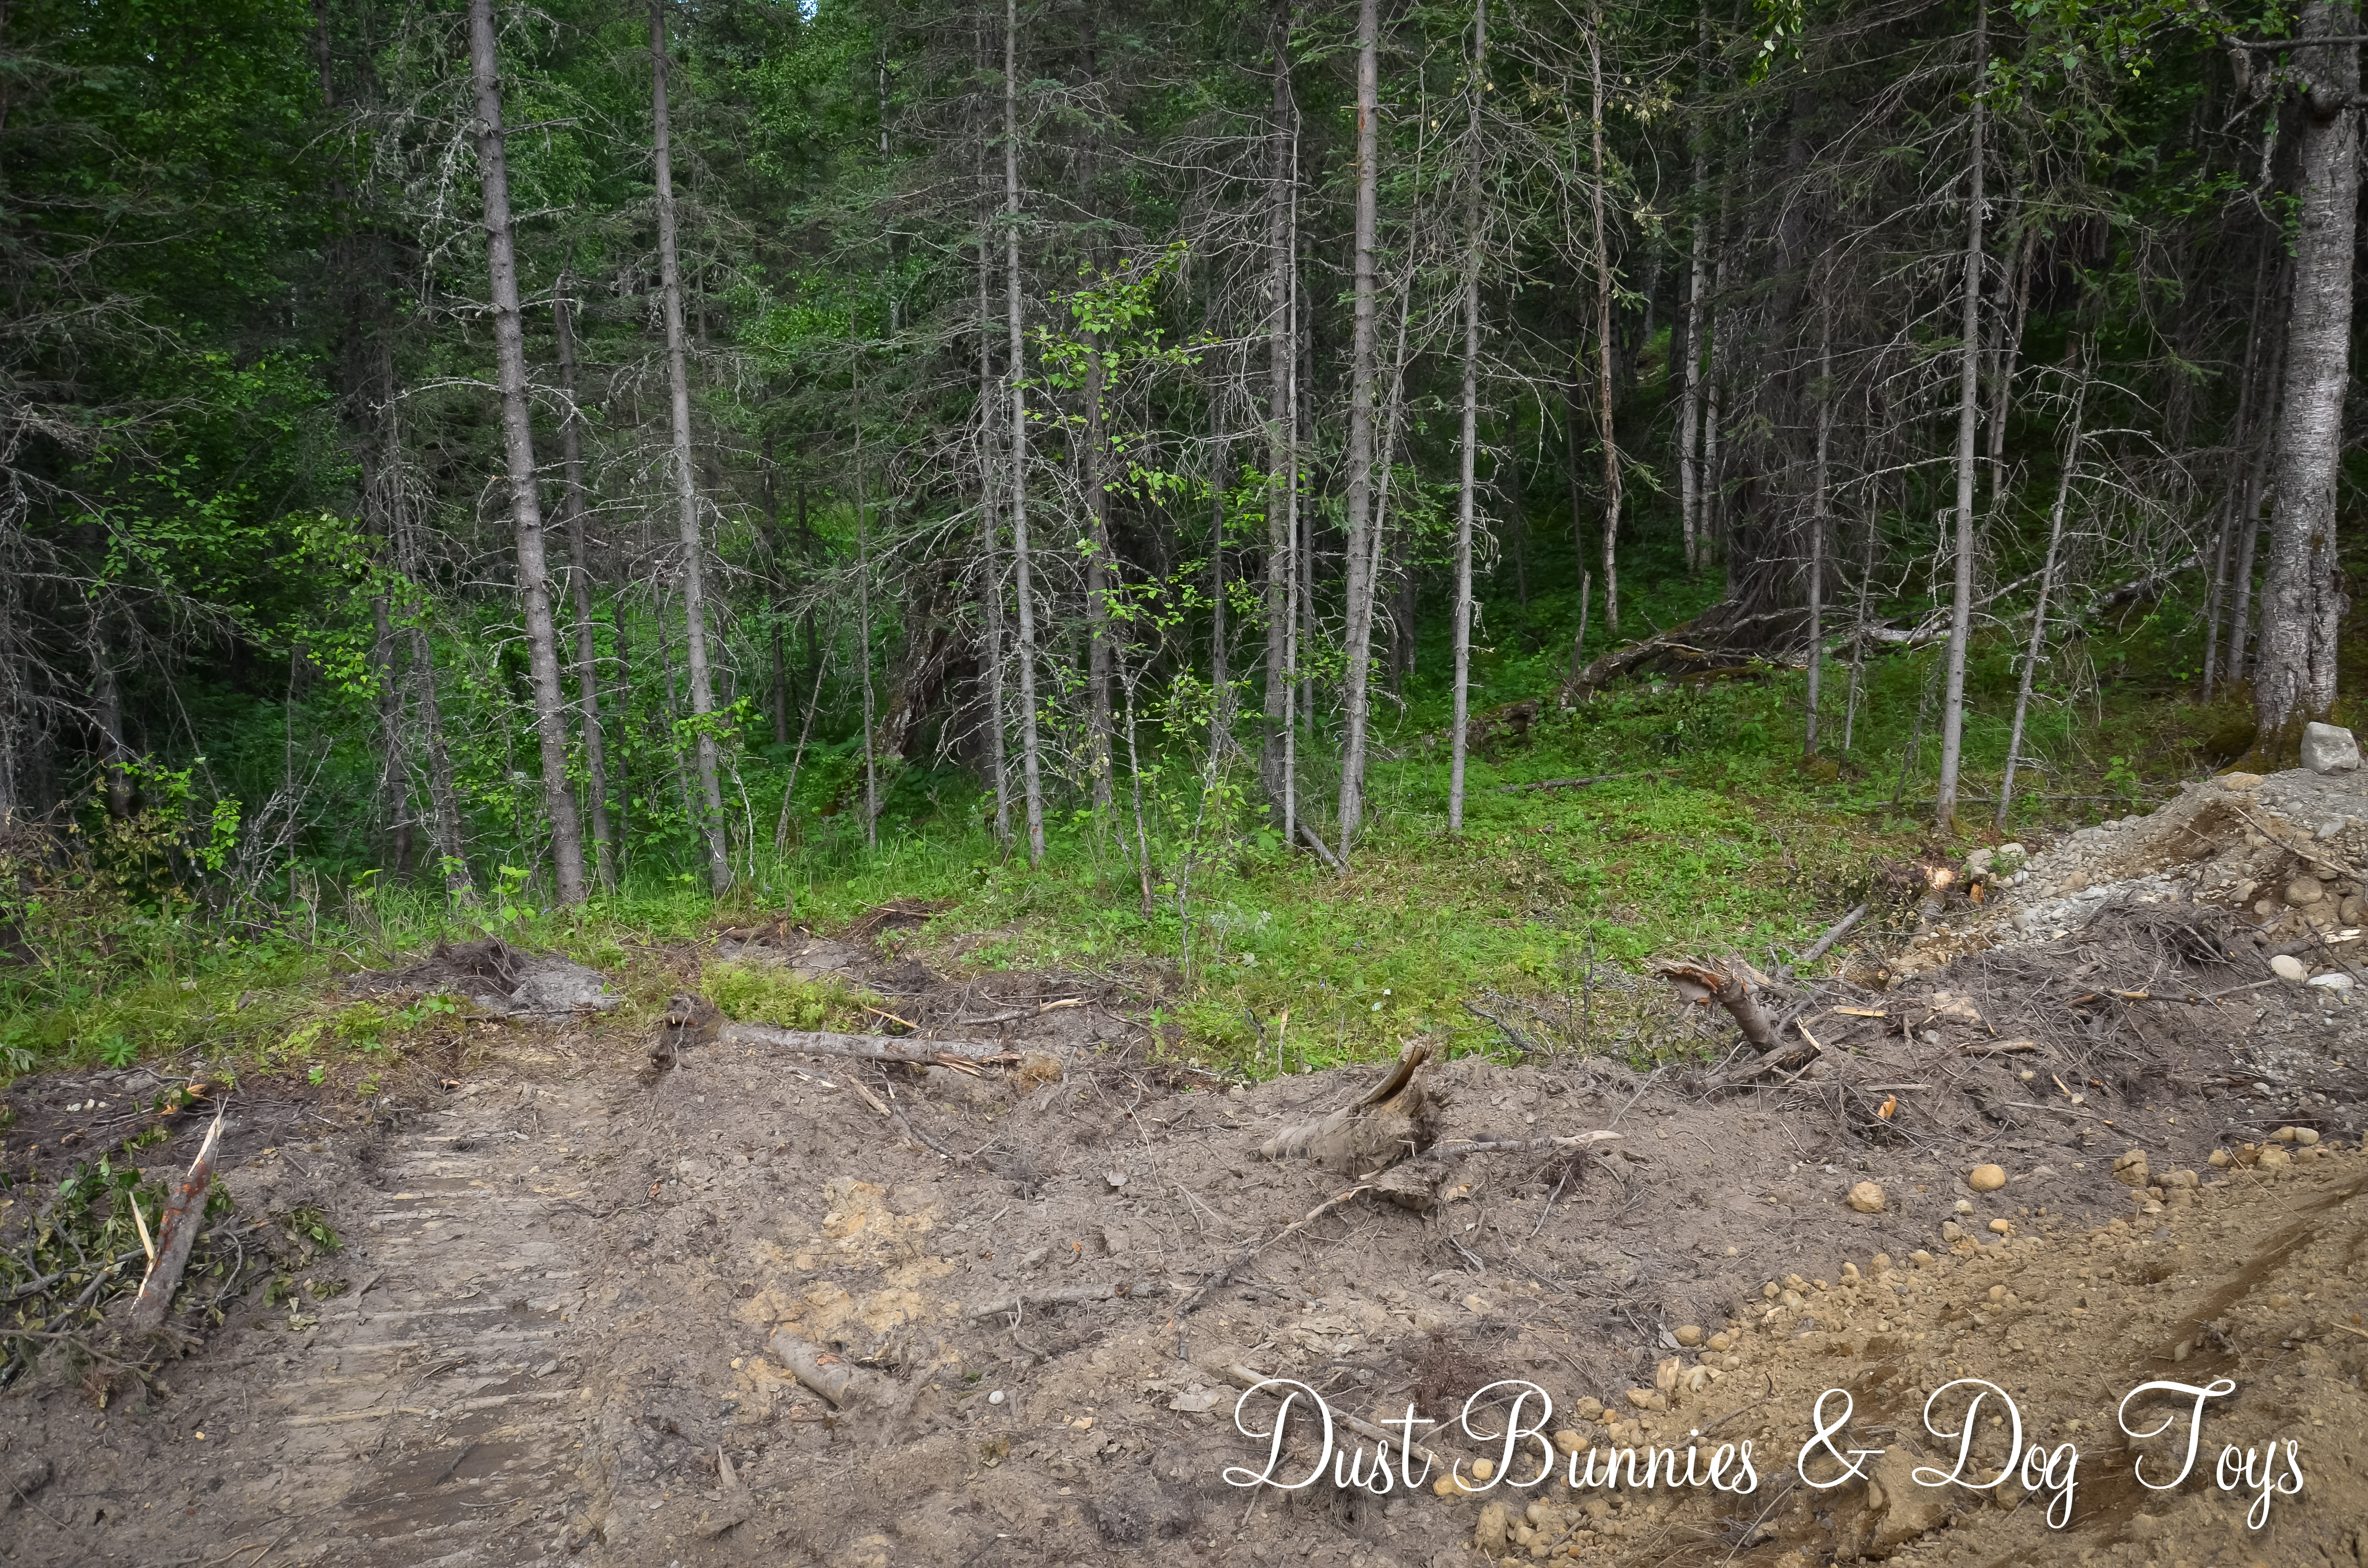
As I mentioned last week I plan to install our garden in the alcove created by the side of the house and the back of the third garage bay.  The space measures 12′ wide by 22′ long, which is a great space for a garden.  Here is the space as it sits.

GardenI knew I wanted the garden fenced off from the rest of the yard so the dogs wouldn’t be in there when we’re not home, but I hadn’t really decided what kind of fencing to use until I saw this community garden here in Anchorage!  Can you say AH-MAZE-ING?!

CIHAGarden

CIHAPostAnd the construction seemed simple enough – hog panels stapled (with heavy duty staples) onto posts and trim supports. While I love the arbor around the top, that might come in “Phase 2” but it would provide a great spot for plants such as strawberries or even tomatoes to trail!  I also plan for the pergola over the gate to come later.  It’s more important to get the garden going and producing than making it super pretty right?

Granted, my garden won’t be this big, (and if it was I might have to quit my day-job just to maintain it!), but the overall layout and design is a perfect example of what I want.  I took the hubs by to make sure it was doable on a smaller scale and he liked it.  He even mentioned how their raised beds were probably the exact design he’d suggest for our garden!

RaisedBeds

Although I’d love to have a green house right away, I know that likely won’t happen until next summer.  But when it does happen, I plan to use these Ana-White.com plans!  I’m thinking the green house will end up somewhere to the right of the garden where it will get sunlight all day.  Until then I will use hoops over the raised beds to extend the growing season on either end.

Right now I plan to grow chard, celery, cucumbers, tomatoes (regular and cherry), bell peppers (different colors for salsa!), carrots, green and yellow onions, potatoes, jalapenos (not sure how they will fare in this climate, so I might have to wait until we have a green house), garlic, snow peas, green beans and broccoli.  I also recently inherited a purple cauliflower plant which will find a home in my garden if it survives the move.  I also plan to have stacked planters like these on the back deck in which I’ll transplant my current salad bowl and create an herb garden with basil, oregano, rosemary, thyme, sage, dill and cilantro, which can be moved during the winter.

BarrelI recently found this plastic barrel for free on Craigslist and plan to create something like this with it to plant my strawberries in.  A planter and compost all in one?  Sounds great!  Made with a freebie barrel – even better!

RainBarrelWe will also be installing rain barrels with rain chains around the house like this.  Luckily, I have a previous photography client who used wine and whiskey barrels as their wedding decor and no longer needs them, so I’ve got some earmarked for me at a discounted rate! 🙂  I also found this super simple and inexpensive tutorial for a copper rain chain that I plan to make.  And because we are working with the rain garden program, any money spent on these rain catchments counts toward our overall budget, of which half will will be reimbursed!

Now we just need to fast forward to move in day and put all these plans into action!

Advertisement

Big Plans for the Back Yard

Although the house is still under construction and we won’t move in until late fall, we’ve already been thinking about what we want the back yard to look like.  The builder will install a 20′ x 12′ deck off the family room – where the three ‘pink’ footers are in the picture below.  We specifically requested an additional slider door be included in our Master Bedroom rather than just a window so we can have back yard access on that side too.  The builder will provide basic ‘steps’ at that door for now, but next season we plan to build a deck to match the one on the other side.

Back

We had originally planned to continue the deck out the entire length of the house, but we decided it would be easier and more cost effective to have the two decks with a ground-level patio in between so that the hot tub could sit lower than the deck which eliminates the need to ‘climb’ into it.  Plus I won’t fret about the deck being stable enough to support a full hot tub!

I also like the idea of breaking the space up into different areas for different purposes.  I’m envisioning something like this on our ‘private’ Master Bedroom deck for lounging and a dining set on the deck off the family room.  On the patio below I would like to make something like this where guests could sit and relax near a fire pit which will be made from this free washing machine tub we snagged on Craigslist last week!

Pit

The plan is to use pavers like this or stamped concrete like this on the patio, then use landscaping stones to create a spot that the drum will slide into.  Eventually we’d like to have one or both decks screened in or at least covered by a pergola with some sort of rain protection to extend the usability in our short summer season.  But that of course is a year or five down the road.

Beyond the decks and patio we plan to have grass for the dogs.  Depending on when we get into the house, we might buy some of the ‘end of season clearance seed’ to put out and see what we get, but most likely we will have the yard hydroseeded next spring.  I was stunned to find out that they charge just $395 if the area to be seeded is less than 3,000 sq. ft.  Um, yeah!  Sounds good to me!  Definitely better than the Craigslist ad I saw for free sod if you come cut up and haul off some guy’s yard!  I might be thrifty, but I know my time is valuable and I’d spend a whole lot more digging up, hauling and replanting his old “who knows what’s in it” grass than paying the out call to have fresh, weed free grass growing within 2 weeks!  Knowing us we’ll measure out everything before we schedule and make sure we’re just under that figure. We should be able to do an L-shape around the back and side of the house well within that figure.  🙂

I don’t have much landscaping beyond the deck-patio-deck and lawn planned for the back yard, but I will probably put a small flower bed along the bedroom side of the house for perennials like bulbs and hostas.  Our garden will be to the right of the deck off the family room in the alcove created between the side o the house and 3rd bay of the garage, which you can see on the right edge of the photo above.  Watch for a post about that plan next week!

Broken Ground

At last we have broken ground on our new home!!  That’s what’s kept me so busy and unable to post regularly last week.  It sure is a lot of fun picking out all the details, but it takes a lot of time, especially when you’re working within a budget. 🙂

So here’s a little look at the progress thus far.  This is the view heading toward our property.  This is where the pavement ends.  We are still two more bends in the road away.  Notice all the fireweed lining the road?  Some of that is gonna end up in my garden!

1

And here’s the driveway from in front of the house.  Yes that is a slight bit of a mountain view through the trees!  Something I hadn’t expected, but absolutely love!

2

Here’s the foundation thus far from the front corner of the garage.

3

And from the side.  With the well going in just beyond.

4

This is the yard on the side of the garage.  The septic system will go here, so some of this will be filled in before construction is finished.  The rest will be filled in at some point later by us to make it more usable.  I’m thinking some of this area, possibly closer to the driveway, may end up being used for my rain garden due to the natural slope.

5

A little more mountain view from the back corner!
I’m thinking I’m going to need a bench out front to enjoy that!

6

This will be the view out the back of the house for now.
We will clear a bit more to create a yard for the dogs next summer.

7

Here is the view from the area near the well.  I love that you can just barely see the edge of the neighbor’s driveway, but not the neighbors themselves!  And that means they can’t see us either! Just how we planned it!

8

The view from the front of the house.  The pink flags on the trees are the property line.  But the lot next door is the same size as ours so it’s likely that when it sells and is built on the owners will build farther forward so we won’t really see them either.

9

And the best view of all.. our well hitting water at 135′!  Read more about that on my photography blog.

10Stay tuned.  There will be more pictures as things progress!

Pottery Barn Knock Off Wall Medallions


PBMedallionsI can’t explain why, but I’m completely drawn to anything with an exotic print or pattern.  Perhaps it’s because of my plain Jenna, American apple pie background – you know, the whole you want what’s different and mysterious thing?  Whatever the reason, it’s part of why I L.O.V.E. Pier One and Pottery Barn‘s eclectic accessories.  So it was no surprise that I audibly gasped when I saw these in a Pottery Barn catalog a few seasons ago.  And then quickly went into sticker shock when I saw the set of three ran $130!  Um.. I don’t think so.  No even if I had a gift card.  I just have a mental block about over-priced items.

So I did what I always do.  I pinned them for inspiration and kept an eye out for something similar at a more reasonable price.  Then one day I found some wooden trivets at a yard sale in Kodiak.  They looked pretty old and dried out, but the carving pattern was pretty similar.  Plus the lady had three – small, medium and large!  I tried not to act too interested when I asked how much she wanted.  She glanced over and mumbled, “How about $5?”  I don’t think a $5 bill ever flew out of my pocket so fast!

MUnfortunately I wasn’t blogging back then and don’t have a before picture to share, but here’s a sneak peek at what they look like now.  Of course when my hubby saw them he raised an eyebrow and asked just what I intended to do with them.  I showed him my inspiration picture and explained I wanted him to paint them white for me.  I don’t do well with painting since I’m usually in a rush and try to do thick coats instead of thin ones and usually create a pretty wide berth of over spray so we decided long ago that when it comes to painting he saves himself a headache and just does it for me.  Yes, I’m spoiled, but he is too, so it’s an even trade! 🙂

It took a few coats because the wood was so porous and dry, but they turned out beautifully.  Unfortunately we were living in military housing at the time which meant ALL of our walls were WHITE.  Have I ever mentioned how much I HATE white walls?  If not, just accept that I do.  They make me feel like I’m in a cold hospital or crappy hotel room.  That left me stumped on what to do with these newly painted pretties.  So they sat in my project pile.  Waiting for something to happen.  And then it did.  We moved!

90% of the walls in our rental are painted and I decided to do a Modern Exotic theme in our bedroom since we opted to do a road trip honeymoon rather than jet off to some foreign locale.  The pattern fit right in with the other elements in the room and the white looks great against the colored wall.  I hung them above the TV on a small wall that needed a little something to make it look finished and I’m very happy with the final look.  Especially when my version comes in at just under $10!

Trio

Another Super-Sweet Craigslist Find!


1100I’ve been looking for a dresser or hutch to live in our guest room while in the rental and then become the entry way table when we move into our new home later this year.  I knew I wanted lots of storage, preferably with cabinets, but didn’t want to spend a lot if I still had to refinish it.

I had found this piece at a local antique store and fell in LOVE with it.  I seriously daydreamed about it.  But with a price tag of $1100 I just couldn’t commit.

1600I also found this one at a local furniture boutique and was smitten especially when I realized the bottom 5 drawers were false fronts making doors that opened to cabinets!  But at $1600 I walked away again.  So I continued watching Craigslist and the local refinisher’s Facebook profiles to see if I could find something similar at a more palatable price.

While browsing during a car wash – yes I multitask often! – I spotted a posting for a couple of dressers by someone moving out of state.  One looked like it would work, although it didn’t have the cabinets I was hoping for.  I showed the post to the hubs who liked it.  So I called the guy and arranged to come take a look that afternoon.

DresserScratchCash in hand we checked the piece over and noticed a sizable ding in the top front of the dresser.  The hubs thought he’d be able to repair it when we refinish the piece, so I made an offer $25 less than what they were asking.  And the seller accepted!  It came with a matching mirror, which I wasn’t interested in but figured we could clean up and resell to off-set some of the cost of the dresser.

So we loaded it up and headed home just a few blocks away.  Good thing it wasn’t far because this bad boy is MASSIVE and TALL.  It was interesting getting it inside and upstairs with just the two of us but we did it.  And then took a well deserved break.

I cleaned it up with some Old English and filled most of the drawers with my decor materials, leaving a few for guests to use.  Unfortunately some of my larger decor pieces like my glass cloche domes and candlestick stands are too big to fit in the drawers and still have to be stored in the closet, but it holds 90% of what I wanted it to, so I think it turned out alright.

So what do you think we paid for this piece?  Remember I’m a bargainista…..

Dresser

Would you believe we brought this baby home for just $100?!  It’s true!  And that included the mirror which I’ll clean up and sell in a few weeks making it even more of a deal!

We don’t plan to refinish it until we move since it will likely get dinged and scratched on the way to the new house, so that gives me time to ponder exactly what to do with it.  I’m sure we’ll paint it so that we can fix the ding in the top but need to decide on a color.  OLYMPUS DIGITAL CAMERAWe do have paint left over from the little sewing table nightstand we did while in Kodiak.  Since the new house will have an extra bedroom to furnish there is a good possibility it could remain a guest room dresser.  If we use the same gray/green color as the nightstand and distress it a little to show some brown it would make a nice ‘set’.

I did find this DIY tutorial to make the same style as the $1600 dresser, so we may still end up with that in our new entry way, but I’d want it to have a molding on the bottom so I’m not constantly fishing Sangria’s tennis balls out from under it, which is a feature I was very happy to get on this bargain piece.  Although even if it didn’t, I’d still think I found a sweet deal! 🙂