Over the weekend I invited a couple of my gal pals to check out a fun event with me at Pier One called Easter Enchantment. The event featured displays of Easter decor, entertaining tips, a scavenger hunt and gift card giveaways. We were long overdue for a girls day and I figured it would be fun to be on the other side of events for a change since I recently changed positions at work and no longer coordinate the company’s corporate functions.
After signing in, putting our names in for the door prize drawings and getting our scavenger hunt cards we headed over to the far side of the store to check out the mimosa bar display.
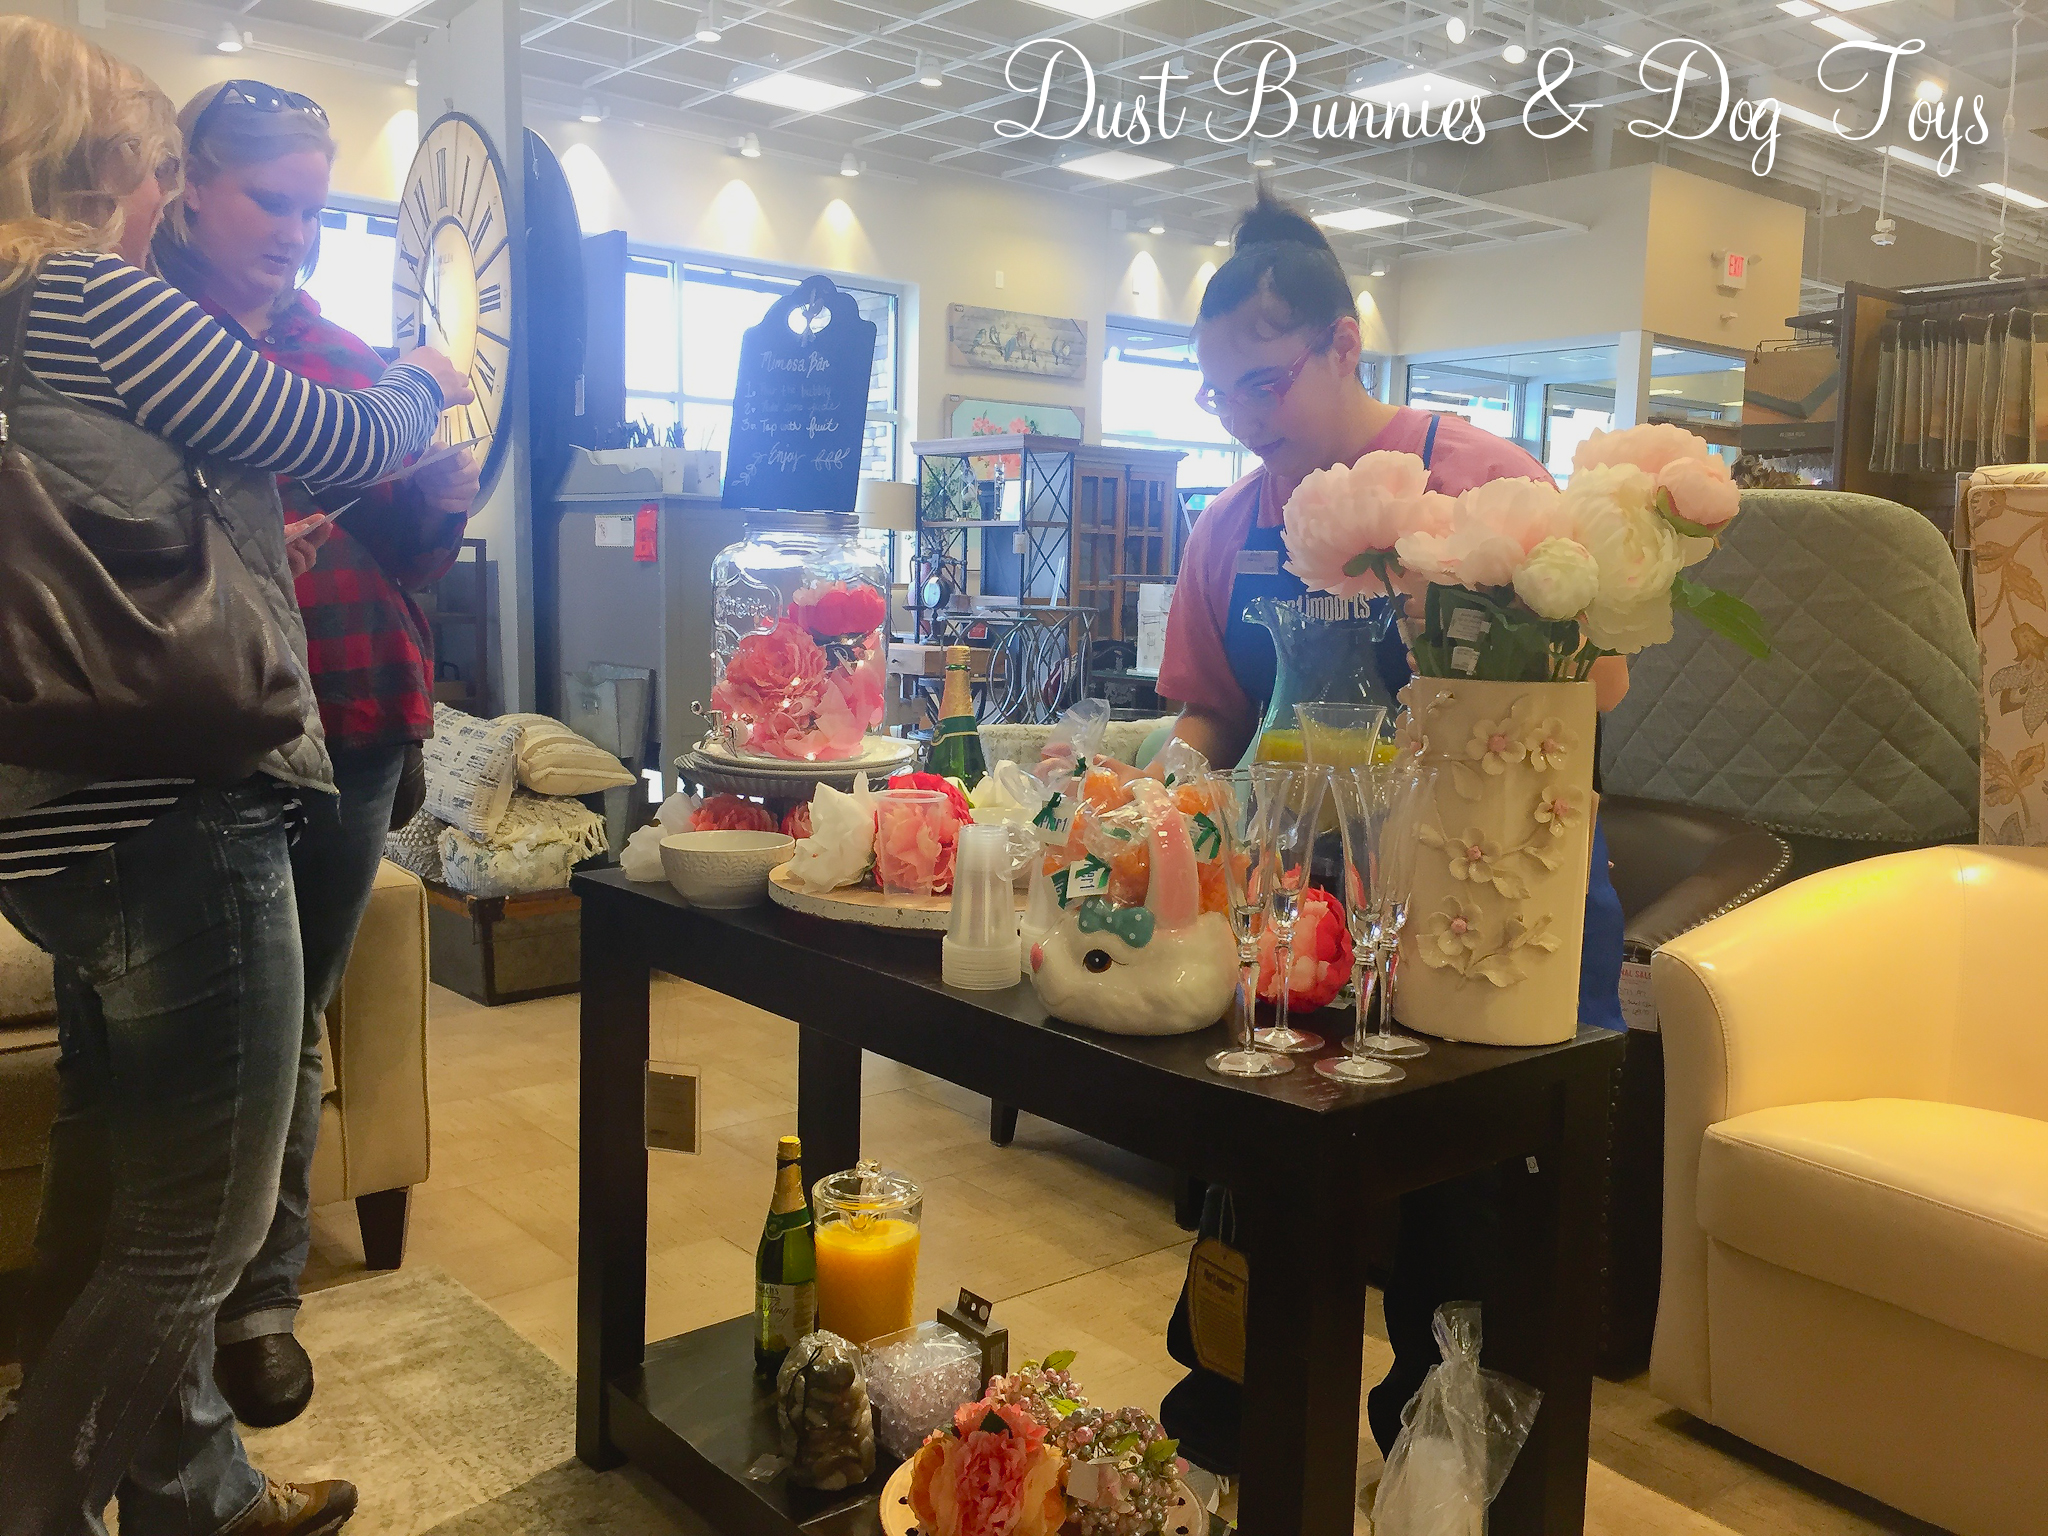 The hostess at the bar made us up some mock mimosas with orange juice and sparkling white grape juice, which were surprisingly yummy even without the real bubbly. She detailed the various ways you could set up a similar bar for Easter brunch.
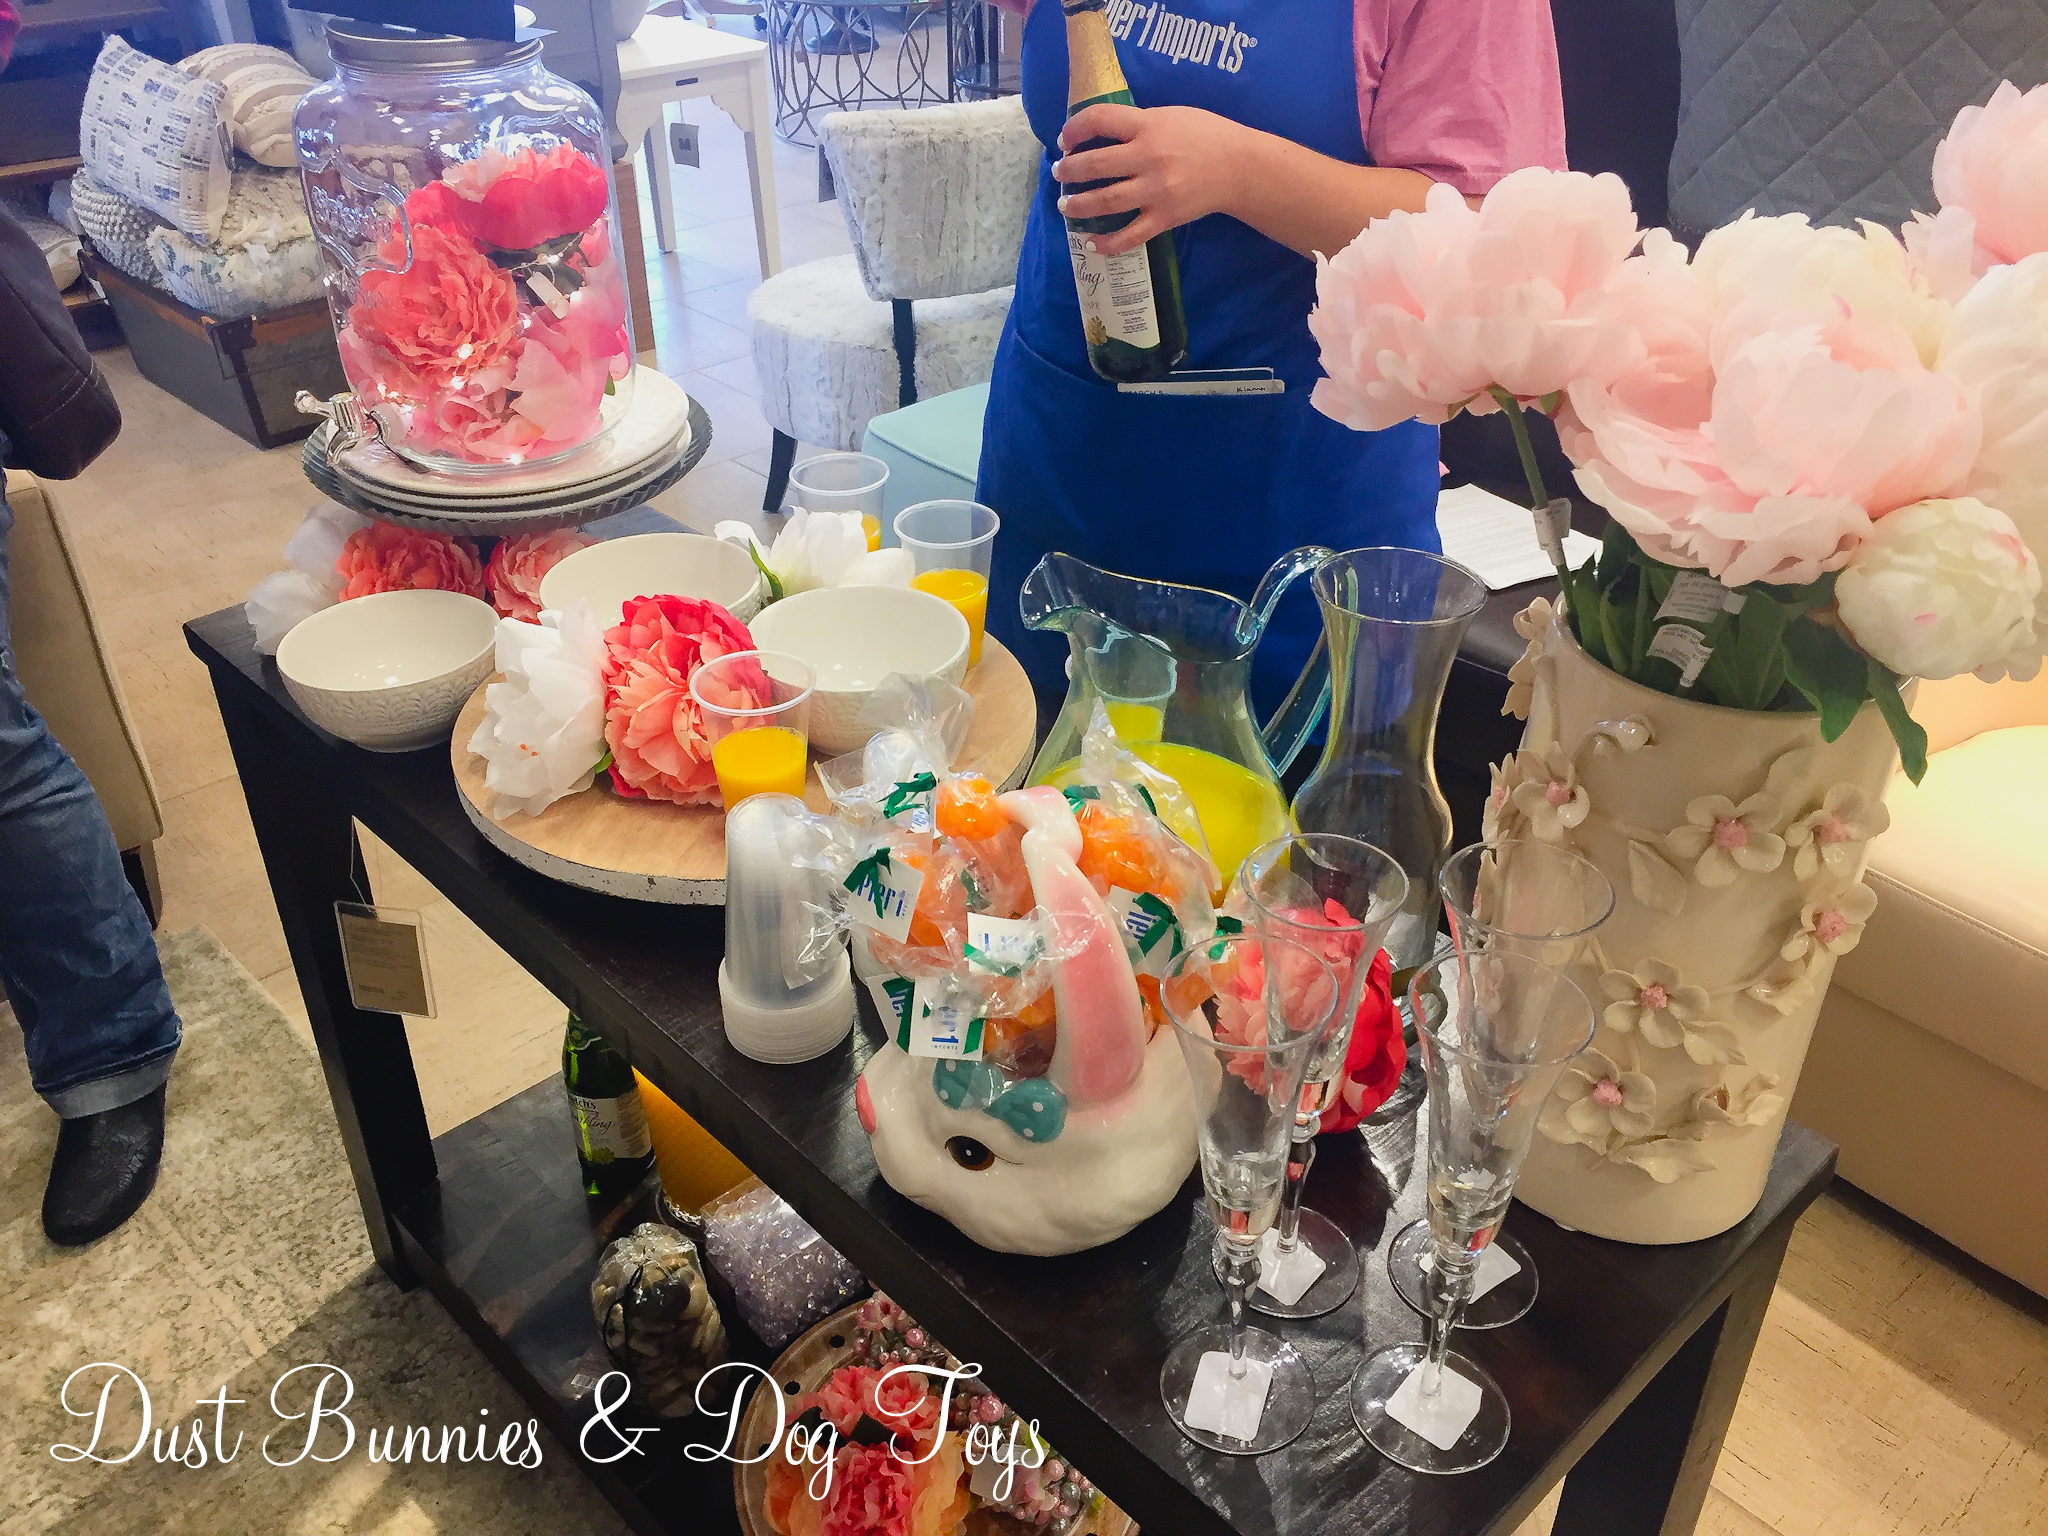 The little chalkboard sign gave simple directions for guests to create their own mimosas. She suggested having a variety of juices and fruit toppings so guests could create their own signature drink. While she didn’t have them out these reusable place card holders that could be used to label the various options available and fit a variety of decor styles and events. I may just have to pick up a set for our summer gatherings!
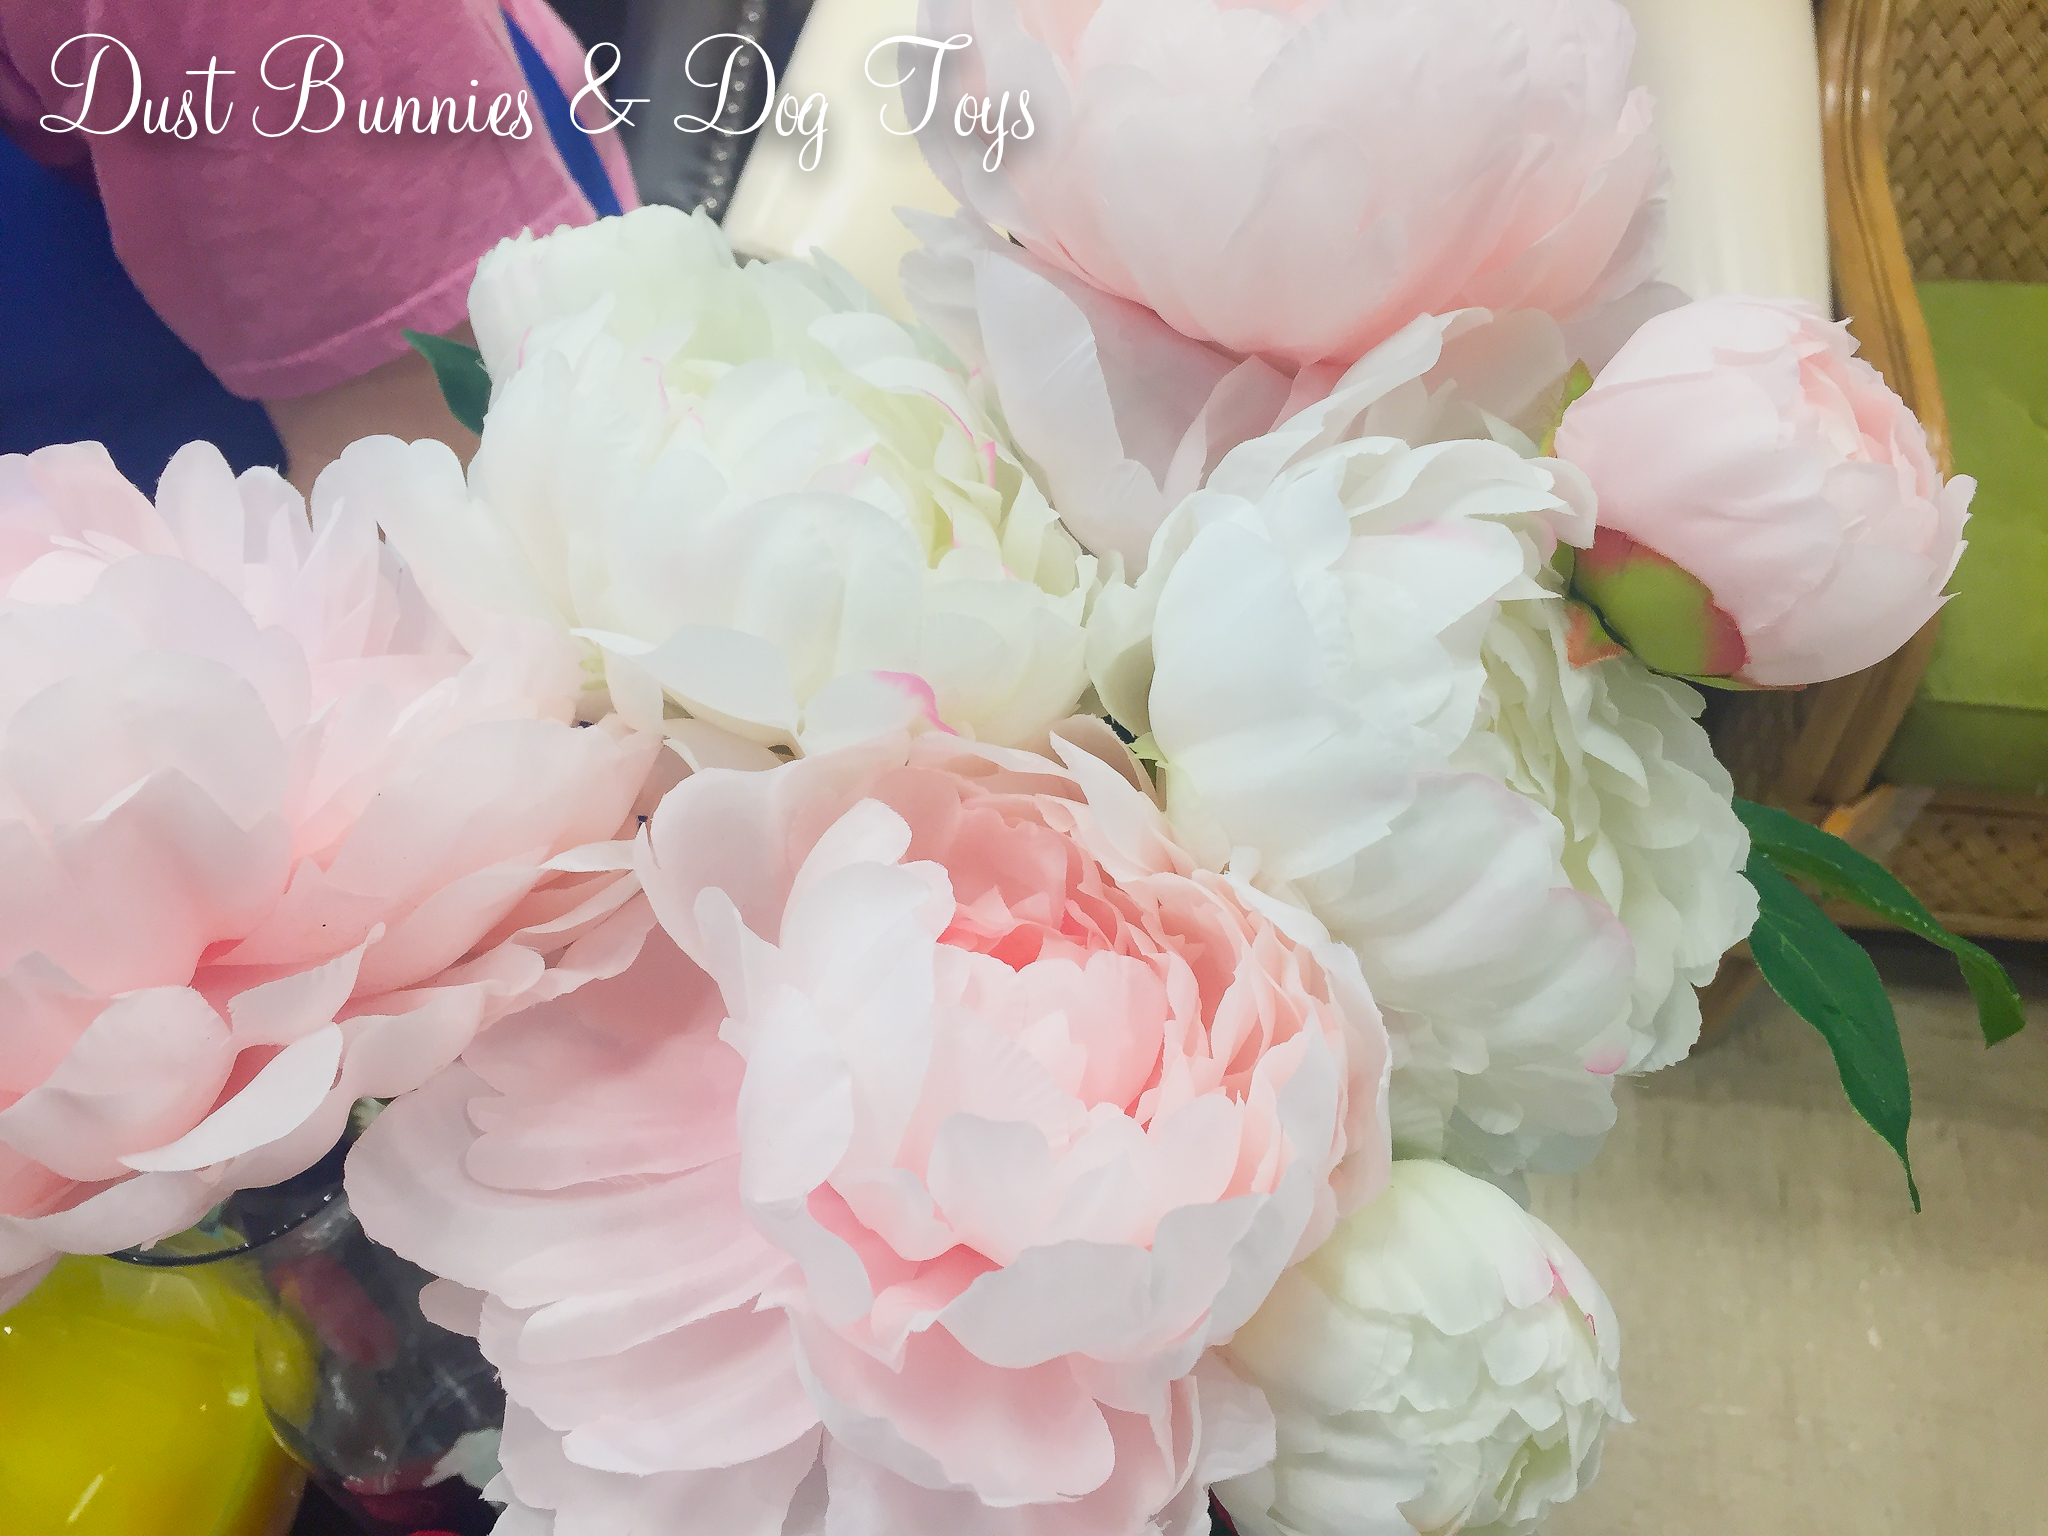
 The faux peonies they had on display were so pretty that I may go back to pick a few up as well so I can enjoy them all season long without the allergy side effects of having flowers in the house. And the fact that I don’t have to water them at all is a big plus!
 Next we checked out a table scape display, which I somehow forgot to get a shot of. I blame the mimosa in my hand! 🙂 After that we learned three ways to create fun Easter napkin folds with instruction from one of the store employees.
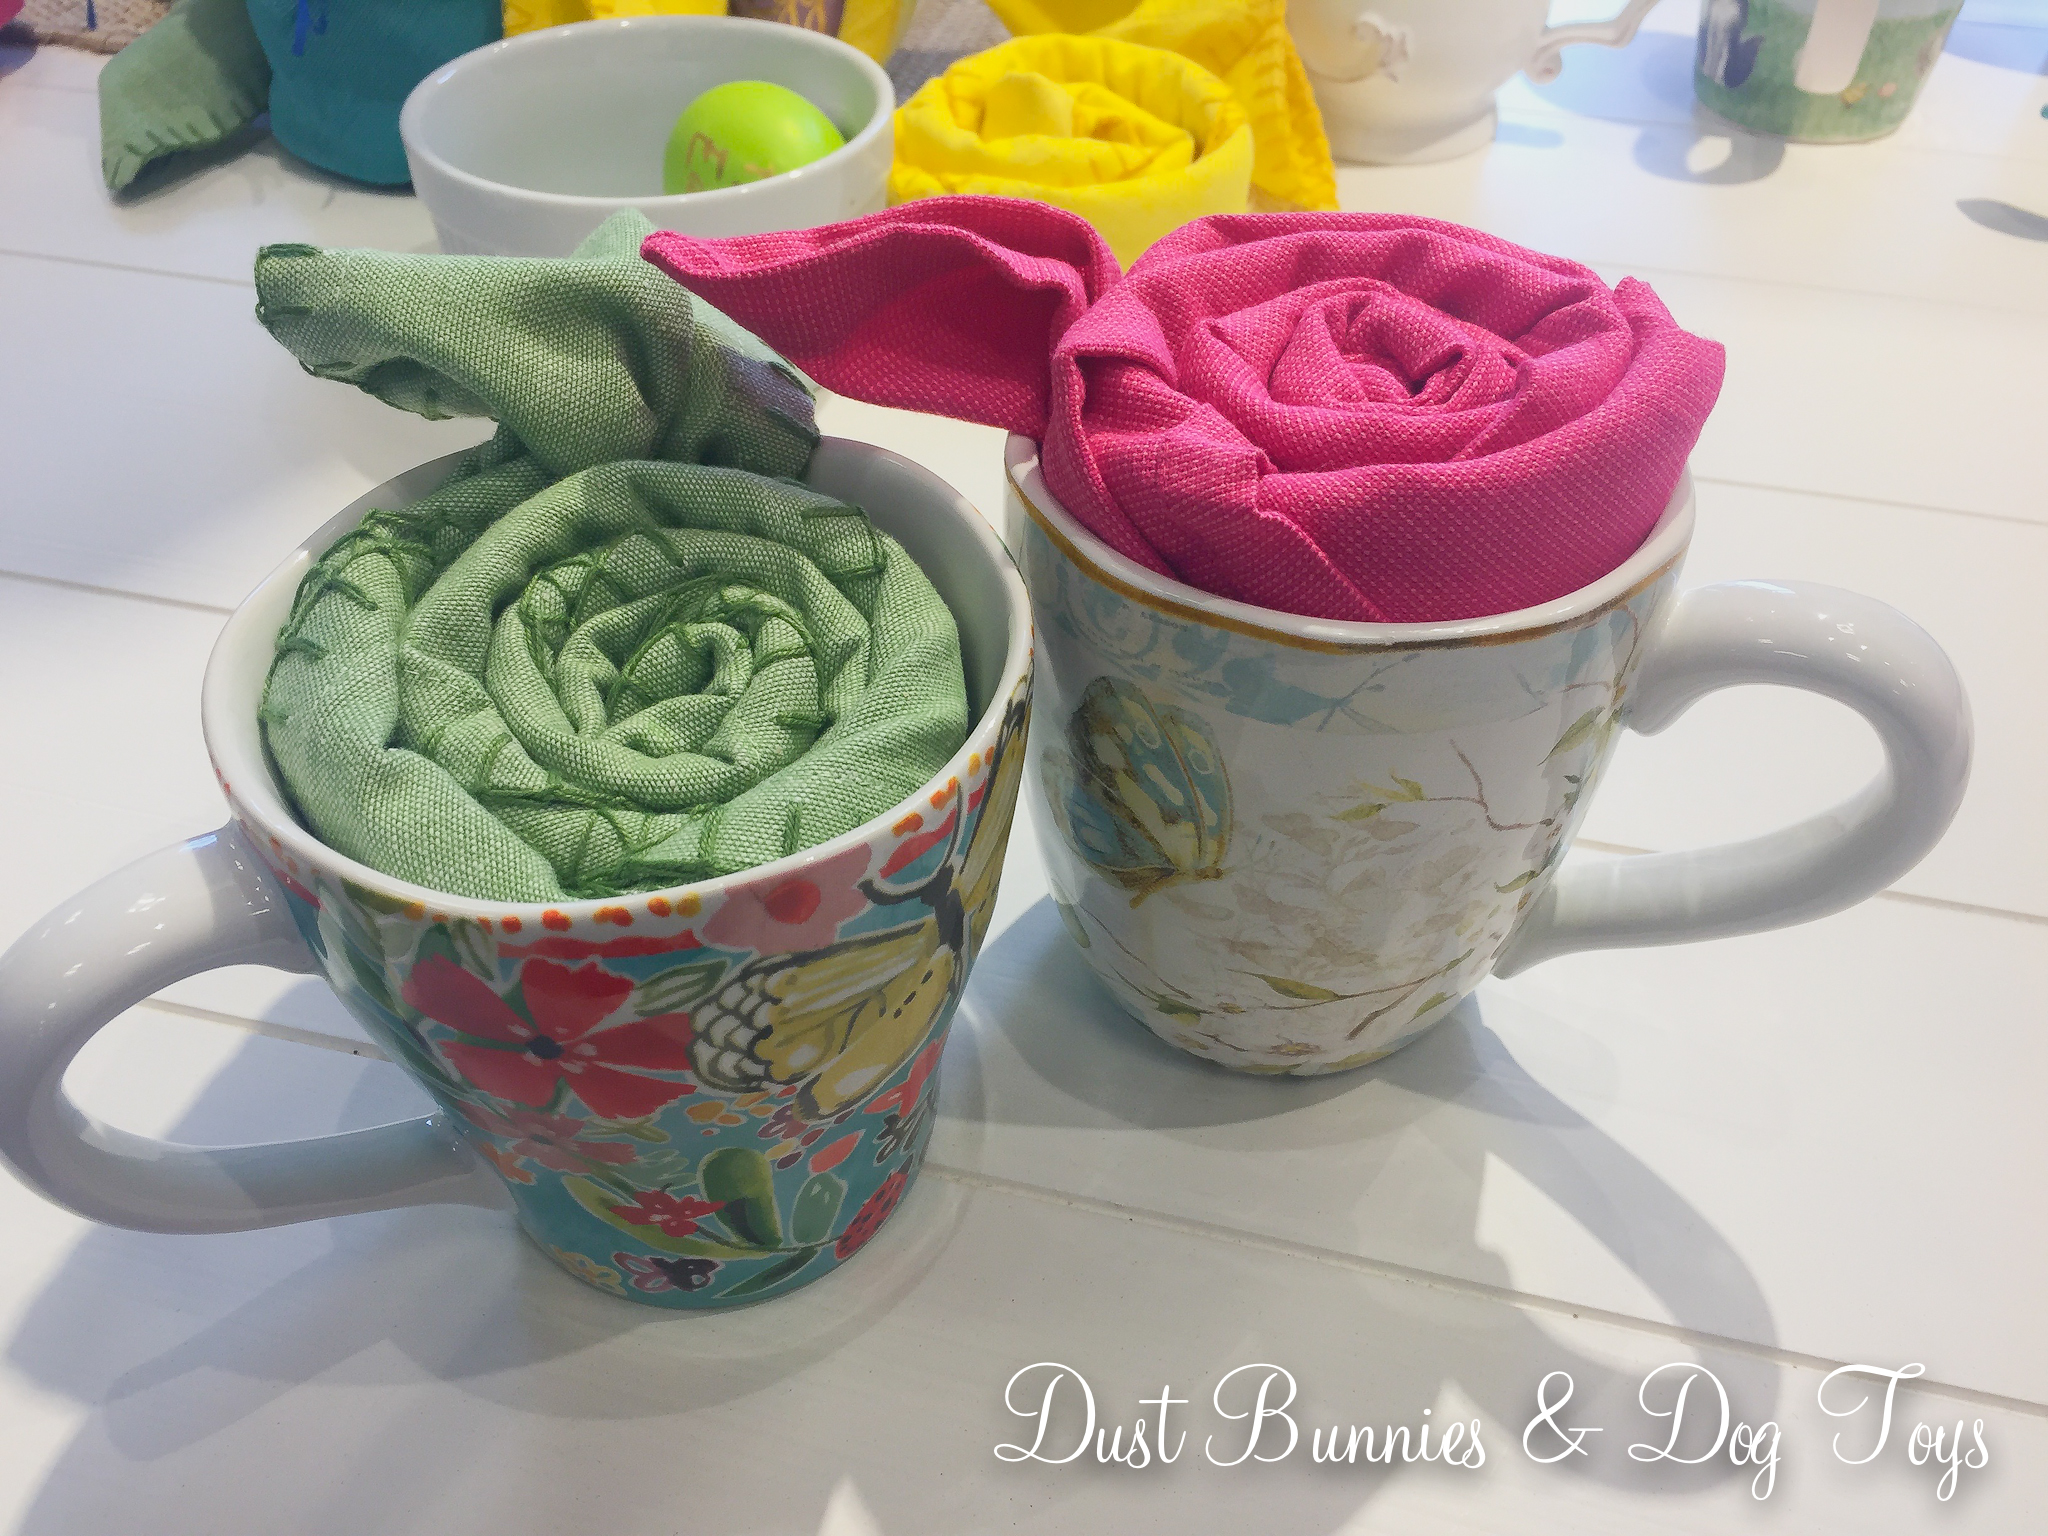
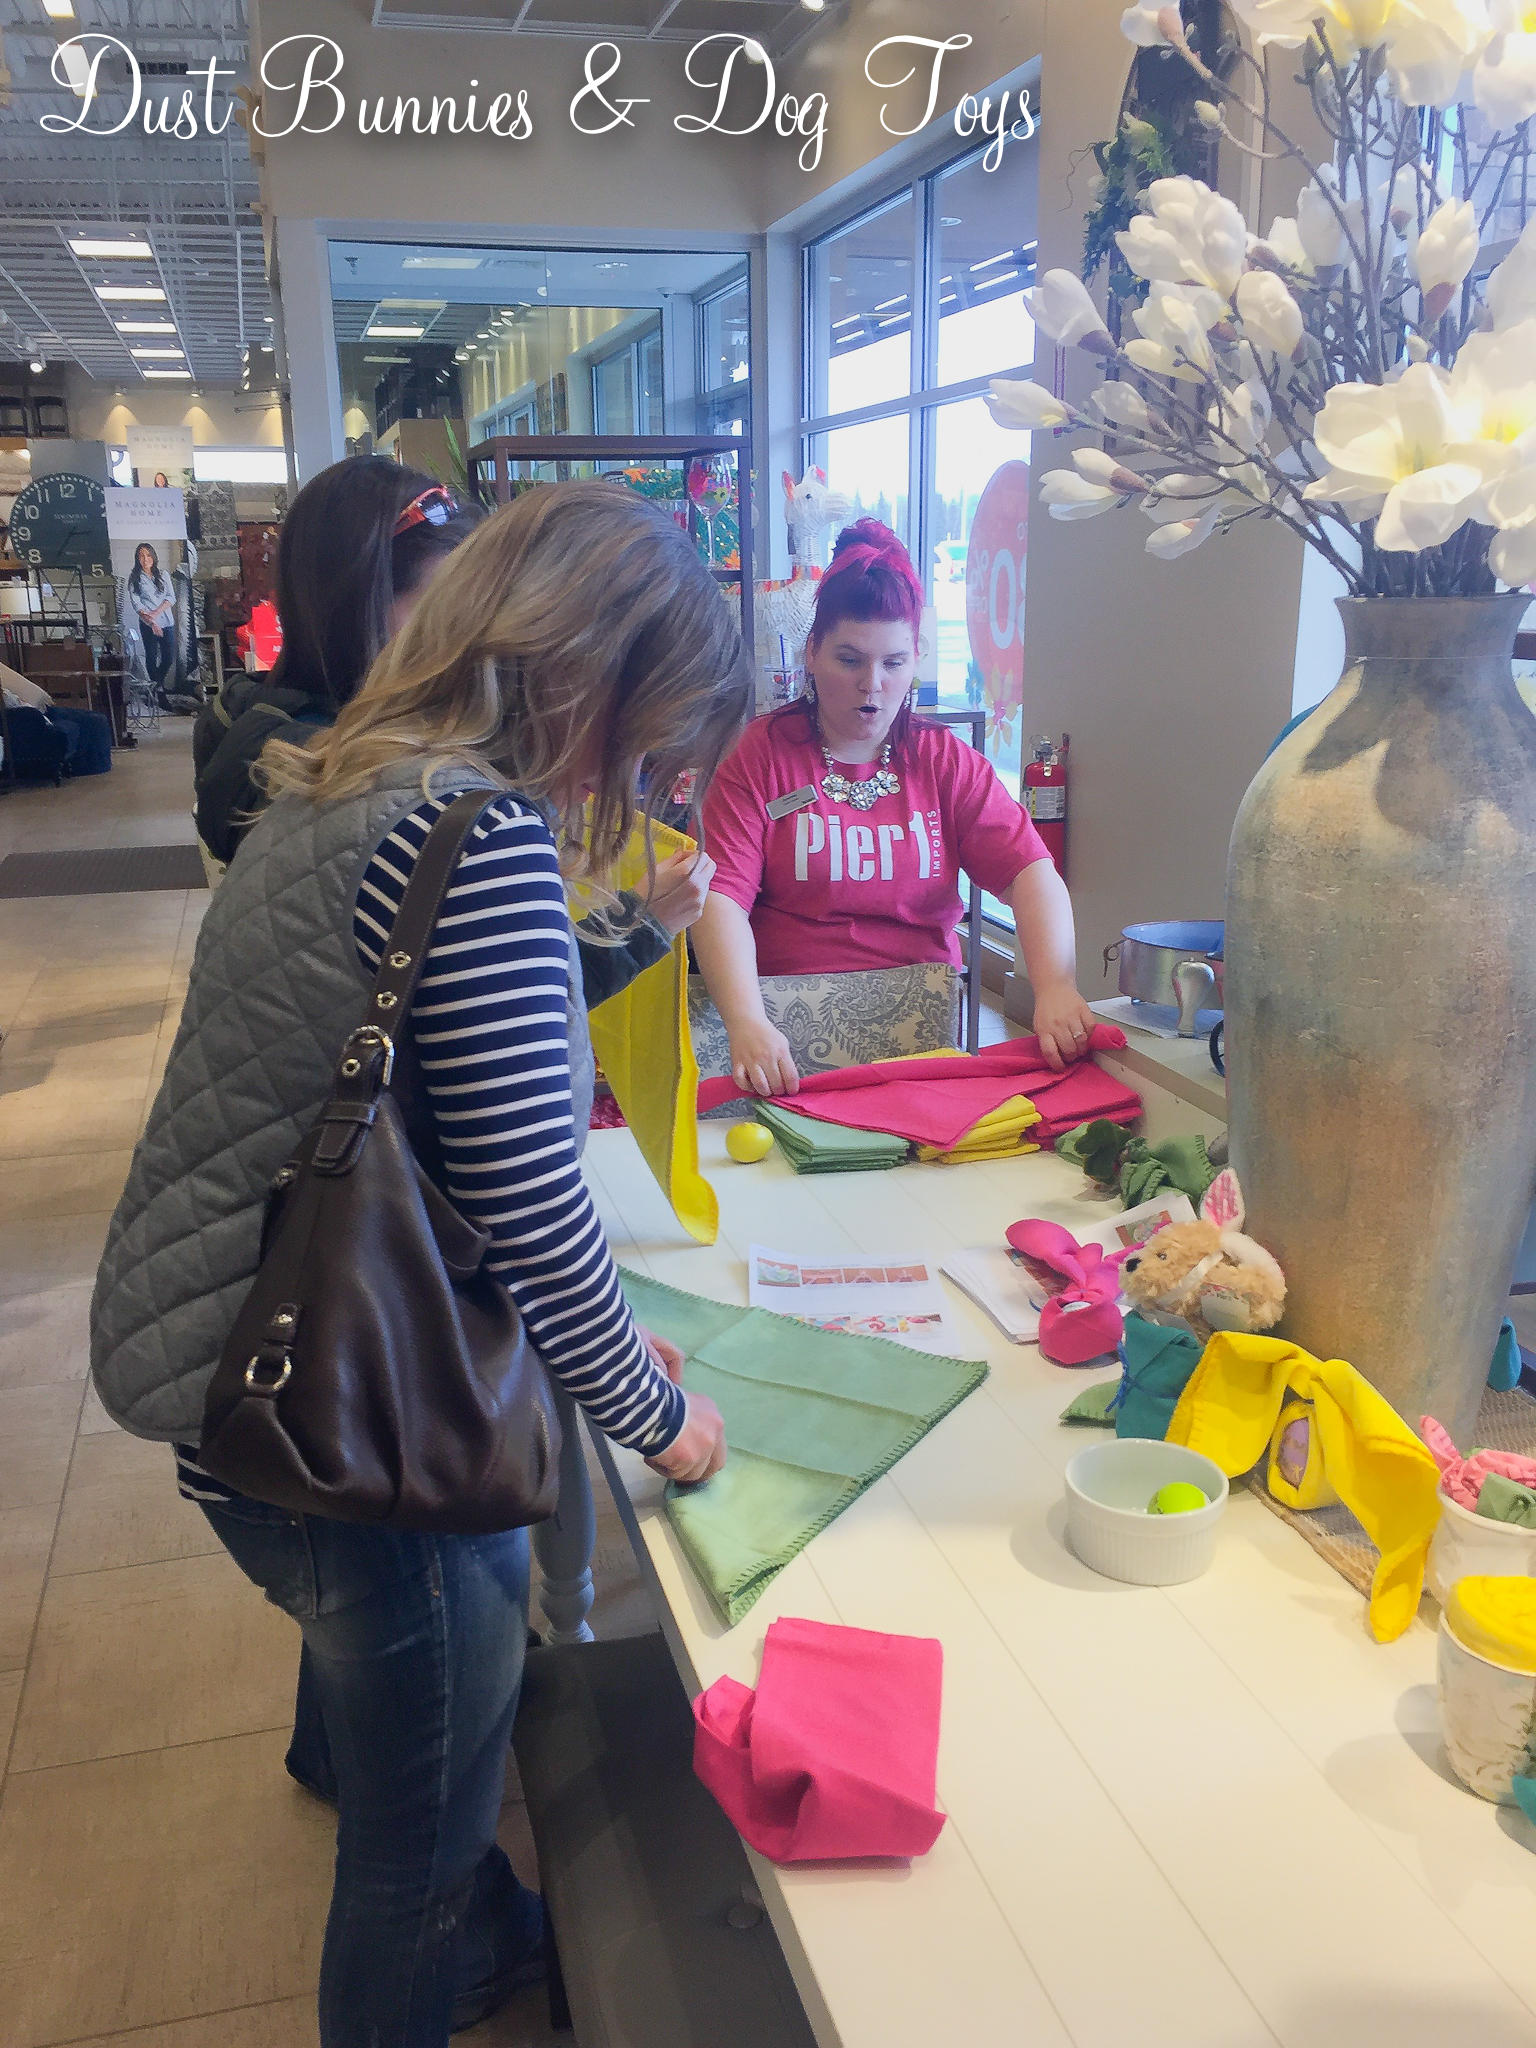 The first design was this fun rosette which fits perfectly inside a cup. They had some fancier versions as well with a secondary napkin serving as the green leaves of the rose.

 Our first attempts were pretty good so I’d say this is definitely something an entertaining newbie could pull off!
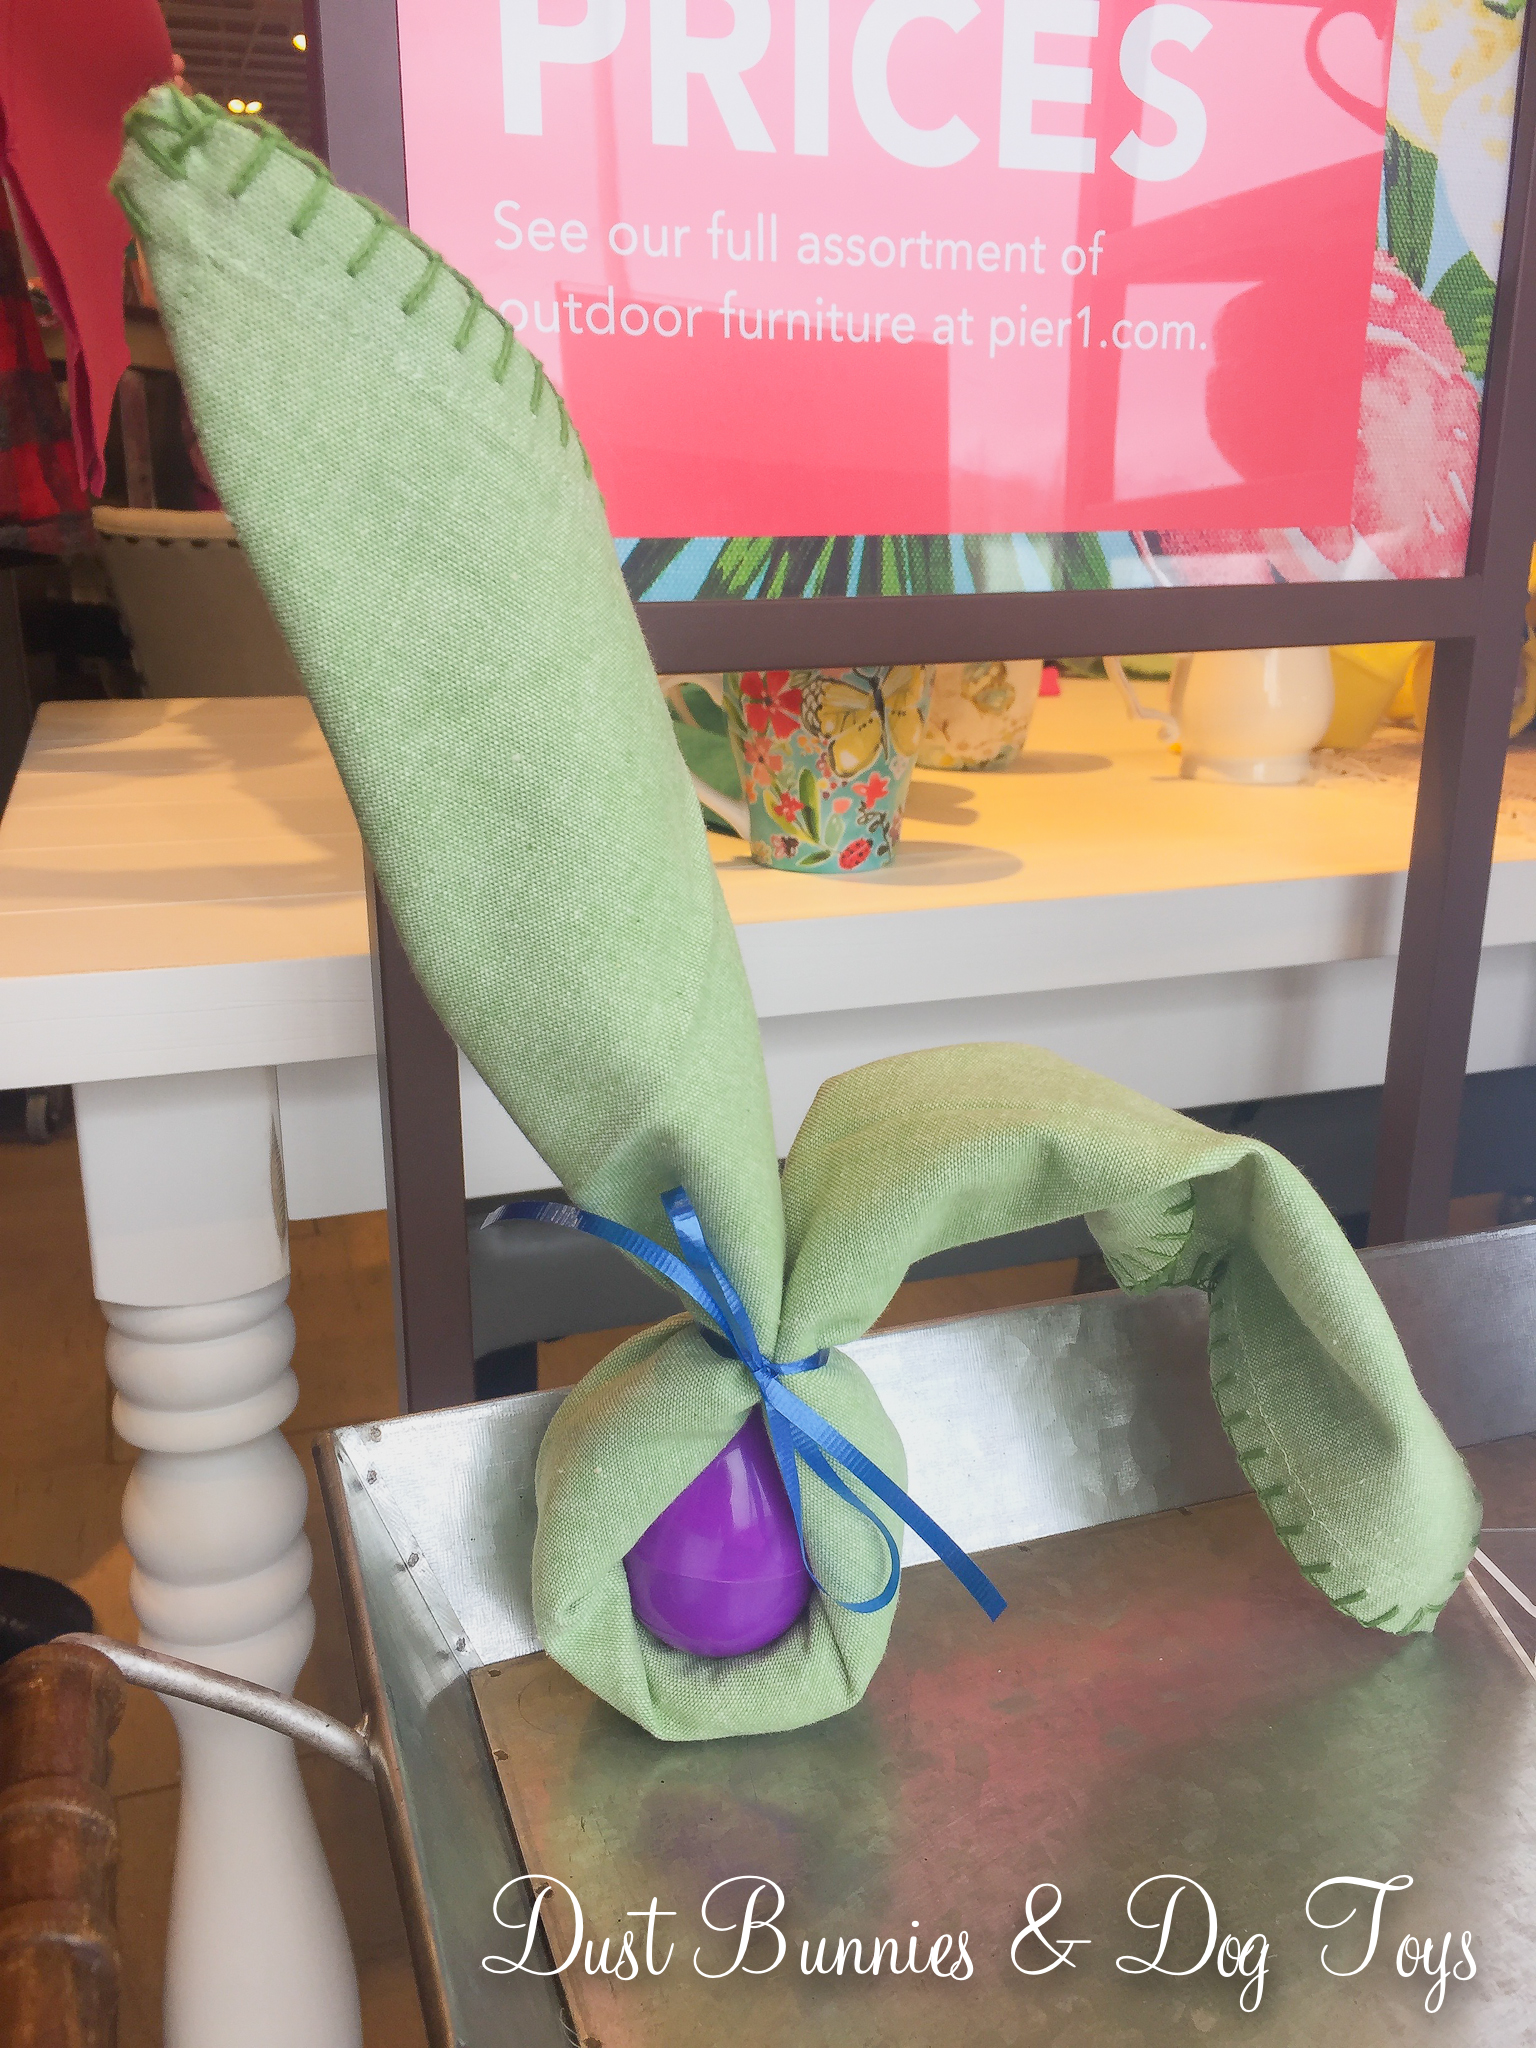
 The second design was this fun bunny shape, which required an egg to create. It’s also a simple design – just fold, roll and wrap around the egg then tie just above it. From there you can arrange the big ears to stand up or flop over based on your preference. We used ribbon to tie the ears but I’d suggest trying twine or ribbon for something a bit fancier.
 Here’s my bunny fold. Not too shabby if I do say so myself! And I love that he has one ear up and one down!
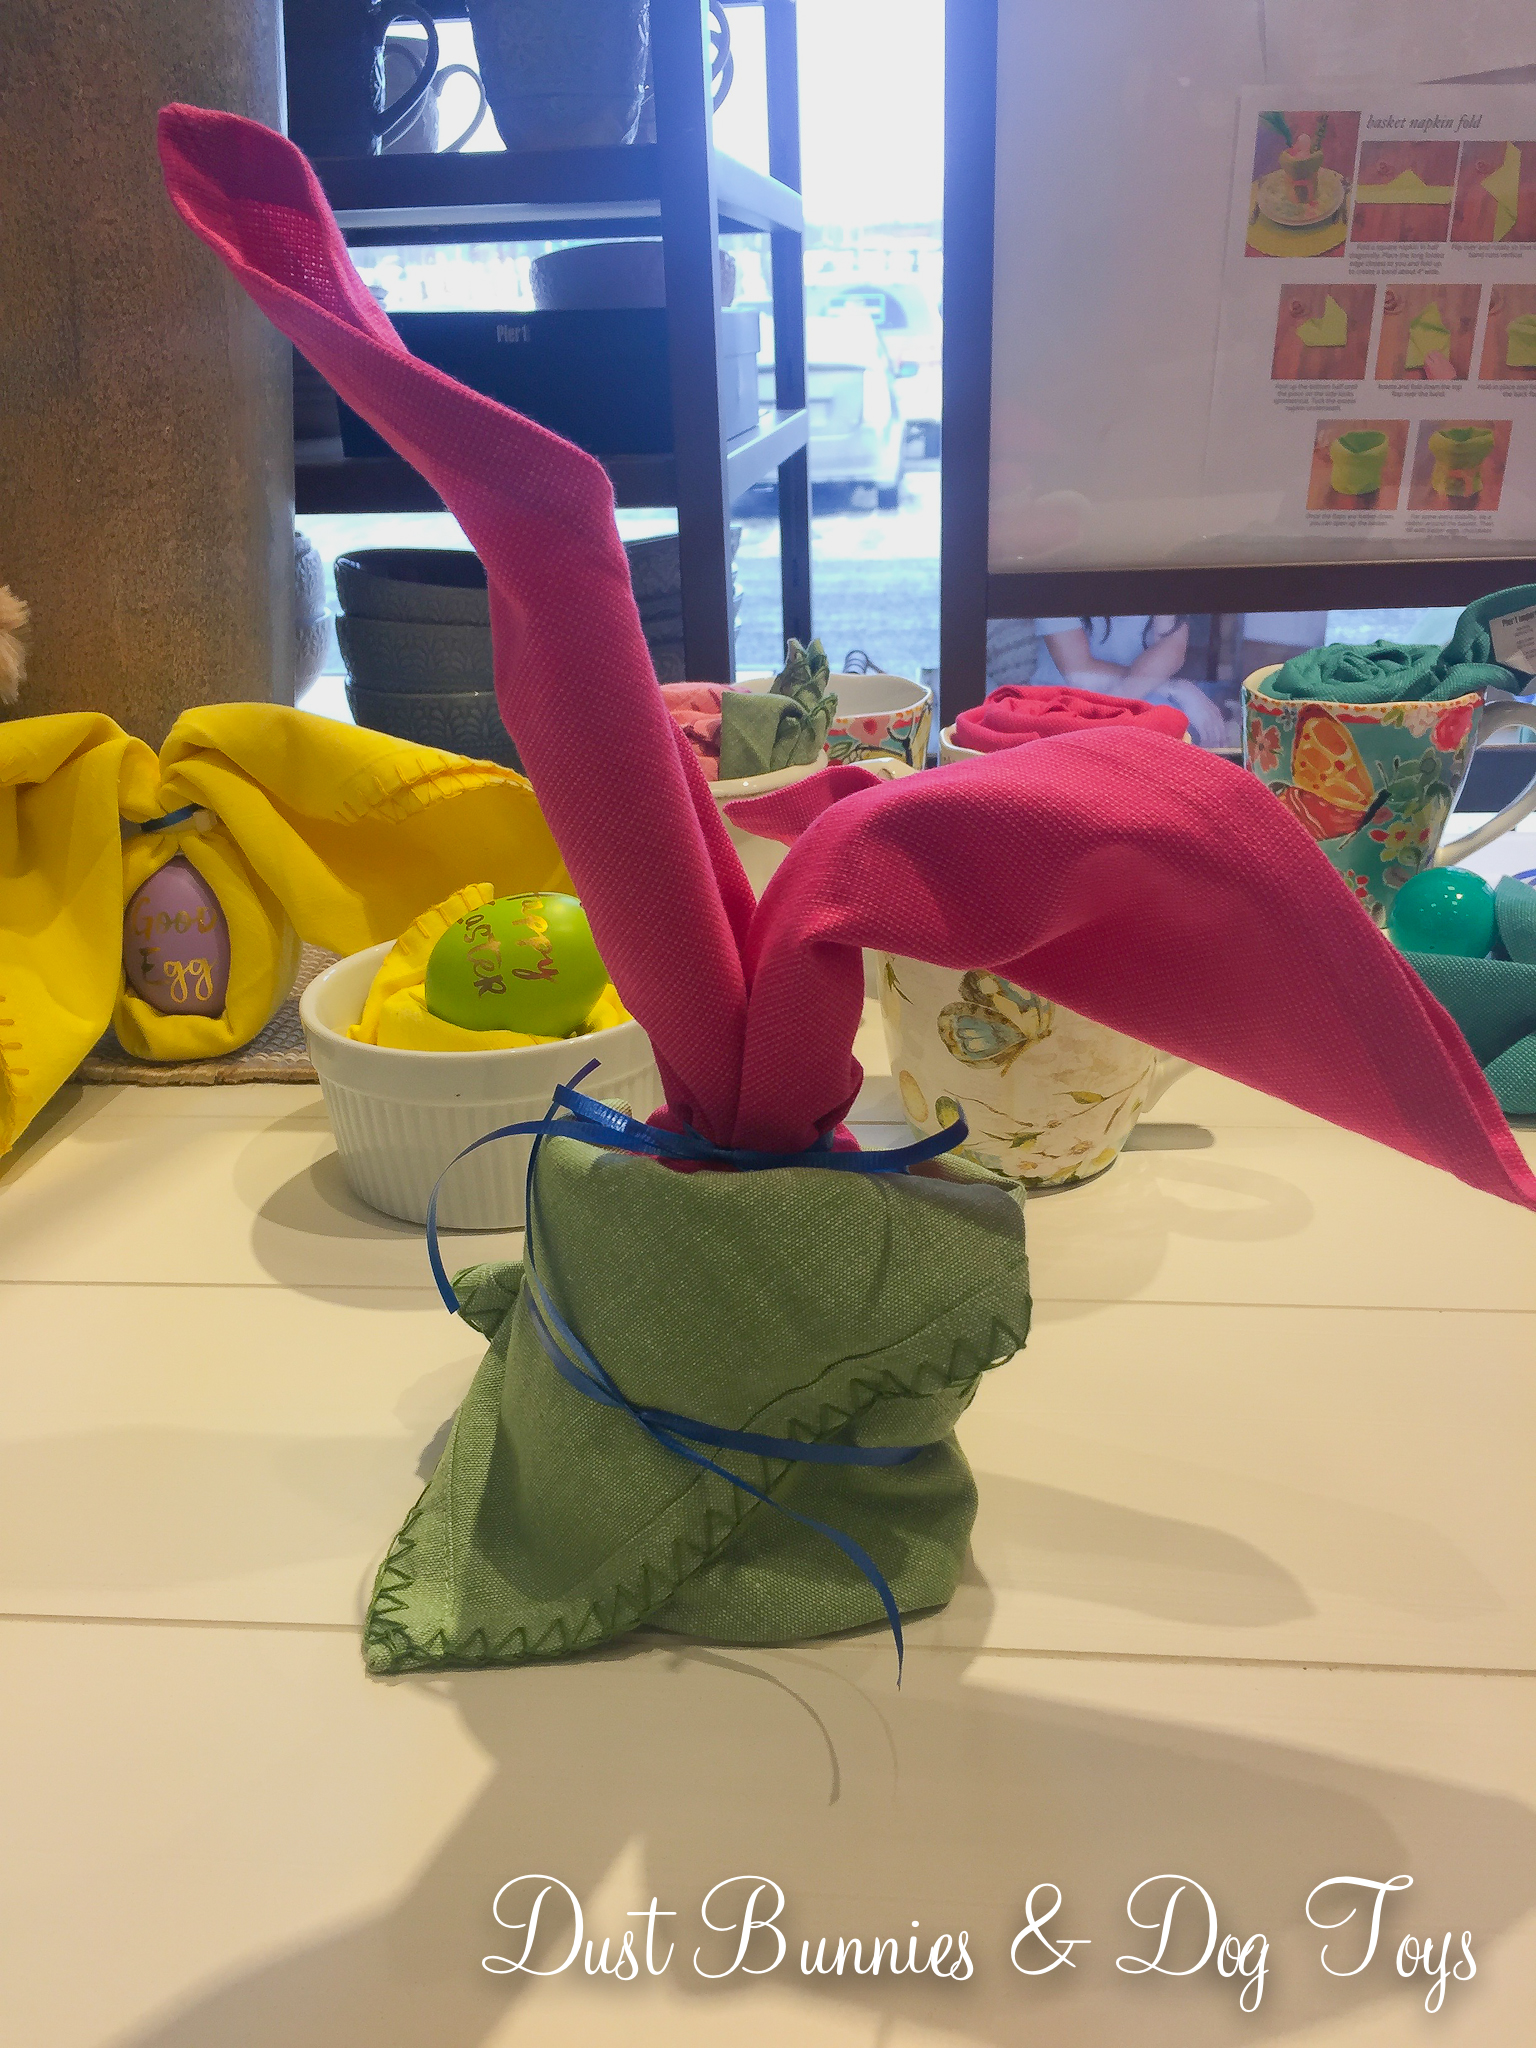
 The last design was a little pocket basket. This one was a bit more complex, but still only took a few steps. And because it holds an egg you could create egg shaped place cards to use in the fold, which would also serve as a favor for guests.
 The example display used one of their spring plush animals, but the gals and I experimented with the bunnies we’d created and thought that was a fun look as well. They would be great around small potted plants as a favor that guests could take home with them.
 After the demonstrations, we browsed the rest of the store displays chatting about one of the gal’s plans to decorate with favorite patterns when she finds a new place soon, sniffing the scented candles and checking out the rest of the Easter decor available. There was also a fair amount of giggling at each other as we swapped stories about things going on in our lives.
It was time well spent because three of the four of us won gift cards in the drawings and scavenger hunt, and the forth received a discount percentage for a purchase. I was able to combine my rewards discount with the gift cards I won to get two of these adorable little plush lambs named Juniper for the soon-to-be foster room and this handsome fellow who will be the perfect accent to the vintage cart on our porch this season. I also eyed these acrylic tumblers for when we eat out on the deck this summer, but decided to hold off for now since there’s still over a foot of snow in our back yard. Sigh. It might be the first day of spring on the calendar but here in Alaska we know spring planting and outdoor living is still several weeks away.
If you’re hosting Easter dinner, get the instructions for the napkin folds above plus a few others and more entertaining ideas over at Pier 1’s website so you’re ready to impress your guests. While you’re there sign up for a free account so you get invites to their next in-store event and can join in the fun!
Disclosure: Some of the links above are affiliate links, meaning at no additional cost to you, I may earn a commission if you click through and make a purchase.