My New Jewelry Rack

1

Today I wanted to share a little change I mentioned when I showed off the new bench I added to our Master Closet.  My mother-in-law gifted me this cool rusty rake head after I’d sent her some gardening organization ideas using some.

4

We used it in the dining room over the summer to hang cut herbs as they dried which worked quite well.  But when I was purging my jewelry for an upcoming consignment sale and wanted to rearrange the larger pieces I keep next to the jewelry cabinet I thought using the rake would work much better than the thumb tacks I was currently utilizing.

3

So the rake head moved from the dining room to the closet, where it gives a much cleaner look.  I reused those thumbtacks to hang the rake head, but I might swap them out for smaller finishing nails to make the look even cleaner.

2

I like that I can hang items using one tine or multiple depending on how heavy and wide each piece is.  And it’s easy to grab an item when getting ready and just as simple to put it away at the end of the day.  But the best part is that the update didn’t cost me a single dime **cue heavenly music** and took less than 5 minutes to do!

5There’s room to add another if my jewelry collection grows, so I’ll be on the watch for both a second rusty rake head and more pretty large jewelry!  Like I said, there’s some big consignment sales coming up! 😉

Advertisement

DIY Plant Stakes

BeeClose

Hey everyone!  I know it’s been quiet around the blog recently.  Life has been a bit more hectic than usual and we had a death in the family last week so I chose to take some time to rest and reflect.  Finding time to prep material for the blog is still a bit challenging and we’re currently working on a couple of projects that aren’t ready to share just yet, including one I didn’t plan on tackling this year, but I’m excited about what it means for my garden next season!  In the meantime here’s a fun, quick DIY I did earlier this summer.

Back when I had a holiday tree in our entryway I collected an assortment of cute ornaments for each season and holiday.  Now that I’ve given up the tree I wanted to reuse the ornaments in a new way so I could continue to enjoy them.  I decided they would make great plant stakes for my potted plants on the deck and couldn’t be happier with how they turned out.

This sweet little rusty bee (which ironically is the name of one of my favorite local makers!) was the first I transformed.  Although I didn’t document the steps of his transformation, it was fairly simple.  I removed the small loop at the top of his head  which was attached on the back by bending it back and forth until it popped off.  Next I dug out my E6000 glue and applied some to both the back of the bee and a small rusty rod I had in my supplies that matched perfectly.  Following the directions on the glue tube I adhered the rod to the bee and let it cure for 24 hours.

Bee

Once cured, I tested him out with a couple forceful shakes and he held tight so I found him a home in my vintage crock planter.  He turned out so cute that I decided to do the same to the other ornaments I had in my stash.  Each had a little different set up as each was unique but they all followed the same process – remove any hanging loops or cords and glue a rod to an appropriate point.  Since I didn’t have enough potted plants to keep them all I set aside my favorites to be used in my garden and put the rest up for sale at the recent Urban Junktion show.  I sold several and still have a good inventory available for other shows next season.  Here’s the current inventory as they were displayed at the show.

Stakes

There’s a little birdhouse with a heart shaped opening.

Birdhouse

Several dragonflies, who may just stay and live in my garden alongside their relatives that I already decided to keep. 🙂

Dragonfly

This little beetle has the same patina as the bee, but I already have a lady bug plant stake so I’m helping this guy find his own home.

Beetle

There’s also a few nautical themed stakes, including these blue and green glittery seahorses.

Seahorse

I had two mermaids but the red head sold at the show, so now this blonde “girl fish” as my nephew used to call them is all alone with the other sea creatures, including this glittery little fish.

Mermaid

Fish

I still have a good inventory of ornaments for other holidays including Easter, St. Patrick’s Day and Thanksgiving.  I may revamp them for this purpose as well, or I might just find another option since those holidays don’t often correlate with having potted plants to decorate here in Alaska.

Stay tuned for more projects.  Posts might be a little few and far between for a while but don’t worry, we’re working on some fun stuff and will share it soon.

Quick & Simple Hanging Lanterns

a

Yesterday I promised to share the second little update I did to the brick pillars, and here it is!  We originally planned to build an arbor over the pillars but the Hubs started to get concerned that the high wind we occasionally get might require additional support with a post behind the brick column.  That didn’t fit with my vision of the original plan so I came up with a simpler option.

c

I’d been eyeing these cool lanterns at Lowes all season and finally had a spot to use them.  I picked up two along with metal Shepard’s hooks and some battery operated outdoor candles, which were on end of season clearance.  I knew I wanted one lantern to hang over each of the pillars so the hook needed to be positioned in the middle of the back of the pillar.  Unfortunately they have a second support stake that sticks out forward from the main post so I couldn’t just push them in and call it done.  I tried turning them sideways so the two support stakes were along the back of the pillar but I couldn’t bend the hook enough to have it hang over the pillar like I wanted.  So I finally conceded that I had to take apart the pillars in order to install the hook with the support stake inside the pillar space.

b

Luckily, I realized I could take off just the back of the pillar by carefully removing the bricks that overlapped every other row.  Once I had the stakes in the ground I put the bricks back together over top the connecting bracket for the two supports.  It was a little extra effort but it works perfectly and ultimately makes the hooks more stable because they are held down by the stack of bricks and sit flush to the back side of the pillar where they shouldn’t get pushed or moved.

I put the two potted plants on the ground next to the pillars so the tops of each can be used like a side table when relaxing in this spot.  I like how they make the columns look more permanent so I might be placing my burlap pots over here next year with some trailing flowers!  As for that faux rock we started this whole project with, it found a use covering the leech field pipe nearby.  If you look closely in the photo above you’ll see it beyond the fence.  From a distance it looks real and keeps the whole area from being cluttered while you’re supposed to be enjoying the view.

d

The Hubs had already purchased materials to build the arbor we originally planned so we’ll re-purpose that idea and supplies to a similar project over the back gate or perhaps for a new special project he’s been talking about recently.  I won’t spill the beans on that just yet, but it will be a big project for sure if it does happen this season and of course I’ll share it here once it’s done.

A Garden Bench

1

Today I’m sharing the new garden bench we added between the brick pillars we recently added to the side yard.  I found a metal bench online that I liked but of course they wouldn’t ship to Alaska and the local store didn’t have any in stock, so I went into the store to see if they had anything similar hoping they’d have a decent option or two on sale for the end of the season.

2

They had this bench which is very similar to the one I saw on the website but it was $30 more!  Luckily I had printed the online option and taken it with me so I sweetly asked the sales guy if he could price match their own website since they didn’t carry the one I really wanted.  He must have wanted to clear out the last one they had because he quickly agreed and offered to carry the big box to the register for me!

3

On the way to the registers I realized that the outdoor pillows I’d been eyeing were on 50% off sale so I snagged a couple of those as well when I noticed that several of the options available tied in the navy, green and aqua I already had going on in the yard.  My favorite is the little bird pillow, which I got two of!  They look pretty great on the fire pit chairs.

4

And they coordinate perfectly with the two over-sized navy pillows I got at Sams club earlier this summer.  I plan to paint an aqua pineapple design on the drop cloth pillow I have on the sectional and will add navy grain sack stripes to the ones on the table chairs over on the deck so there’s a cohesive color scheme throughout the area.

5

Stop back by tomorrow to see how I finished off the brick columns with some more fun aqua accessories!

A New Closet Bench

3

Some time ago Luna decided she no longer liked her perch in our closet and proceeded to claw the daylights out of the side of the storage ottoman I had already repaired once.  I guess she knew I’d be switching the style of our Master to more rustic farmhouse and wanted to give me a starting point.  I sold the slightly damaged ottoman and began the hunt for a replacement.  The hunt then drug on for several months and Luna whined that she didn’t have a perch – to which I told her it was her own doing.

I wanted something that she couldn’t damage with her claws so I knew wood was my best option.  I’d considered building a small farmhouse style bench with a plan from Pinterest when I spotted this little distressed piano bench on the local buy/sell page.  It was a little more expensive than I hoped, but the seller offered me a small discount making it cheaper than what she had bought it for so I felt a little better about it.

1

It fits perfectly under the mirror and the additional storage where the top lifts up is just enough to hold my work T-Shirts so I don’t have to pull them down from the high top shelf when I need them every few months.  I thought I could add a bit more storage with a basket underneath and I had one that wasn’t fulfilling a purpose at the moment so I did a quick test fit.

2

You’d think it was made to fit there!  And it coordinates with the colors quite well.  Luna was quick to show her approval of the new bench, which allows her to admire herself in the mirror once again.

4

And more importantly, it provides an optimum ambush location for that crazy younger sister of her’s when she gets a bit too energetic and needs to be reminded of who’s really in charge!

Z

I wasn’t sure how I’d use the basket at first, but I’ve since started putting the “to be altered or mended” items in there which frees up space on the shelf over the bottom rod on my side.  Perhaps being able to see them in the basket will remind me to take them to be done!

I plan to paint the trim and molding around the mirror cabinet this winter when there’s not so much to do outside, which will start to give this space a more finished look.  I’ve made another small update to this space since taking these pictures and will share that soon as well. Until then I’d love to hear what you think about the new bench and the extra storage it provides!

Brinley Goes for a Ride

5
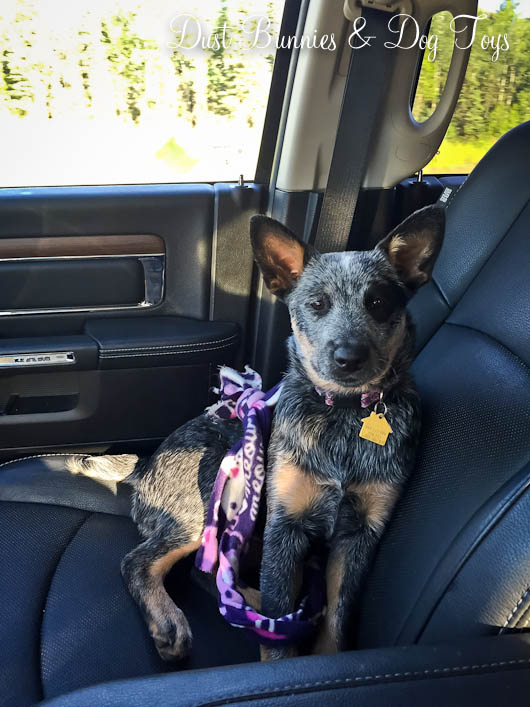
Hi!  My  name is Brinley and I’m taking over the blog today so Momma can catch up on her t0-do list after a busy week!  I wanted to share a little story about my recent ride in the truck when Mom and I got stuck in something she called “construction traffic.”  Because I’m a puppy I don’t like to sit still for very long so being in the truck for a long time isn’t very fun for me.  I tried to be patient and just hang out, but that didn’t last long.

11

So I tried to be helpful by cleaning the crumbs out of mom’s cup holder.  I thought I was doing a pretty good job, but she didn’t seem to appreciate my efforts.

9

So I tried being patient again.  But like I said, that really isn’t my thing.

10

So I tried to take a nap on the center console.  But I’m getting bigger now and don’t fit there very well anymore.  I couldn’t get comfortable so I moved back over to my seat.

17

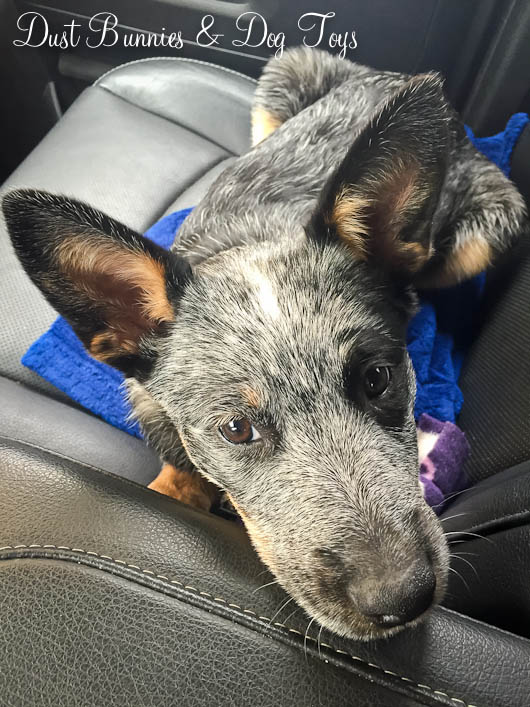
Next I tried giving mom puppy dog eyes to see if it would get us out of traffic any faster. She said I looked cute but it wouldn’t help with traffic.

1

After a while I was starting to have a serious case of cabin fever, so I really laid on the puppy dog eyes.  Still no luck.

19

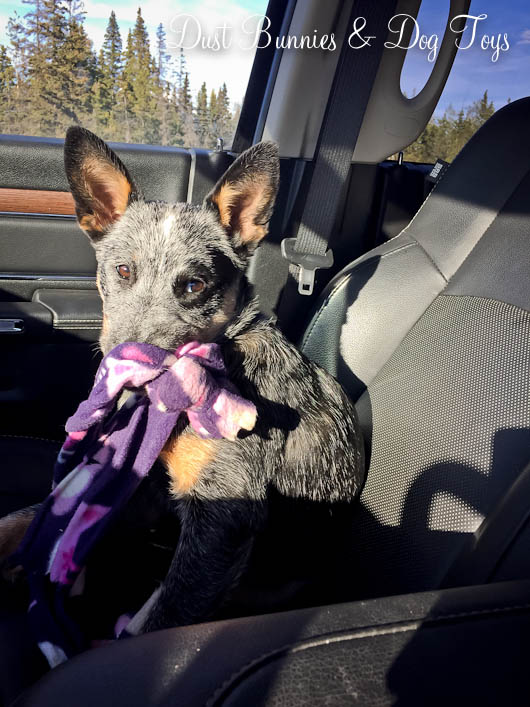
So I found a toy and invited Mom to play tug-o-war.

18

But she said she was too busy watching the other cars.  How can you be too busy for tug-o-war?

16

So I tried to help her watch the other cars.  But when they didn’t move I got bored again.

15

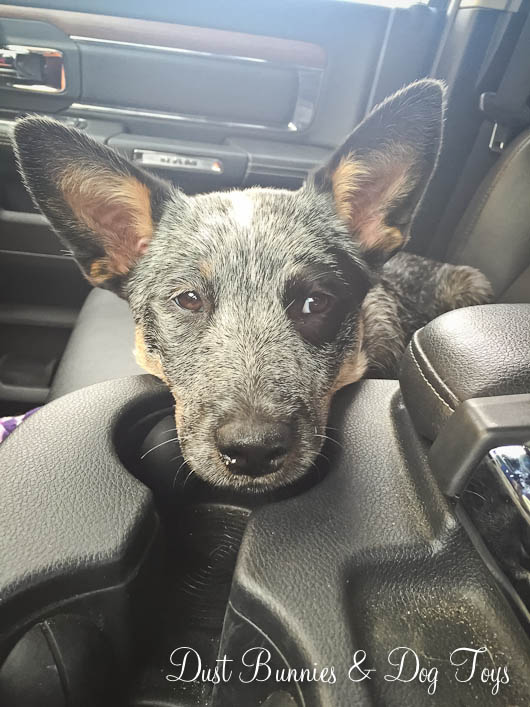
This is my impersonation of what Mom and the other drivers on the road felt like sitting in their vehicles on a bright sunny day.

20

I thought maybe if I didn’t look the traffic would go away… but that didn’t work either.

14

Then Mom started to whistle to the song on the radio.

24

I tried to ignore her, but I couldn’t because she was right next to me and I’m trained to listen to whistles!

25

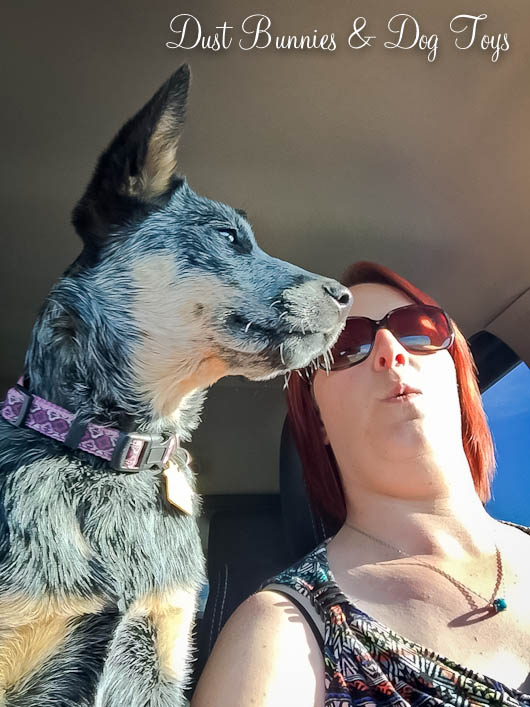
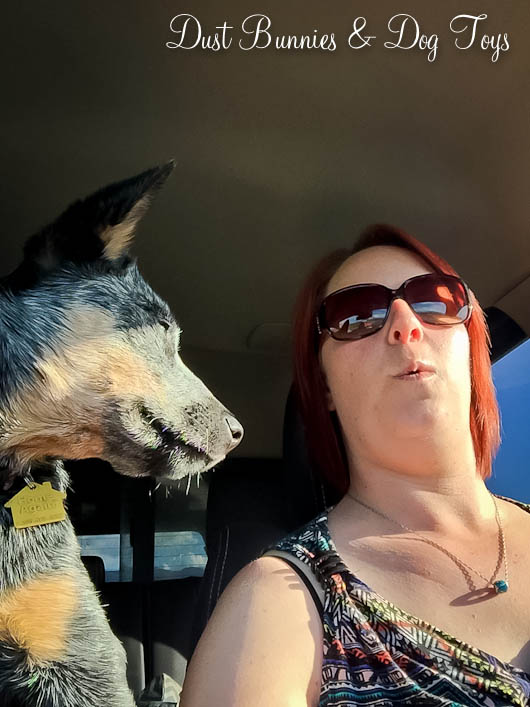
She finally stopped, but then she wanted to take a selfie.  Whatever that is….

26

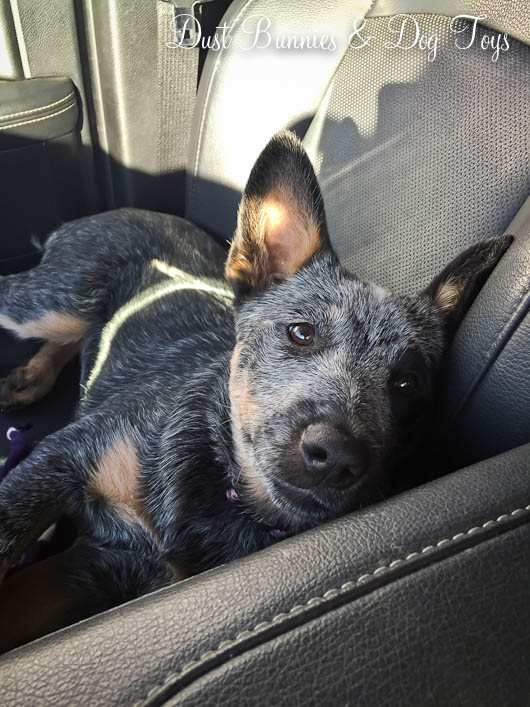
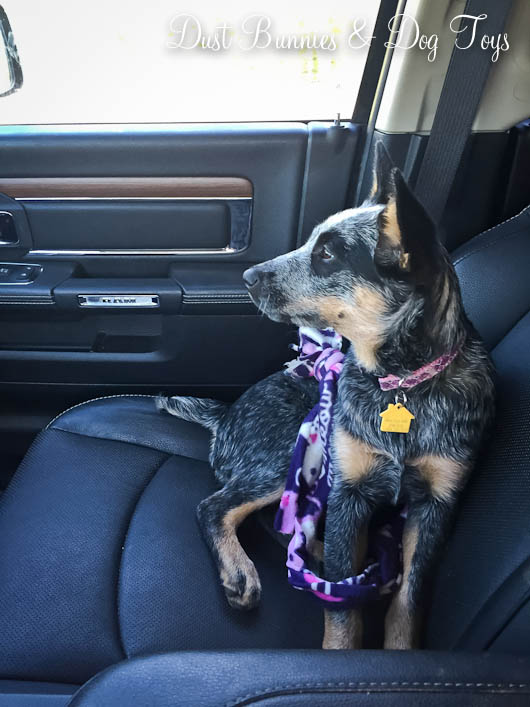
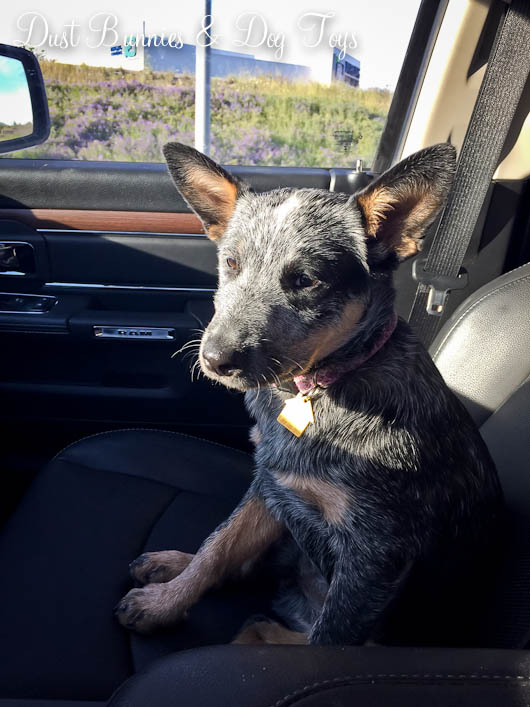
I moved back over to my seat to relax and I thought she was trying to shade my eyes from the bright sun, but it turns out she was just taking more pictures!

21

Finally the other cars started to move and I was excited to see new scenery out the window.

27

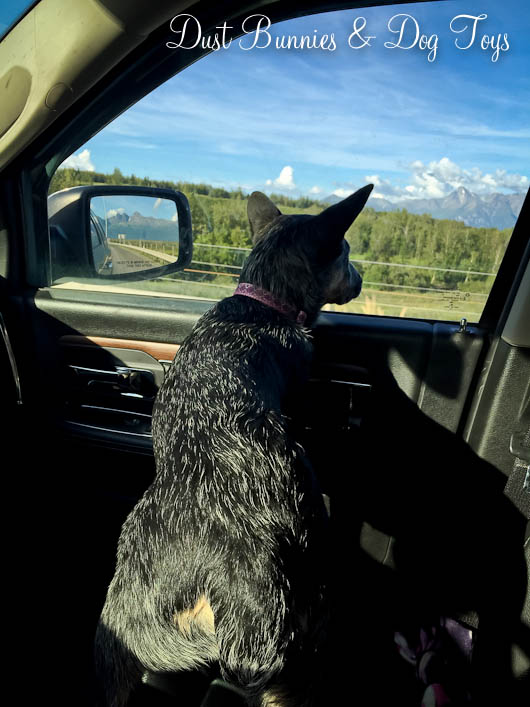
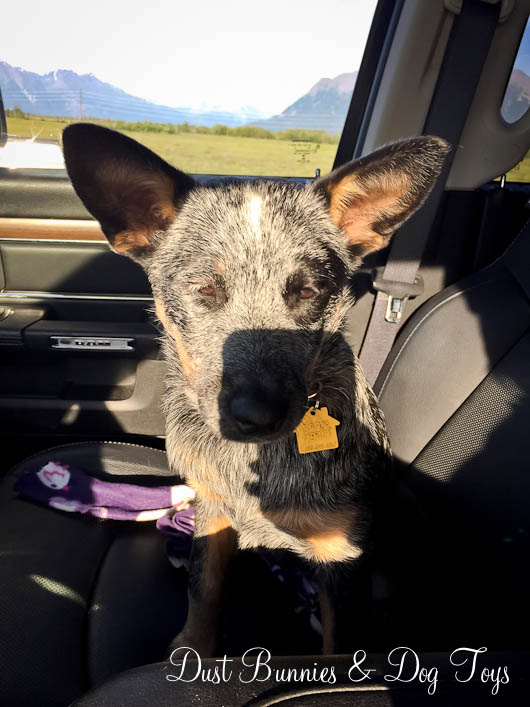
Luckily, I could tell we were almost home by what I saw out the window!

28

But then we stopped AGAIN!  It was so frustrating!

29

I was pretty darn tired from all this crazy traffic, but I tried my best to stay awake and keep Mom company. It was really hard!

22

23

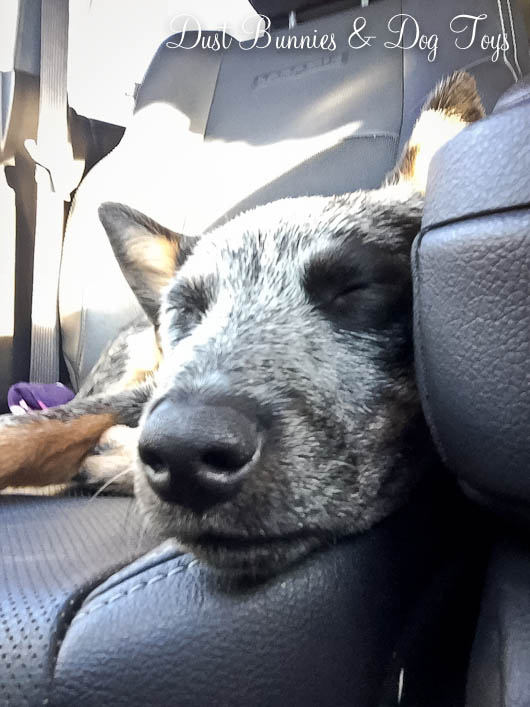
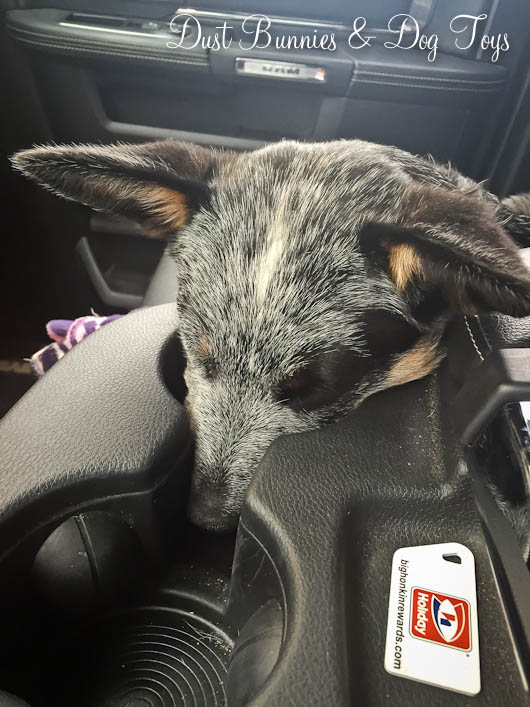
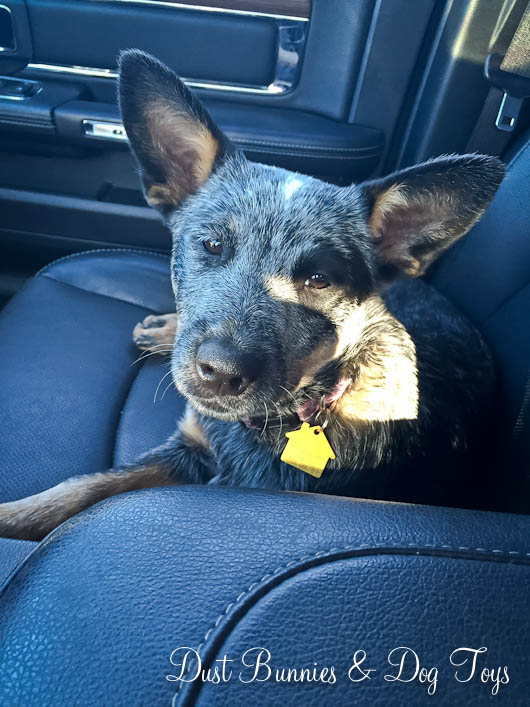
I just wanted to rest my eyes from the bright sun for a moment, but apparently I was more tired than I thought and fell asleep.

13

At least I’m super cute when I sleep!

31

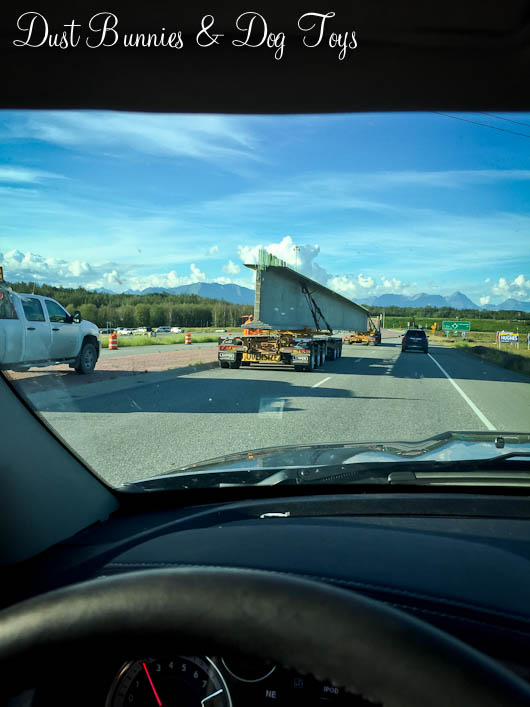
Mom told me later that this is why we stopped again.  We had to wait for this GIGANTIC metal thing to get off the highway in front of us.  It was bigger than Mom’s truck!
30

I woke up just as we pulled in the driveway and told Mom I didn’t want to be in traffic ever again.  She said she couldn’t promise anything but gave me a scratch behind my ear before she let me out of the truck.

12So that’s my story about my ride in the truck with traffic.  I hope you liked it.  Mom will be back later this week with new projects she and Dad have been working on, so watch for those.  You never know when I might pop up in the pictures! 🙂
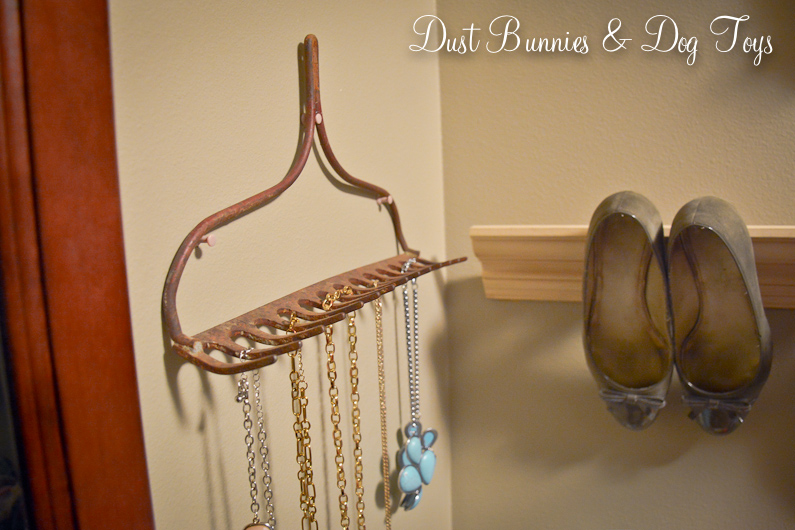