Lighting Up the Yard

Last summer we picked up several strands of cafe lights on our trip to Portland with the plans to put them up in the back yard around the fire pit, but we got busy with other projects and didn’t get them up.  Luckily, we’re playing catch up this summer and crossing off all the projects from last year that didn’t get finished.  Which means we had most of the materials already on hand to get this one done.

It started with creating the posts the lights would hang from.  We used two small metal stock tanks we got from Wilco on our big trip last summer as the base.  We added two bags of sand from the sand bags we use in the bed of the truck for weight during the winter to create a base at the bottom of the tank and provide a bit of drainage.

From there we used concrete footer blocks that had a metal attachment for a pole.  We picked those up on the buy/sell page last summer as well.  We decided to use pressure treated 4×4’s to coordinate with the fence around the yard.  Since the ground slopes away from the house for drainage we knew the tanks wouldn’t sit perfectly level, so we leveled the posts with a handy tool the Hubs had and used long deck screws to secure them in place.

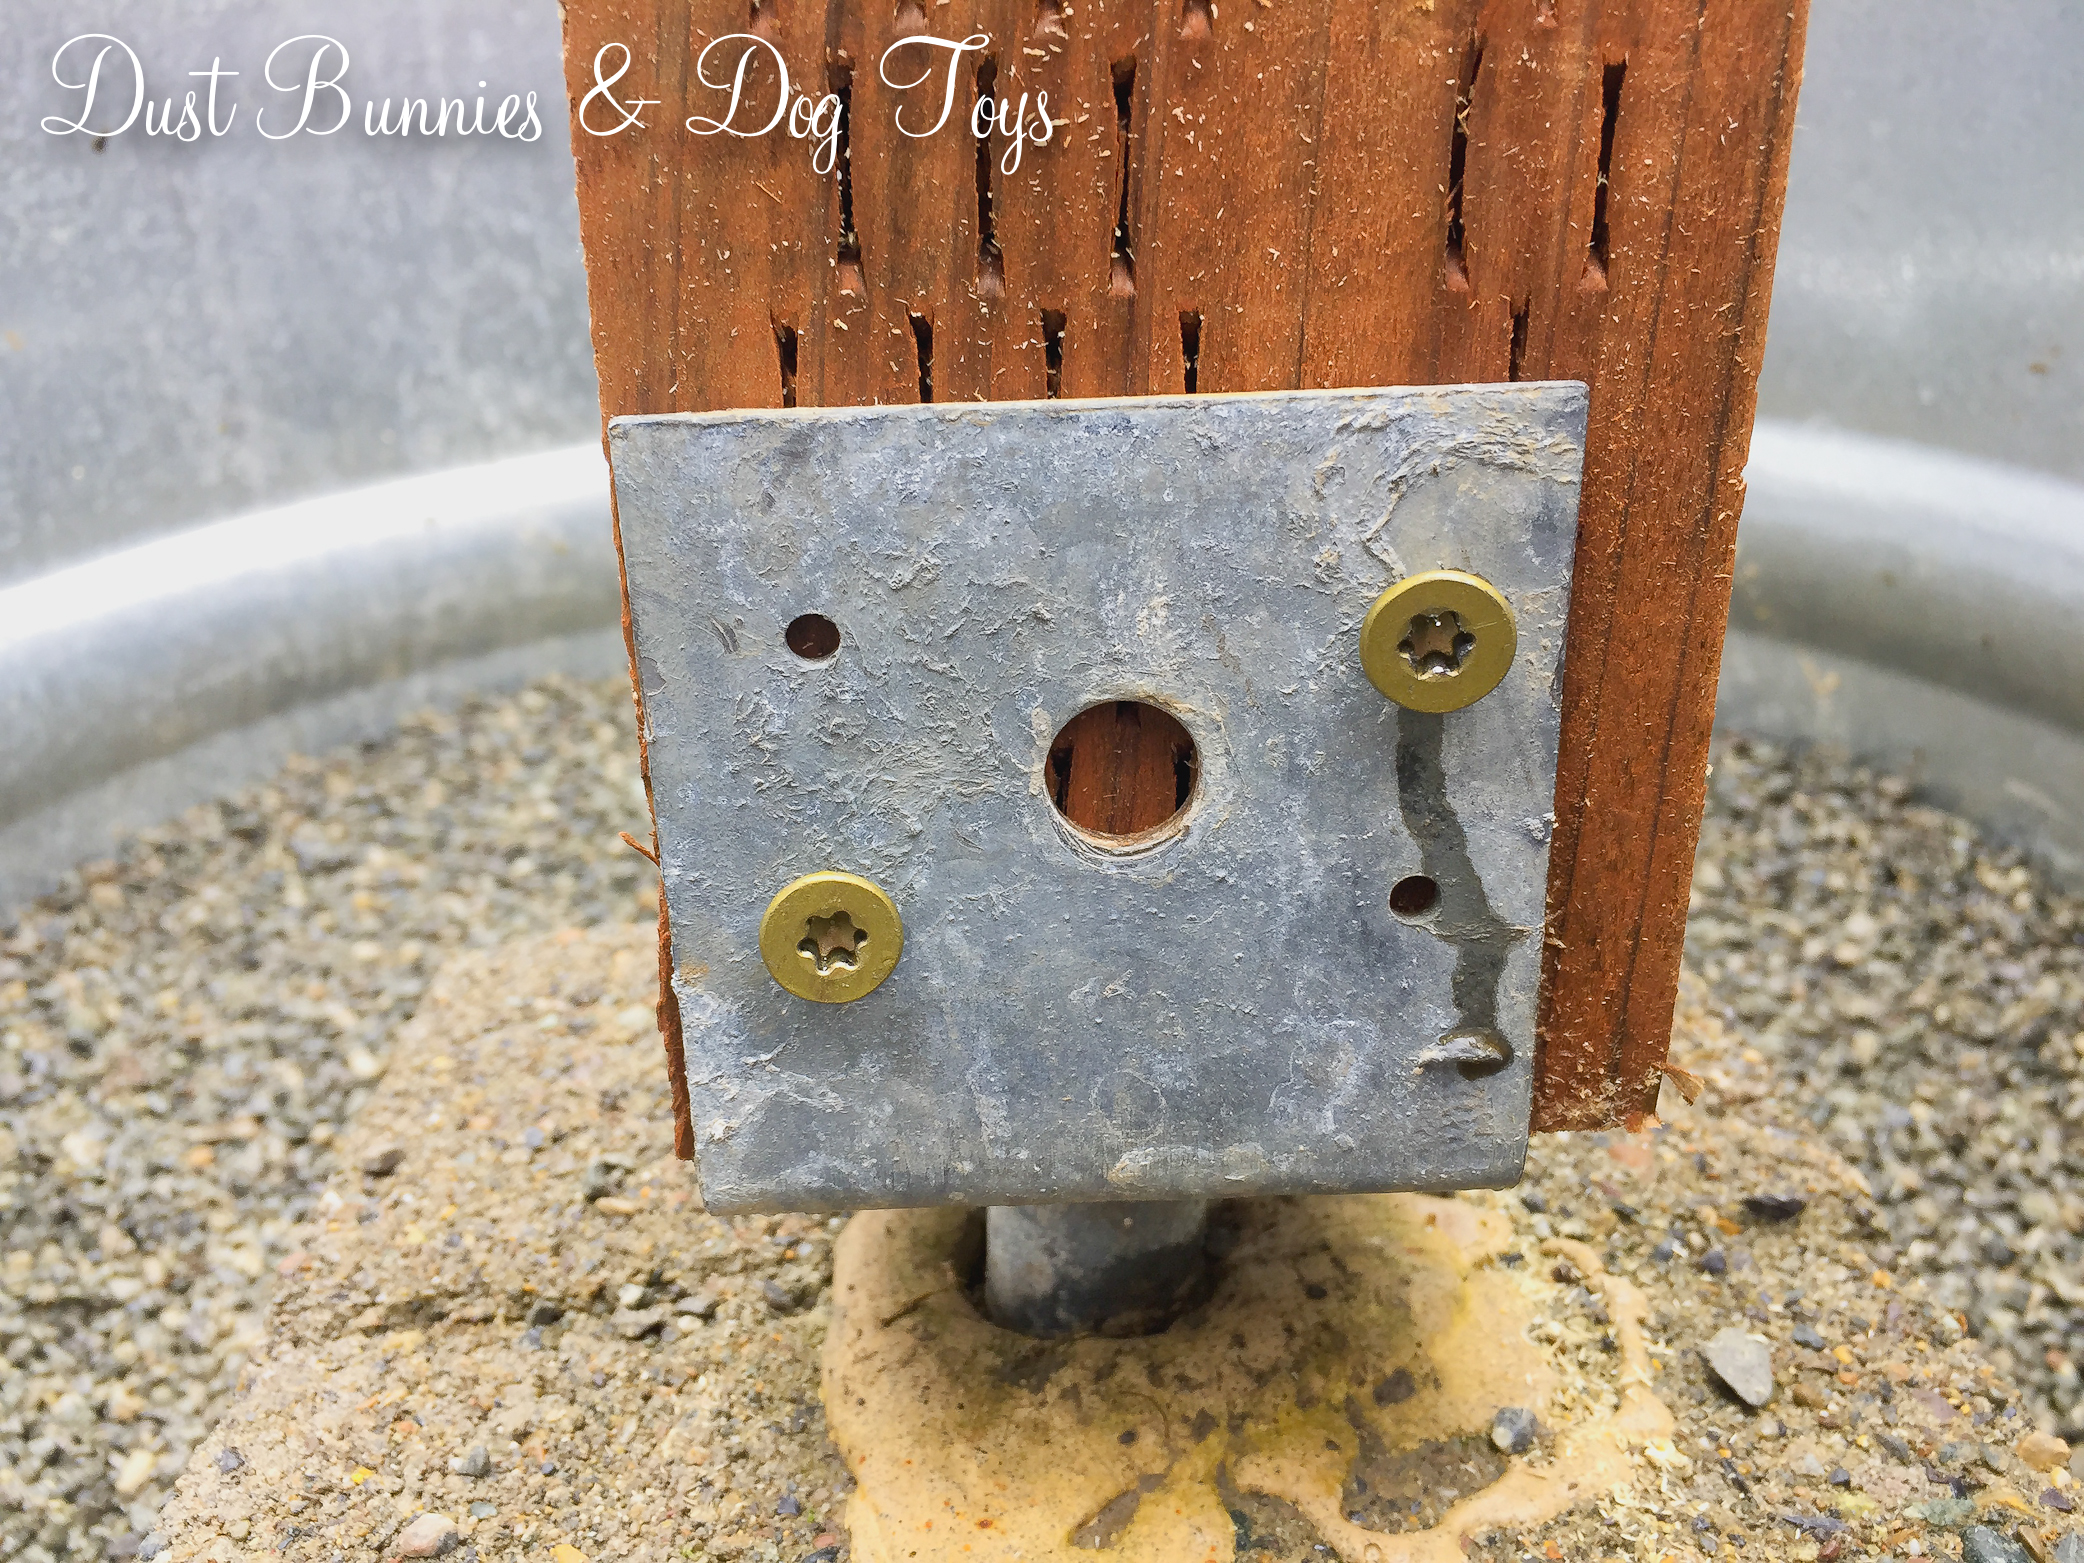
Then the Hubs added a couple of supports around the posts using scrap wood.  These help prevent any sway during the wind or pull from the tension on the light strands.  He kept them a little low in the tank so I’d still have room to plant around the posts.

I spent weeks filling both tanks with plastic bottles and jugs to reduce the amount of dirt needed to fill them.  Luckily I know a coffee shop that was willing to save their large milk jugs each day to speed up the process a bit!  Once I had them topped off with dirt I planted cosmos and dill, which should fill in and grow tall next to the pole for the rest of the summer.  Next year I may try cat mint to see if it survives the winter in the metal tank since both cats enjoy this new vantage point and can often be found sitting in the tanks next to the flowers.

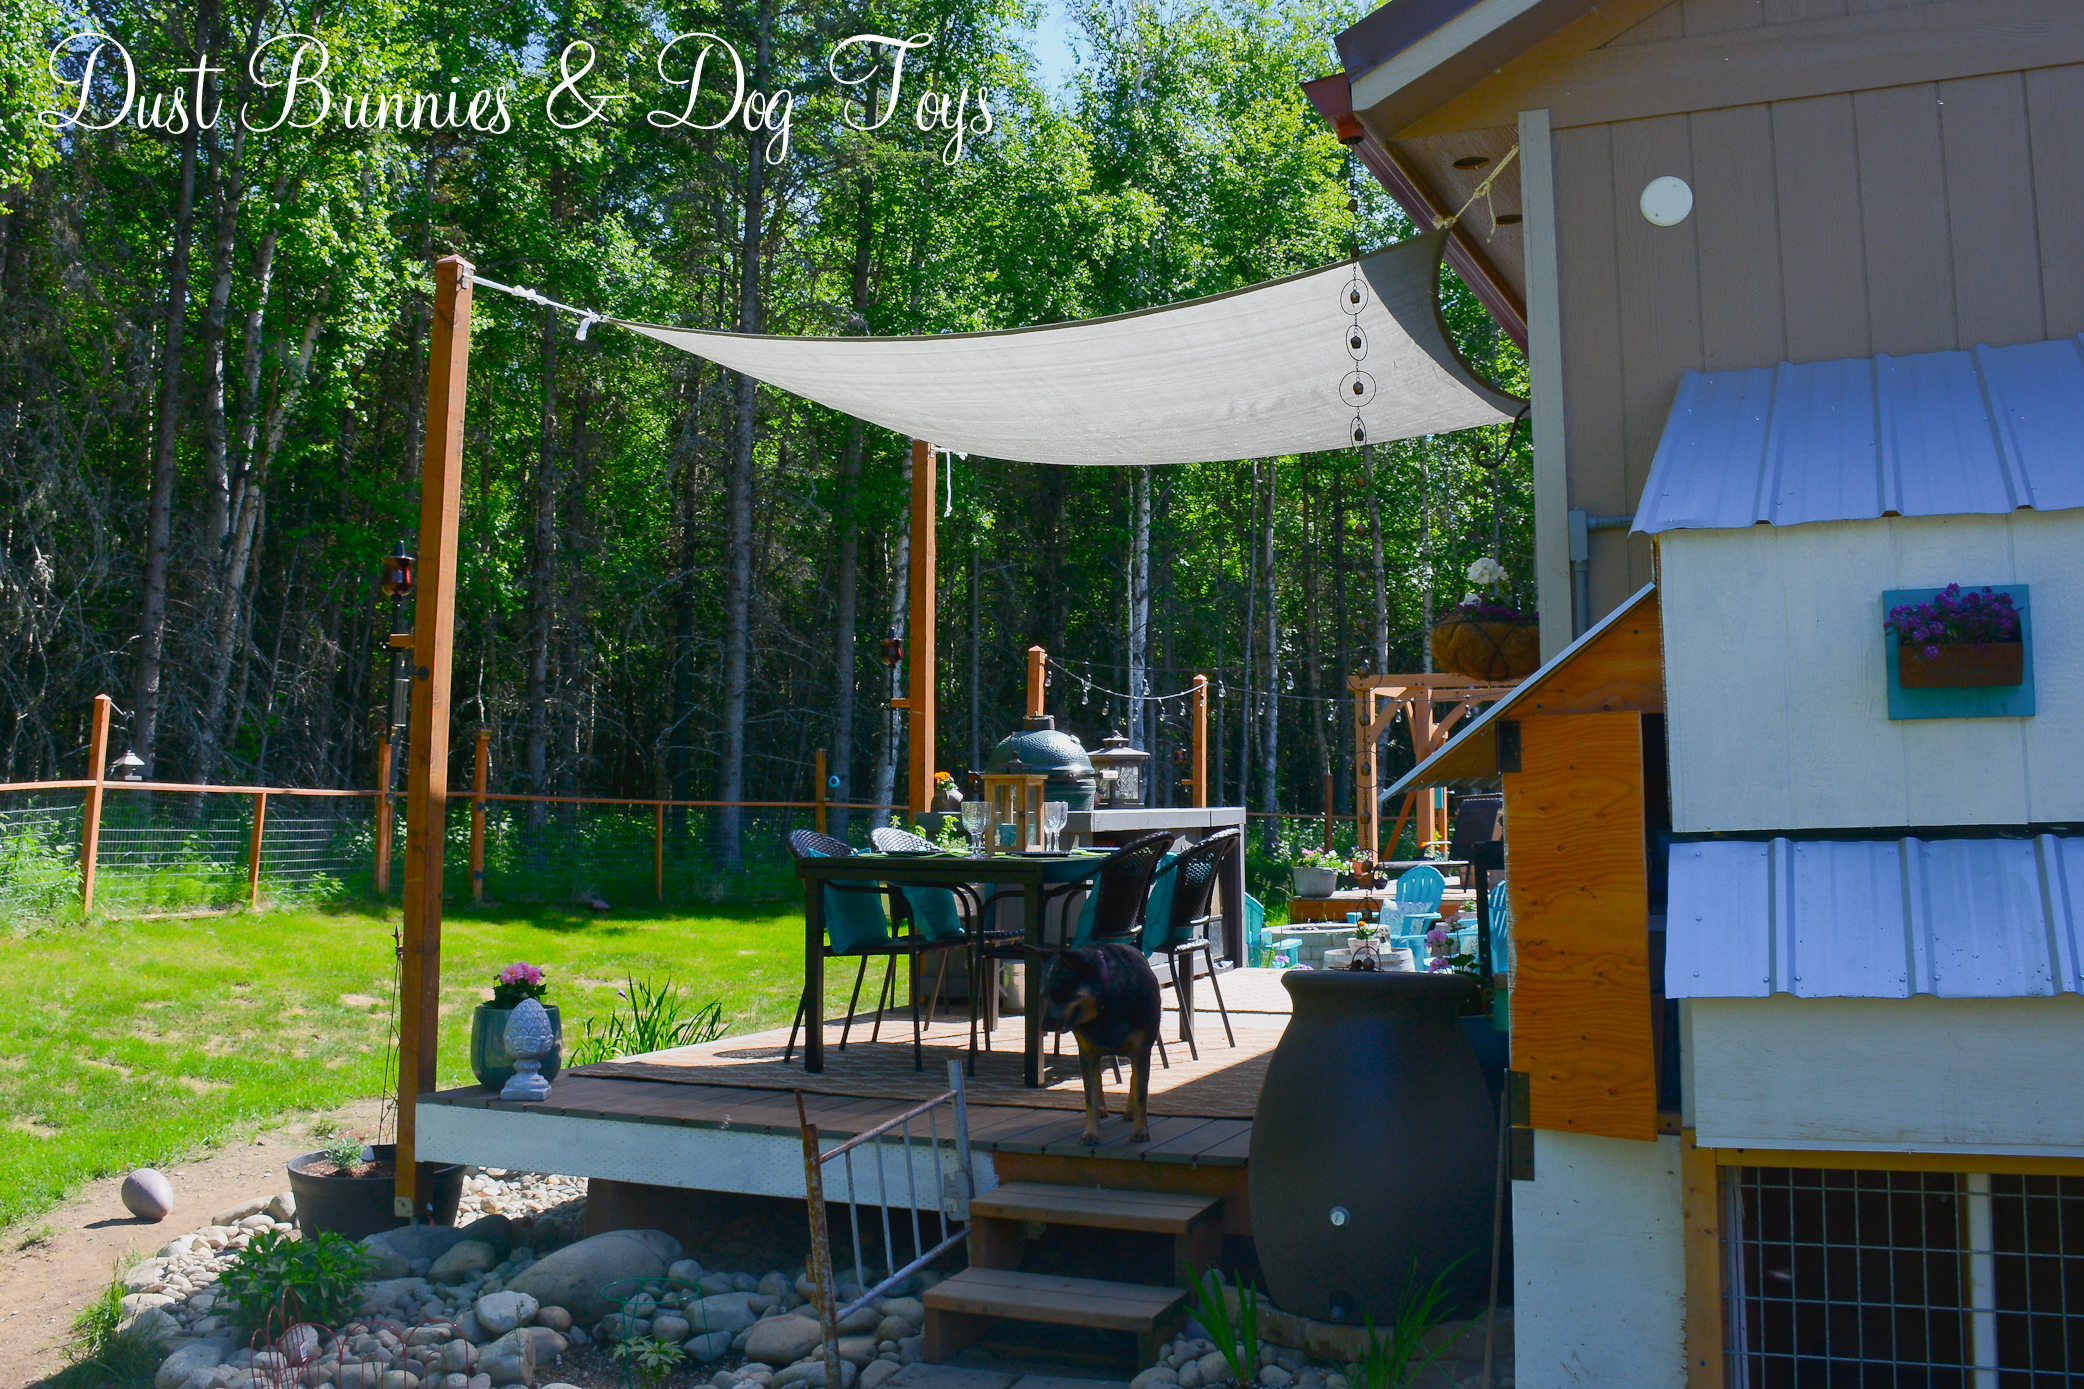
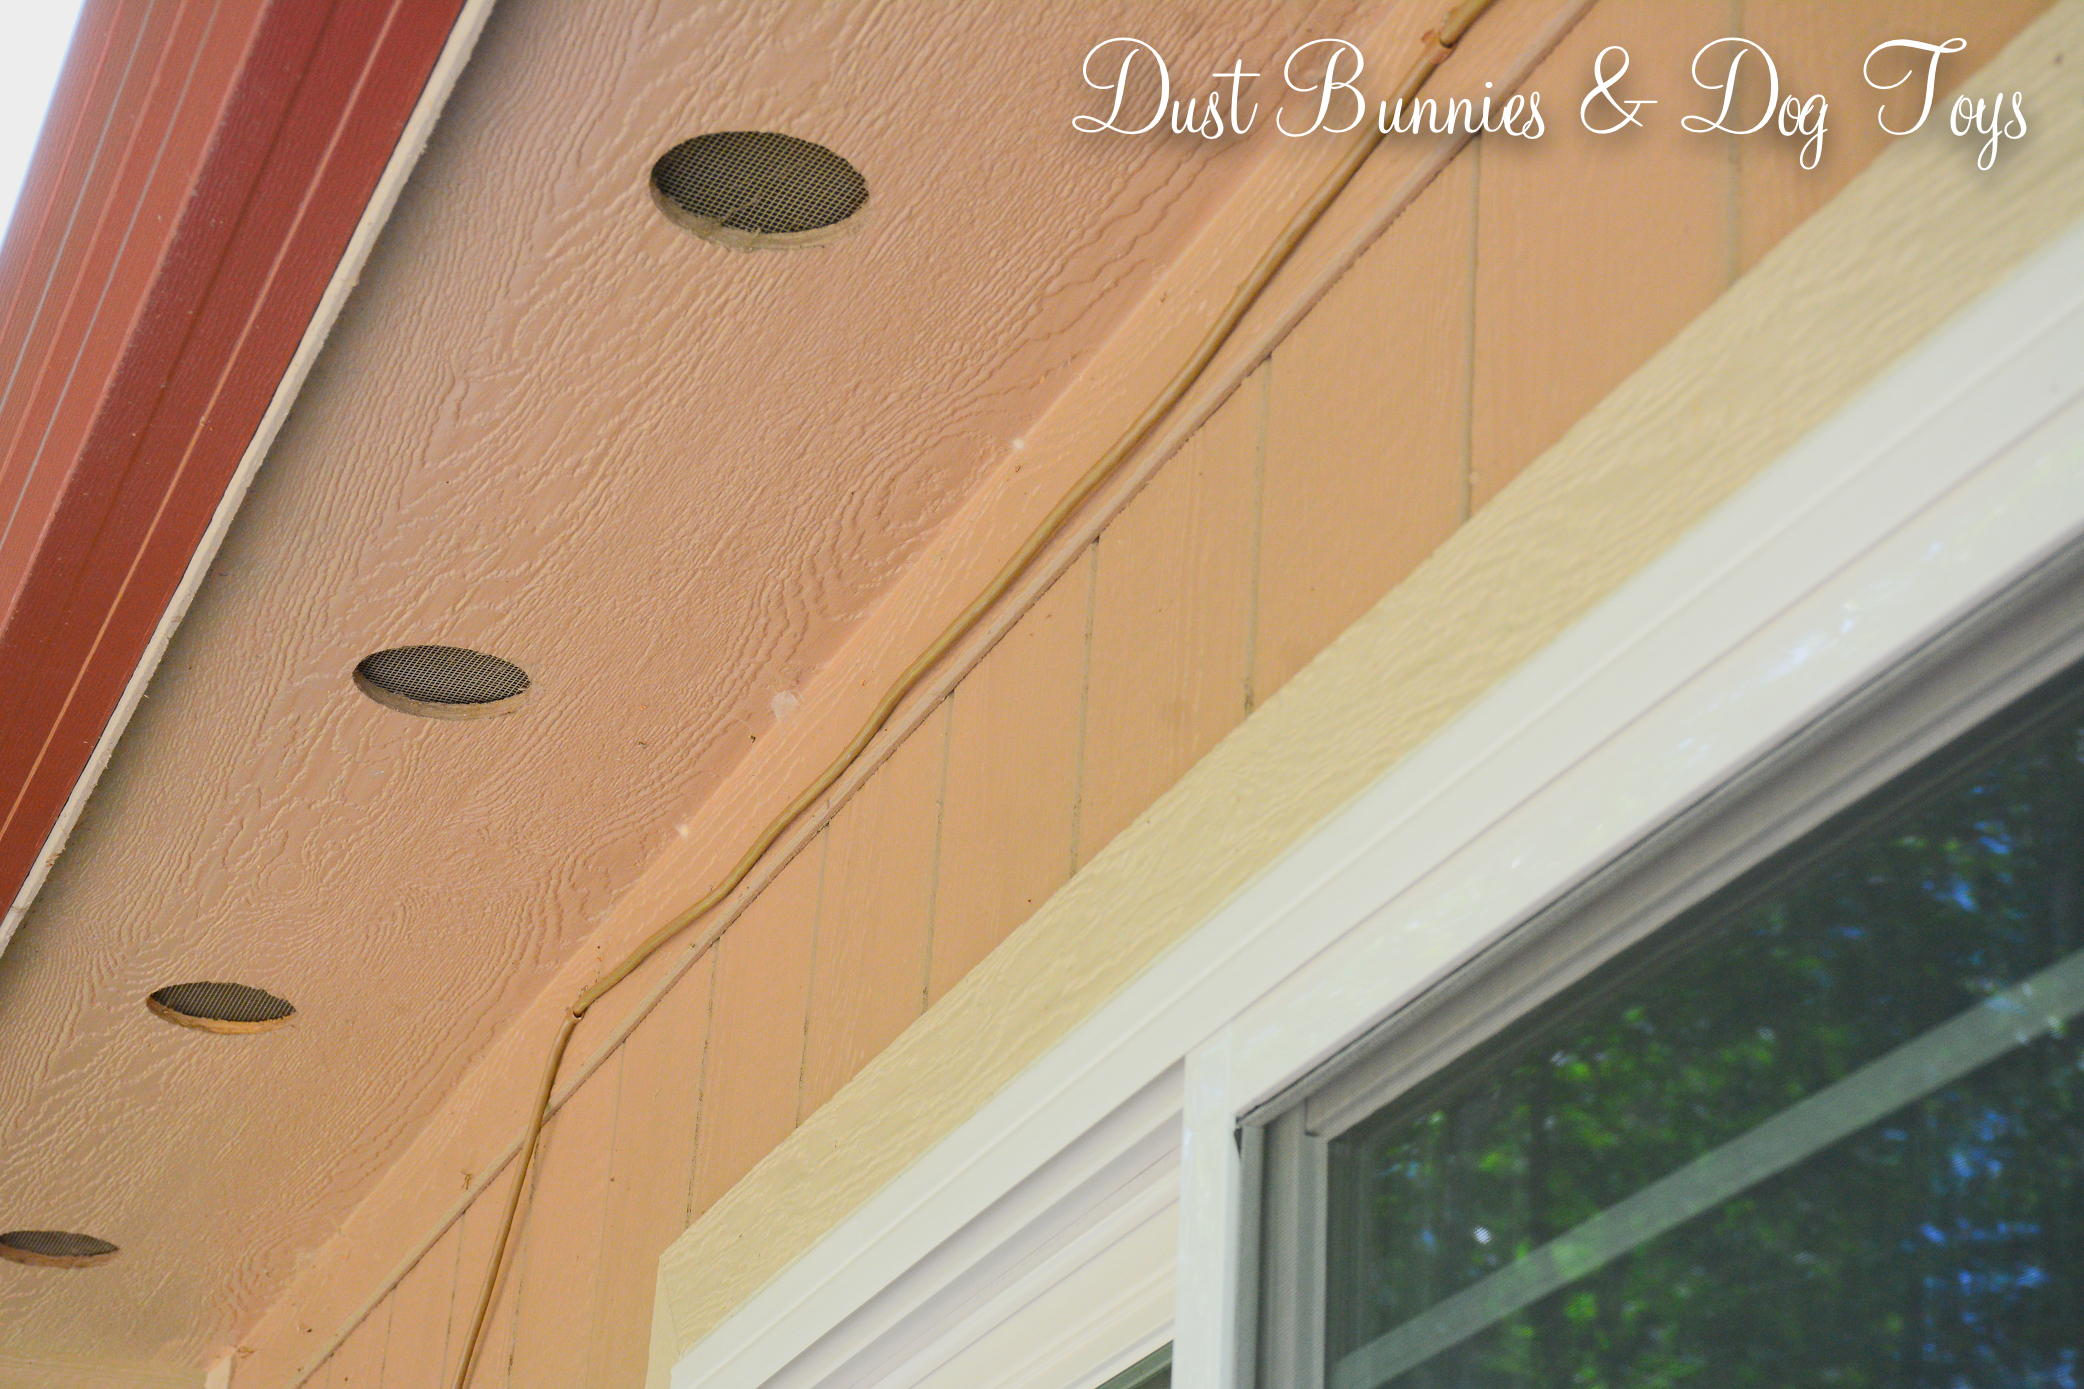
The Hubs strung the lights using small hooks at the top of the posts and securing the ends of the cords to the house with a bracket and zip tie.  The nearest electrical outlet is over on the new deck so he got a tan colored extension cord and used small flexible loops to hang it along the eve of the house so it could run the distance to the deck and then down to the outlet.

Since our days are so long during the summer we haven’t gotten much use out of them just yet, but now that summer solstice has past the days are slowly getting shorter.  I plan to enjoy them through the fall until winter threatens the first snow.

The next step is to add a low profile border of some sort between the gravel and the grass.  Then we’ll add more pea gravel to fill in the area.  We also used a strand of these same lights in the gazebo we put over the hot tub on the new deck.  I’m still getting that all set up and will share that project when I have finished pictures for you!

Advertisement

The Palmer Garden & Art Faire

This past weekend I got to enjoy the Palmer Museum Garden & Art Faire.  This is the third year I’ve gone to the faire (check out the first visit here) and always enjoy it.  The forecast didn’t look great, but the day turned out beautiful and just perfect for this type of event.  There were vendors, live music and instructional classes throughout the day.

I had planned to attend a couple of the classes offered but my schedule didn’t work out.  While browsing the vendors I noticed that Lakeside Forge was instructing a couple of workers.  I’m not sure if they had signed up or if this was part of his display, but they sure looked like they were learning a lot!

The Hubs met me at the Faire on his way to run some errands and we got some lunch from the food vendors.  Because there was another event going on in town there wasn’t as much selection as years past, but we enjoyed the BBQ pork & noodles we got from Momma Rav’s.  While we waited in line, I was eyeing the cool truck next door which was built on an old International truck!  We also sampled a couple of the Rhubarb Rumble entries at the vendor booths while we browsed.  Although we didn’t make it out to all the locations around town with recipes for sampling, our favorite was the rhubarb strawberry salsa with cinnamon chips.

After the Hubs went off to run his errands I checked out a few more of the activities at the fair.  There was a group of painters capturing this lovely scene full of peonies.  Some took the abstract route, while others created a portrait.  As a photographer, it was fun to see the differences these creatives had in their visions of the same set up.

Next, I took in some of the history of downtown Palmer.  The city was started as a farming colony as part of Roosevelt’s New Deal program during the 30’s.  Inside the museum they were playing a documentary that showcased what life was like as the colony was built through interviews of those who were there.  I’m so grateful for those brave families who left everything they knew behind to start over in Alaska.  They were the foot hold for the wonderful community we love today.

The museum also had displays of life in Alaska during those times.  One display featured the history of the Matanuska Maid, a local icon and mascot of sorts for the local dairy & creamery.  They also had displays of the native cultures in the region and the mining history of the surrounding ranges.

They also had displays about the daily life of the pioneers including the giant cabbages they could grow due to the long hours of sunlight and the typical household items they used, including dresses made from flour sacks.  Nothing went to waste due to the limited resources and minimal funds available.

There were also displays about the difficulties the pioneers faced in creating the farms out of the Alaskan wilderness.  Not all of Roosevelt’s plans worked in Alaska and many had to be altered to fit the unique circumstances encountered here.

I spotted these pretty glass emblems in the window of the gift shop area and immediately fell in love with them.  I had something similar with the Norfolk Mermaid on it from when I lived on the East Coast.  There were several designs to pick from, but I think I like the iconic water tower the best.  I decided to think on it some and come back to get one in a few weeks.

This enamelware pot was right near the entrance and drew my eye instantly.  I loved the simple charm of the rusty bucket and the faux lavender was the perfect touch to finish it off.  If it had been for sale it would be in my home right now!

I also toured the exhibition garden next to the museum.  I’ve been to this garden many times and always love seeing how things grow here so I can compare how they will do in our yard which is just a few miles away.

The new truck statue between the museum and the garden looked great with the new plantings starting to fill in.  I’m excited to see how they decorate it for Colony Christmas this winter!

There were also several antique tractors on display outside the museum.  I’ve seen a few of these before in local parades, but it was fun to get up close and see some of their details.  The vintage lawn mower was tucked in between a couple of the big tractors and caught my eye with it’s unique design.

I also learned about a new project some local veterans are spearheading.  They are fundraising to purchase the fuselage of an old cargo plane and turn it into a traveling Alaska and military art gallery, performance venue, and museum.  Learn more about this unique project at their website: www.rollingboxcar.com.

While I didn’t find any garden art that called my name this time around, I did come home with this lovely peony bouquet to brighten our dining room. We also bought two of the mason jar strawberry lemonades I had the first year to enjoy at home.

It was the perfect mid-summer event to celebrate the community, local growers and the season.  I look forward to seeing what they plan for next year’s event!

Revamping Thrift Store Finds into Garden Art

Today I’m sharing a simple upcycle project that took over a year to get just right.  It started when I spotted this decorative finial at the thrift store the winter before last.  It was only a couple bucks and super heavy.  I’d seen similar shaped pieces sell for much more like this one and thought I could create a knock off version with this piece.  Here’s the quick before picture I remembered to snap just before the makeover began.

I used some grey spray paint I had on hand to give it a new look.  It was definitely an improvement, but I thought it still needed more texture.  I put it out on the deck to see if any ideas came to mind, but then got busy with other projects and never did more to it last summer.

This spring, as I prepped items for the yard I decided to give it another makeover while I was white washing some terracotta pots.  I gave it a quick dry brush with the same white paint and instantly fell in love with the look it created.

Now it looks like it’s made of concrete, just like the inspiration example!  It adds just the right amount of style to this corner of the deck where it compliments the potted plants.

And because it’s so heavy it can stand up to the dogs, so it’s placement here is also strategic.  It keeps them from jumping off the deck onto my plants in the flower bed below.  Pretty and functional all for a few dollars and a little paint. That’s my kind of makeover!

A Serving Cart for the Deck

As I was changing up things on the deck this year I decided to add a serving station.  Last year this spot was occupied by the chippy bench we brought back from Portland, but that moved to the new deck this season leaving room for this cute cart I upcycled.

I picked it up on the local buy/sell page for $50 back in the spring.  Since it was still too cold outside to work on the yard at that time, I focused my attention on upcycling items for the deck, including this and the milk can planter I shared recently.  It was in good shape but I knew the red color wouldn’t work with the other elements we had planned for the deck.  I gave it a good cleaning and several coats of spray paint.  I went with black because it ties into my modern farmhouse look and it was the one thing I could count on to cover the red.  Here’s the before and after in my makeshift paint booth in the garage.

It’s always amazing what a coat – or several in this case – of spray paint can do!  It’s the perfect height to fit under the windows and is still narrow enough to not impede the walkway to the chicken coop.

I styled the top with a couple items I had on hand including the outdoor glasses I picked up on our trip this spring and the pottery barn glass pitcher we got as a wedding present.  I borrowed the faux plant from the laundry room.  Lastly, I added the table top tiki torch for a bit of bug protection.

The lower shelf stayed pretty simple with the metal bird house I found during our spring trip and a little succulent planter I made from an old candle container.

The handle is a perfect spot to drape a dish towel, so I used this IKEA one I had in my stash for projects.  And just like that we’re ready for a party on the deck!  I plan to put it to use when we have friends over this evening.

I do wish it filled the space here a bit more so next season I may use it elsewhere and build a narrow console table to go here.  But for now I’ll enjoy my little upcycle design. 🙂

Our New Deck Shade

Hey there!  I hope your holiday week was fantastic and you got a little time off to enjoy it.  I took a couple days off from work to get caught up on some projects around the house.  The weather was clear and hot the entire week, so it finally really felt like summer.  One of the projects we knocked out was adding a shade cloth to the deck.  The Hubs actually put this up while I was out on a photo shoot so I don’t have many detail shots but it’s a pretty simple setup so you should catch on without them.

We had purchased two sun shades while on vacation down south last summer and had planned to put one over each deck.  Unfortunately when we pulled them out to set them up this summer we realized neither size we’d gotten would work for what we wanted.  So we sold those and purchased a 10 x 10 cover on Amazon.

We added these cement pole foundations in the rock beds against the deck and secured pressure treated 4×4’s into the prongs.  I plan to eventually cover the cement block with more rock so you don’t notice it but that is a project for another day.

The tops of the posts were finished with copper caps like we used on the fence around the yard and a bracket was attached to tie off the corner of shade.

We did similar brackets on the house which connect to the corners on that side  (excuse the cobwebs – I swear I clean them but those industrious little buggers seem to have them back up in no time!).  Next year we’ll swap out the rope for turnbuckle hardware for a cleaner look, but this gives us an idea of size needed for that change.

It ties right in with the other grey and black elements we’ve got going on in the yard.  And the sleek design looks good from every angle of the yard.  The amount of shade it provides changes throughout the day as the sun moves across the sky and we’ve noticed it does give some protection during a light rain.

It really makes the space feel intimate and inviting.  And because we made sure it didn’t hang over the grill it’s safe to stay up for the whole season.  We do plan to take it down for winter, so it doesn’t get too heavy with snow and lasts a little longer.

Not only are we enjoying it, the fur babies appreciate the extra shade too – especially on hot days like we had last week!