Today’s post is another DIY container, but this time instead of holding flowers it’s purpose is to corral the numerous dog toys that are always around our yard. It started with this free crate I picked up at a work event. The vendor said they had a huge stash of them and wanted to eliminate some so I could keep it.
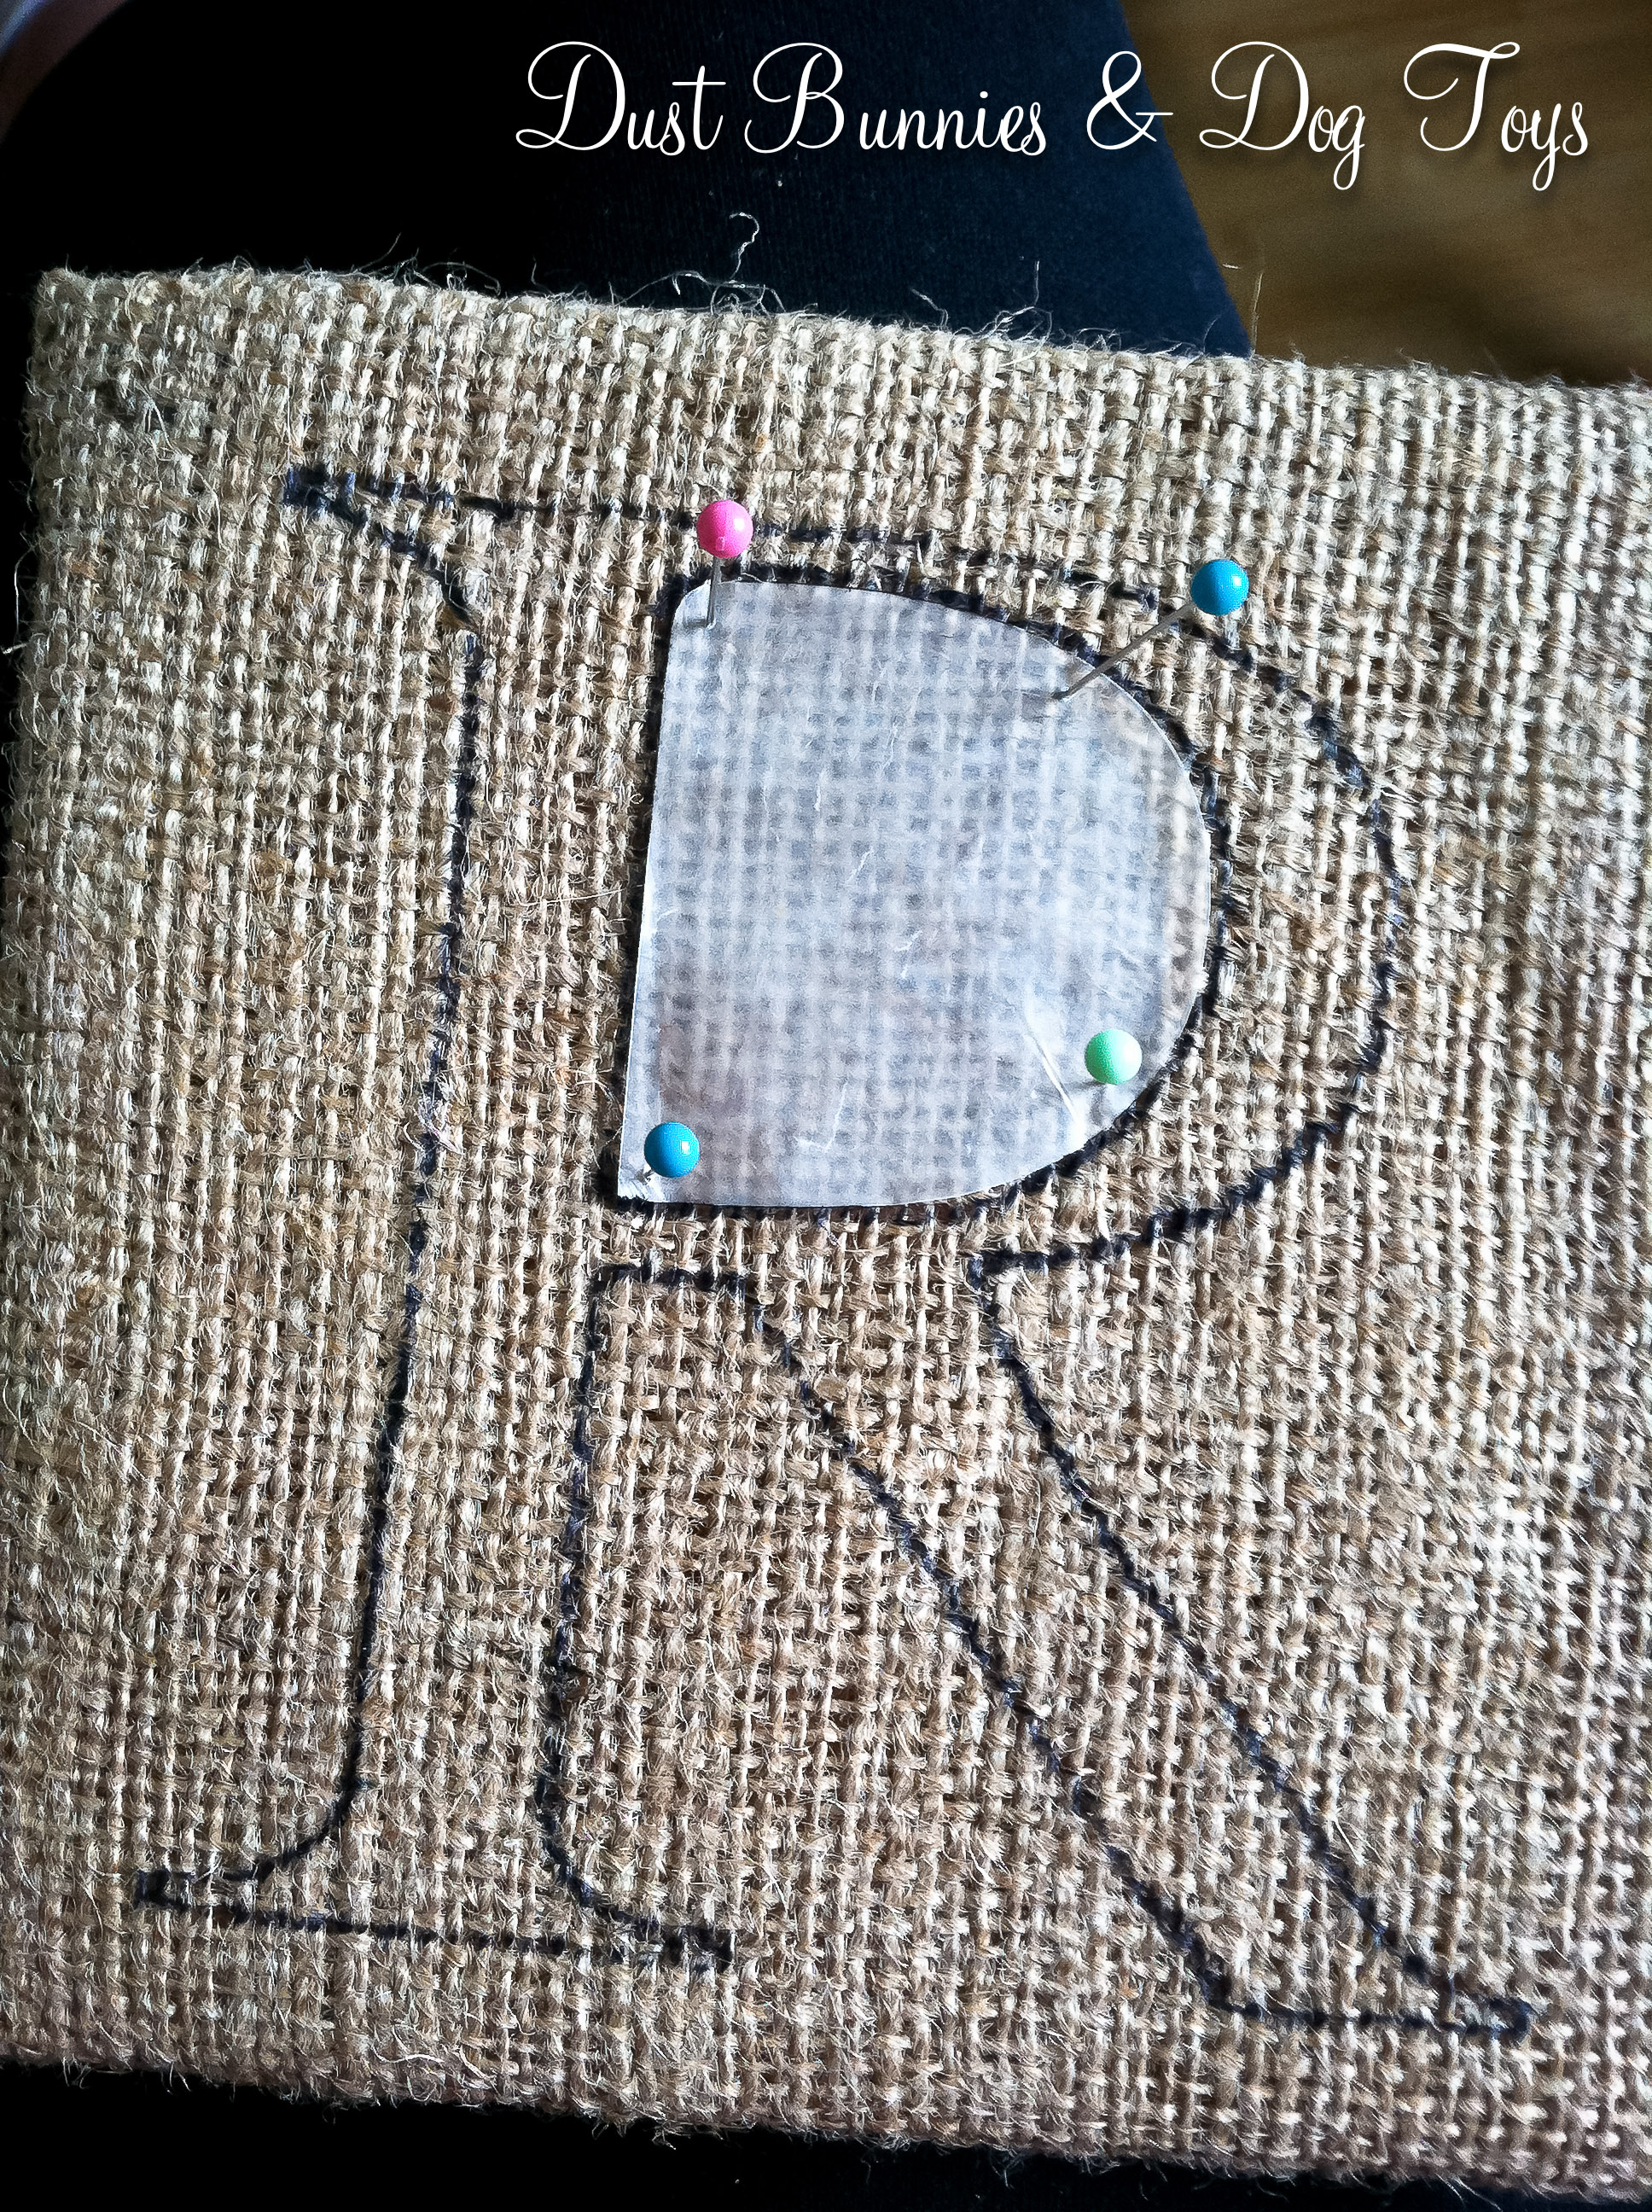
 I first thought about putting cedar boards around it but I couldn’t find a quick and easy way to keep them attached so I moved on to a free covering option I already had in my fabric stash – burlap. I dug out a large scrap piece left over from previous projects and cut did a quick dry ‘test’ fit. Then I trimmed it down and grabbed some twine to secure it to the crate. I pulled apart some of the fibers and threaded the twine through so I could tie it.
 The cats decided now was a good time to ‘help’ even though this project wasn’t for them. Apparently burlap is a good spot for a kitty nap…
 I conferred with the Hubs about the best way to wrap the box and secure the liner inside. He made a few suggestions and then just told me to hand it over so he could work on it while he watched a movie and I edited client images. Knowing his vast knowledge of knot tying and securing loads from almost 20 years in the Coast Guard I happily accepted the offer. About an hour later he presented me with this.
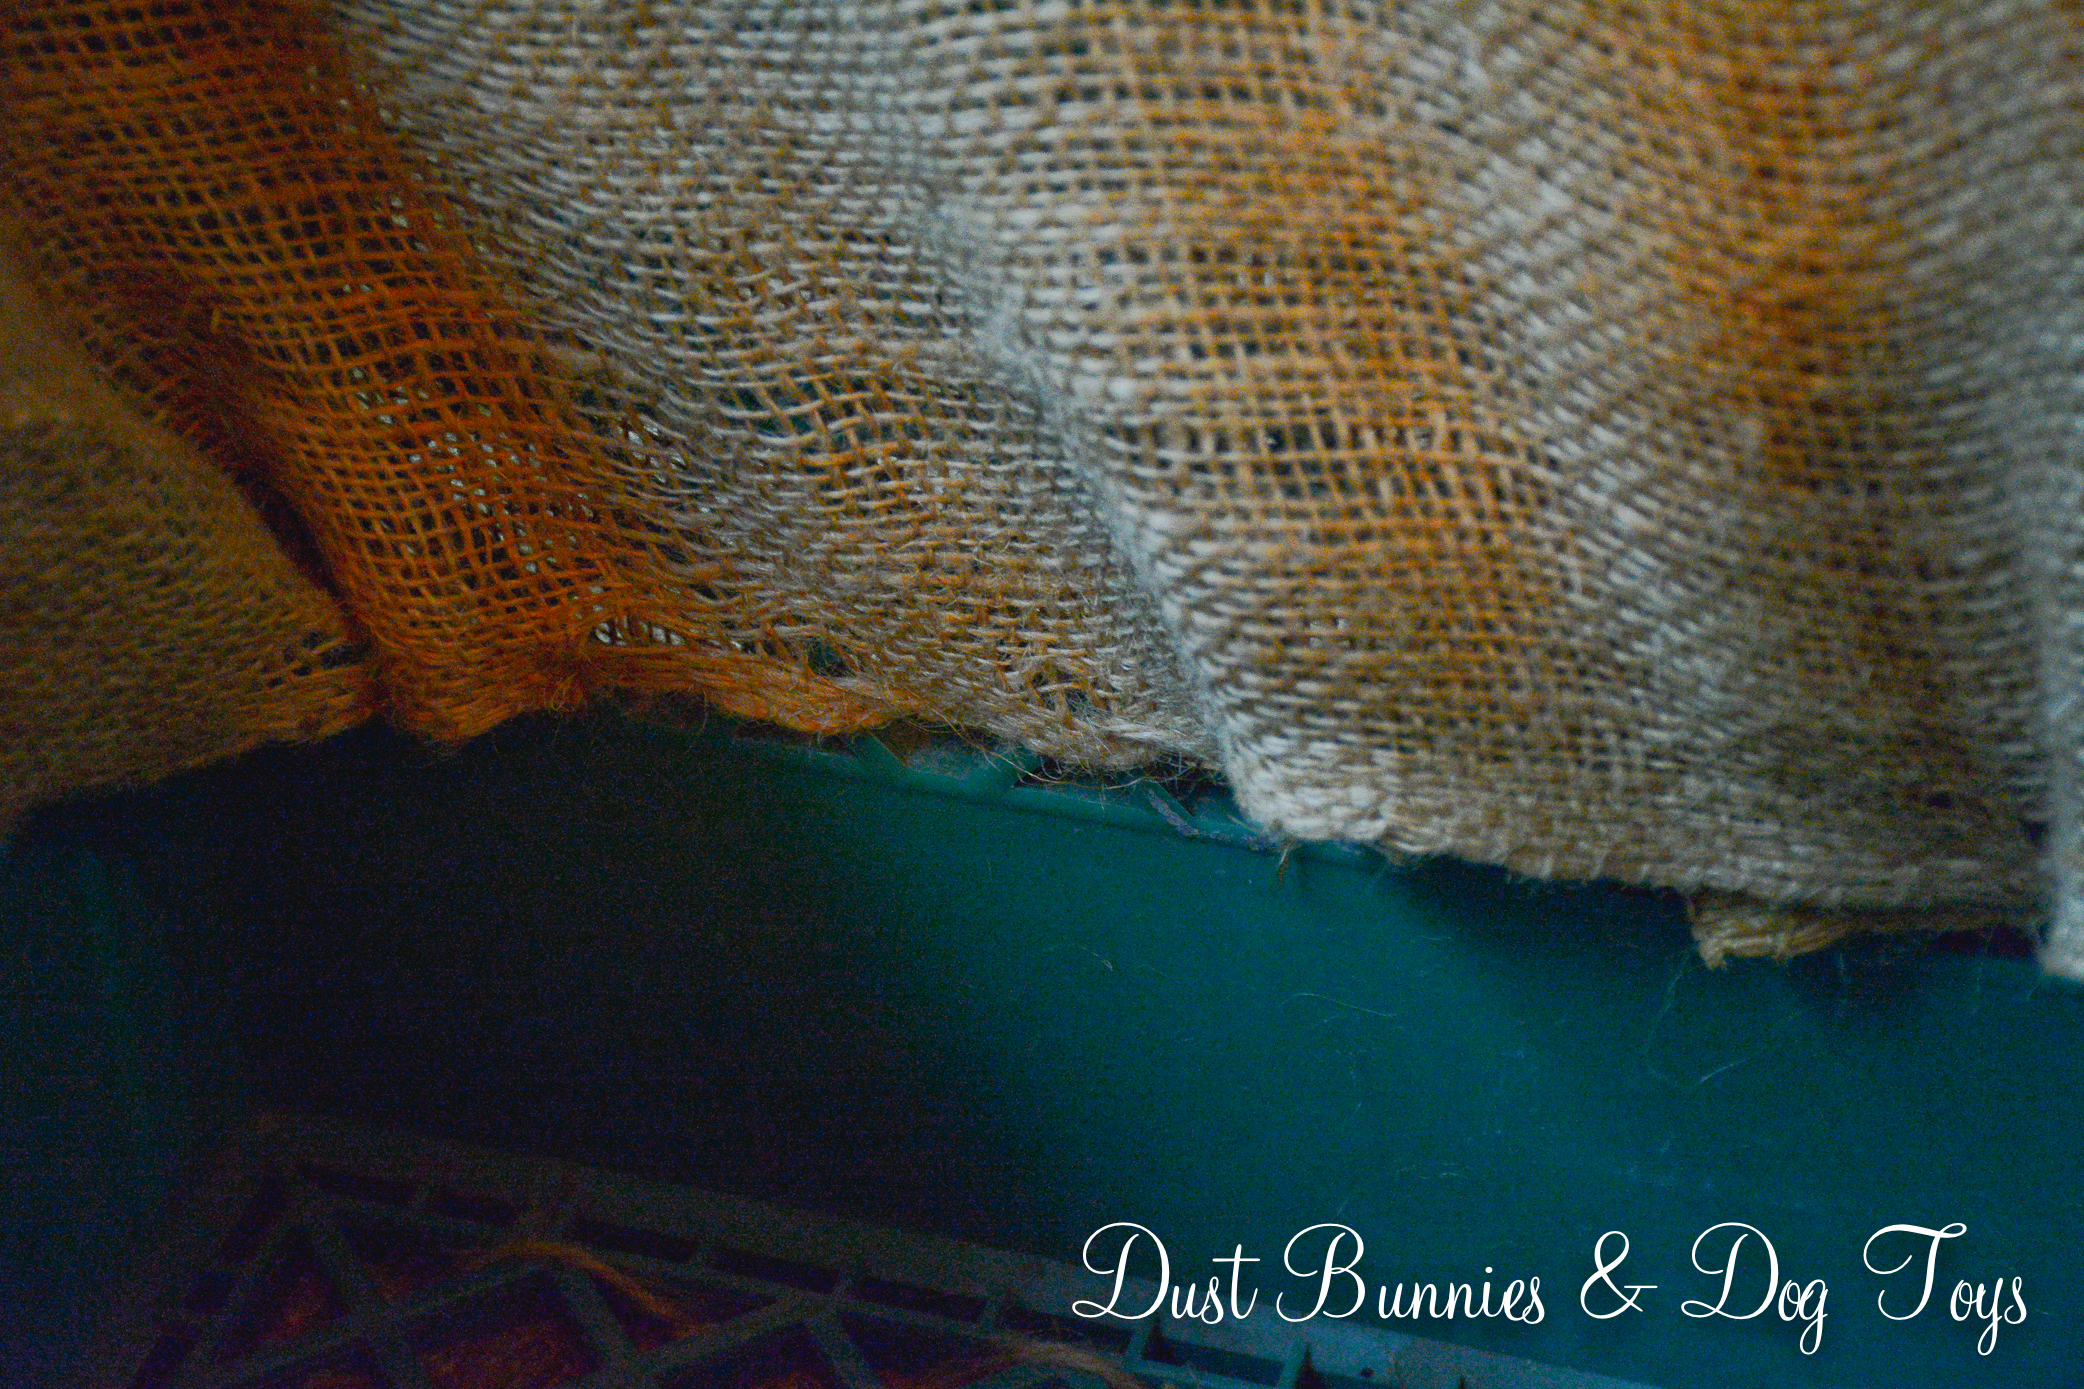
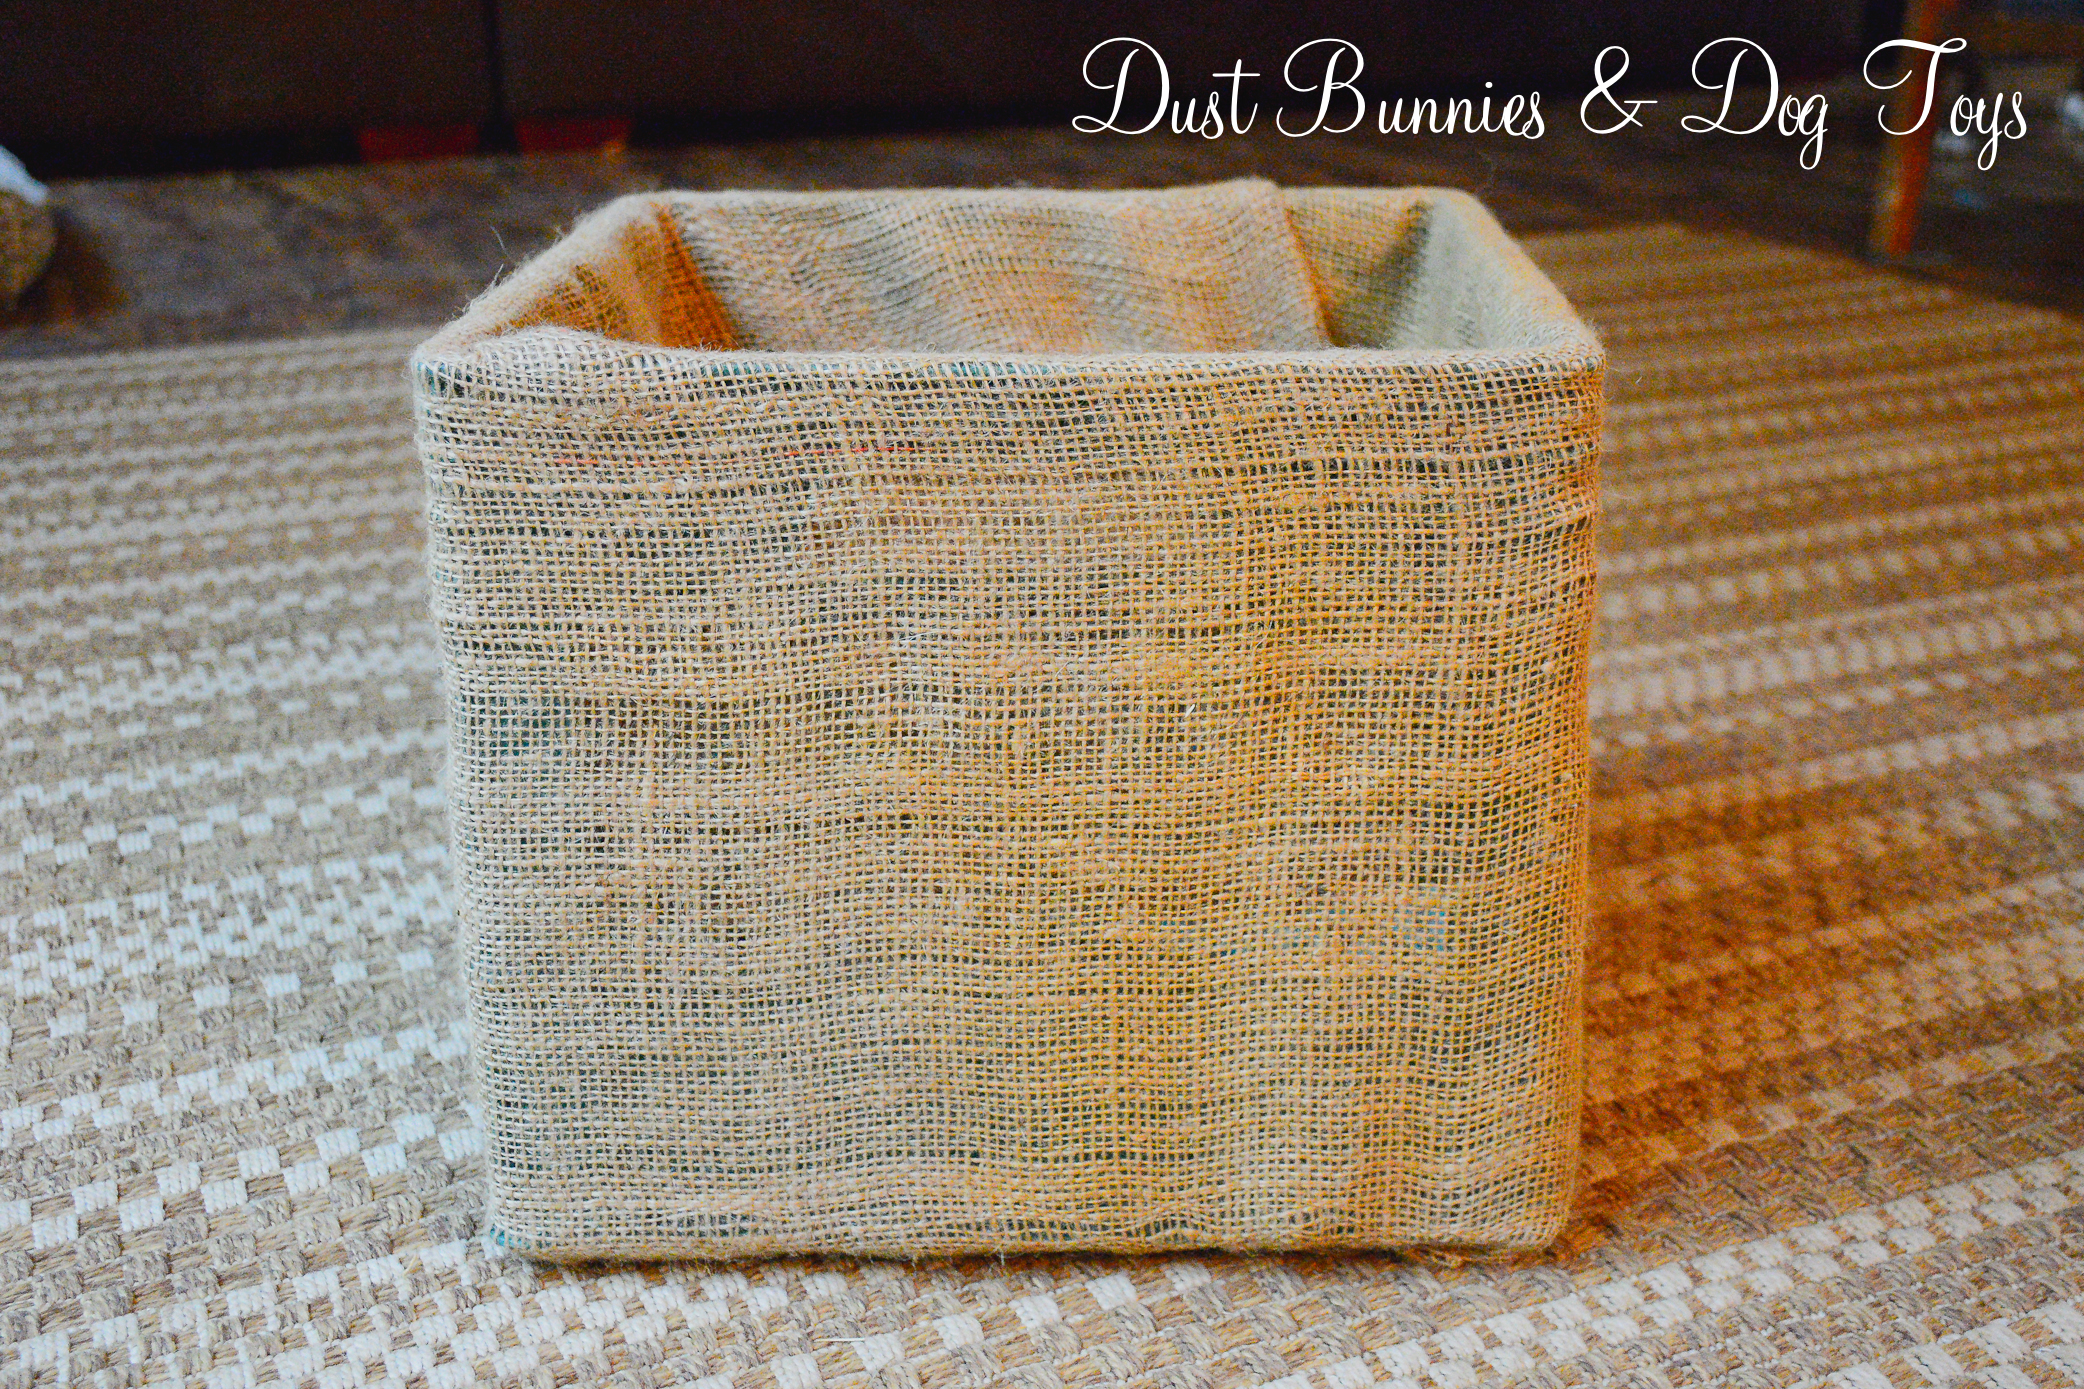 He wove the twine through the top edge of the fabric and the holes on the crate pulling it taunt as he went so everything stayed smooth on the outside. This will keep the fabric from pulling up every time the dogs pull out a toy.

 Meanwhile, Stella was still hard at work on that nap…
 I took a break from editing photos and placed the box in the backyard. I was able to fit the toys we had in two smaller baskets into this one container so I went with the spot next to the firewood storage where it’s more out of sight and helps cover the electrical conduit.
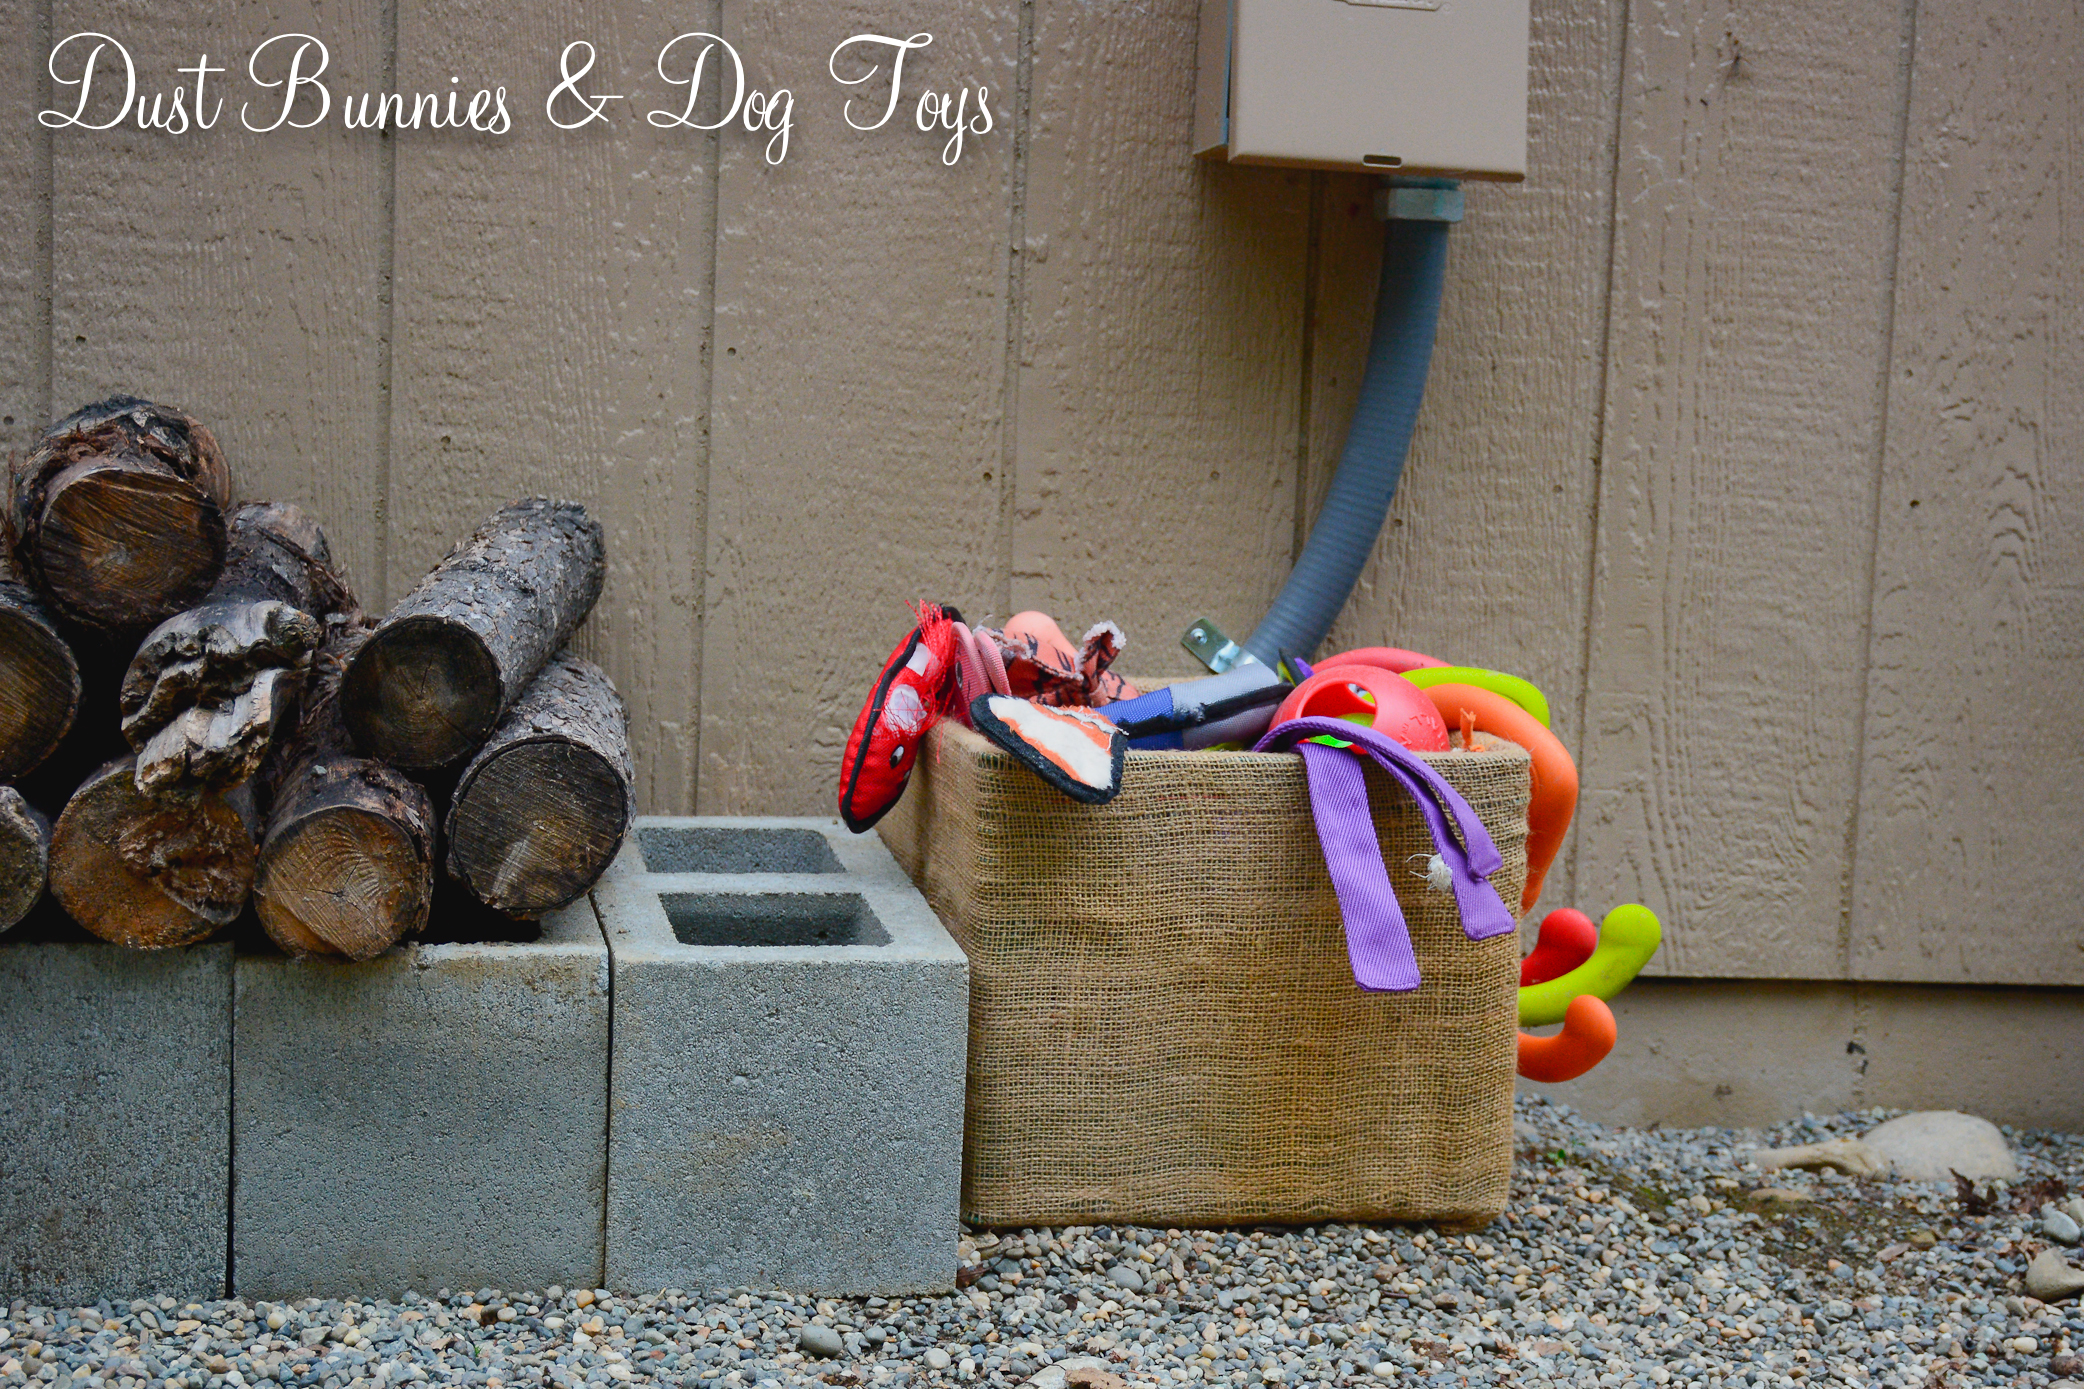 It sits under the eave of the house so it’s mostly protected from rain, but because we didn’t cover the bottom any water that does get in it will be able to drain out easily.
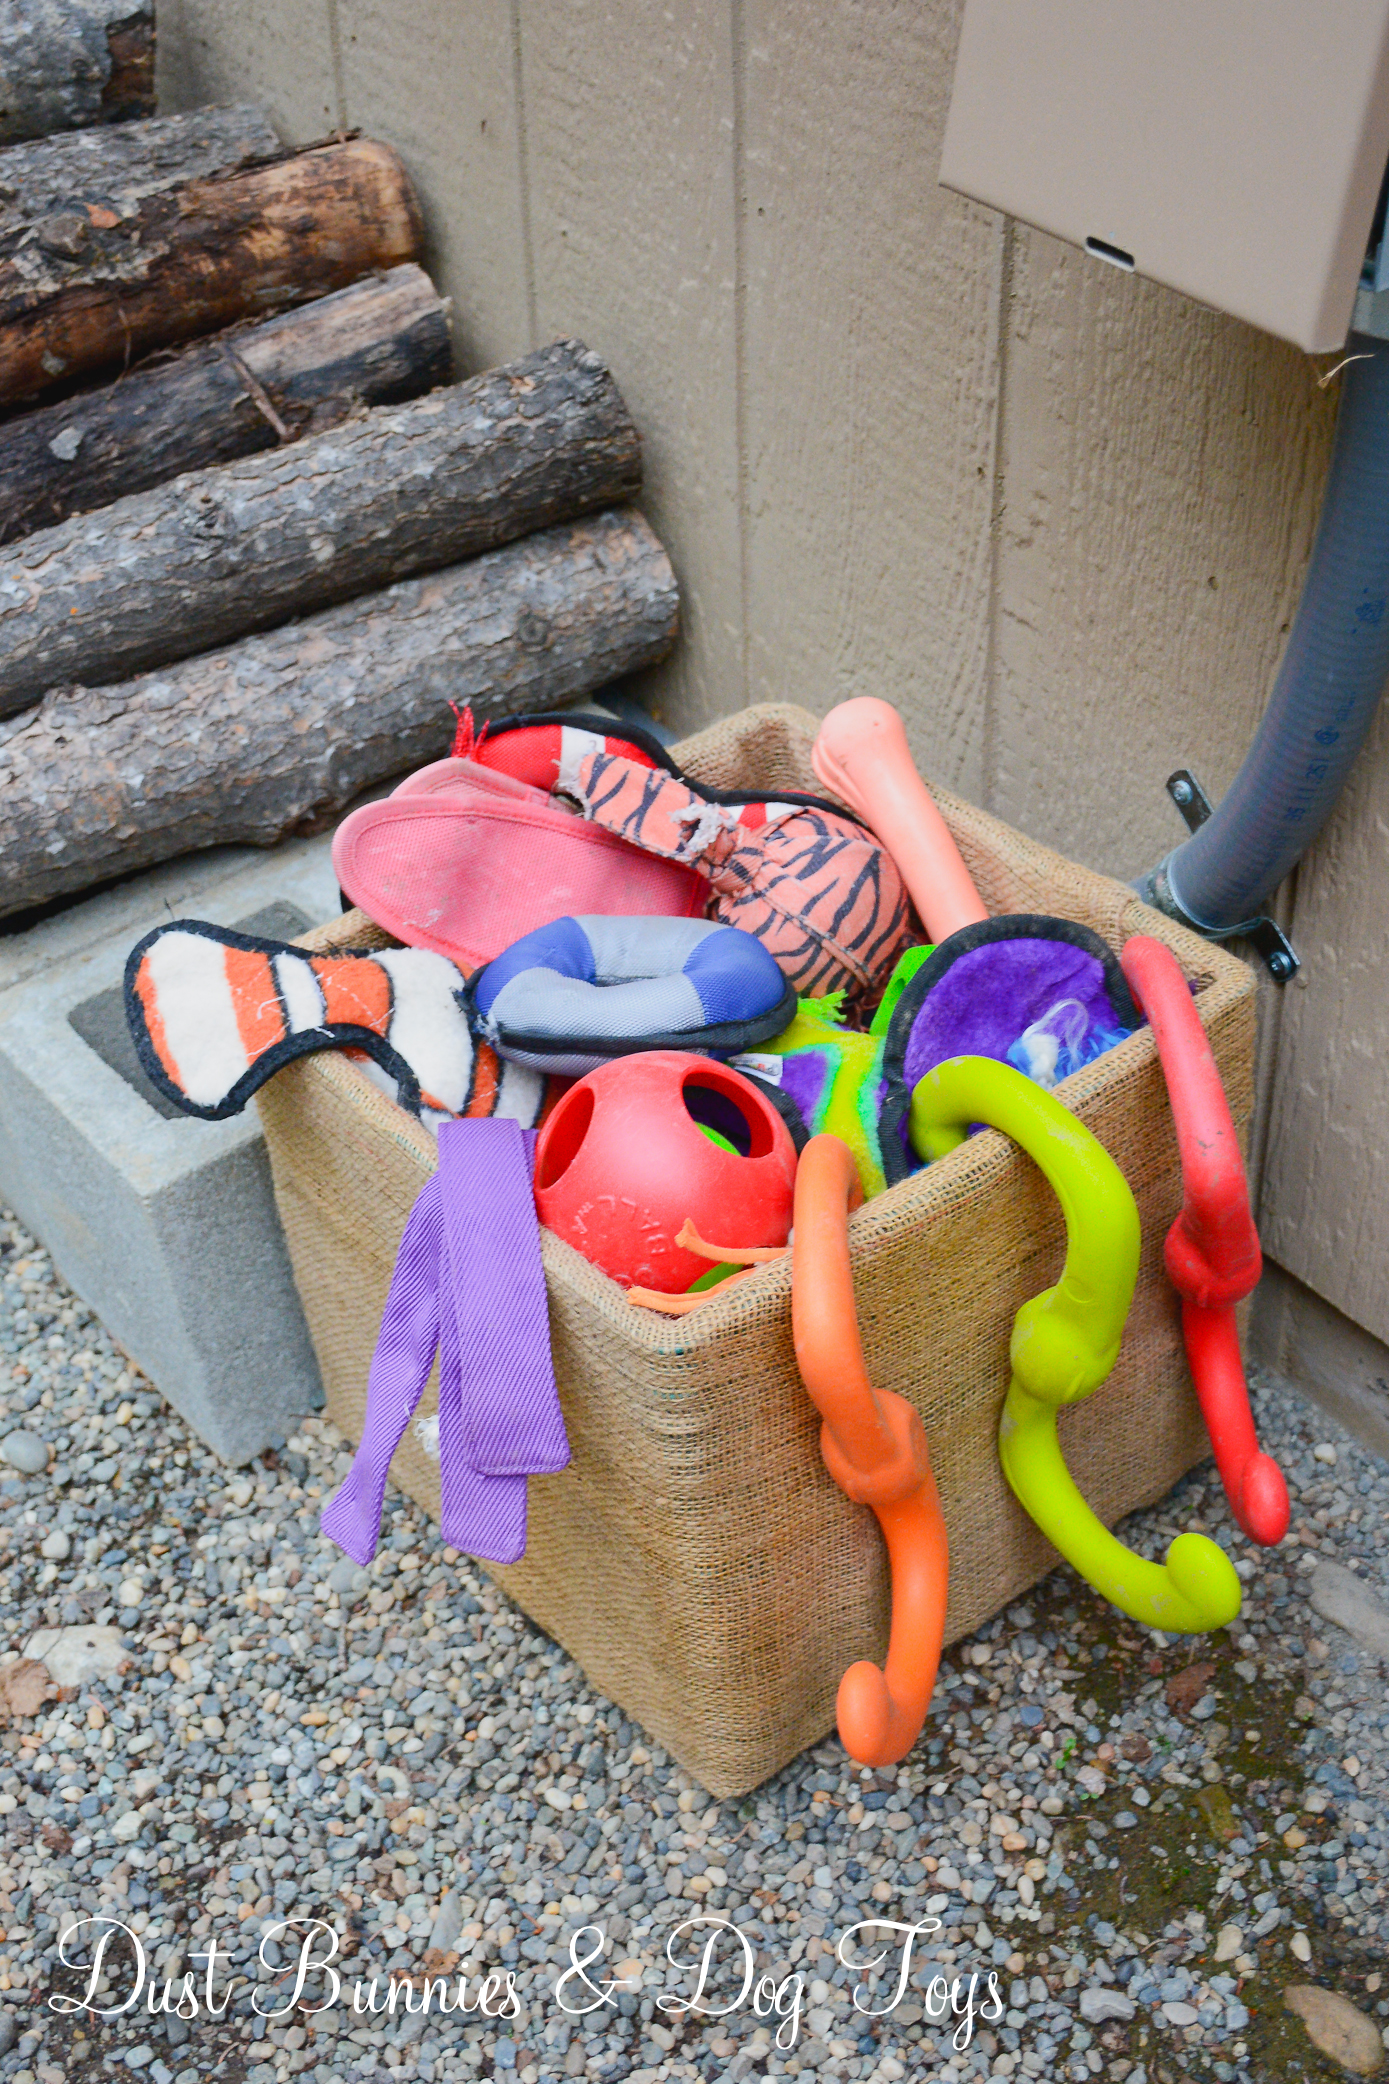 Seeing it in place, I’m glad I went with the burlap instead of the cedar. It blends in more, even when it’s filled with the dog’s brightly colored toys. I showed the dogs where their new toys and they didn’t waste any time rooting through the pile to find their favorites and head off into the yard with them. Now if only I could train them to pick up the toys and put them back in the box!
 It’s a pretty nice upgrade for spending nada and it keeps the yard a little cleaner. 🙂