I Can See The Light

Now that we are moving forward with construction on our new home – finally breaking ground THIS WEEK!! EEKK! – I’m starting to think  obsess about the little details we will soon be choosing.  Light fixtures are my current focus.  I know it’s one of the LAST things we will need to pick out, but it’s what my brain wants to think about apparently.

Ever since I heard someone on HGTV describe the basic builder grade fixture as a “nipple light” or “boob light” I’ve been obstinately prejudiced to them.   I also don’t want fixtures that will collect dust and require me to climb on ladders to constantly clean or suffer increased allergies if I’m lazy busy.  PropFanLuckily the hubs isn’t extremely picky when it comes to these types of details and lets me pretty much have free rein since I usually pick something he’s ok with.  I really love that we have such similar tastes!

I did drag him to a lighting store downtown that I’d spotted and wanted to check out, but in the end he’s glad I did because we found this!  A propeller styled ceiling fan!  How cool is that?!  (Sorry for the crappy iPhone pic, but that’s the best I could get looking up and trying to crop out the other displays.)  Yes, it’s a little spendy, but we can make it fit within our allowance and I think it’s a great fit for his love of flight and the craftsman style of our home.  At first he thought I was joking that I liked the prop style, but when he realized I wasn’t kidding the light bulb went on (pun intended) and he was suddenly more interested in the rest of the lighting choices.

The kitchen island will have pendant lights over it which sounds simple, but there are literally hundreds of styles of pendant lights out there these days.  I was originally thinking of doing mercury glass shades, but then stumbled upon this idea and found that the hubs really likes it and wants to help make them!  I guess we’ll be on the hunt for old insulators now! 🙂

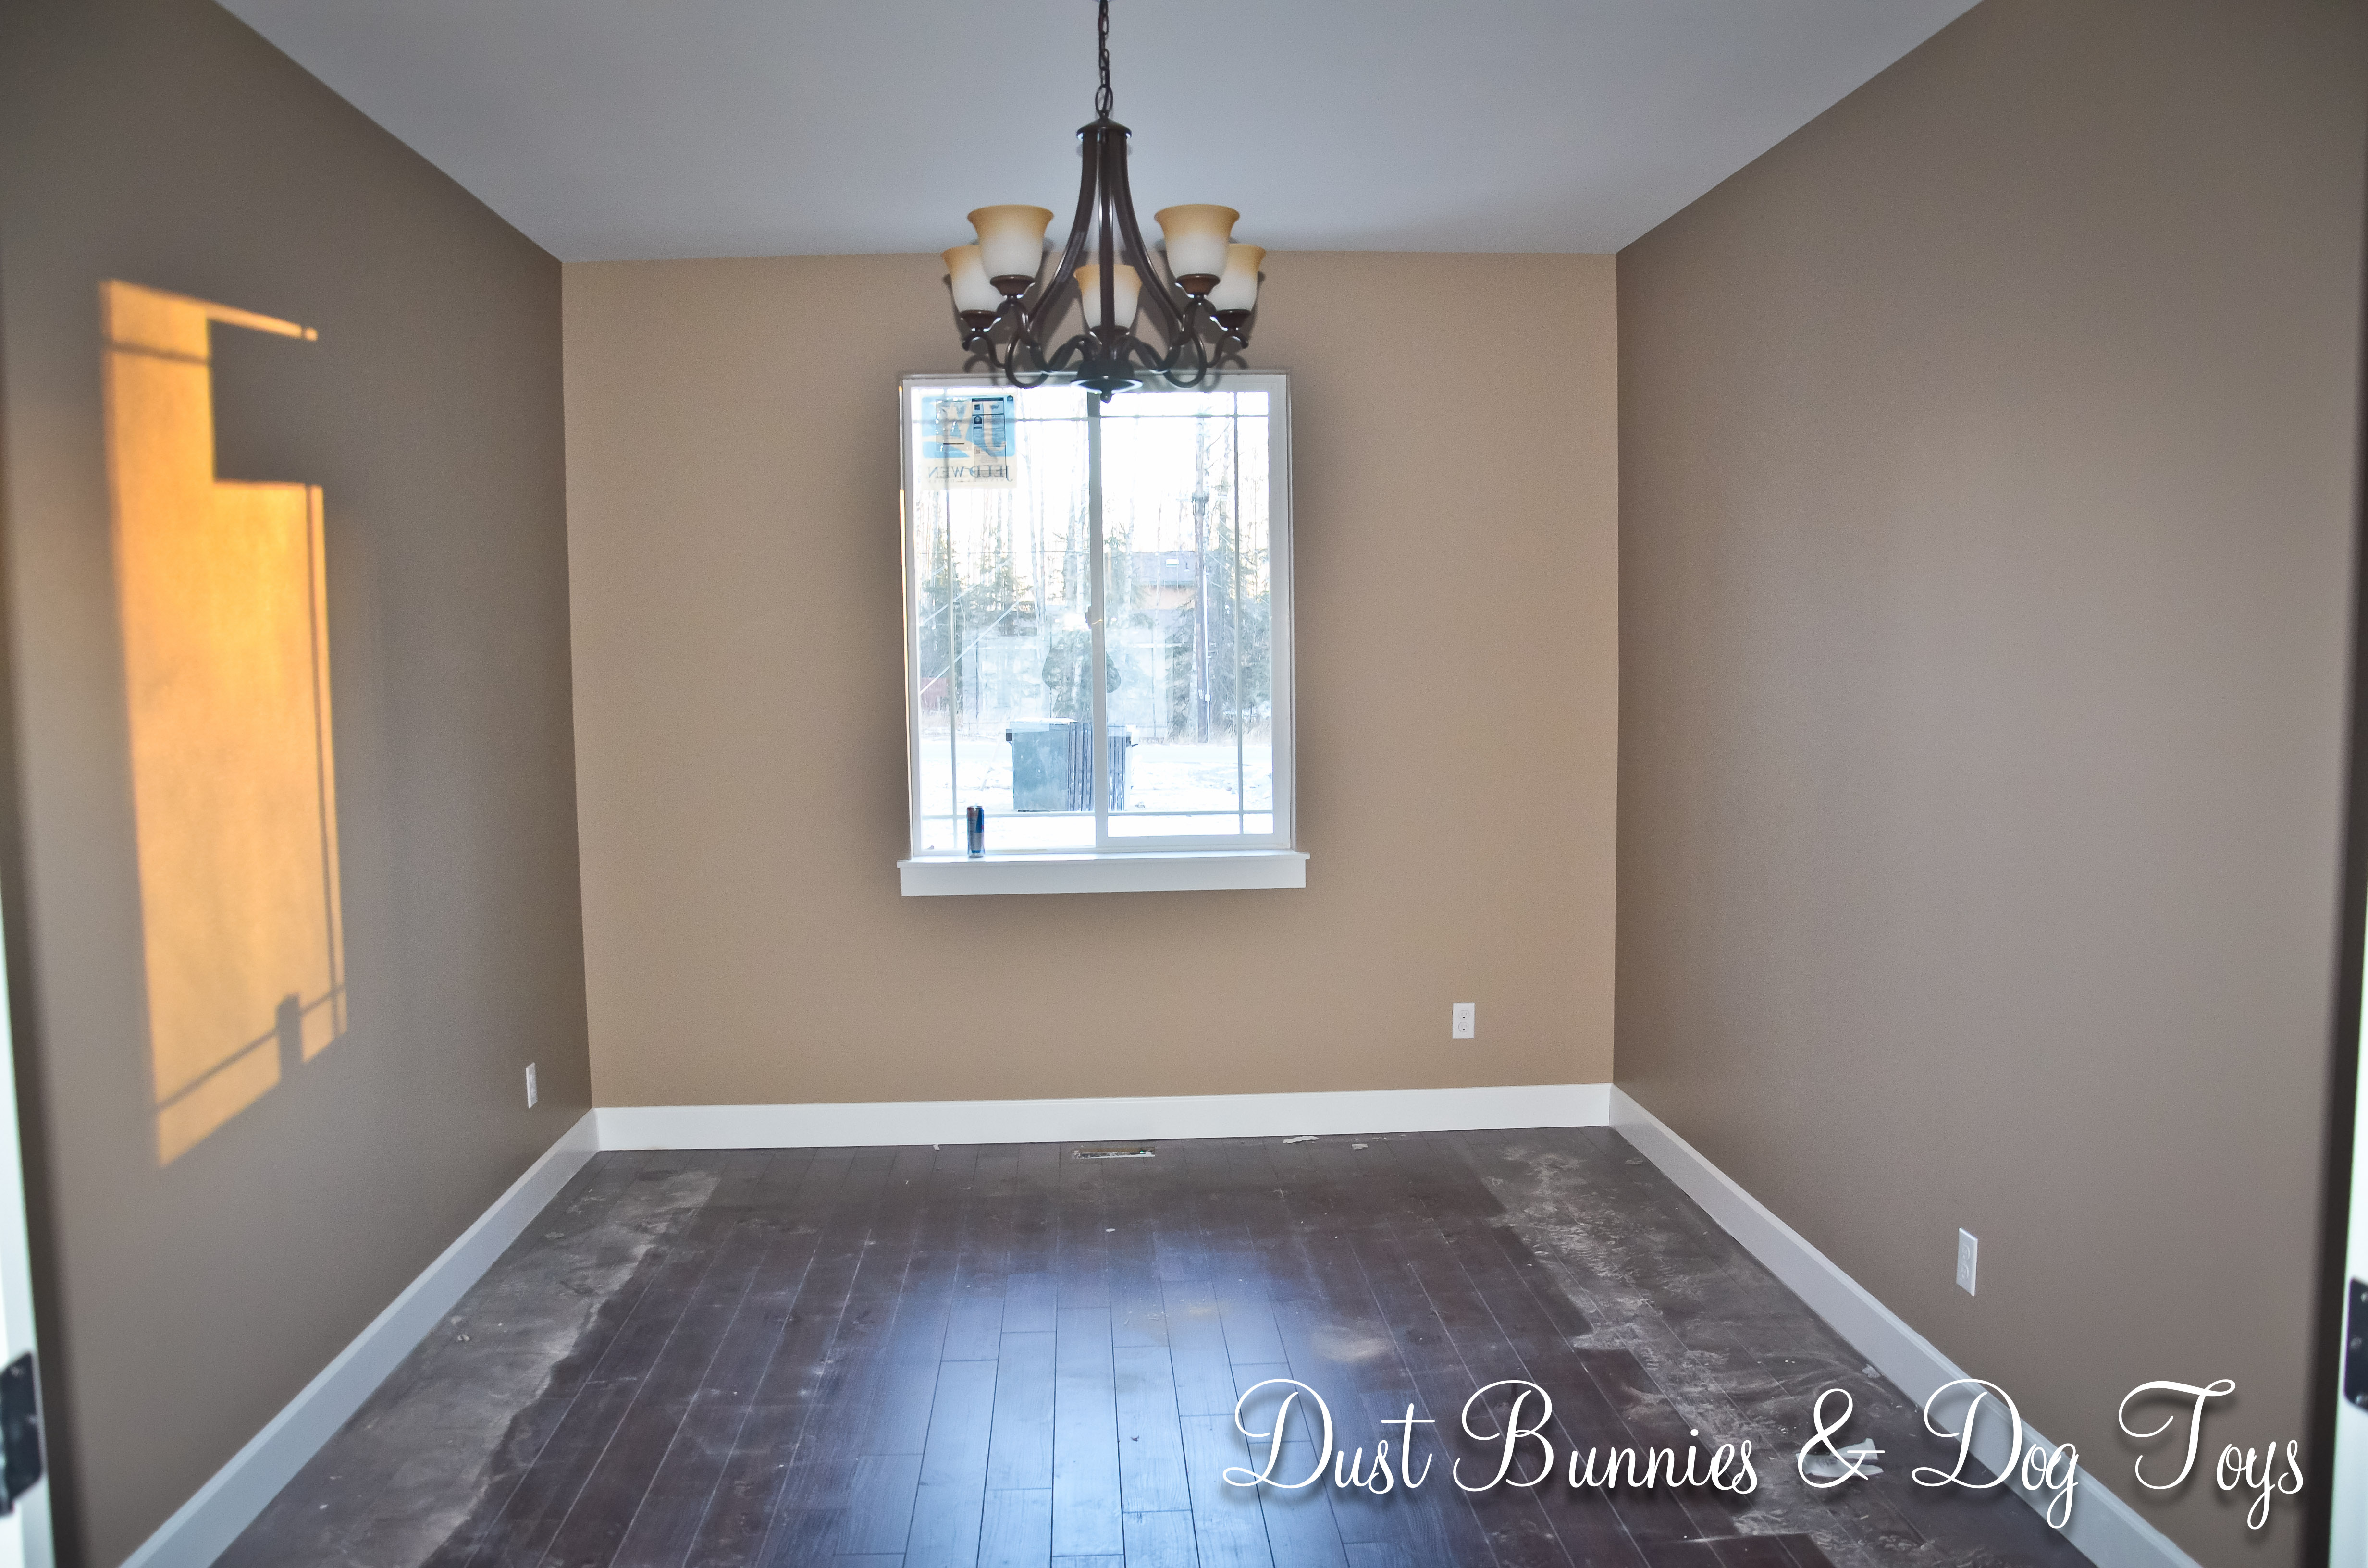
I’ve been eyeing this pottery barn fixture for over year now for the dining room and found similar options like this at the big box stores for much more reasonable prices. Again the hubs liked my suggestion!  I’m sensing a trend here…

Then we spotted this ceiling fan at the big box store and both immediately liked it.  We thought it would be a nice compliment to the prop fan, but at a lower price tag for the Master Bedroom.  We plan to add a light kit the to the bottom, which seems pretty inexpensive and easy to do.  We just might have to spray paint a not so pretty brass light with ORB so it jives with the rest of the fan’s hardware.

Although I don’t love its hefty price tag, I absolutely ADORE this fixture and think it would be perfect in the entryway.  I didn’t see Entryit at the store the last time I was there and haven’t had much luck tracking it down online, so I might have to go back to the store and ask them to order me one.  This is where the hub’s enthusiasm wore out.  He apparently doesn’t have an opinion one way or another on this one other than the price.  If you know of where I can find something similar please let me know so I can compare!

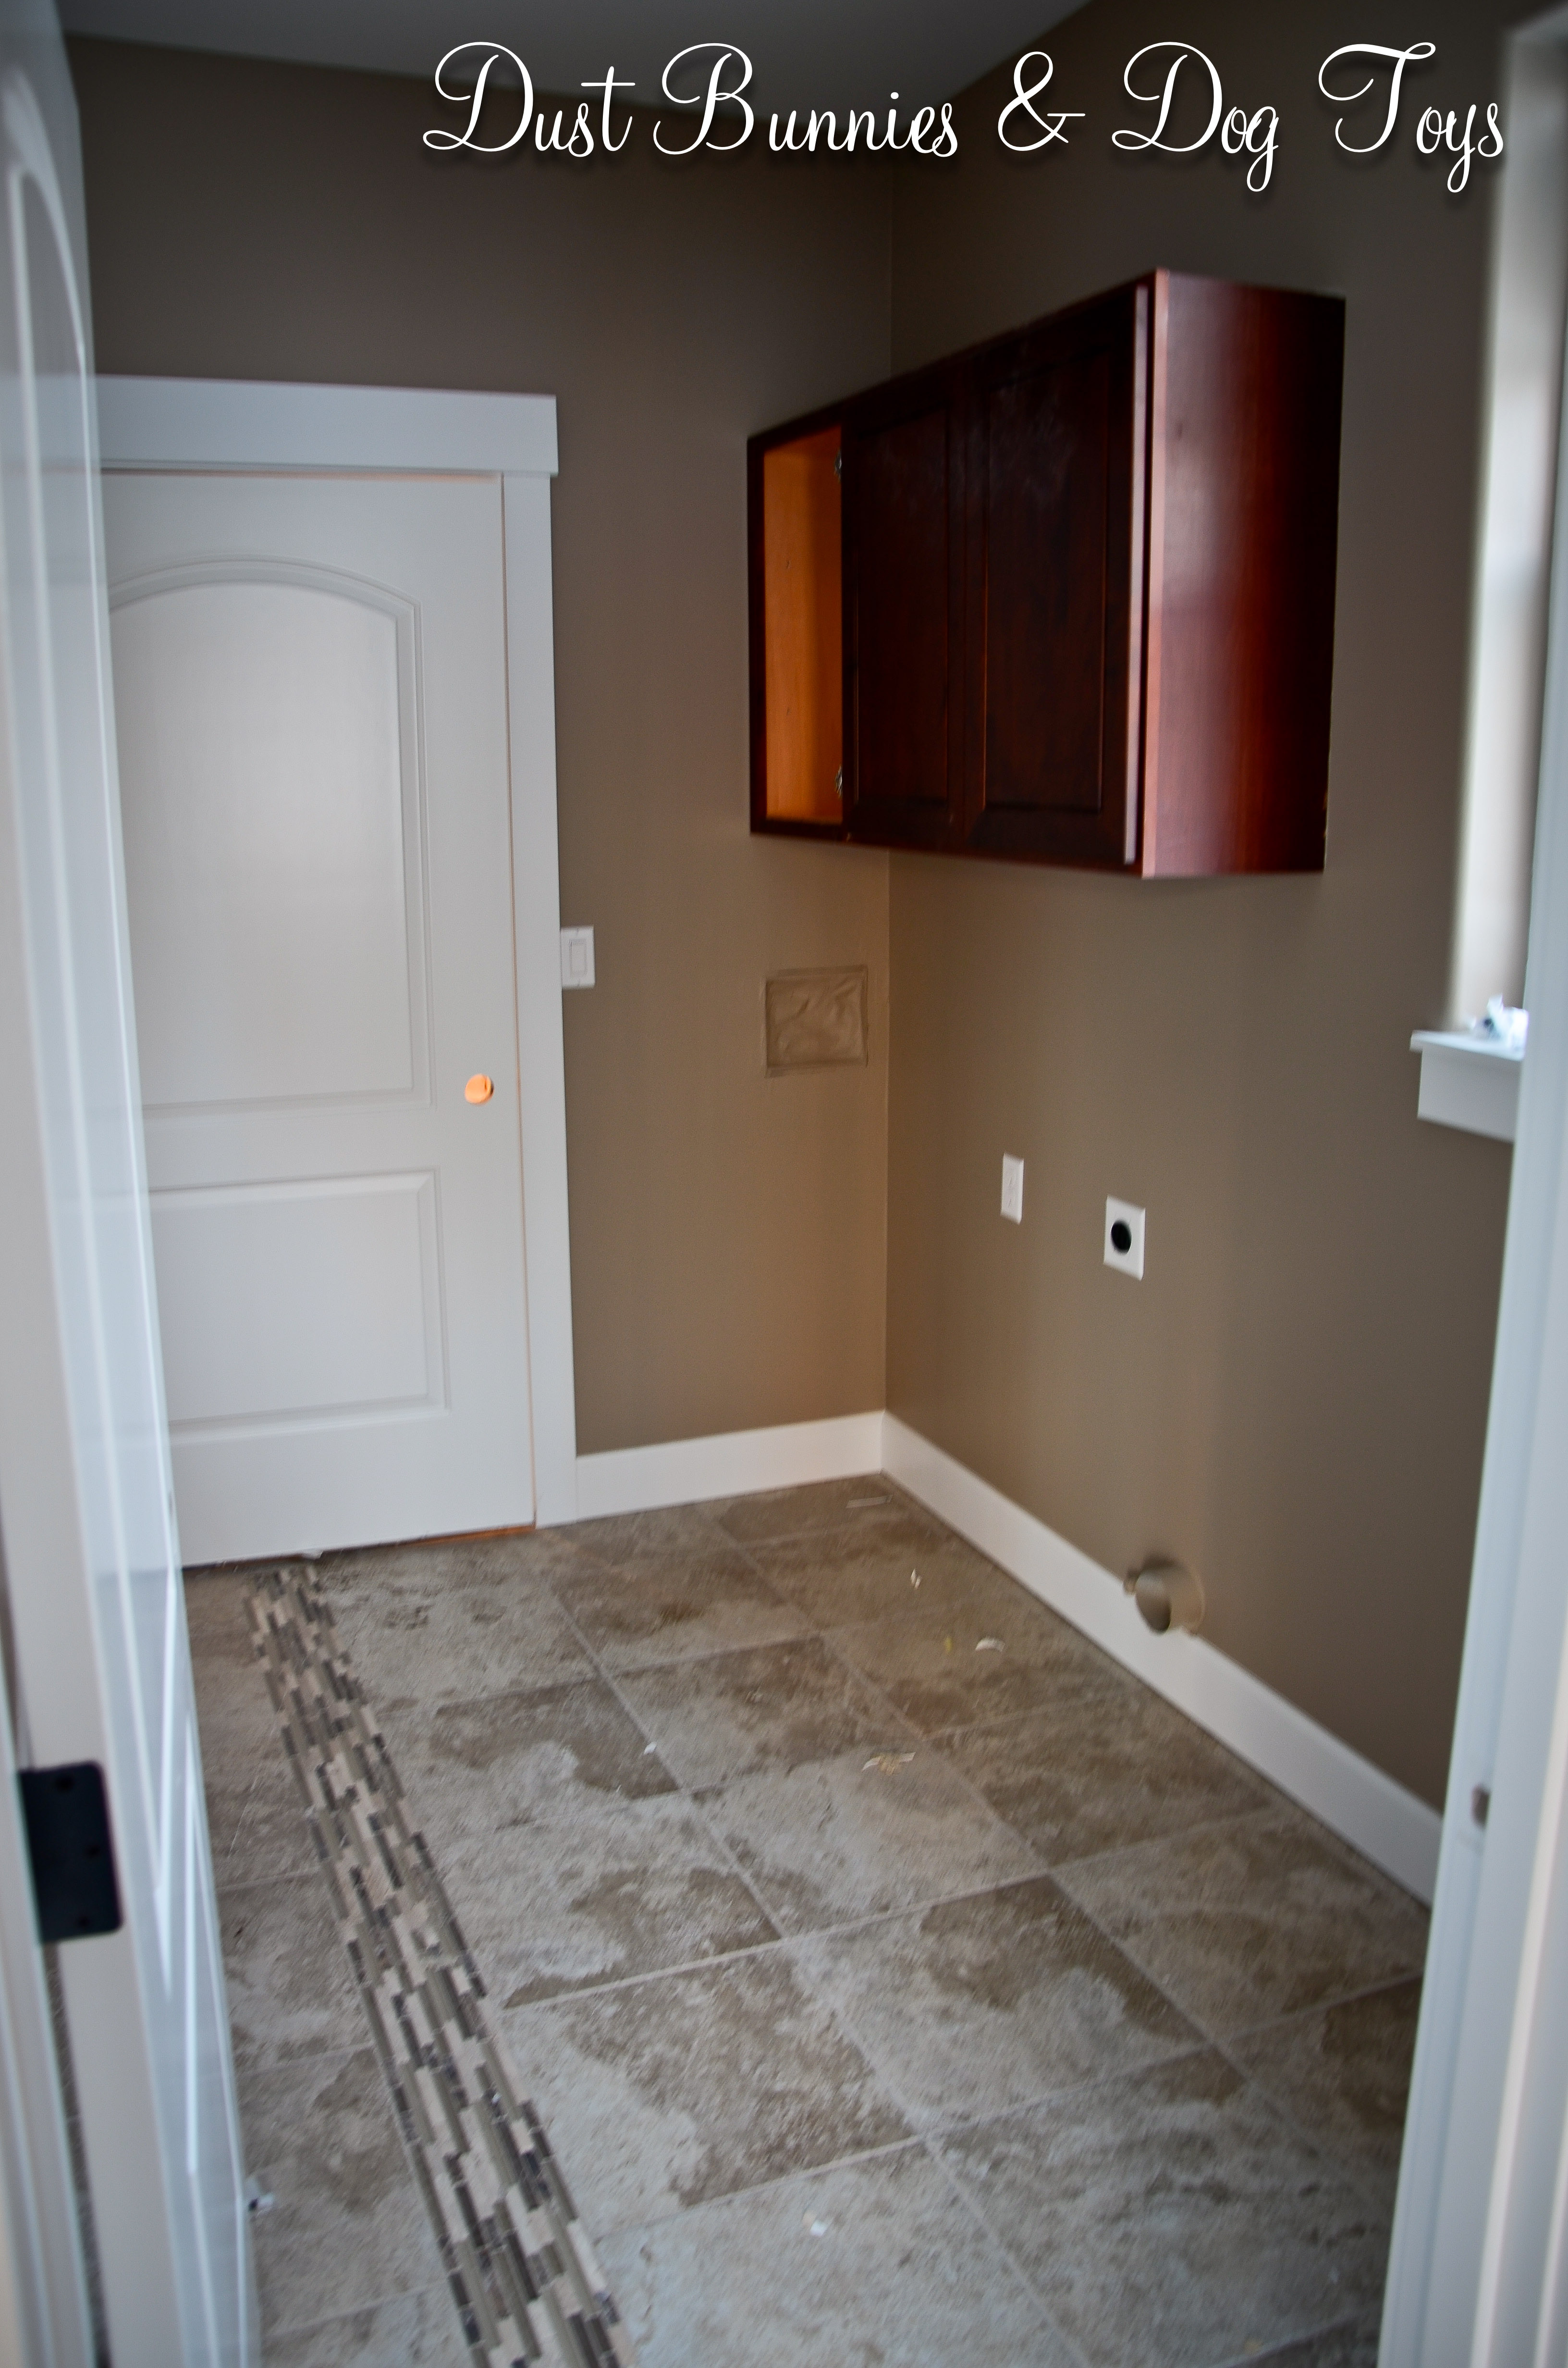
Granted there are a few spots where I plan to have the builder install a basic fixture which we will change out with a creative DIY later like this little cutie I found on Pinterest.  I think it would look nice in the laundry room since I have a subtle rustic Americana theme in my laundry room décor – which is currently packed away since our rental has the washer and dryer in the garage!  I’d also like to create something like this for the Studio/Office if I can find some antique crystal decanters, or try my hand at making faux mercury glass with a tutorial I found online.

We have an appointment with a sales rep at the store downtown Monday evening so we’ll see if he can fit it all in within budget.  If not, we’ll get a few specialty pieces for the main traffic areas and then supplement basics elsewhere to be swapped out later as inspiration strikes.   We are also narrowing in on our final choices for cabinets and counter tops so watch for a post about that soon too!

Advertisement

DIY Patriotic Garland

1I spotted this How Does She tutorial and decided to give it a try since I had plenty of red, white and blue ribbon left over from my recent patriotic hair clip projects and have been looking for ideas I can use on a mantel when we move to our new house.  While watching a movie with the hubs, I cut a stack of 4″ pieces of each type of ribbon.  I had more of some and less of others since I was using up what I had on hand, but I had enough of each color to make it work so I figured I’d just spread out the pieces of the lower quantities more to make it appear even.

2I cut a 3′ piece of larger ribbon to be the base, then started tying the pieces onto this main ribbon, randomly choosing pieces of different varieties and colors – basically just eyeballing what I thought the next piece should be.  Luckily the base ribbon was the first piece I had cut off that spool and it had the sticker that held the end down still attached so I used that to hold the end away from me on the arm of the easy chair.  It did take the entire movie to complete but it wasn’t extremely difficult.

I’m tickled pink red, white and blue at the final product!  The one thing I would do differently next time is make it longer.  Three feet just didn’t seem to work for many of the places I thought of putting the garland.  I ended up placing it across this octagon window in our family room which seemed to work pretty well.  I also found that I liked it better when I twisted the direction of groups of the tied ribbons to give it a little more dimension.

4I’m planning to make more just like this but in different color varieties as photography props!  I’m thinking a pink one for girls, blue for boys, fall colors, maybe a rainbow or mardi gras colors, orange and black for Halloween and of course red and green for Christmas!

Once I get going I may even make a stock of them to sell to other photographers now that I’ve set up my own Etsy shop, (where I also have a stock of patriotic hair accessories!).  I just have to decide what to charge for this new item.  I saw a fabric garland done in the same tie-style at Michaels the other day for $14.99, but I don’t think it was a pretty or vibrant as this one.  I’m thinking $15 would be a fair price, especially if I custom make one with requested colors.  And because they are so light weight, it shouldn’t cost much more for shipping.

3

What do you think?  Would you use one at a photo session you were paying for or for decor at a party you were hosting and if so, do you think that’s a fair price?  What colors would you like to see?  Or better yet, anyone want to place a custom order right now? 🙂

The Easiest Project Yet

DSPumpsI spotted these pretty mason jar soap pumps on DecorSteals.com and immediately ordered two.  Unfortunately during the checkout process I was informed that they would not ship to Alaska.  UGH!  Guess that was fate telling me they really were as overpriced as I thought they were – $29 a pair, plus shipping!  I knew I’d pinned a DIY tutorial on how to make the same thing so I figured I’d keep my eyes peeled for pretty mason jars and pumps locally and give it a try.

About a week later my hubby took me to a deviously wonderful antique store he’d spotted while out and about.  Where I found these lovlies for just $10 each.

Jars

I was twitterpaited.  And then like I always do, I got distracted and they sat for weeks, until the day I needed a few items to fill the dishwasher before running a load.  Now all clean and pretty and sitting on my counter, they were back on my radar.  Luckily, a few days later I made a trip to Pier 1 to use the gift card my mom had gotten me for my birthday and found clear pumps for just a $1 each!  Of all the things I might find at Pier 1, that certainly wasn’t one I thought I would, but I’m sure glad I did!

Pump&Lid

I was in the midst of getting lots of crafts done for an upcoming display so I wasn’t planning on working on this little project until later, but my hubby decided to make it happen and started pulling out tools.  I quickly looked up the tutorial I’d saved to show him what the steps were and then followed him out to the garage to get action shots.

Drill

StagesFirst he marked the center of each lid with a dot.  Then he drilled a hole slightly smaller than the circumference – I love how that word makes me sound smart! – of the pump.  He then took a little more off the edges of the hole until the pump would fit into the opening. Here’s the line up of each stage from far to near.

Yes, that is our garbage can being used as a work bench.  I’m not the only one who longs for the day we move into our NEW home and start setting things up the way that works best for our needs – including a study work table with tool storage nearby!

At this point I returned to whatever craft I was currently working on and the hubs applied epoxy to each pump and lid to create a seal.  We let them dry a day or two to make sure everything cured completely.  Then he measured how long each stem should be and trimmed them down to fit.

I filled each with a healthy dose of soft soap from the bulk container I’d purchased some time ago for filling the small single hand pumps we’d had previously and then placed each in their new ‘home’. I love that each is different and has it’s own character.

Group

1    2
4    3

All together we made four dispensers for $44.  That’s less than I was going to spend online without shipping, which makes me like them even better.  I think they turned out pretty darn cute and the hubs declared them “the easiest project yet!”  He then noted how he was surprised I hadn’t done more for things like lotion, etc.  I took that as a clue that he really does enjoy doing these little projects with me and told him I’d be sure to watch for more jars so we could make those daily use items ‘pretty’ enough to display in our new home and then promptly showed him one of my many DIY plans for the master bathroom… 🙂

Bathroom

Trying Something “Different”

My hair and I have a love-hate relationship.  I love to hate it.  I guess it’s that thing about you always want what you don’t have.  I have thin, limp, straight hair.  So I’m totally in love with any style best suited for full, thick, wavy/curly hair.  I recently grew my hair out from the bob haircut I was sporting about a year ago just so that I could curl my hair and do the pretty up dos that abound on Pinterest.

Unfortunately, I’m not extremely proficient at hair styling, especially on myself.  And the fact that I have to apply product, curl and then style each morning takes more time than I usually care to spend on my hair.  So I searched for ideas on how I could comfortably curl my hair while sleeping and found this tutorial which I gave a try last night since it was the weekend and we planned to go trail riding in the morning, so it didn’t really matter what my hair looked like as it would be wind-blown by the time we were done.  It’s a good thing because when I pulled out that headband in the morning, it looked like I’d been in a fight with a curling iron wielded by a beauty school drop-out!  I was too frustrated to take pictures of what it did look like, and even if I had I probably still wouldn’t have posted them.

Let’s just say it wasn’t a style I plan to use again, but I figured I had some texture so why not try out an updo style I want to start using to hide the fact that they weren’t pretty curls.  I’m in love with all of the tutorials Kate over at The Small Things Blog does, especially her messy buns like this one and this one.  So I combined elements of each.  And this is what I ended up with.

CloseUp

I was pleasantly surprised!  It’s definitely better than the typical pony tail or twist & clip styles you typically see sported for casual outdoor activities.  I think it needs some teasing for volume at the crown and the side twists should be done looser, but with a little practice and refining it might even be suitable to wear to work!  And even better is that it’s comfortable and seems to hold fairly well.  I had a few pieces come out while riding, which I just twirled and tucked back into the mess.  I had the hubs take a typical side and back shot so you can get an idea of how the whole thing looked.

  Side   Back

So maybe that headband curl idea wasn’t such an epic fail if it provides a base of texture to create something like this quickly.  Perhaps I’ll give it another try next weekend when I have time to ‘play’ with the results.  When I asked what the hubby thought of this new look he said, “It’s different.”  *SIGH*  He’s such a great friend who I want to share everything with that sometimes I forget he’s a GUY and not a girlfriend!  I asked if it was a ‘good’ different or a ‘bad’ different.  He said, “Well it smells good.” Um.  Ok.  I pointed out that it smells exactly the same as it does every day because I used the same hairspray I do every day!  At least I know I smell good – according to him anyway!  LOL

The Endless Salad Bowl

CloseI decided to stop by one of my favorite Anchorage stores – Alaska Mill & Feed – on my birthday, just because.  Little did I know they had a gardening oasis in the back!  Hydrangea, lilacs, daisies, iris, salvia and even forsythia, which I didn’t know would grow here! It made me wish we were moving into our new home sooner than we likely will, so I could get my ‘stock’ going.  Unfortunately all of my containers are currently full and I’m about out of room for more around our rental.

I did however find this salad bowl.  I’d heard of the concept and actually planned to create one when we moved.  It contains a mix of lettuces for a perfect combination of greenery for salads.  Some were marked Alfresco Mix and other City Salad Mix.  I honestly have no idea what the difference was other than the city mix had more of the dark red lettuce, which I’m not a huge fan of.  When I saw they were marked $29.99 I decided to take one home because I couldn’t buy the bowl, soil and plants to create the same thing for less than that.  I went with the Alfresco Mix and chose the one with the least amount of red lettuce, just due to personal taste.

So now we have fresh lettuce for salads anytime we want!  A perfect combination with it’s neighbor, the cherry tomato plant.  And the best part is that the more we pick from it, the faster it should regrow!  Now the trick will be keeping it alive all winter indoors!  Good thing the dogs don’t seem to have a taste for salad.  LOL

Bowl

Who I Am

As I celebrate my 31st birthday today I realize just how happy I am to be exactly who I am and where I am at this point in my life.  Sure I could loose a pound or two, style my hair a little better, or be slightly more financially stable than I am but overall, I’m doing pretty darn good.

I’m certainly not one of those people who wish I could go back to a specific time in my life.  High school was fun, but it wasn’t my favorite years.  College was great, but it was a lot of hard work too.  The years between college and now brought frustrations with highs and lows, so I’d rather not revisit that either.  But right now I stand at the starting line of a wonderful new adventure – personally, professionally, financially and a few other ly’s I can’t seem to think of just now.  I love the idea that tomorrow brings new challenges and adventures and wouldn’t trade that for a single day ‘back when’.  I’m content with exactly “Who I Am” today, just as Jessica Andrews song describes.

I’ve done a “list of things about me” before and always enjoy reading them later to see how much I’ve grown and changed.  And I thought it would be a good way to introduce myself further to those of you who have recently started following my blog.  So here’s the current list of things about me you need to know to understand – at least a mostly – how my brain works!

  1. I can’t function without a cold Dr. Pepper first thing every morning, but NEVER drink coffee.
  2. I can’t relax unless my environment is clean and organized.  Clutter seriously gives me hives.
  3. I’m a list maker.  If it isn’t on the list, it doesn’t get done.  I feel super accomplished when I cross things off the list, but quickly re-write the list to keep it tidy and add more things to do!
  4. I like to drive fast, but often don’t realize that I’m speeding.  I blame it on being a racecar driver’s child and having a mile long to-do list.
  5. Although I primarily listen to country music I have a very eclectic playlist, which ranges from Disney tunes to Prince followed by Elvis and then Linkin Park to Tim McGraw and Taylor Swift.
  6. I get a warm and fuzzy feeling when I’m saving money.  I ALWAYS have coupons with me and often will wait to buy something until it goes on sale, even if I really want it.
  7. My biggest pet peeve is inefficiency, especially when it’s caused by being disorganized!
  8. I’m very emotional.  Sentimental TV commercials make me teary-eyed and I can spontaneously bust into a full-on bawl when certain songs come on the radio.
  9. Although I’m very outgoing and creative I’m SUPER critical of myself.  I often worry that I’m a Jenna of all trades, but the master of none.
  10. I’m easily distracted… Oh that’s pretty!  What is it?  Wait, what’s this?!
  11. I’m naturally nocturnal.  I tend to have my best creative energy in the evening.
  12. My favorite luxury is sleeping in (usually because of late nights due to #11), although I hate doing it because I feel like I’ve wasted my day when I have so much to do every day.
  13. I was born blonde and have enjoyed being a brunette in my early 20’s, but I LOVE being a red head now, even though it does require more maintenance.  As a child I always wished I’d been born a brunette with green eyes, even though blondes with blue eyes tend to be the typical ‘beauty’ most compare to.
  14. I love watching the seasons change and truly enjoy each in its turn.  Although I do honestly get tired of winter after a month or two – a natural hazard of life in AK.
  15. I’m envious of women with naturally wavy or curly hair because mine is stick straight and limp.
  16. If I could change anything about my body it would be to have smaller ears.  I was teased about having big ears as a child and it stuck in my brain.  That’s probably why I think I look best with my hair down.
  17. I’m a total lightweight when it comes to drinking.  Seriously.  Two drinks and I’m DUN!  But I don’t drink beer.  I prefer rum or sangria.
  18. I’m a mechanic’s daughter, so I can change a flat and do my own oil changes.  I just choose not to because my hubby is super handy too.
  19. I have issues with corn.  They stem from a funny childhood story that is too long to share here, but unless the specific recipe I’m cooking requires it you will never find any variety of corn in my kitchen.
  20. I’m Lutheran, but believe in all paths to God.  At their root most religions all believe the same basic principles they just tell the story differently so I don’t see any as right or wrong, just different.  Unfortunately there are fanatics in every religion whose actions contradict everything they say their religion stands for, which is both sad and scary.
  21. I was in 4H as a teenager and had a horse, goats, market lambs, chickens, ducks and rabbits.  Thus I have a high respect for farmers and ranchers and admire their lifestyles.
  22. While I think dooms-day preppers are crazy, I do think that everyone should be able to be self-sufficient at a moment’s notice without causing major disruption in your daily life.   Simple things like growing a garden, knowing how to shut off the water or power and being able to defend yourself are just plain smart.
  23. I don’t affiliate with any political party; rather I believe we should follow the Constitution and 10 Commandments and decide things on a case-by-case basis when there is a gray area.
  24. I don’t have that ‘baby’ craving most women do.  In fact, I’m not particularly fond of newborns.  Rather I like the toddler stage where they start to become their own little person.
  25. I think adoption is a wonderful thing.  Although l feel the urge to mother, I know I wouldn’t do well being pregnant.  I decided as a teenager that if I ever decided to have a family I would adopt because there are thousands of children around the world who just want someone to love them and family doesn’t have to mean you’re blood related.

So there you have it.  Now you know me, in a nutshell! 🙂

Simple 5 Step Veggie Pizza

1It’s been super hot the last here few days, as in 80’s and 90’s!  That’s melting temp to those of us who are used to negative temps for half the year.  For me, warmer weather causes a reduced appetite and a distinctive change in palette.  I now find myself craving veggies and fruits rather than the starches and salts that typically make my mouth water all winter.  Luckily, I have a few recipes to satisfy that desire thanks to my previous life in the lower 48’s hotter climates.  One of my favorite such recipes is veggie pizza.

I learned how to make this dish from my Aunt Diane who lived in Florida and has now passed on, so it has a bit of sentimental value to it as well.  It’s super easy and quick to make which causes me to like it even more.  Here’s what you’ll need:

  • 1 Boboli Pizza Crust
  • Olive Oil
  • Fresh Spinach
  • Provolone or Muenster cheese slices
  • Fresh veggies for toppings

I like the thin crust works best for veggie pizza, but you can use a regular crust if you prefer that. I often consider this a ‘garbage meal’ where I use up whatever I have in the fridge – tomatoes, onions, mushrooms, peppers, etc.

2

I’ve convinced the hubs to like this dish by adding chopped ham as a topping so the carnivore in him isn’t deprived.  And honestly I like ham on my pizzas too, so it’s a bonus for me as well.  Notice how ‘my’ half is loaded with yummy toppings, while his is fairly sparse?!  LOL  Here’s how it all comes together:

  1. Give pizza crust light coating of olive oil.
  2. Rip spinach into small pieces, enough to cover crust.
  3. Top spinach with cheese slices.
  4. Add whatever toppings you want/have.
  5. Bake for 10-15 minutes at 350, or until melted.

And that’s it!  Just five simple steps to a delicious light summer meal.

Water-Proof, Scratch-Resistant and Just Plain Pretty

Picture 2
Sawcut Arizona Allure Ultra Flooring (Source: The Home Depot)

As promised, here’s a little run down of the flooring we plan to use throughout the whole house.  I knew I wanted wood floors because not only do I love the way they look, but they are easy to clean and should be better for my allergies than carpet.  The hubby had laminate floors in previous homes and was adamant that we would not use a laminate because of the issues he’s had with them, so we started looking at hardwood and engineered hardwood products.

We found several that we loved the look of, but were completely beyond our budgeted allowance with the builder and just wouldn’t stand up to our rough and tumble dogs.  Plus they wouldn’t work in areas like the kitchen, laundry room and bathrooms, which meant we’d have flooring transitions – something we were trying to avoid whenever possible.

During one of our ‘research’ trips to Home Depot I spotted a new tile product made to look like wood floors and asked an associate about its durability.  When I explained what we wanted he asked if I’d see the new Traffic Master Allure Ultra Flooring.  We hadn’t, so he took us to the display and explained how easy it was to install (click & lock with no under layment necessary) and how resilient it was – water proof and scratch proof.  Click here to view a video about the product, describing all of it’s attributes and installation.

The store associate also mentioned that he was about to install it in his own home and that his manager had also used it in his home with great results.  That made us even more interested, so we took a couple of samples to see which we liked best and test them out under doggie feet.

Because both samples held up perfectly to the dogs’ attacks, the hubs decided to give it a little extra testing and actually took a key to the sample we liked best trying his hardest to get it to scratch.  When that didn’t produce any real visible result he moved on to testing with a very sharp knife, which finally did have a result, albeit minimal.  The scratch was minor that you probably wouldn’t see it from a standing height when it was on the floor.

That was the critical selling point for us.  Adding in that it was comparably priced to the end cost of a laminate or tile once you factor in the extra materials needed for installation sealed the deal.  Then we learned that because we would be installing it in a residential home there was a 25 year warranty.  Plus because we plan to use it throughout the whole house there will be no transitions!  I don’t think we could have asked for a better product.

Of course the true test will come once we install it and move in, but based on our testing I don’t anticipate having any issues once we are living on it.  We’ve chosen the Sawcut Arizona style for its rustic look and variety of colors.  I wasn’t crazy about it when I saw the small sample but when I pieced several together and set them on the floor I was sure I liked that style better than the other we tried out.  It’s going to look fabulous with our dark cabinets and light counter tops – which will be featured later once we pick out the exact ones. 🙂

Our New Home

We are officially under contract (again) for our custom built new home!  There are still a few hoops to jump through, but it looks like everything will come through finally.  And since I know everyone will want the details here’s what I have for now. The floor plan we chose is called the Calypso – a 3 bedroom, 2 bath ranch style. We chose a ranch style for several reasons:

  1. It’s easier on my husband’s knee after his joint replacement.
  2. Our dogs sound like a herd of elephants going up and down stairs. (So won’t miss that!)
  3. I despise cleaning stairs after having lived in 2 story homes most of my adult life.
  4. We like the look and flow of a ranch style better than a traditional 2 story.

Floorplan

This floor plan appealed to us because it had several features we were looking for:

  1. A dedicated studio/office space for me (not one of the bedrooms) near the main entrance so clients won’t walk through our whole house.
  2. A large kitchen with an open concept for entertaining
  3. A formal entry way without the other traditional ‘formal’ rooms that are wasted space to us.
  4. A 3-car garage for both our trucks and ‘toys’ (the UTV mentioned here and my ’55 F-100)
  5. A laundry room.
  6. Space for large furniture and large dogs.

We looked for almost a year and half before finding this plan and it still wasn’t exactly what we wanted, but it was acceptable as it was built.  Unfortunately, it sold before we were able to put in an offer.  So we contacted the builder and told them we wanted the same house, just on a larger lot.  It’s been a long haul to make everything come together, but we are almost ready to begin construction!

Here’s a ‘tour’ of the house we walked through during the final stages of construction.  I’ll note the changes we are making per the modified floor plan above as we go along.

1

The third ‘bay’ of our garage will stick out to make it a little longer for the hubby’s BIG truck.  Rather than a shingle roof we will have a metal roof, likely in a brown color depending on what exterior colors we choose.

2 3

The laundry room will be laid out the same way with a dryer, washer and sink along the wall with the cabinets.  Rather than tile we will be using a new flooring product that is scratch proof and water proof throughout the whole house.  Yes – I promise I will do a post about it very soon. 😉

4Again, no tile in the kitchen due to the whole house flooring.  We will also be adding a corner pantry with a solid door.

5Because we are adding the corner pantry the fridge will be moved a little farther down the wall here to add back in some of the counter space we will loose in the corner. Our kitchen island will be farther out, making the inside edge even with the laundry room wall.

6Our fireplace will be done in the same style, only in the corner.  We are foregoing the french doors seen leading into the studio/office area because we plan to install sliding barn style doors like these later.

7My studio will have wall-to-wall desk space for photo editing and crafting like this on one side with open space for backdrops on the other side.  I’ll decide which side the desk will be on once we see how the house is positioned and light comes in.

8This is where the sliding barn doors will sit when open.  I still have to figure out how to do the doors and the wall-to-wall desk, but I’m sure we’ll come up with something.

9The formal entry, which will have the same flooring as the rest of the house rather than tile.  I plan to put a dresser closer to the front door like I mentioned here, with a bench next to it.

10My current plan is to make one closet ‘our’ coat closet because we have LOTS of coats thanks to the Alaskan weather, while the other will be for guest use.  Depending on how that works out I may convert the one closer to the door into a mudroom/bench area with hooks like this where guests can stop to take off or put on shoes and coats.

I’m not posting pictures of the bedrooms since they are the typical empty ‘box’ and the bathrooms will be reconfigured a bit from how they were in this house.  But this gives you the basic feeling of the house.  I can’t wait to share more details as we choose finishes, light fixtures and more!

Roller Dollies

2

3My hubby is what you’d call the ‘handy’ type.  He knows a little bit about a lot of things and a lot about several things.  So when we needed to fit his retirement gift – a side-by-side UTV and my truck in the same 2 car garage along with everything else stored there he came up with a quick solution – roller dollies!  Seriously, how smart is that?!

I wasn’t around when he made them to get shots of the construction (sorry no step-by-step instructions on this one), but it’s a pretty simple design – four boards and casters.  Yet simple as they are they are amazingly functional.  Those top two boards act as chalks for the tires once they are on the rollers.  See told you he was a smarty pants! Smarter than me because I never would have dreamed up such a great idea! 🙂

To use them, he jacks each tire up just high enough to get the dolly underneath then releases the jack and moves on to the next tire.  For now he’s using a small jack he had on hand, but will soon be adding a floor jack to his tool arsenal, which will make the process not only easier but faster.

4

5

7

8Once all four dollies are in place, a couple quick pushes or pulls (with his muscles because mine are apparently too puny) and the UTV is against the wall with room to spare for my truck and a walkway between the vehicles.  When it’s time to take the UTV back out for some fun we just do the same process in reverse.  Takes a total of about 10 minutes.

I find it adorable that he’s figured out the exact height of the UTV when on the rollers and keeps items ‘stowed’ just so to fit under it when moved back and forth!  I’ve taught him well! LOL

I can’t wait to see what that always thinking brain of his creates once we move to our new home!  Hopefully he doesn’t start to out-pace me in the DIY projects!

9