So remember that folding camp chair the hubs was using on his side of the new desk? Well it’s metal feet under the hub’s manly frame wasn’t very friendly with the floor…
Luckily, I have a secret weapon, a wood stain pen. Although I purchased this to disguise any little dings on our kitchen cabinets, it works just as well on the floors and furniture.
I actually first used it on the bathroom floor after the hubs installed some molding at the bottom of the cabinet and his drill left a sizable divet in one of the planks. I just colored it in with the pen and let it “soak” in. Now that spot just looks like a small knot in the wood. Of course you can find it if you really look for it, but because it blends in no one ever will. 🙂
In the office, I cleaned the floor so there wouldn’t be any dirt or dust in the scratches and then lightly ran a fingernail over each scratch to take off any small rough pieces of the vinyl left behind. Next I just colored on the floor. Literally, I just squiggled across each area and then drew a line over any scratches that extended outside the main group. I let that sit for a few minutes then wiped off the excess with a rag. Here’s the end result.
If you look really closely, you still might spot a few of the scratches, but if you were to walk past this area you’d never notice anything that would make you stop and look. That was the exact reason we chose this flooring material. It’s tough, so it’s scratch resistant and even when we do manage to scratch it, I can correct the problem quickly and easily!
We noticed our first major scratch on the new floor as the stone work sub was cleaning up the other day. We’re not sure if his equipment was the culprit, since there have been several subs in and out of the house recently, but it was upsetting regardless. And to add salt to the wound, the scratch was in a spot that would require pulling up most of the room’s flooring to replace.
But before I began hyperventilating, I decided to see if I could eliminate some of the effect with a quick spit shine. Literally. Hey, the house is under construction still (hence the scratch amplifying white dust) and that’s all I had! But as you can see it already looked much better.
After this photo, I also rubbed my thumbnail over the edges to remove any fibers sticking up and that made it even better. I’m sure that once I can attack it with some Old English you’ll never even know it was there. You can’t even feel the scratch when you run your finger across it, so it’s not as bad as I initially thought.
There are a few spots in the house that we know the edge of the board is chipped because we saw it as we were on floor level installing it, but at walking height you’d probably never notice them. We plan to put some clear silicone in those spots as we find them again, but they shouldn’t cause any major issues now that there is support around them from the adjoining board.
This is exactly why we chose this material. We have large, very active dogs. We have guests over. Life happens. I’m sure I’ll see the little lumps and bumps as we move in and start living on the floor, but that will be ok. It shows that we’re living our life, not just ‘presenting’ an ideal. And let’s face it, those little spots just give me a reason to go buy a new rug to cover it. And that’s just fine by me. 🙂
I promised a post about our flooring installation, so here it is. It’s been a little slow going because we can only go to the house in the evenings after work, but we’ve made pretty darn good progress in just 3 days. The first night we rented a drum sander from Home Depot and sanded all of the subfloor joints and any spots that had high spots from other portions of construction. Of course, prep work begets prep work and before we could start sanding we had to cut off the excess plastic sheathing installed on the exterior walls as part of the energy efficiency, which you saw in this post.
This stuff was applied with a super sticky and gooey tar-like substance that has been very annoying to clean and work around at the base of the walls. We could have laid the flooring over top of the portion on the floor, but with all the paint, mud and texture residue on the plastic it just wasn’t a good idea, especially since the flooring warranty could be voided if there is any under layment.
Next up was sweeping all of the dust and debris to be vacuumed with the shop vac. There was a LOT of dust and a good bit of debris…
Once the floor was vacuumed, the hubs started sanding. At first he did the whole area but we soon realized that wasn’t necessary so he focused on the seams of the subflooring and anything that had a high spot.
We started installing the next evening. Each piece has a tongue and groove edge so that it locks into the piece next it on either side without use of any adhesive. And without need for an underlayment, it can be installed right over the subfloor, as we did.
It took us a while to find a ‘system’ with the material, but once we did it went fairly smoothly. The hardest part was getting those first few rows down so there was something locking the other pieces into place. There’s been a slight learning curve and a few ‘dang it’ moments, over all we’ve not had any major hang ups. Here’s what things looked like near the end of the first night of installation.
We had the dogs with us while on site and were pleased that they stayed out of the way for the most part. Granted that’s likely because they’d been to Doggie Day Camp and the groomer that day, and were just plain tuckered out. Sangria decided she’d hide out in the pantry since it was the one area we weren’t walking through.
A nearby lot was recently purchased and they have begun clearing for construction. As we left that evening, I was stunned to see that they not only burned the trees cleared rather than grinding them back into the dirt like our builder did, but they left the smouldering pile glowing unattended! I have a sneaking suspicion I’m not going to be crazy about this neighboring project, but I’m trying to reserve judgment until I meet actual people…
The hubs had a light schedule at work today, so he left early to go work on the flooring without me and spent most of the day there. He made pretty good progress, including some difficult ‘tight spot’ pieces that took extra time to cut. Here’s what it looks like now (sorry for the phone pics, but it’s all he had with him, since the ‘photographer’ wasn’t around).
Dining room done into the laundry room and the edge of the kitchen.Heading into the kitchen.Laundry room, almost complete.Great room fireplace wall done.
Unfortunately we got a call from the flooring store saying there was some ‘mix up in Seattle’ and the other half of our flooring wasn’t shipped until TODAY! It was supposed to already be here, so this is quite a set back. It’s now supposed to arrive Monday or Tuesday and then has to sit on site for at least 1 day before it can be installed. We’re not sure yet how the will impact the overall completion schedule, but we’ll continue working with what we do have until we run out in an effort to keep things as on time as possible.
As anticipated the November 1 closing date has come and gone without the house being ready. We’ve signed an amendment to extend the deadline, but it’s still going to be tight to get everything done. The hubs and I went to sand the sub floor in preparation for installing the flooring on Saturday, but found painting and cabinet installation in full swing when we arrived, so we weren’t able to get anything done. We did unload the half order of flooring the vendor had in stock so it could acclimate on site for the recommended two days. The remainder should arrive tomorrow or Tuesday, so we’ll have to let that acclimate on site as well before installing it.
We had a meeting with the foreman and the realtors today to go over the timeline for the new closing date of December 1. We will work on the flooring every evening this week, and the master bathroom tile should be installed in the next few days so we can finish flooring around that at the end. Then the following week all of the finish work will be done – trim, doors, electrical outlets, paint touch up, etc. The should put us at 95% complete for the appraisal the week before Thanksgiving.
The power line has finally been installed, so there is electric to the house now. They ended up having to take a few more trees out at the end of the driveway to run the line, but getting power to the house is worth it.
You can see the small green box to the side of the house. That’s our electrical pedestal. That side of the house is getting pretty crowded with pips and utility features, so I’ll have to figure out some landscaping beyond my rain garden (which will have a retaining wall made from those tires) to hide them next season.
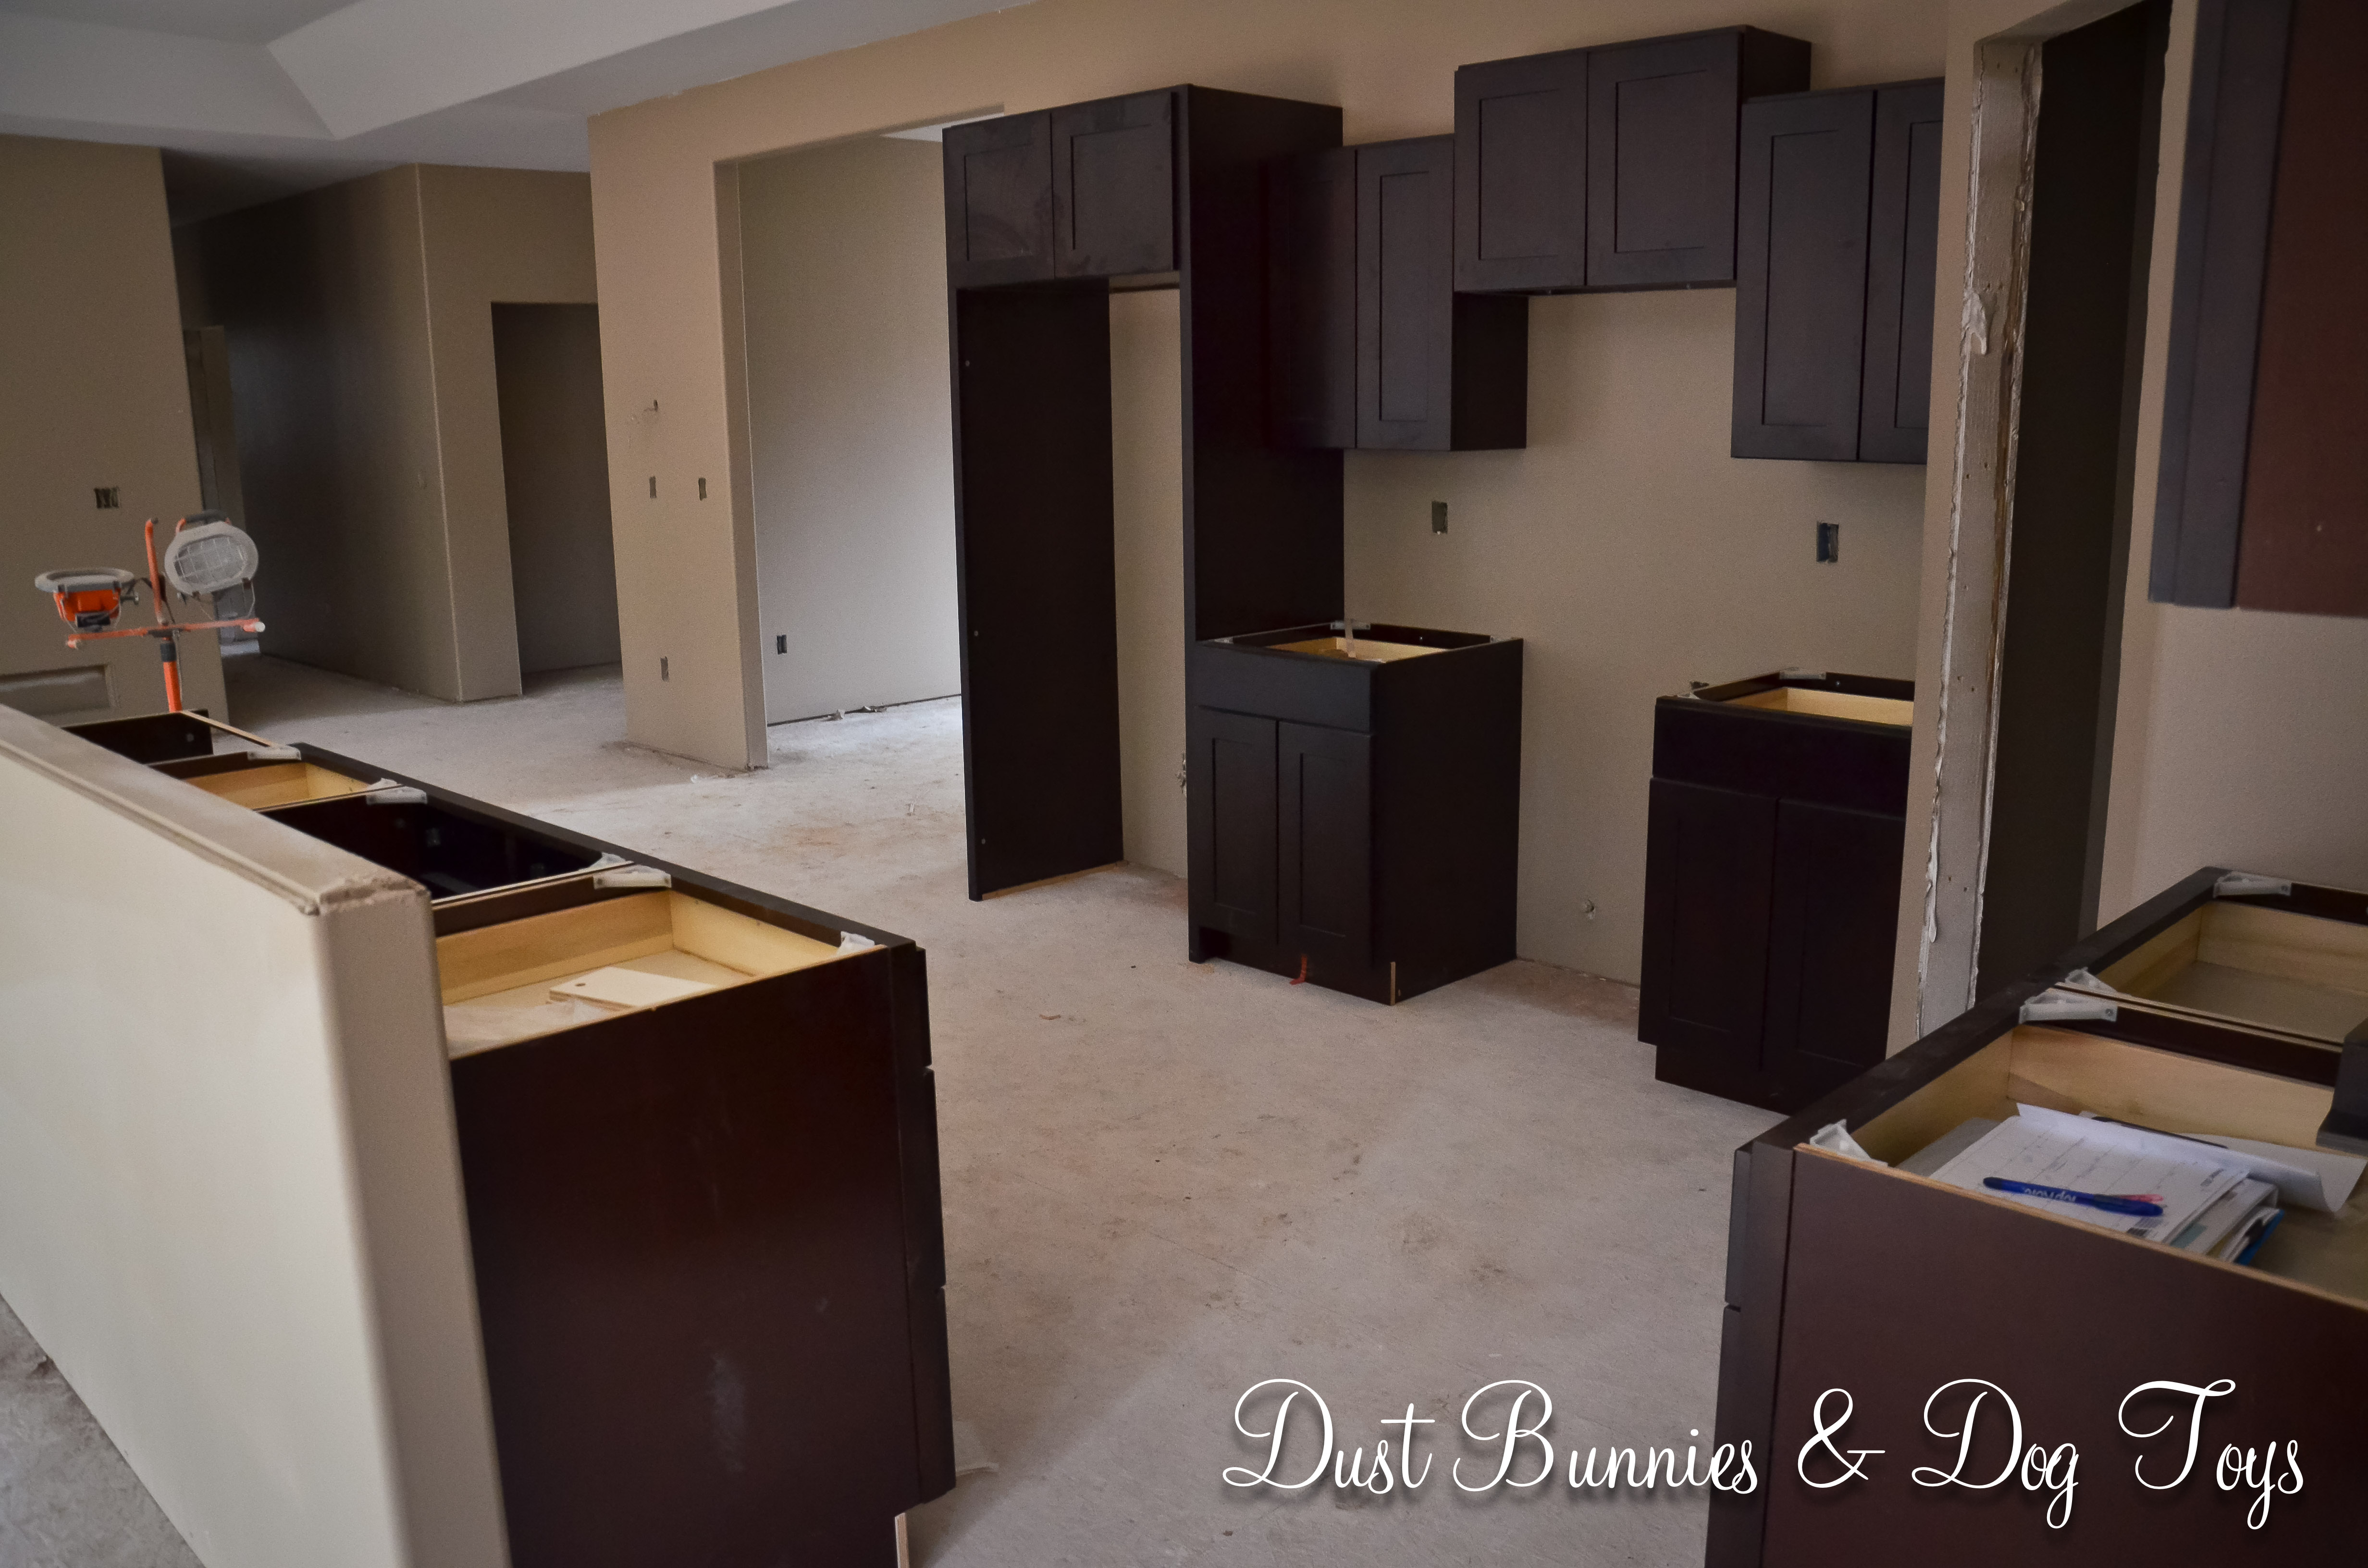
Inside, things are finally starting to look like the finished vision we’ve had all along. The cabinets look great with the paint color and the tile coordinates perfectly as well. Hopefully I’ll have pictures of that later this week, once it’s installed.
The counter tops are on-site and ready to be installed once the final tweaks are done on the cabinets.
I tested out the flooring next to the cabinets just to get a feel for it, and I’m pretty happy – even with the dusty paw prints! I plan to attempt documenting the install over the course of the week and share that, so stay tuned!
Unfortunately, the Traffic Master Allure Ultra flooring I described in this post came in a little more over budget than we were willing to stretch so we decided to keep looking at options. Good thing we did because we soon learned that Traffic Master isn’t the only company with a product toting these features. Apparently Shaw Flooring has a ‘luxury vinyl plank’ that is essentially the same product with the same installation and guarantees, but at a price that comes in right AT our budgeted allowance!
And even better is that the flooring vendor our builder likes to go through carries the product in-stock. Granted he will have to place an order to provide enough material for our whole house, but he said that wouldn’t be a problem with enough advance notice and since we’re still at the framing stage I think we’ve got a little leeway still.
We chose the Northampton Cascade Acadia which has a variety of tones that will play well off our darker cabinets and leather furniture. It’s a little different than the Allure Ultra we picked out, both in color and texture, but I like that it looks more like real wood than the Allure does and less texture means less hiding places for dirt and dust which trigger my allergies.
Of course I had to prove to myself that I wouldn’t change my mind later, so we brought home a few sample planks (thanks to the very nice salesman at the flooring store!) and I laid them on the floor in our living room next to the rug and couch. I also placed the Allure flooring next to it for comparison. A week later, I’m sure I like the Shaw flooring better and I haven’t seen a single sign of the dogs constant scampering across it! Although the pieces have migrated across the floor a few times thanks to furry fliers heading for the door when you say we’re going on a walk or for a ride! LOL
Here’s a closer shot to give a better feel of how it will look installed. The light glare makes it look a little darker than it is in person. The previous picture does a better job of showing the real colors, but I still think it will look great with the rest of our decor. Don’t ya love when you find something you like better than the original item you found that was over budget? I sure do! 🙂