Last summer we picked up several strands of cafe lights on our trip to Portland with the plans to put them up in the back yard around the fire pit, but we got busy with other projects and didn’t get them up. Luckily, we’re playing catch up this summer and crossing off all the projects from last year that didn’t get finished. Which means we had most of the materials already on hand to get this one done.
It started with creating the posts the lights would hang from. We used two small metal stock tanks we got from Wilco on our big trip last summer as the base. We added two bags of sand from the sand bags we use in the bed of the truck for weight during the winter to create a base at the bottom of the tank and provide a bit of drainage.
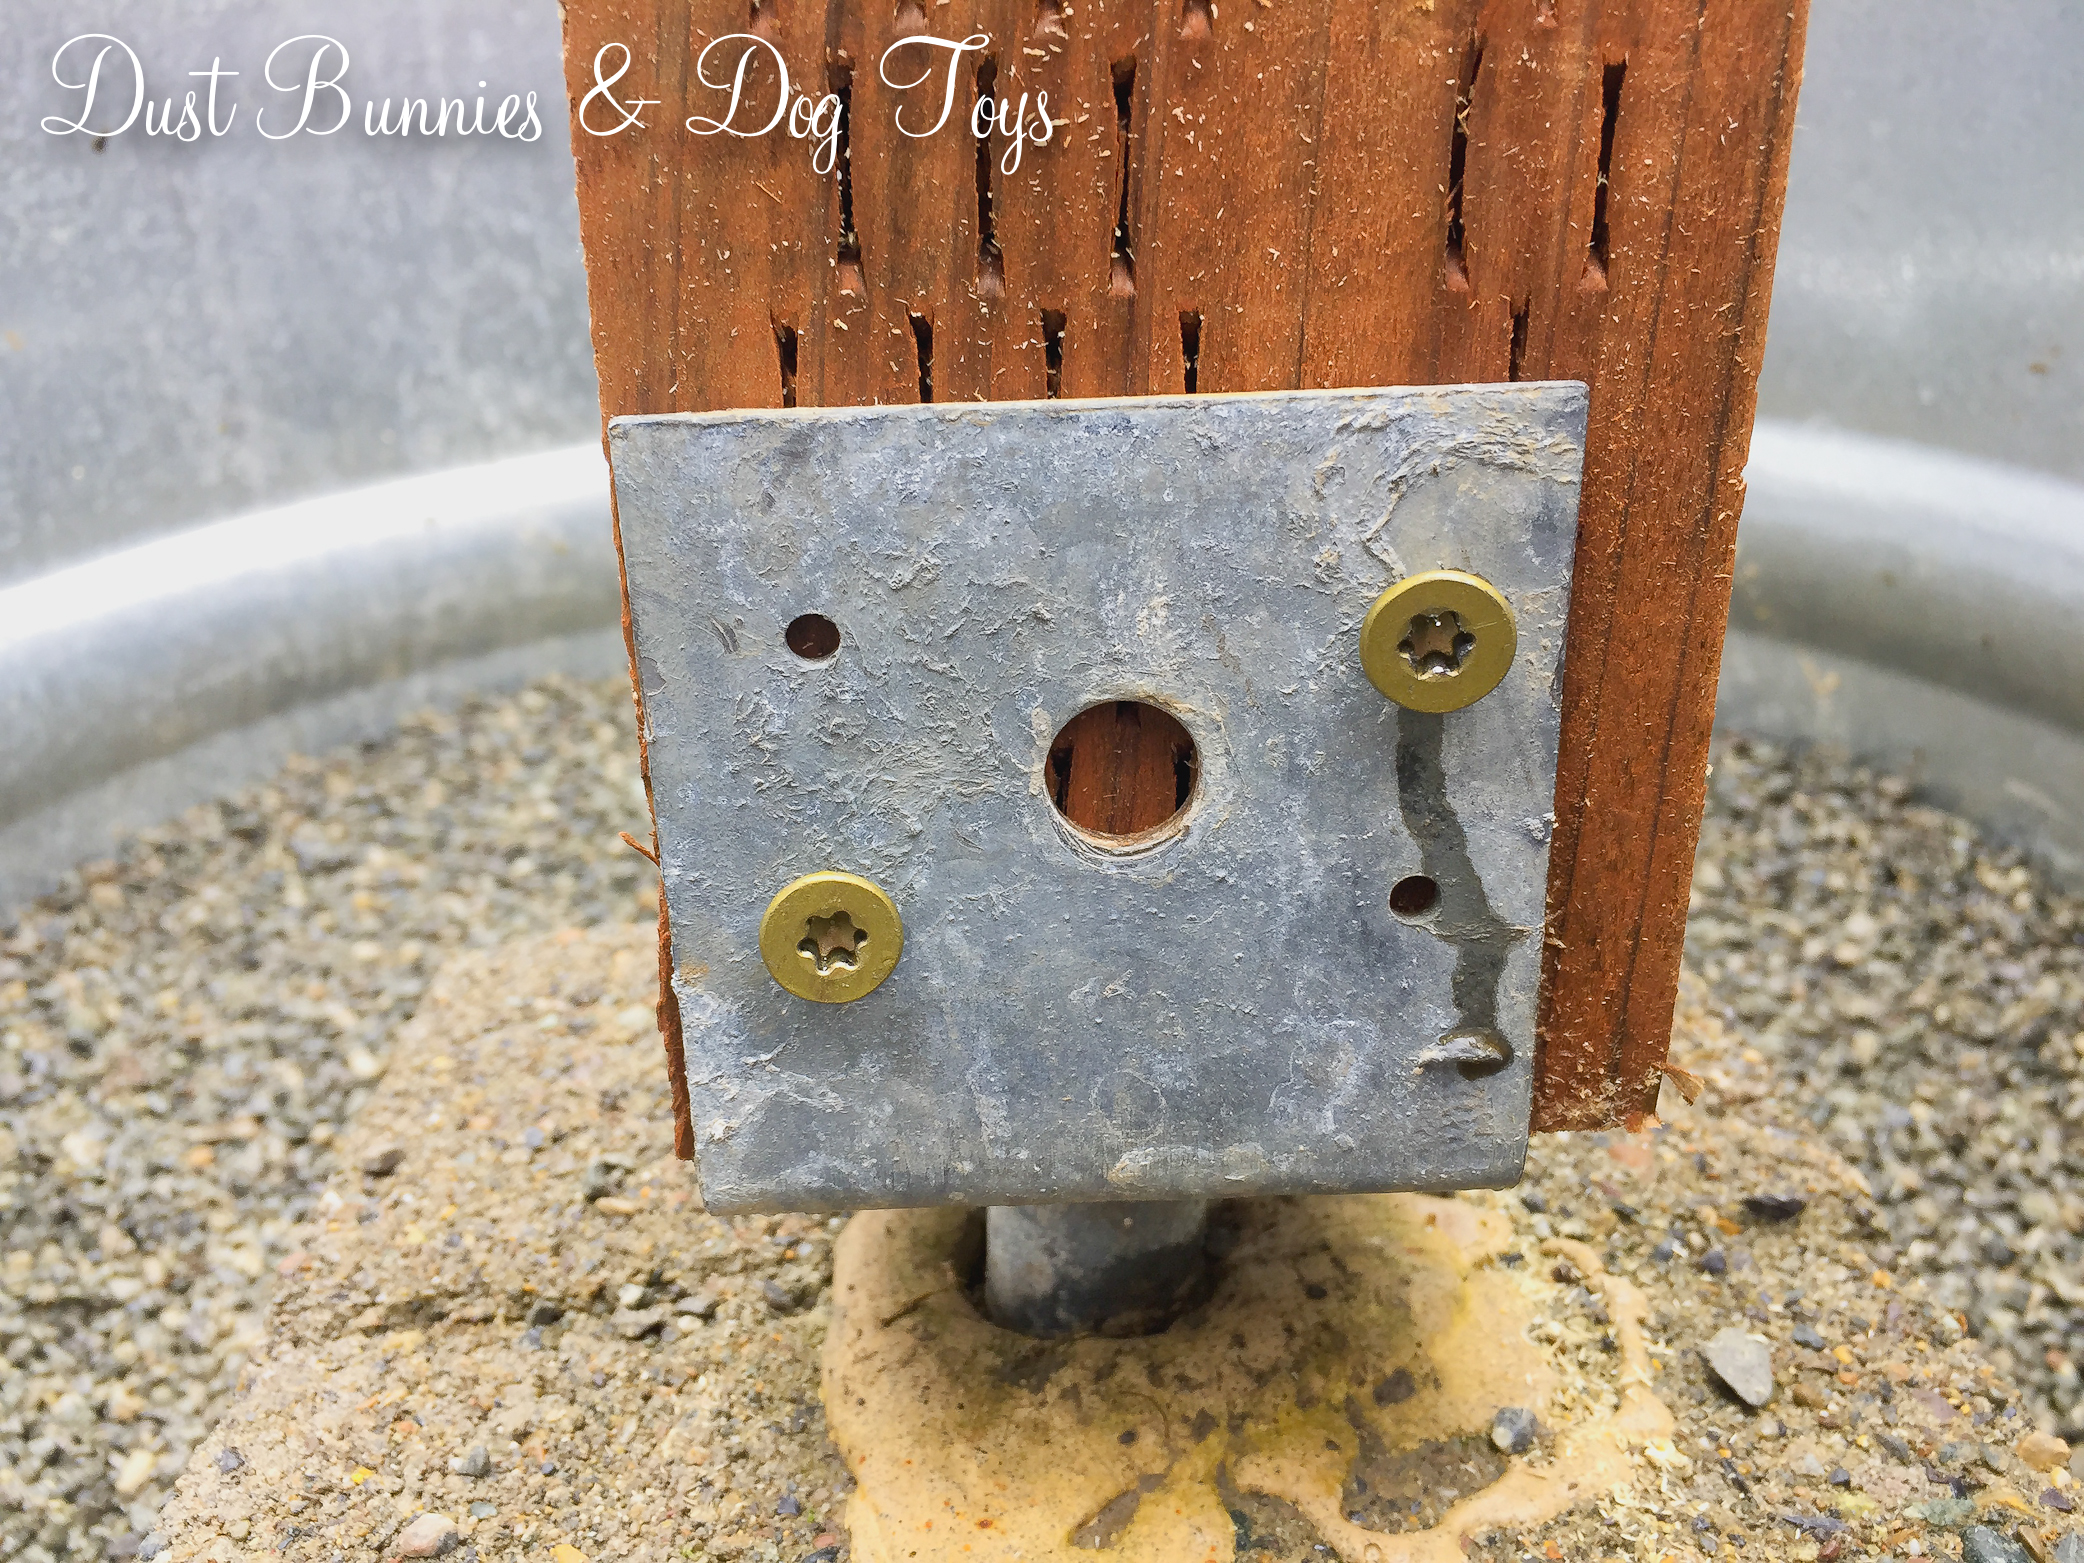
From there we used concrete footer blocks that had a metal attachment for a pole. We picked those up on the buy/sell page last summer as well. We decided to use pressure treated 4×4’s to coordinate with the fence around the yard. Since the ground slopes away from the house for drainage we knew the tanks wouldn’t sit perfectly level, so we leveled the posts with a handy tool the Hubs had and used long deck screws to secure them in place.
Then the Hubs added a couple of supports around the posts using scrap wood. These help prevent any sway during the wind or pull from the tension on the light strands. He kept them a little low in the tank so I’d still have room to plant around the posts.
I spent weeks filling both tanks with plastic bottles and jugs to reduce the amount of dirt needed to fill them. Luckily I know a coffee shop that was willing to save their large milk jugs each day to speed up the process a bit! Once I had them topped off with dirt I planted cosmos and dill, which should fill in and grow tall next to the pole for the rest of the summer. Next year I may try cat mint to see if it survives the winter in the metal tank since both cats enjoy this new vantage point and can often be found sitting in the tanks next to the flowers.
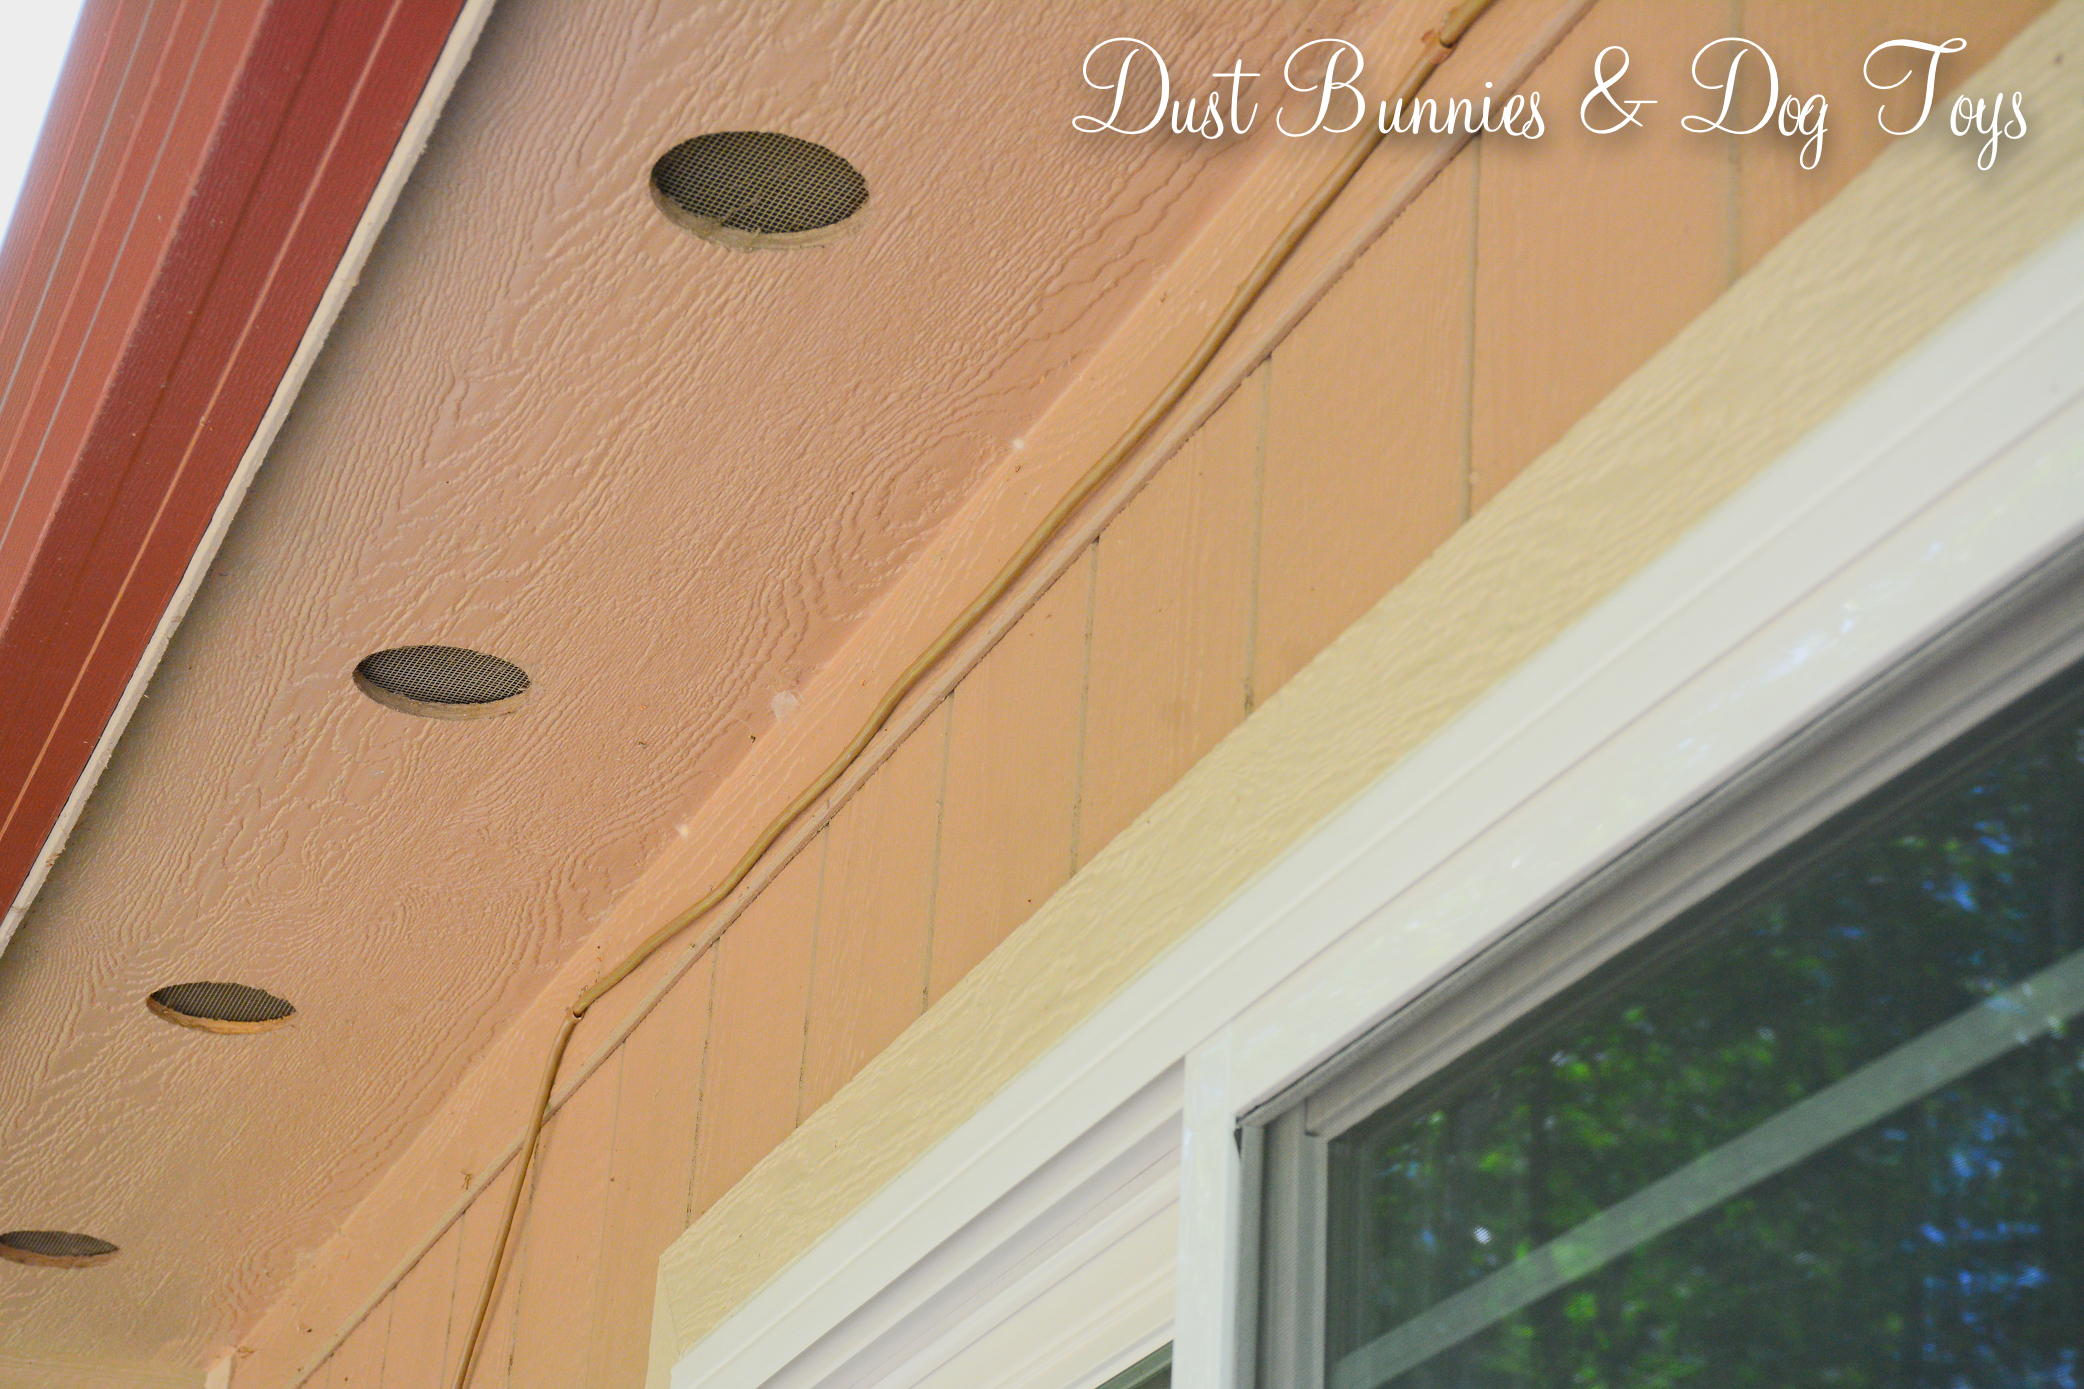
The Hubs strung the lights using small hooks at the top of the posts and securing the ends of the cords to the house with a bracket and zip tie. The nearest electrical outlet is over on the new deck so he got a tan colored extension cord and used small flexible loops to hang it along the eve of the house so it could run the distance to the deck and then down to the outlet.
Since our days are so long during the summer we haven’t gotten much use out of them just yet, but now that summer solstice has past the days are slowly getting shorter. I plan to enjoy them through the fall until winter threatens the first snow.
The next step is to add a low profile border of some sort between the gravel and the grass. Then we’ll add more pea gravel to fill in the area. We also used a strand of these same lights in the gazebo we put over the hot tub on the new deck. I’m still getting that all set up and will share that project when I have finished pictures for you!
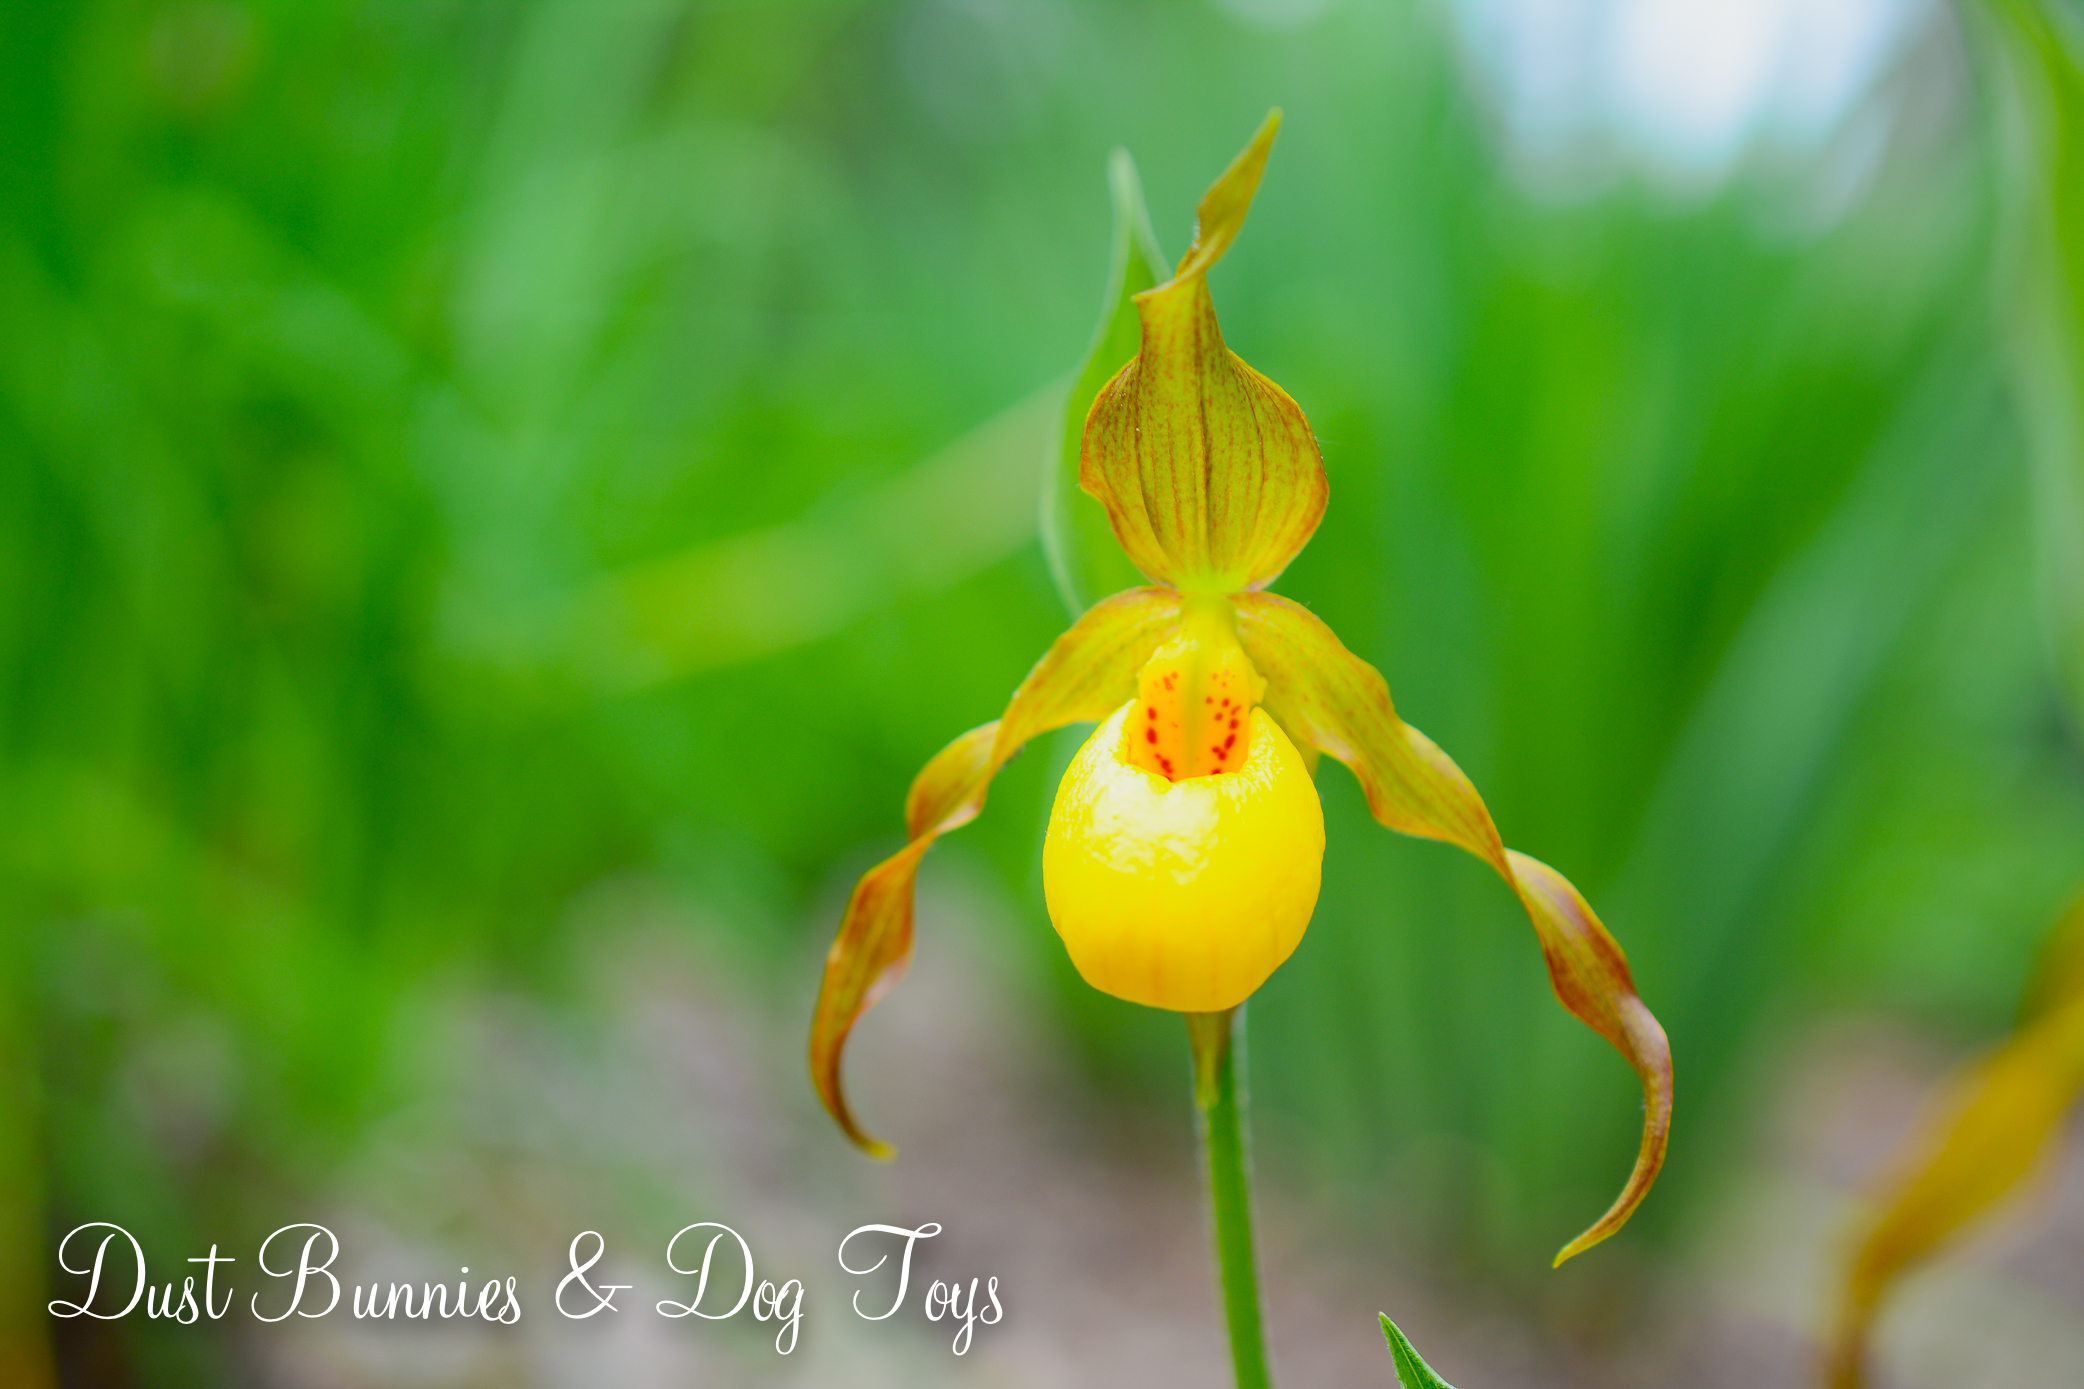
My lady slipper orchids are blooming in the rain garden!
It’s been a while since my last post because we’ve been pretty darn busy around here the past several weeks. So here’s a quick run-down of what’s been going on.
The yard is in bloom finally, after a long wet spring.
At the beginning of the year I moved into a new position at work, which requires learning several new software platforms and skills. It took a while for my old position to be filled so for a while I was basically doing both jobs. The gal who filled my previous position has been with the company for a few years and worked in our department, but she too had a lot of learning to do in her new role. When she needed to be out for a bit due to emergency surgery over the spring, I had to help out by stepping back into that role while also continuing to do my new job. It was a bit chaotic and didn’t leave much time or energy for other things. Luckily it was only for a few weeks and now she’s recovered and back without restriction so we can both settle into our usual duties.
The new pillows we picked up on our trip look great around the fire pit!
We took a quick trip to visit my Mother-In-Law in Portland, where we did some shopping for the house, attended a beekeeping class (something we’re planning to try next year) and I organized a styled photo shoot. The Hubs and I also took care of a couple small projects around Mom’s house while we were there. Since we still had snow on the ground when we left and returned to a snow storm – it was a nice break to enjoy some spring weather and blooms!
The new chicks have traded fluff for feathers and recently moved out to the big yard with the older chickens. It seems like everyone is adjusting well.
When we returned from our trip we added to our chicken flock with two batches of baby chicks! These little fluff balls have been living in the garage in a large brooder we made from a stock tank planter I had. In addition to multiple feedings a day we worked hard to make sure they were handled often as well so they will be friendly when they are adults. To make room for them outside, the Hubs made a massive addition to the coop, doubling their indoor space and tripling the number of nest boxes. We’re still putting the finishing touches on that project but I’ll share it soon.
Still buried in snow, this is how the green house looked when we got back from our trip.
I spent many hours getting the green house cleared out and prepped for the season after our trip. I attended the annual VIP plant sale at my favorite nursery toward the end of April, but the blooms had to hide out in the green house for a few more weeks before it was safe for them to be outside. While I waited on the weather, the edible crops were all started in the green house and the Hubs revamped the hydroponic system for the tomatoes with bigger tubing so it’s more efficient. Now everything is growing and we’re already enjoying some of the bounty from our lettuce, spinach and dill plants!
And here’s how it looked after the plant sale – at least until I could plant everything in the yard.The yard is coming together – here’s a sneak peek at the updates the Hubs made to the egg table and another project I’ll share soon.
We did several projects around the yard as we prepared for the summer season. I revamped a serving cart for the deck, upcycled an old milk can into a planter and created planters out of old conveyor belt scoops for the new chicken coop expansion. The Hubs extended his egg table with a spot to store his new smoker and built me potato crates which will double our crop this year. We sold the old patio furniture to make way for a new dining table and a set of loungers for the deck we installed last summer. We also started installing a gazebo style covering over the hot tub on that deck. We hope to have that completed soon – but need to arrange some extra helpers to get the roof on. Out front, I styled the vintage cart on the front porch for spring and then for summer with patriotic colors.
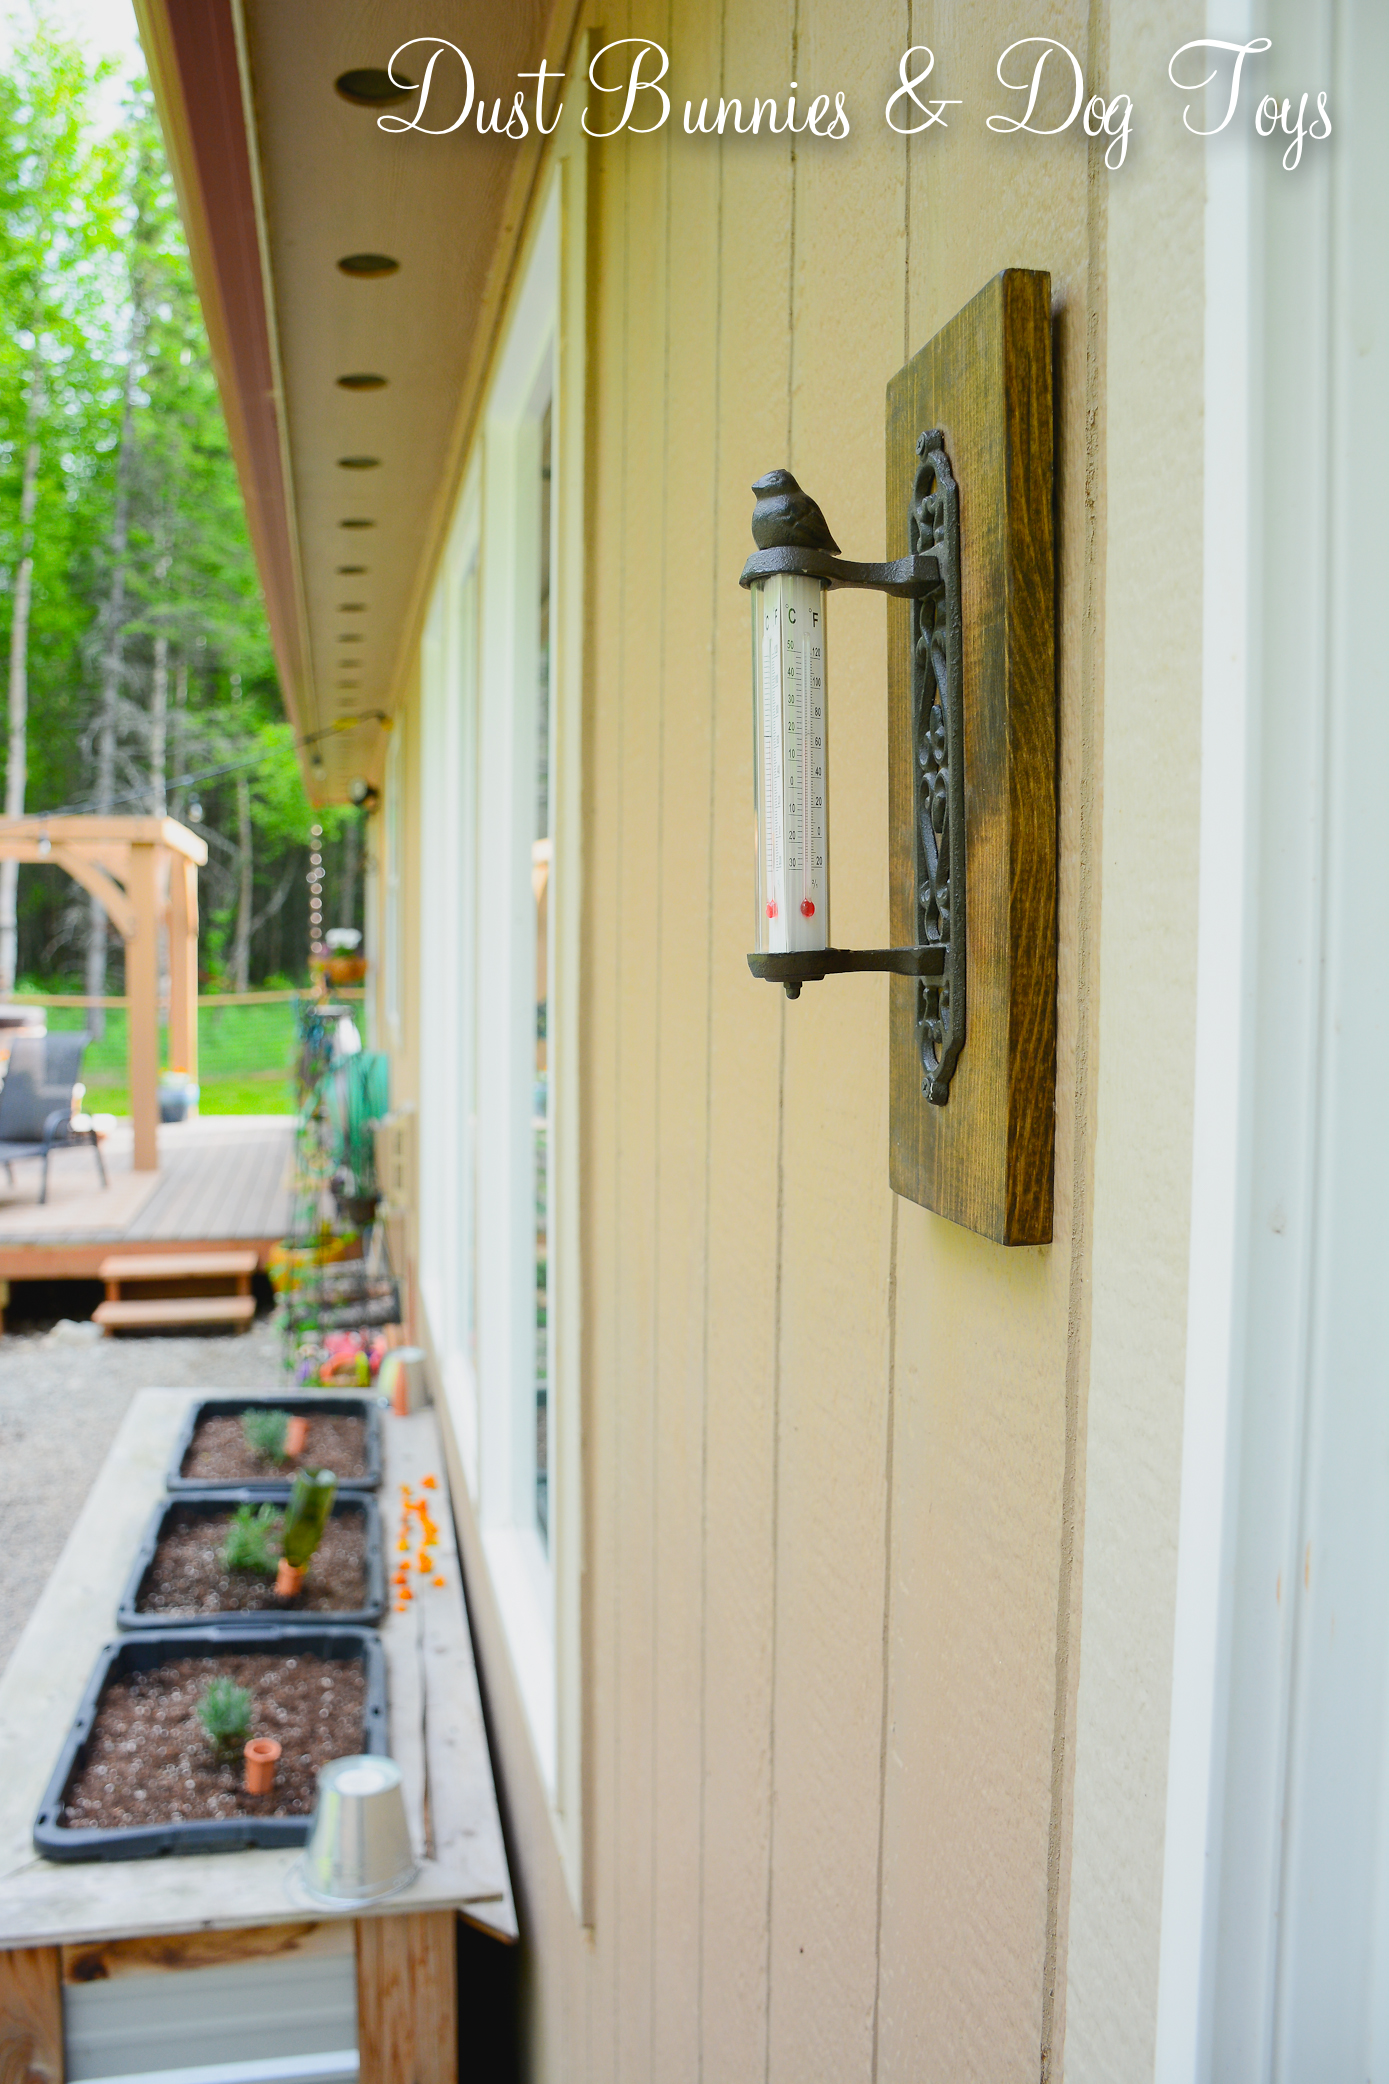
The new table is a perfect fit for our deck and it expands if we have a big group over.The firepit is cleaned out and ready for use.The new lounge chairs (with a hiding kitty) and partially installed gazebo on the big deck. I’ll be landscaping around this deck later this summer and plan to mirror the rock bed around the other deck.I updated the wood storage for the fire pit with some cinder blocks that we took out when the Hubs expanded the chicken coop. It was an easy, and free upgrade that also hides the electrical conduit for the hot tub.I white washed terra-cotta pots to decorate the whiskey barrel tables and filled them with marigolds to ward off the bugs. I also placed small tiki torches on each table as a backup.I’ve had this thermometer since last summer and we finally found a spot for it right next to the door.
Inside, I changed up a few things, including curtains in all the bedrooms, the rugs in our master bath, swapping Brinley’s kennel for a new entry bench. Last weekend we took advantage of the neighborhood traffic for a neighbor’s estate sale and had a yard sale to clear out some extra clutter that accumulated around the house over the winter. We were mildly successful in that goal, but there’s still lots to purge, which is why I only picked up a few small décor items when I attended the spring Alaska Chicks Vintage Market.
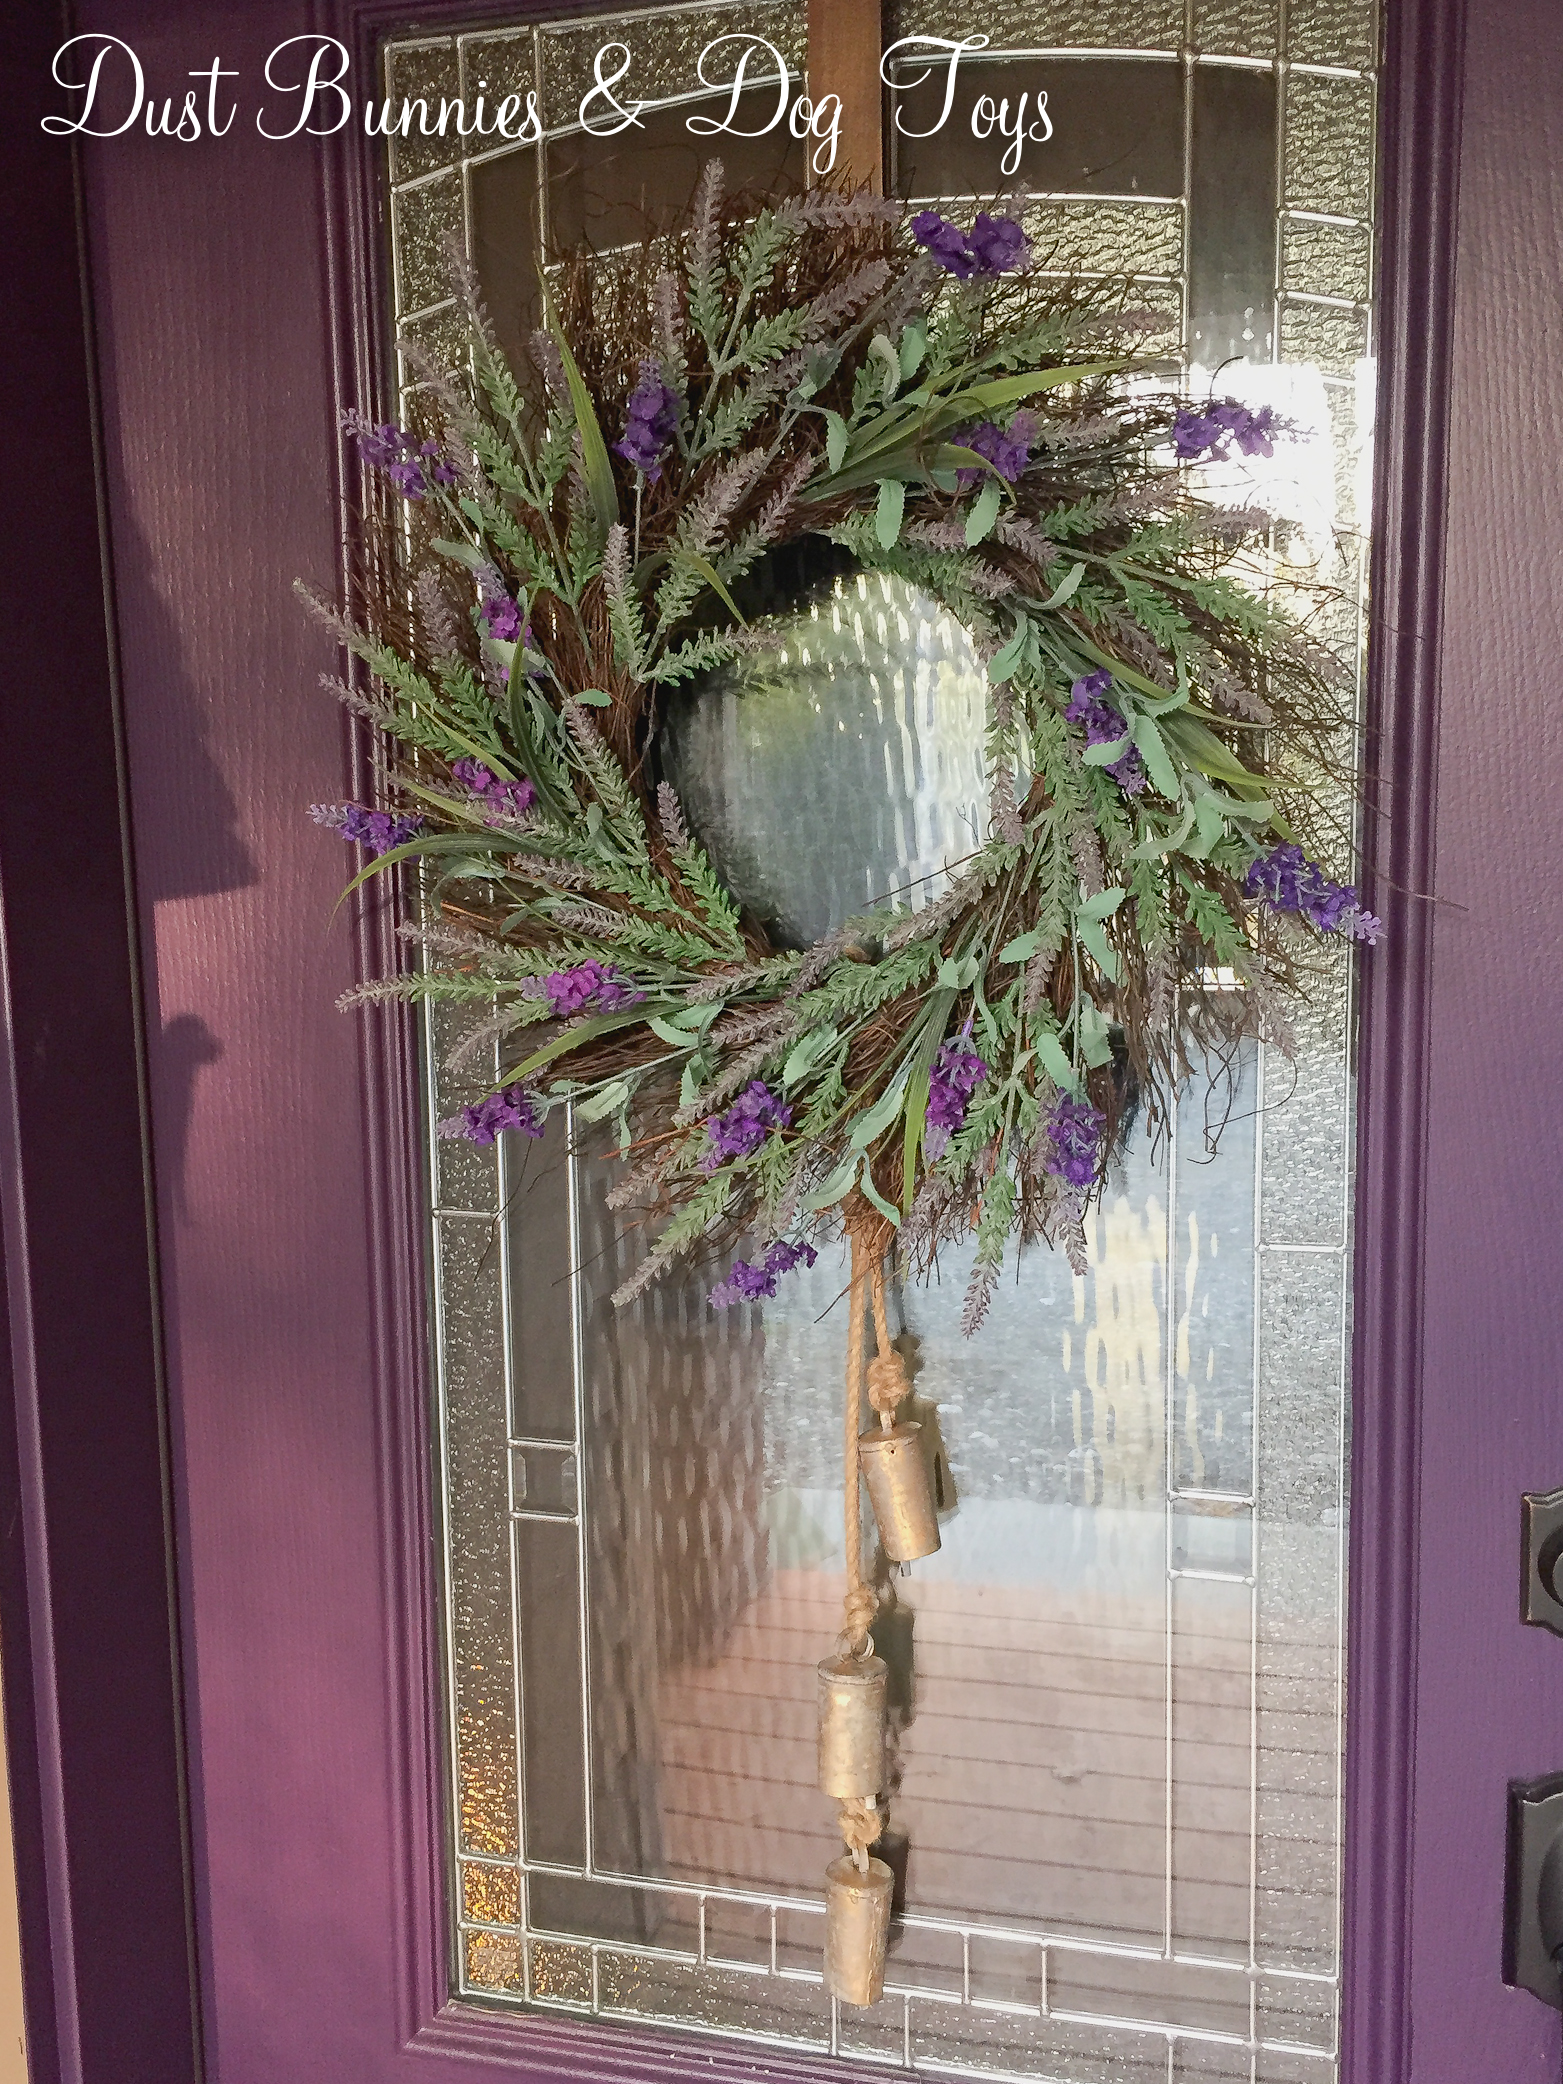
I picked up these vintage bells at the market and think they pair well with my wreath on the front door.
Whew – seeing it all written out makes me realize just how much we crammed into a few weeks! As my Mother-in-Law says “No grass grows under our feet!” And now that summer is in full swing we’ve got a whole new round of projects and activities planned. Stay tuned over the next few weeks to see the projects I mentioned plus others that are still in the works! Hopefully I’ll be able to keep you updated more regularly now. In the meantime I’ll leave you with more pictures of those silly chicks, who just moved out to the big yard. 🙂
Snack time at the feeder with the fluffy butt club.We have several Novogens in this batch that will be great egg layers.And there are a couple Dominiques for some variety.My favorites are the Easter eggers who will lay greenish blue eggs and have fun little feather beards!The dogs act as constant security for the cluckers.They are quite used to us and often come running to meet us at the gate, or investigate our feet to see if they are edible. 🙂Our flock is now up to 20 chickens so it’s a good thing the Hubs got that expansion completed!
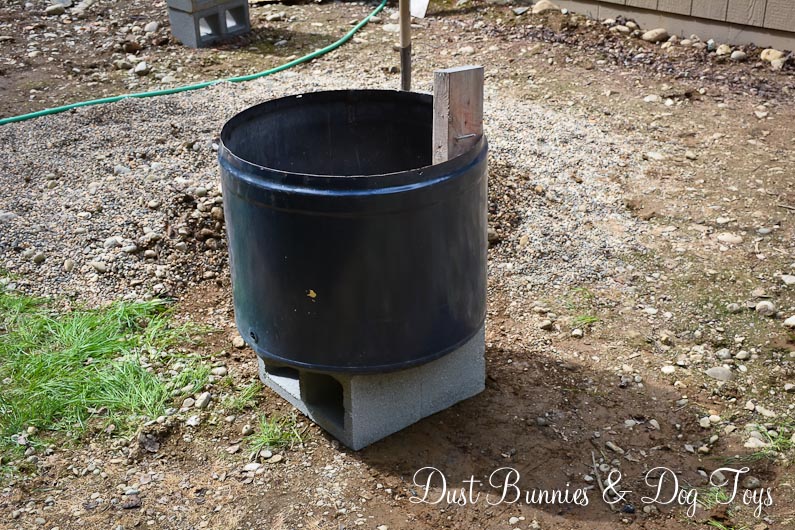
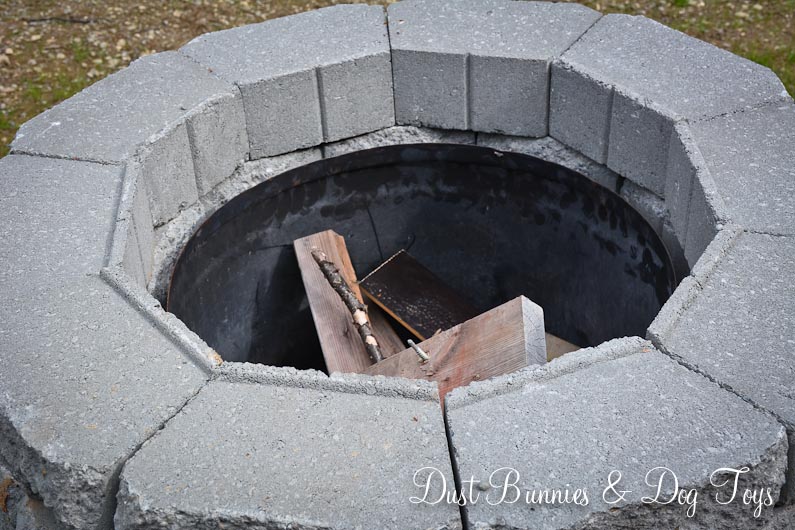
One of the projects I really wanted to tackle this summer was a fire pit. Luckily, the hubs was totally on board. We started with the freebie washing machine tub I scored last year, which we set on two cinder blocks to keep the heat off the ground.
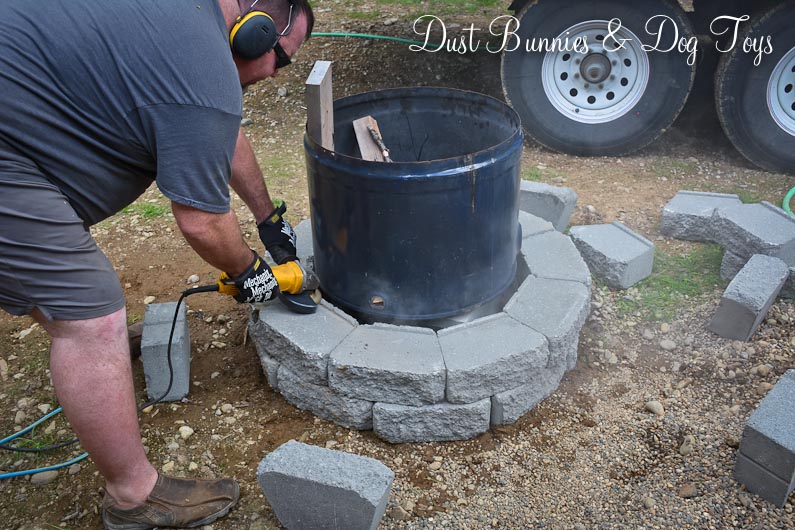
We stacked landscape stones around the tub, off setting the seams. But after the second row we ran into a little problem, the ridge at the back of each stone required the next row to be a smidg bigger. After a quick Pinterest search we learned that others using the same stones removed the ridge when building their fire pit, so we chose to do the same.
The hubs attacked them with his fancy power tools, but it wasn’t working as well as we hoped. I suggested going old-school and use a hammer.
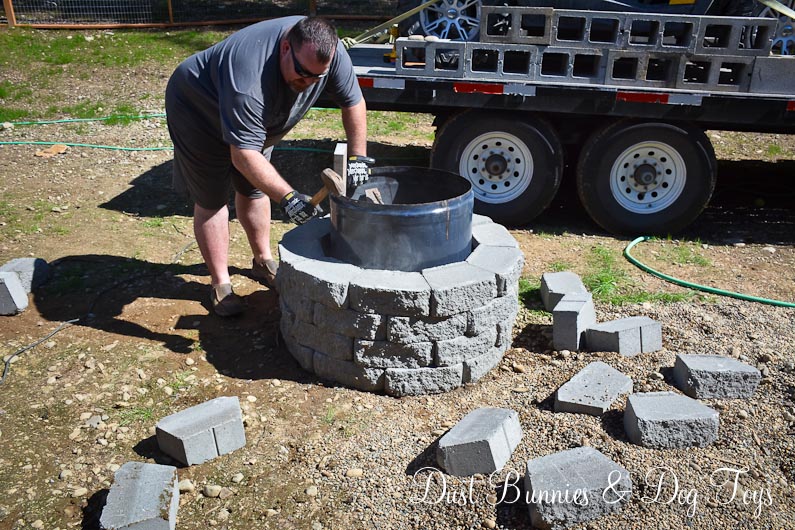
This time old-school worked better, so we stuck with it row by tedious and muscle building row. Eventually we upgraded to a larger hammer which was a bit more efficient, although still time consuming.
Apparently all the noise we were making didn’t bother the dogs who napped on the deck nearby. It truly is a rough life they live… A puppy nap and several more rows of stones and we were almost done. That’s when we ran out of stones. Go figure.
The hubs picked up some more stones the next day so we could finish off the top row, where we left the little ridge in case it’s helpful for a future table top I want to build to cover the pit when it’s not in use.
It’s taller than most fire pits but it feels more impressive and should be safer for when we have little ones around. The top row sits just above the top edge of the metal tub so the fire stays contained and the smoke rises a bit, keeping it out of our eyes when sitting around it. We’re pretty pleased with how it turned out.
We only got to test it out once before Alaska’s burn ban took effect. Hopefully, the conditions will improve soon and we can enjoy it again before the summer is over because next time I’m planning to create some backyard s’mores!