DIY Metal Planter & a Peek at the Garden

OnionsPotFinished

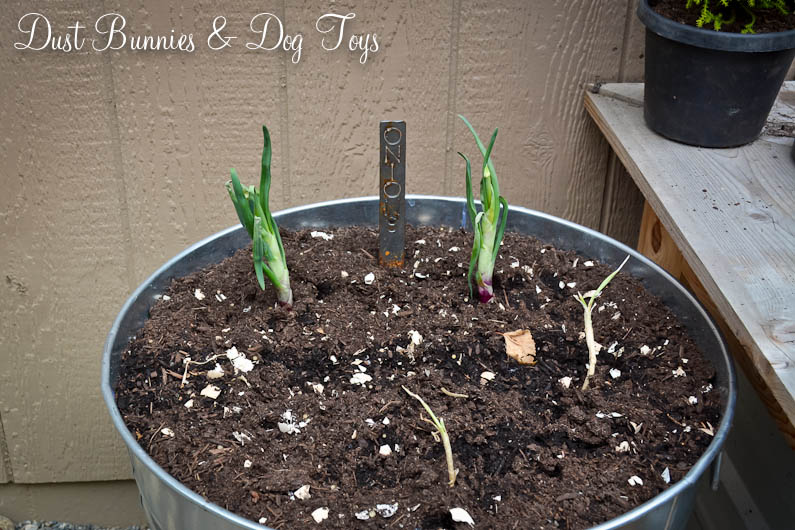
Today I thought I’d share a quick peek of our veggie garden and a quick DIY planter I installed.  We had a red and white onion sprout in the pantry so I figured I’d give them a shot in the garden this year.  With all the spots in the garden boxes full I decided to add a secondary planter at the end of the box.

I originally envisioned using an antique wash tub and stand, but just wasn’t willing to pay $100+ for a planter.  So I used my DIY skills to create something similar starting with this metal stool we’ve had for several years.  You originally saw it on our balcony at the rental house.  It’s since been painted over and the hubs was using it to position the fan for his big green egg, but now that he has his table he doesn’t use it any more, so it was available to be repurposed.

OnionsStand

I added this large metal tub on top of the stand to create a planting space.  The Hubs drilled a couple of holes in the bottom of the tub for drainage since this sits just under the edge of the roof.

OnionsStandPrep

I used empty pots to add additional drainage space and reduce the amount of garden soil needed to fill the tub.  Luckily, I had quite a few to choose from!

OnionsStandPrepFill-2

And here it is filled and planted.  I’m not sure if this little experiment will yield a harvest but it’s interesting to give it a try.

Onions

It looks pretty cute next to the main garden box, which I decorated with two lemon cypress trees on either side.  I’ve been wanting some of these and finally spotted them at the nursery so I snagged two.  They are supposed to be natural mosquito repellants so that’s a nice added bonus, especially since the windows are right there.

Full

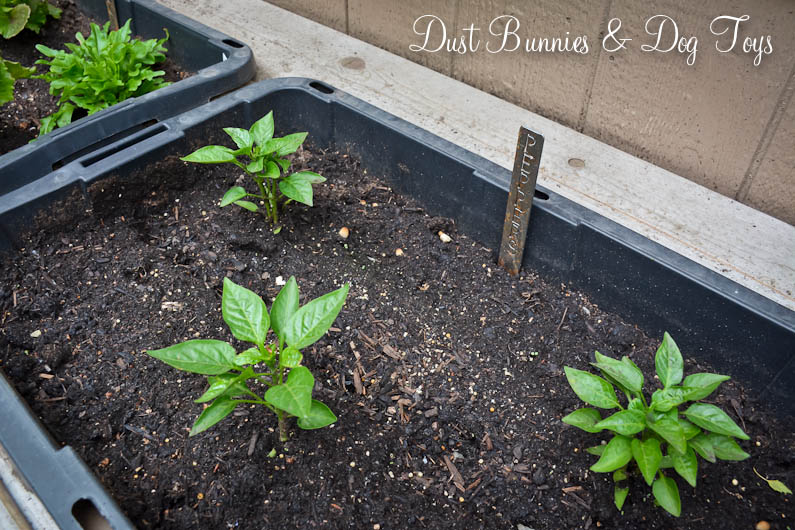
In the box we’re growing peppers, lettuce and cherry tomatoes.  We’ve already harvested some of the lettuce for salads several times and the tomatoes have tiny buds on them.  The peppers are the same as the ones in the burlap planters I shared previously, which sit next to the large whiskey barrels on either side of the slider to our Master Bedroom that hold 4 more tomato plants, although those are a “patio tomato” variety I haven’t tried before.

Peppers

Lettuce

Tomatoes

Between the garden box, onion planter, wheel bed and the strawberry gutters we should have a good crop of fresh produce to use for salads, meals and desserts this summer! 🙂

Advertisement

How Will My Garden Grow?

As I mentioned last week I plan to install our garden in the alcove created by the side of the house and the back of the third garage bay.  The space measures 12′ wide by 22′ long, which is a great space for a garden.  Here is the space as it sits.

GardenI knew I wanted the garden fenced off from the rest of the yard so the dogs wouldn’t be in there when we’re not home, but I hadn’t really decided what kind of fencing to use until I saw this community garden here in Anchorage!  Can you say AH-MAZE-ING?!

CIHAGarden

CIHAPostAnd the construction seemed simple enough – hog panels stapled (with heavy duty staples) onto posts and trim supports. While I love the arbor around the top, that might come in “Phase 2” but it would provide a great spot for plants such as strawberries or even tomatoes to trail!  I also plan for the pergola over the gate to come later.  It’s more important to get the garden going and producing than making it super pretty right?

Granted, my garden won’t be this big, (and if it was I might have to quit my day-job just to maintain it!), but the overall layout and design is a perfect example of what I want.  I took the hubs by to make sure it was doable on a smaller scale and he liked it.  He even mentioned how their raised beds were probably the exact design he’d suggest for our garden!

RaisedBeds

Although I’d love to have a green house right away, I know that likely won’t happen until next summer.  But when it does happen, I plan to use these Ana-White.com plans!  I’m thinking the green house will end up somewhere to the right of the garden where it will get sunlight all day.  Until then I will use hoops over the raised beds to extend the growing season on either end.

Right now I plan to grow chard, celery, cucumbers, tomatoes (regular and cherry), bell peppers (different colors for salsa!), carrots, green and yellow onions, potatoes, jalapenos (not sure how they will fare in this climate, so I might have to wait until we have a green house), garlic, snow peas, green beans and broccoli.  I also recently inherited a purple cauliflower plant which will find a home in my garden if it survives the move.  I also plan to have stacked planters like these on the back deck in which I’ll transplant my current salad bowl and create an herb garden with basil, oregano, rosemary, thyme, sage, dill and cilantro, which can be moved during the winter.

BarrelI recently found this plastic barrel for free on Craigslist and plan to create something like this with it to plant my strawberries in.  A planter and compost all in one?  Sounds great!  Made with a freebie barrel – even better!

RainBarrelWe will also be installing rain barrels with rain chains around the house like this.  Luckily, I have a previous photography client who used wine and whiskey barrels as their wedding decor and no longer needs them, so I’ve got some earmarked for me at a discounted rate! 🙂  I also found this super simple and inexpensive tutorial for a copper rain chain that I plan to make.  And because we are working with the rain garden program, any money spent on these rain catchments counts toward our overall budget, of which half will will be reimbursed!

Now we just need to fast forward to move in day and put all these plans into action!