
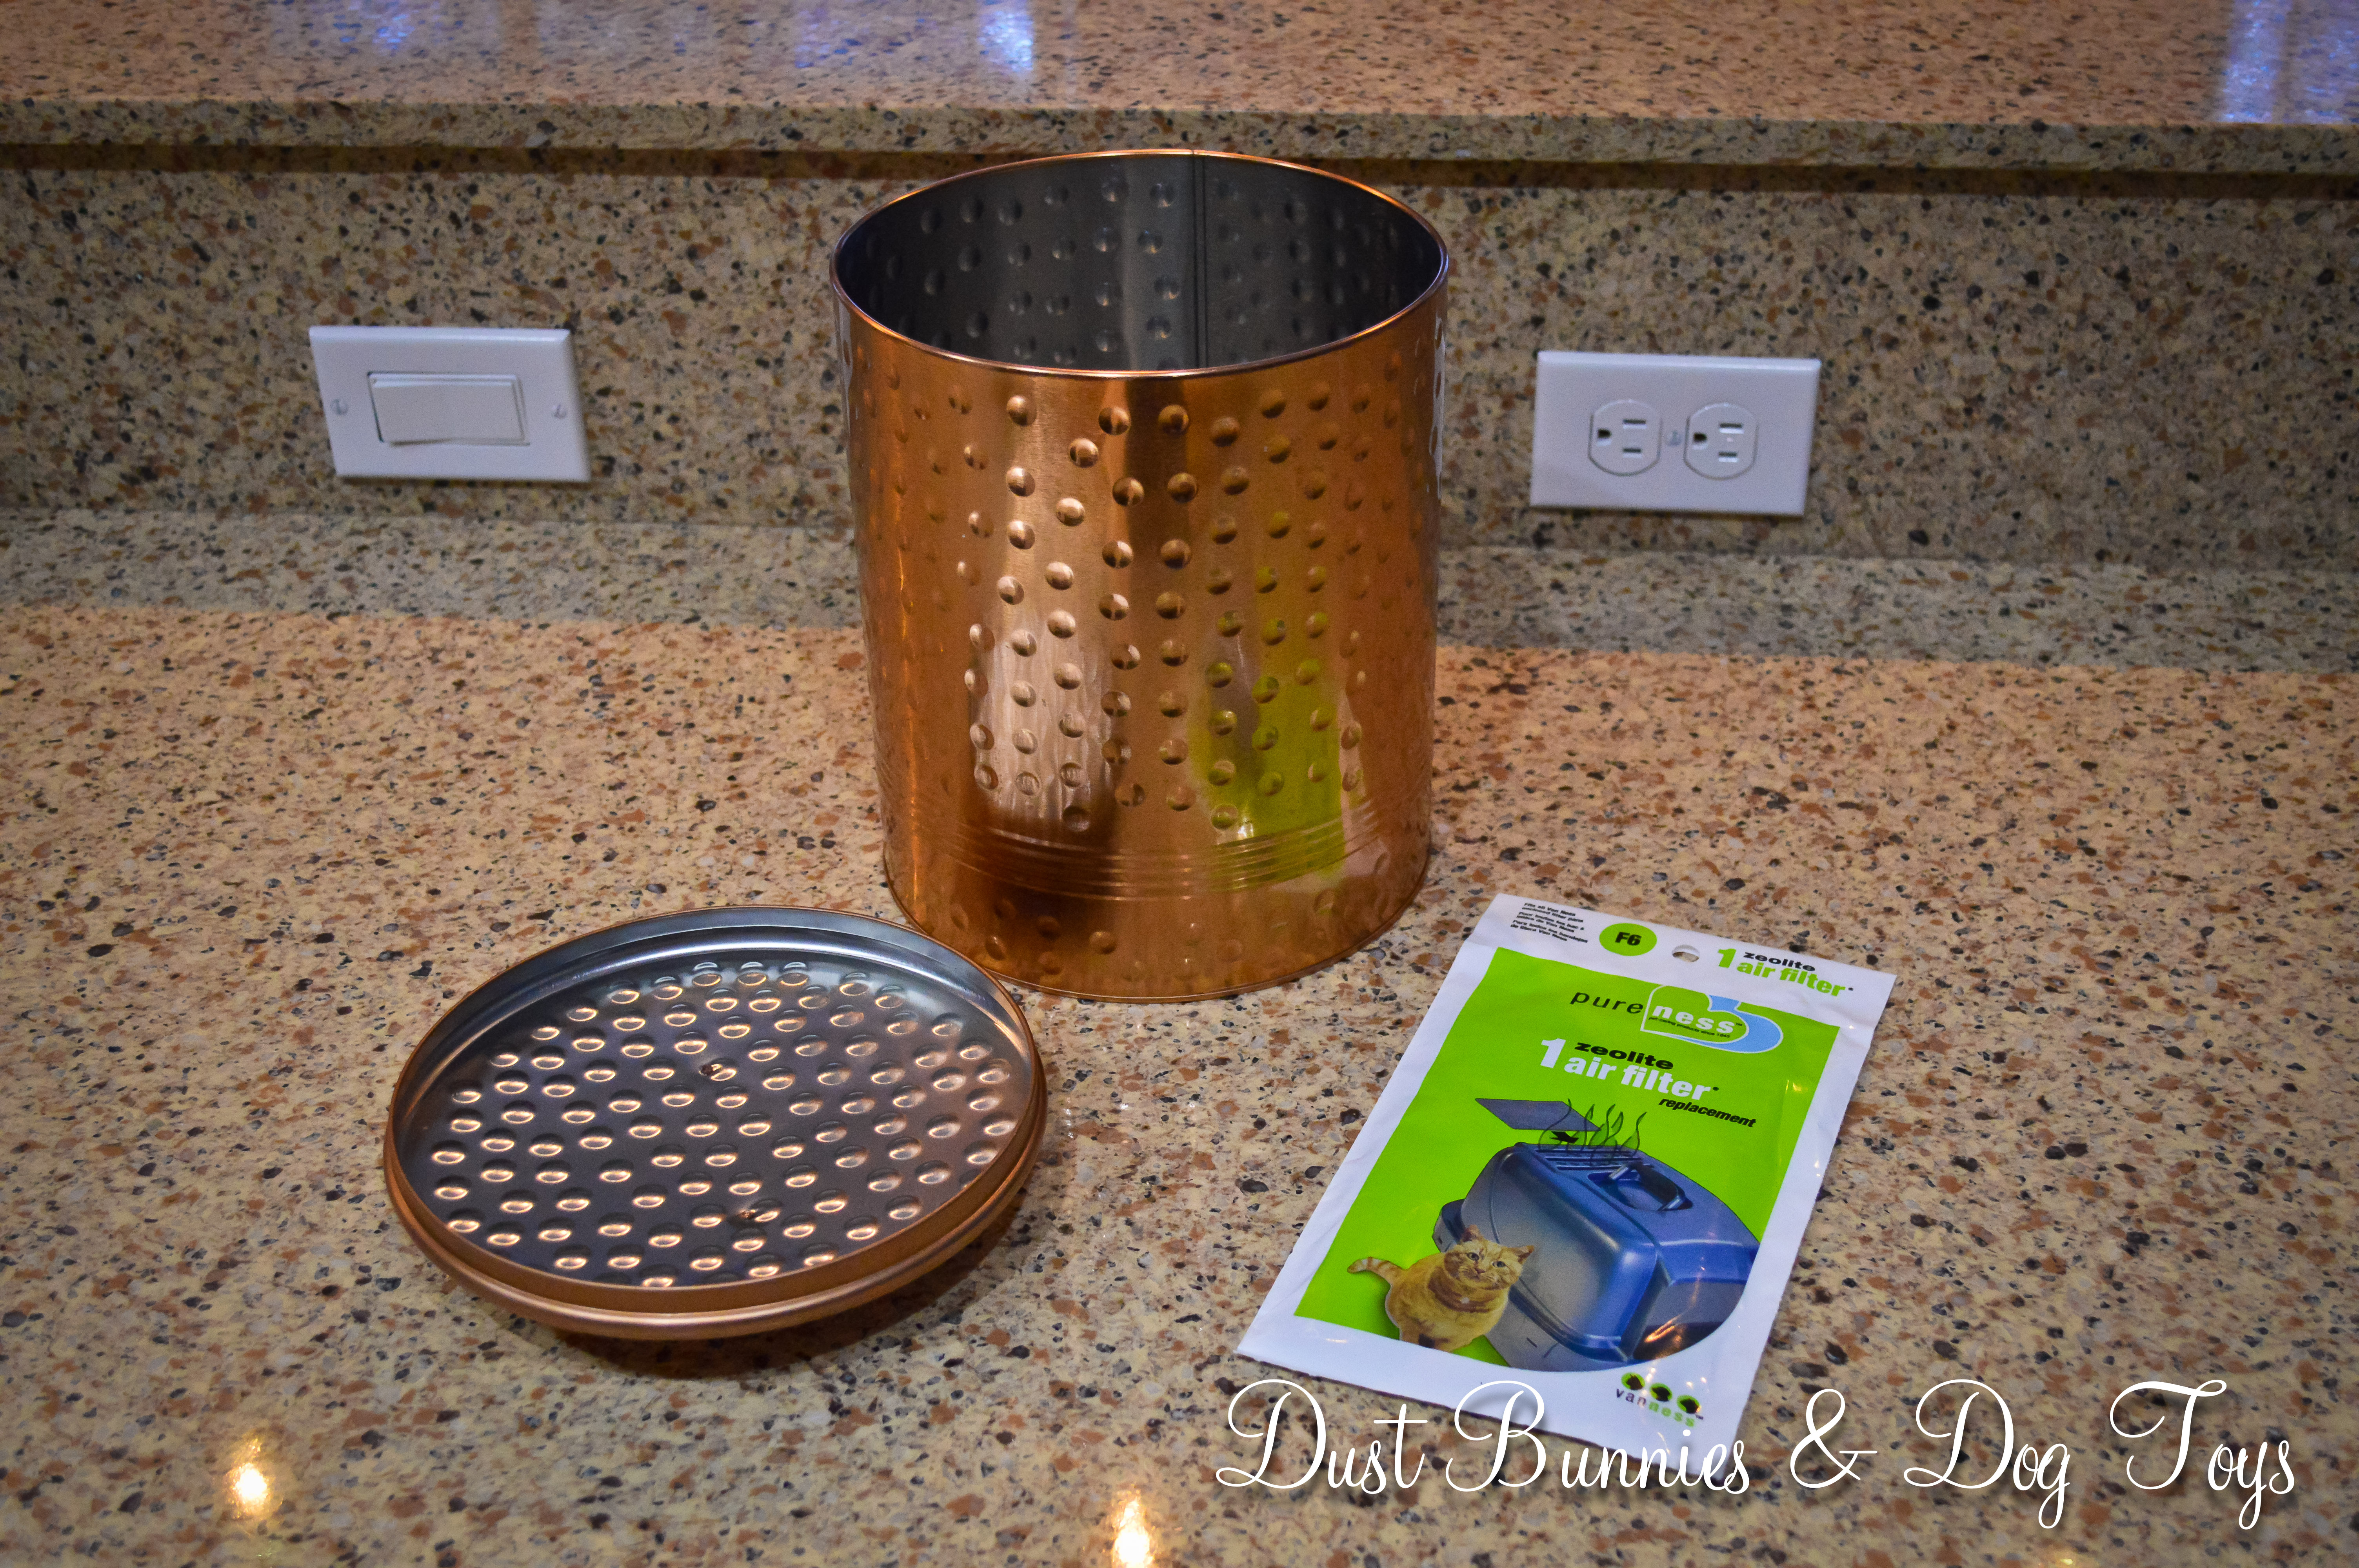
Remember that pretty copper pot I thrifted a little while back? I finally got around to converting it into my cache pot for the kitchen and it was seriously so easy I barely really don’t have much to explain. I followed the steps I found on this DIY post and I think it took me all of 10 minutes! So without further ado, here’s the how-to in just 4 easy steps.
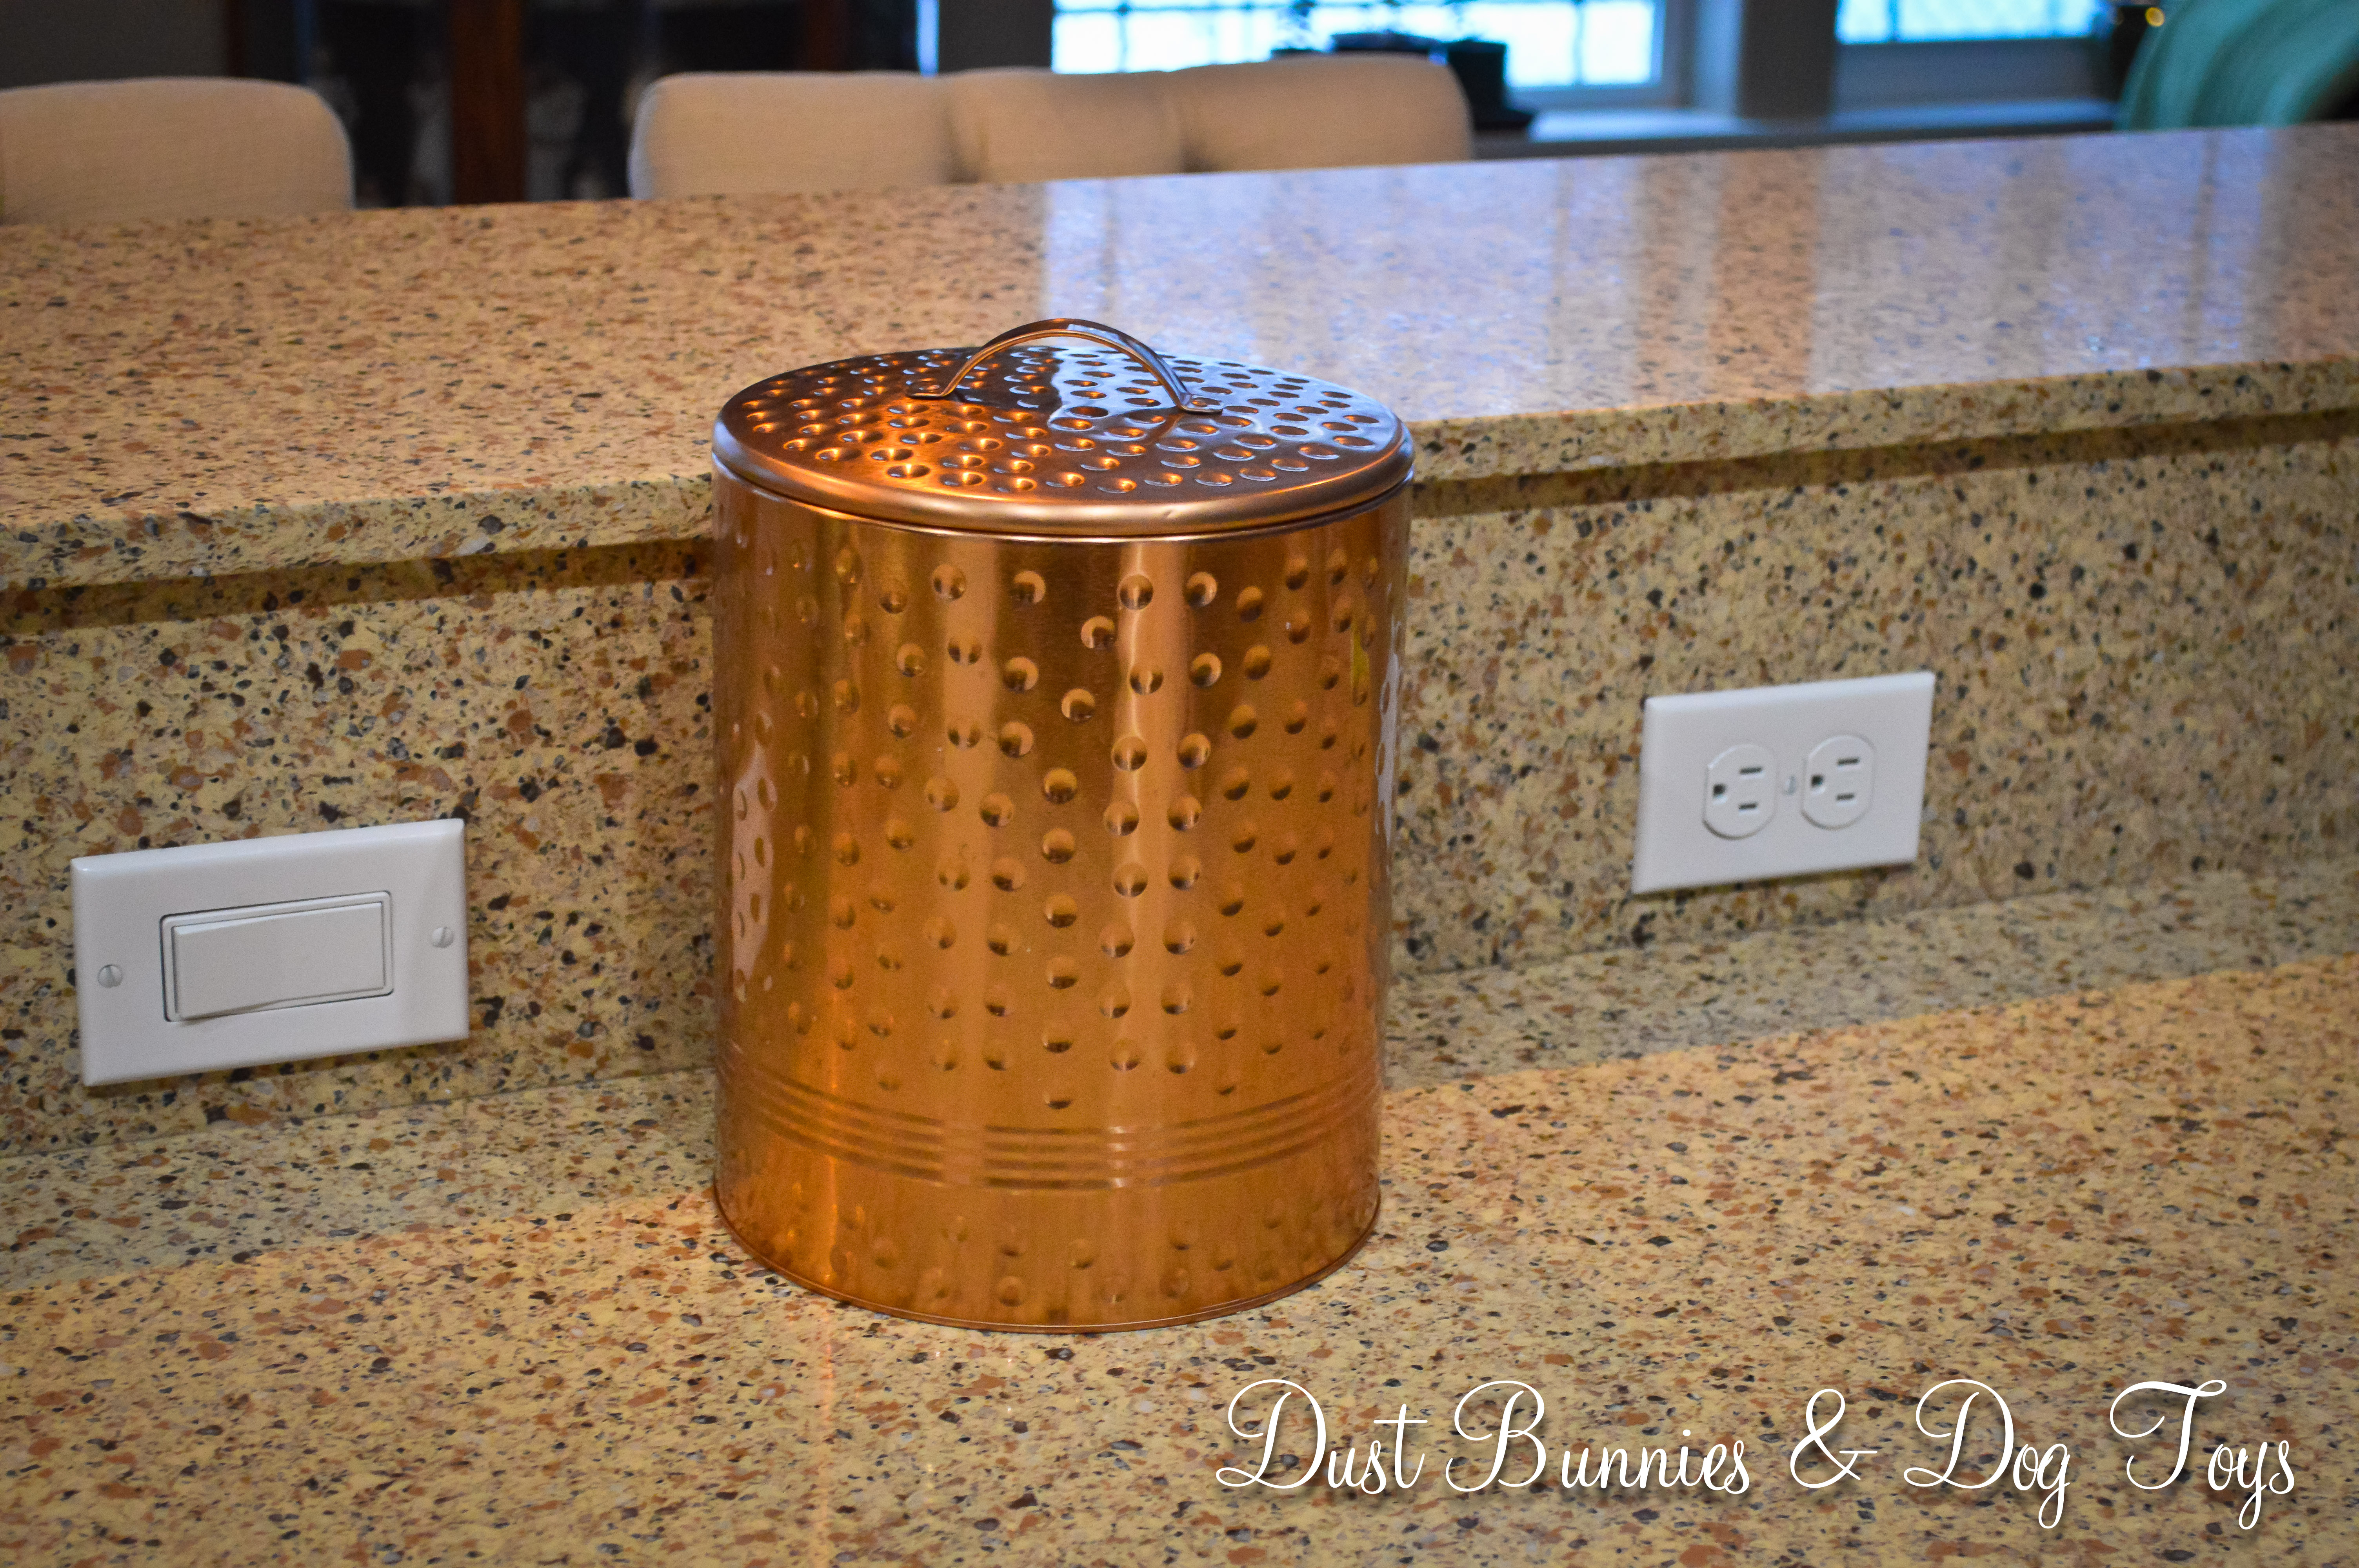
And that’s it! My pretty kitchen scrap pot is ready to collect trimmings for a future compost pile. Until then it holds the things I’d rather not put into our new septic system. For now, when it’s full I wander out into the woods on our property and dump the contents in random places so if wildlife do sniff it out, it’s never in the same area and they don’t become accustom to eating scraps.
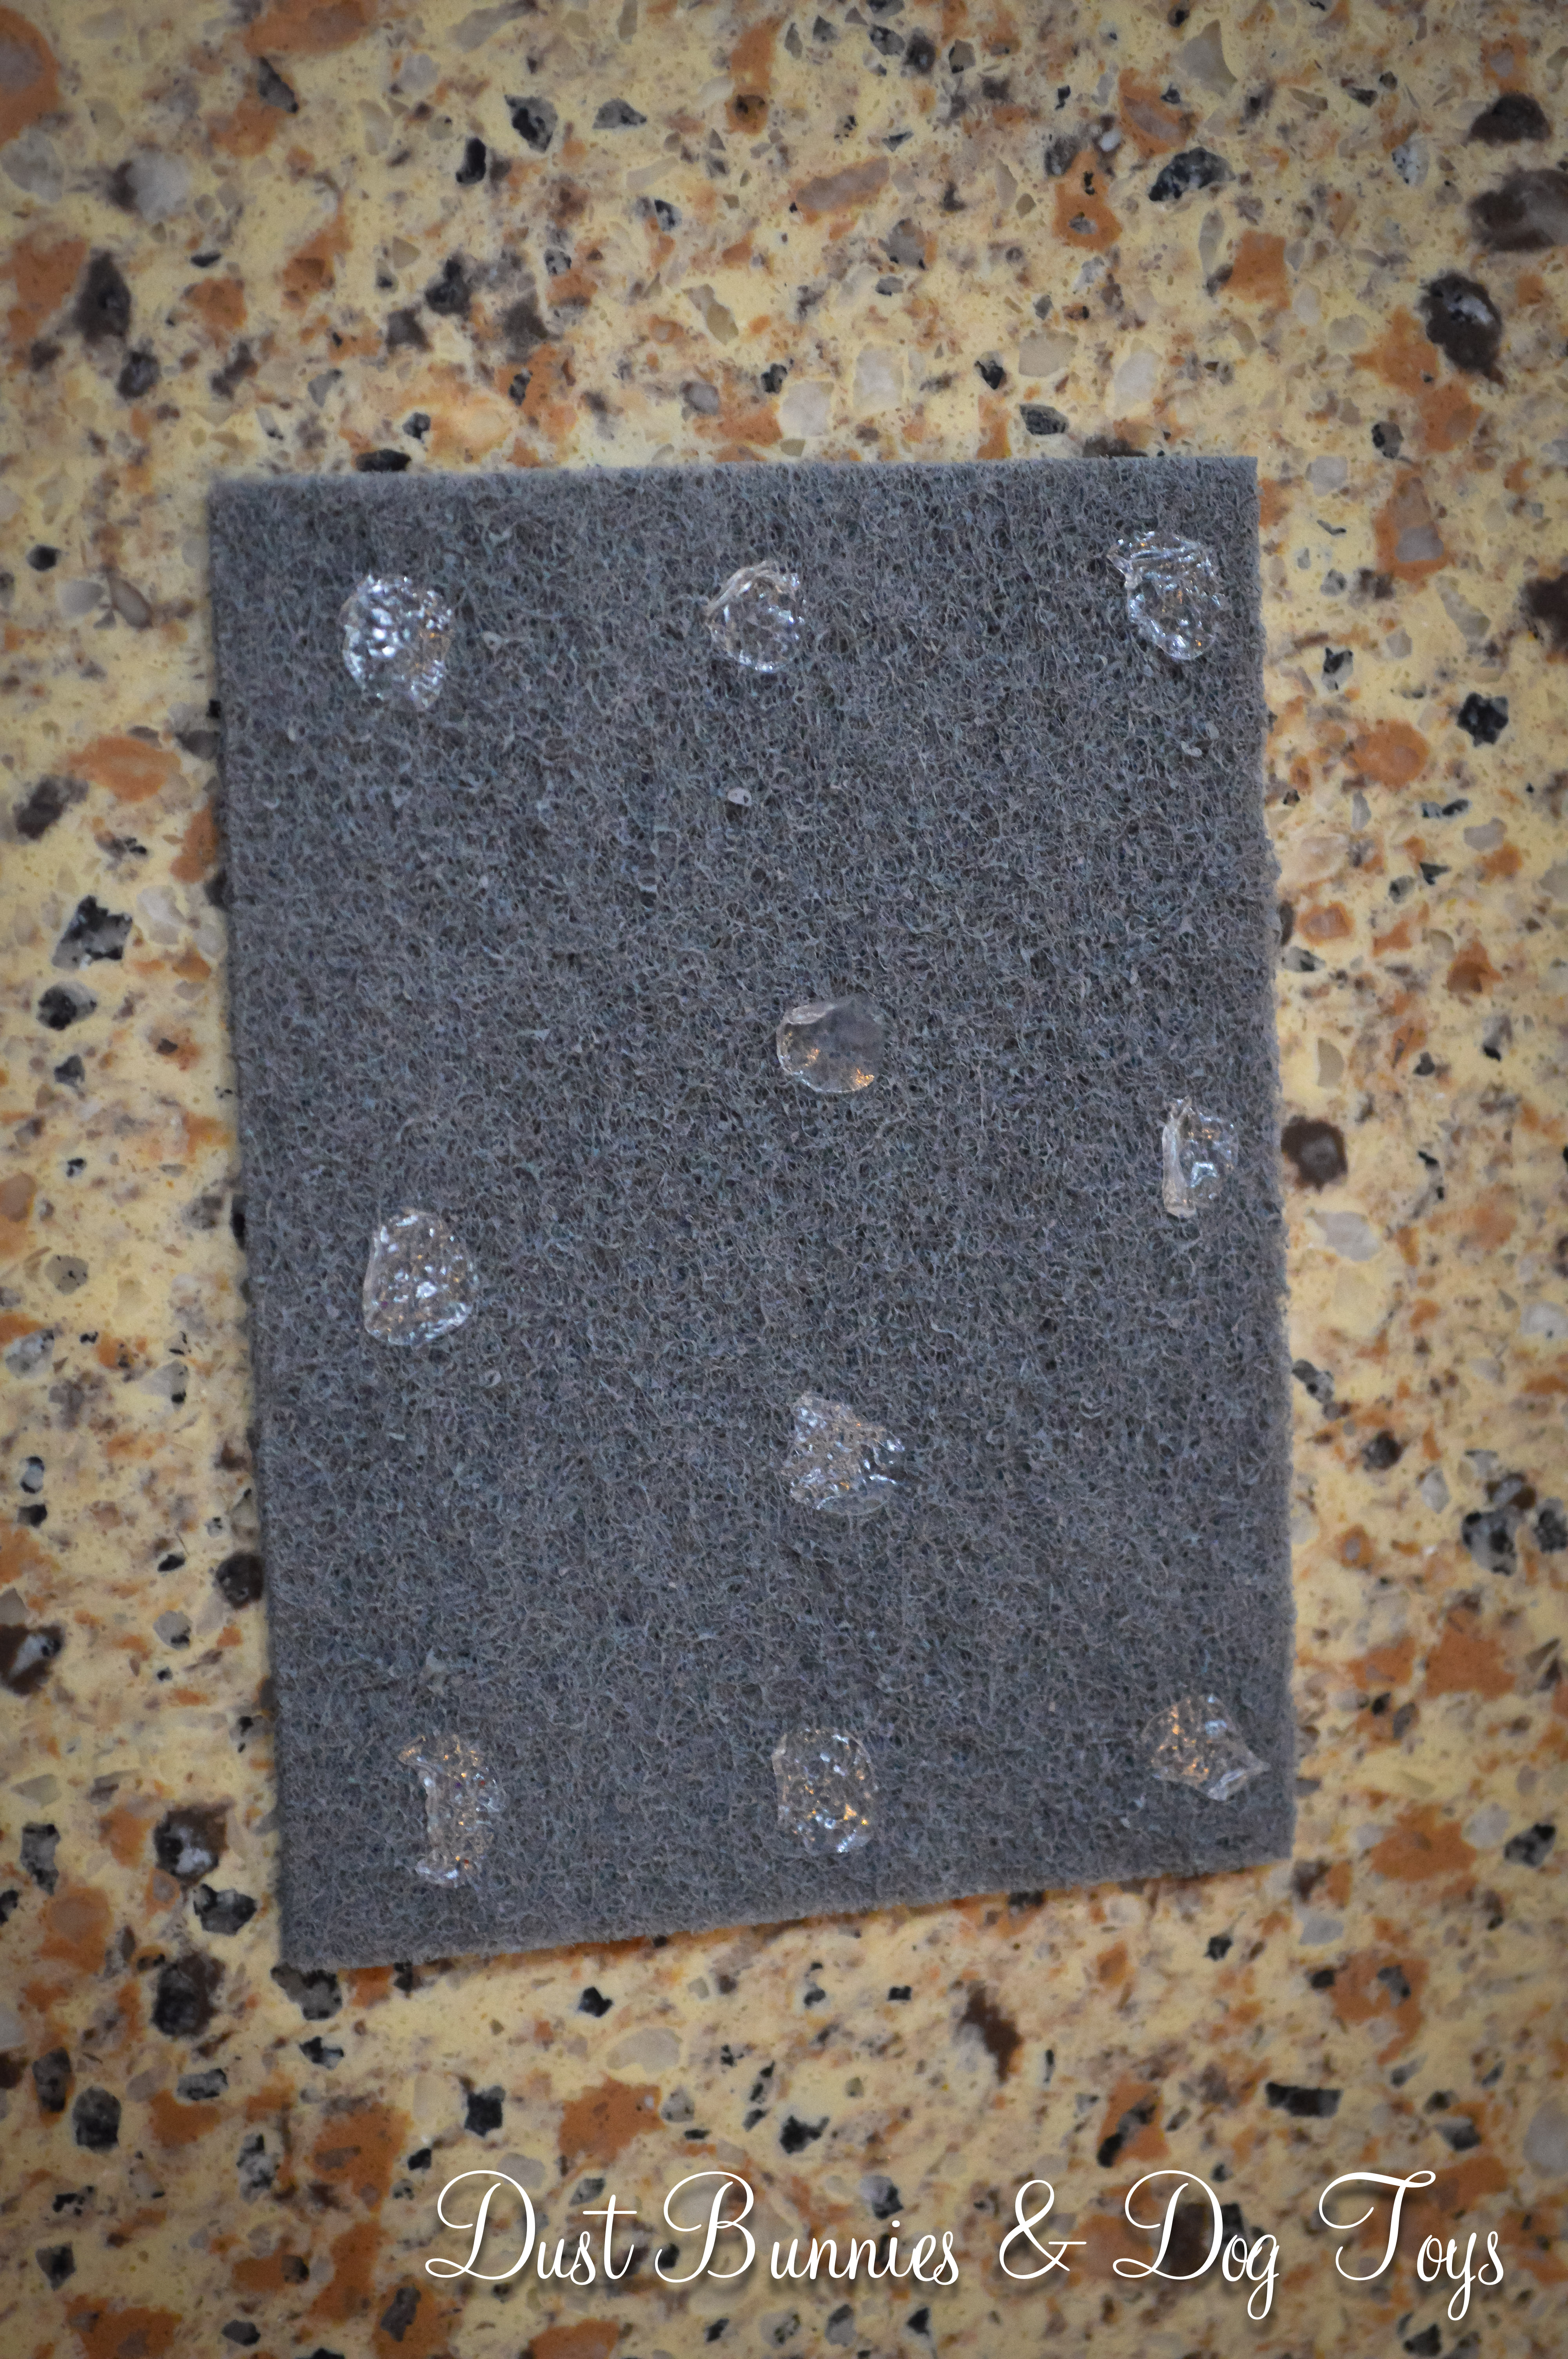
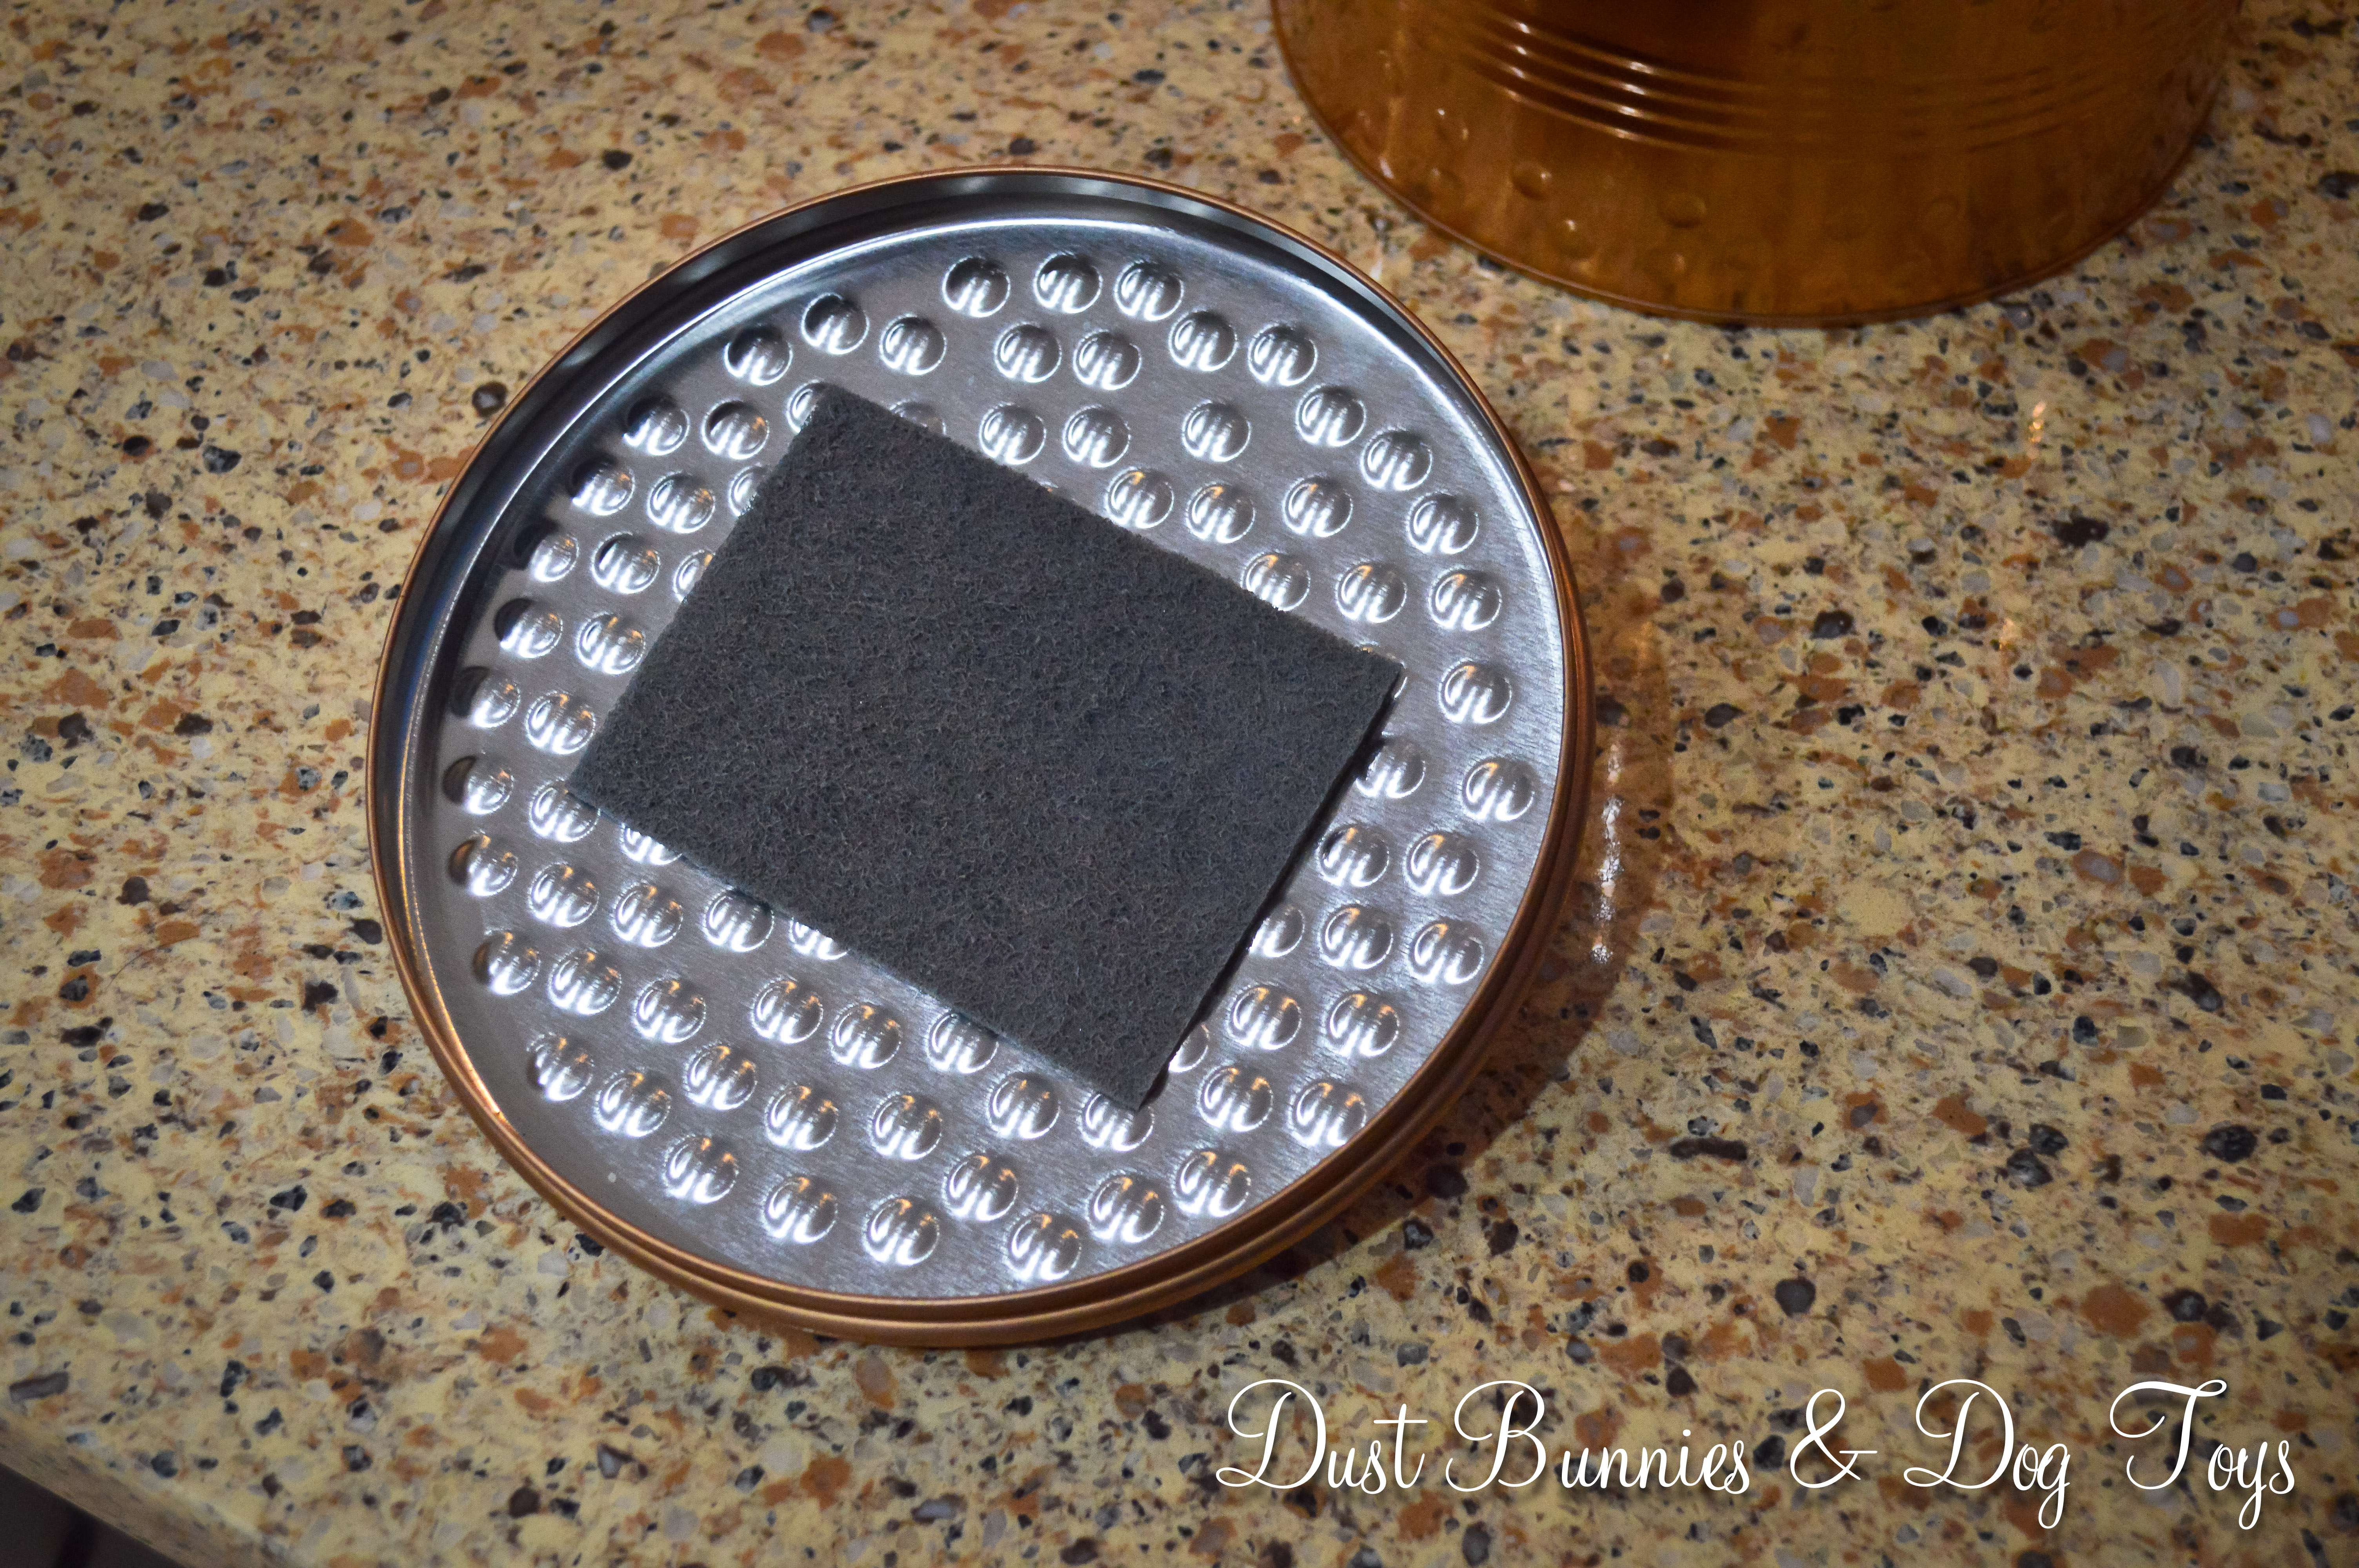
I could have saved the other half of the filter for when this one wears out in 3 months, but instead I put it on the underside of our regular trash can lid to help with the odors that tend to accumulate there and I’m pleased to report that it seems to be helping!
So there you have it. Easy Peasy, Cache Teesy! 🙂
