Repurposed Bin Planters

Today I’m sharing another couple of planters I mentioned in my recap post.  These cuties were made from old conveyor belt scoops that I got from Alaska Picker.  The first I snagged at the AK Picker Day sale – right after finding the garage sale milk can.  I hunted high and low for more of them but someone else had beat me to them.  So when I spotted another at the Alaska Chicks Vintage sale I immediately claimed one.

The first still had a section of conveyor belt attached, but the second was mounted to a piece of old barn wood.  I wanted them both to match so I had the Hubs remove both the belt and board so I could mount them on new boards.

The Hubs cut me two pieces of wood from some scrap we had from another project and I dug out my outdoor teal paint to give them a couple coats.  A little distressing around the edges gave them the perfect rustic look.  The Hubs attached the bins to the new boards and I had this cuteness!

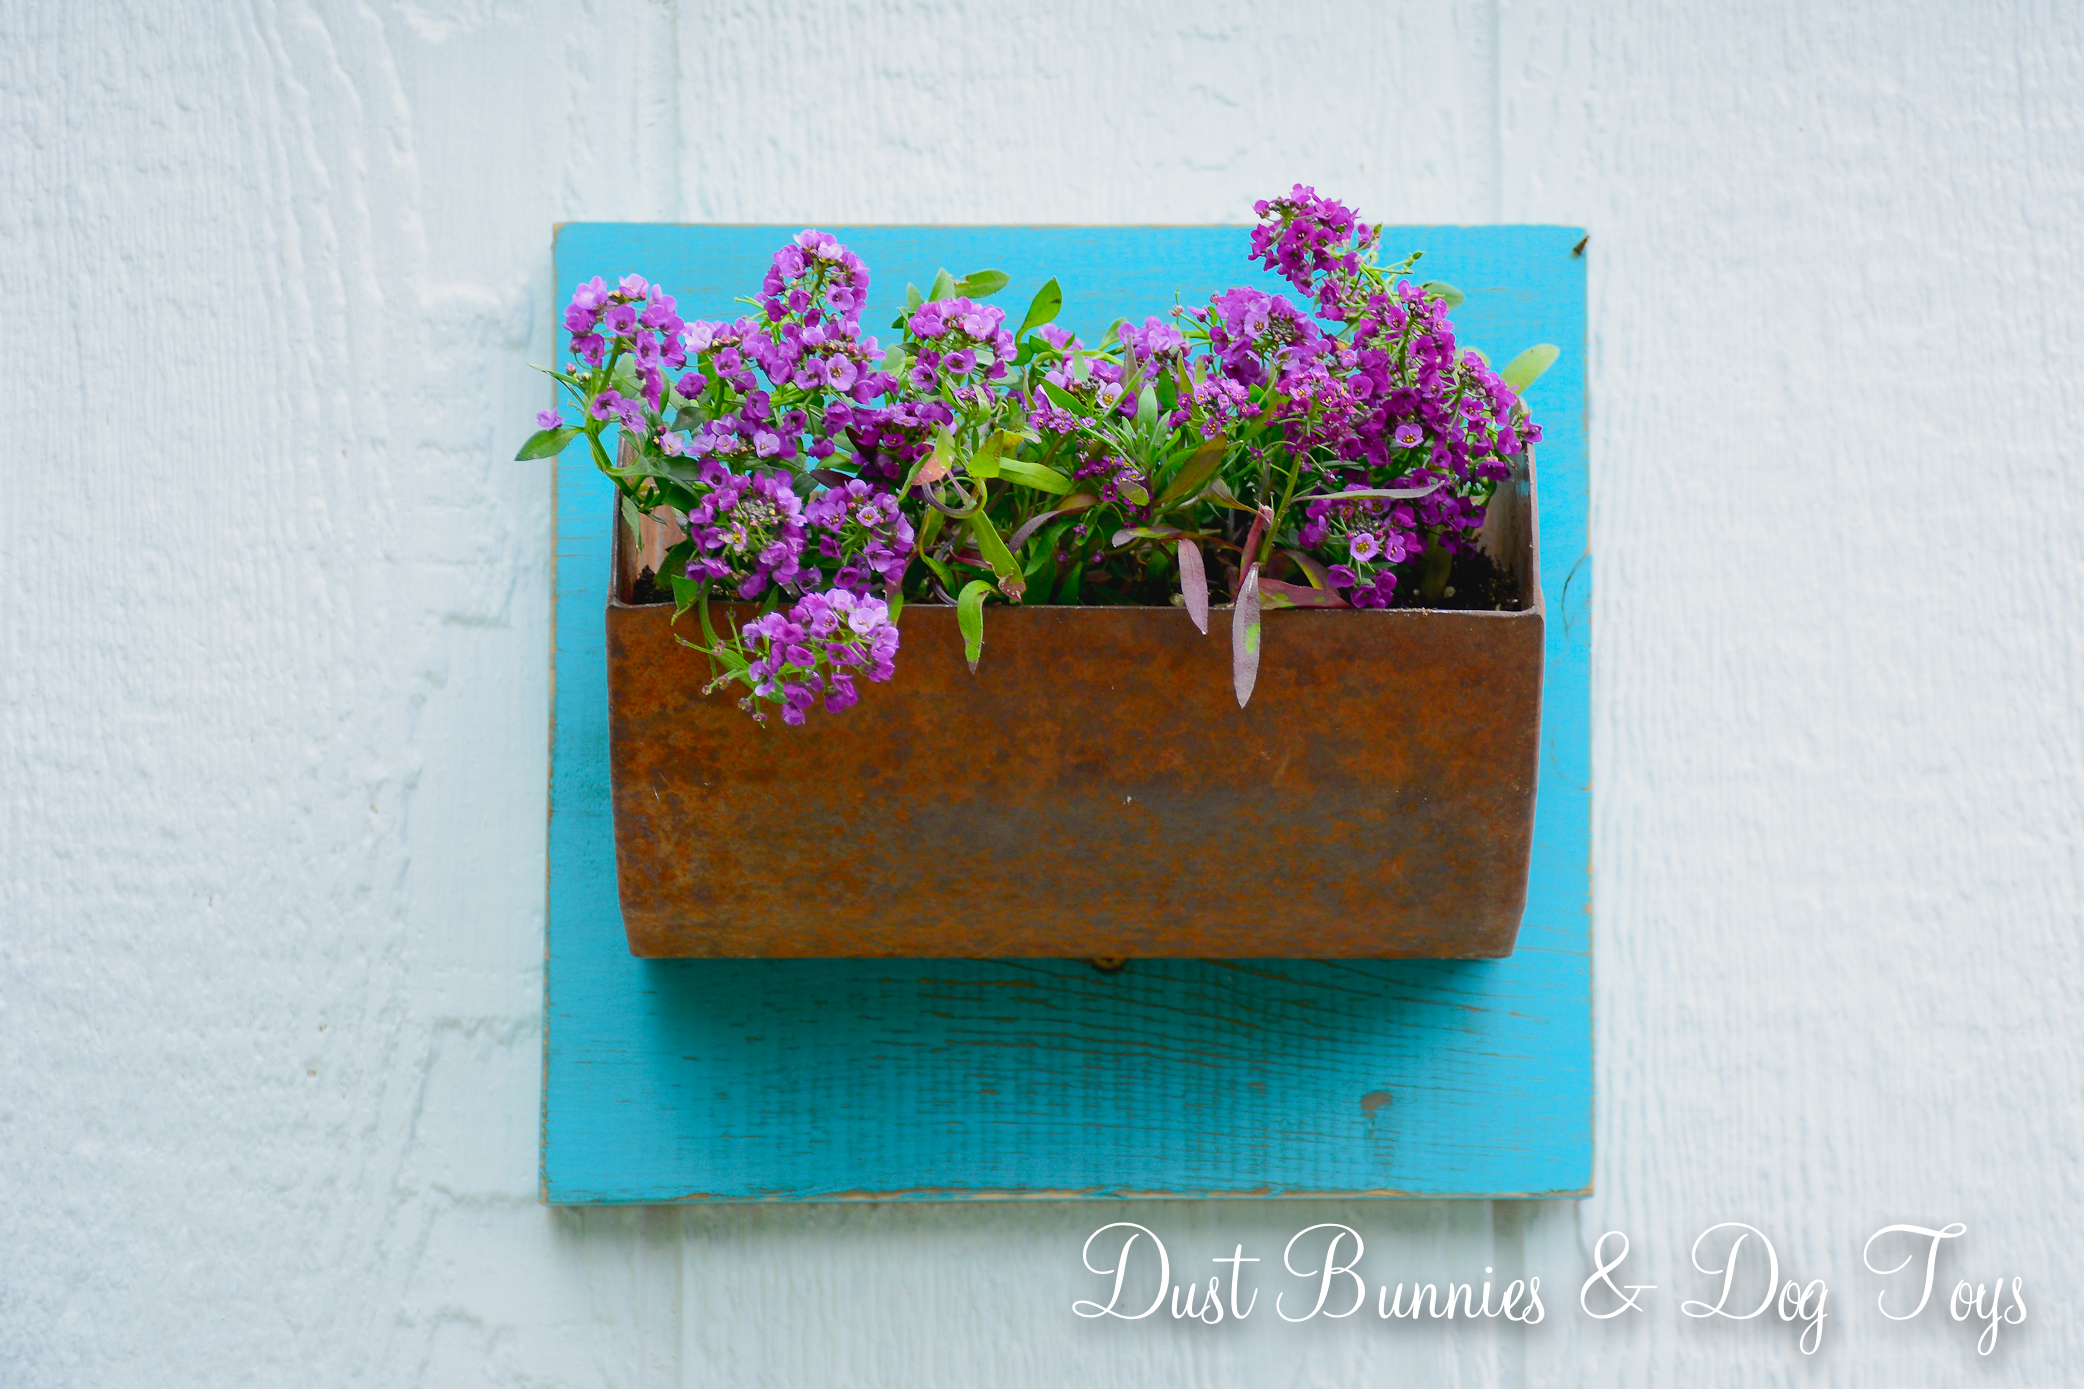
I wasn’t sure where I was going to use them at first but when I came out and saw the big open area on the chicken coop expansion I knew they’d look great there.  After I painted the coop the Hubs drilled some drainage holes in the bottom of the bins and put them up with a couple of screws. I filled them with purple alyssum to finish them off.

I absolutely adore how they turned out.  The combo of teal, rusty metal and purple flowers makes my heart do a happy dance.  And it’s perfect for decorating a chicken coop – not to fussy but not to messy either.

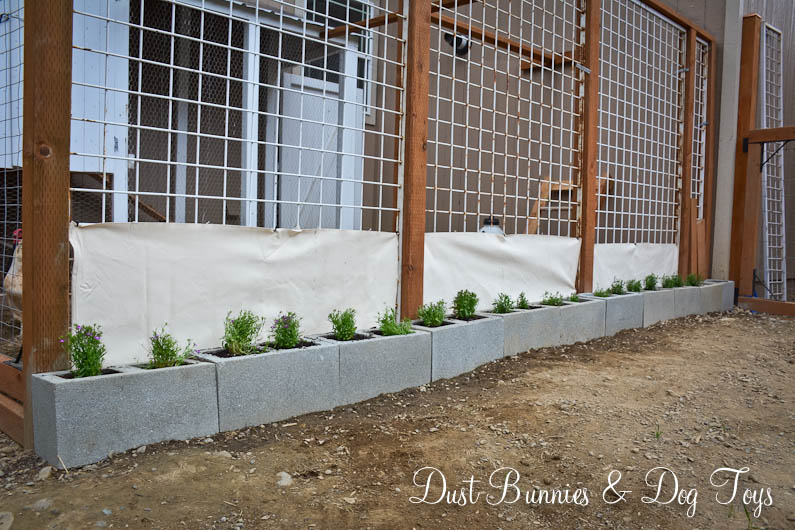
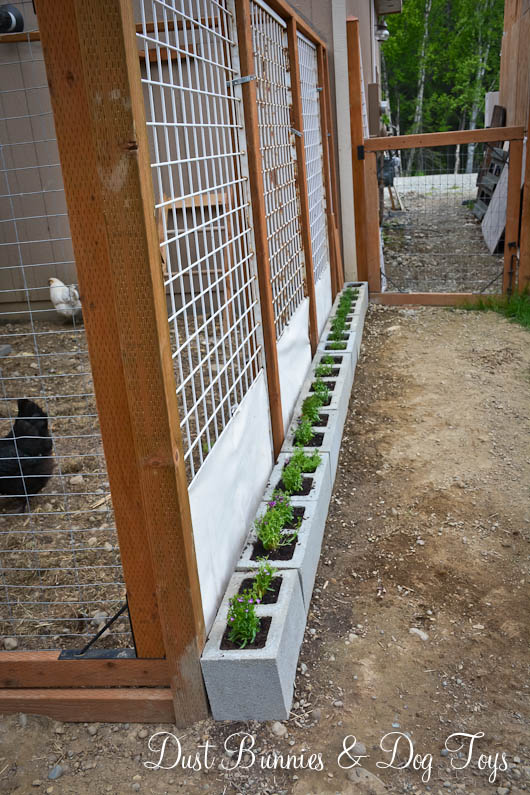
I still have a little painting to do on the lower part of coop and the Hubs plans to finish off the storage area door with siding to match the rest of the coop.  I’ll share more about the expansion and new set up once it’s all done.  We also plan to fill the area in front of the coop with pavers and pea gravel to finish everything off.

Of course neither the chickens nor the dogs – or the cats for that matter – care about any of that.  They just like having a window where they can see each other face to face.  But this doggie/chicken/kitty momma is happy to have a pretty space for them all.

Advertisement

Updates to the Chicken Coop

Today I’m sharing a few quick updates I did in the chicken yard recently.  Last summer the cluckers kept creating holes along the wood of their run to take their dirt baths.  I’d seen the idea of creating a dirt bath spot with a tire and figured we’d give it a shot.  I pulled a small tire from the top of the rain garden wall since I plan to revamp that next season anyway and added it underneath their hen house.  I filled it with sand so it’s easy for them to flick up on their wings.  I haven’t seen anyone using it yet, but it’s obviously gotten traffic based on the foot prints and feathers so I guess it’s a hit.

I kind of wish I’d painted the outside of the tire so it looks a little nicer, but perhaps I’ll pull it out when I get to painting the rest of the coop later this season, then refill it.  I’ve still got more sand to spread inside the coop run so I can use the sand already in it to get that started.

The second project was finishing a small paver area in front of the coop door.  This area gets super muddy during the spring due to the run off from the roof and the dirt splashes up onto the door and other wood.  I figured pavers would reduce some of that and luckily I had a stack of pavers left over from another project just sitting around.

The pavers didn’t fit the space exactly, so I just filled the gap with rocks from around the chicken yard that needed to be gathered anyway.  It seems to be working well to provide a bit of drainage when it rains and it’s easy to sweep off or scrape when mud gets tracked across the pavers and gathers.

I’ve also tilled the run a couple of times this season trying to improve the drainage but we’ve discovered that the dirt under the coop is mixed with large chunks of wood and rocks from when the builder cleared the lot to build.  Eventually we may have to dig the whole area out a couple of feet down and replace it all with a mix of fresh top soil and sand, but that’s a project for another summer.

I’ve considered adding growing frames in their yard where I could plant grass under chicken wire for them, but since we shovel the run in the winter I’m thinking they would be more of a hassle than they are worth during the growing season.  I have a large metal pallet that I may add to the yard against the wall with small potted plants they could enjoy pecking instead.  I imagine I could rotate the pots higher when they need a break from constant pecking to regrow.  I may get that project going this season if I find pots and hooks to hold them on sale, but if not we’ll try it next season with seeds I save from this year’s crops.

Hopefully the weather and schedules will be more cooperative this fall so I can pressure wash the whole coop and get a fresh coat of paint on it in a single day.  Then it will be ready for another winter of snow and ice.  Luckily the cluckers aren’t too concerned with how their space looks so long as there’s plenty of things to peck at. 😉

A New Roof for the Chicken Yard

6

Hi everyone!  I hope you had a wonderful Christmas.  Now that we’re through the big holiday I thought I’d catch you up on several projects that happened around the house in the past few months as we prepared for winter.  The first was replacing the netting over the chicken yard with something sturdier.  The netting had started to tear in several spots and had actually come loose from where it was attached to the wall of the house, leaving our flock vulnerable to attack from above.  The Hubs wanted something more permanent that would stand up to snow, so he found these metal fencing panels at a local fence company.

2

First he removed the old netting (note the large ball of it on the roost to the right in the photo above).  Then he cut the panels to fit the space and zip tied them together where there were seams.  He also used zip ties to secure the panels to the support beams of the run.

4

Over by the run door he had to get creative to make enough room for the door to open but still work against the laundry room window.  He decided to create an angled panel for this section and it works pretty well.

3

He had to trim down the hen house doors so they open underneath the support beam on the front of the run.  It’s so much nicer being able to open these doors all the way without worrying about the edges catching the netting overhead!

5

He also added a small metal flashing to act as a gutter along the roof of the run.  This keeps the large amount of water that comes off the run’s roof from flooding the chicken yard, which was a constant problem this summer.  Now it drains right over the blocks I placed around the yard.  This might be too much water for the plants in the blocks next summer, so I’ll have to watch it and decide if I need to set up a water barrel to collect the water and reuse it for the chickens or watering the garden.

1

We may eventually cover the panels with clear plastic roofing panels, like those used on greenhouses, to help reduce water pooling more but for now the upgrade is the perfect protection for our cluckers and blends in well with the panels we used for the sides of the yard.

snow

And it’s been holding up to the snow very well, even when it gets a bit thick.  Looks like another great job by the Hubs!  It’s a good thing he found me so he has reasons to use all those mad skills he’s got. 😉

Save

Purdy-ing Up the Chicken Yard

F-Full

Part of my plans for the yard this year included adding flowers around the new chicken yard.  I placed cinderblocks around both sides of the yard so I’d have a built in row of planting spots and picked up a couple flats of lobelia at the nursery just for this area.

1

Tequila stood chicken watch while I planted.  Things were looking so pretty that even the hubs commented on the new flowers and I was feeling pretty happy with the project.  That is until those fluffy cluckers attacked said flowers and had picked them down to the base before I finished planting the other side!  I quickly placed boards against the fence so the chickens couldn’t see or reach the plants anymore in a desperate attempt to save those that had been hacked.

2

But this was NOT the look I was going for.  The hodge podge of boards constantly got knocked over and landed on the plants themselves which was just as damaging as the chickens pecking them.  So what’s a chicken momma to do?

3

Well a crafty chicken momma makes protective curtains!  I dug out some thick sail cloth material I had in my fabric stash and cut it to size to fit between each of the posts.  A couple of simple slits along the top gave me a spot to use a zip tie to attach it to the panel and keep things taunt.

F-Full

It’s not the fanciest option, but it looks and works better than the piled high boards.  And it didn’t cost me a cent!

F-Tie

The curtains are just low enough that the chickens can still see out when standing on the ground and just high enough that Brinley can’t see in unless she stands on the blocks.  She can still see through the door so that’s become her new viewing spot, which keeps her out of the plants as well.

F-back2front

I did have to replace a few of the plants, but now things are looking pretty good.  I didn’t make a curtain for the small panel at the back, since those two blocks will hold grass that I’ll let grow just for the hens.  They are temporarily blocked with two small boards, but once they establish I’ll take them down periodically so they can enjoy fresh greens.

F-f2b

I also got the walkway along the chicken yard cleared of the rock piles that had been there (hint, those are being used for another project that I’ll share soon).  We’d like to put down pavers or some other permanent pathway from the deck to the gate, but that’s probably a project that will happen next season.  For now having a clear established walkway functions just fine.

I’m sure the chickens don’t appreciate my crafty genius solution, but that’s ok.  I plan to take the curtains down at the end of the season and let the cluckers have at the remains of the plants since they are annuals anyway.  Then I’ll wash the fabric and store it away for next year.

I’d love to hear what you think of my little project to pretty up this utilitarian space in our yard, so leave a comment below!

Save