I had a photo session scheduled over the weekend out at Alyeska Resort, which is a well-known Alaskan ski destination and when I found out that the hotel was offering free tram rides up the mountain that day I asked the hubs if he wanted to make a day trip out of the booking. Game to spend his day off with me, he agreed to come along.
Although we’ve lived in the area for almost 2 years, I hadn’t been up to the hotel until recently when I was asked to shoot an elopement there this fall, but I didn’t get a chance to explore the area so I was excited to have an opportunity to check it out. The hubs had last visited the hotel about 10 years ago, but that was before the tram was installed so there was plenty of new things for him to see too.

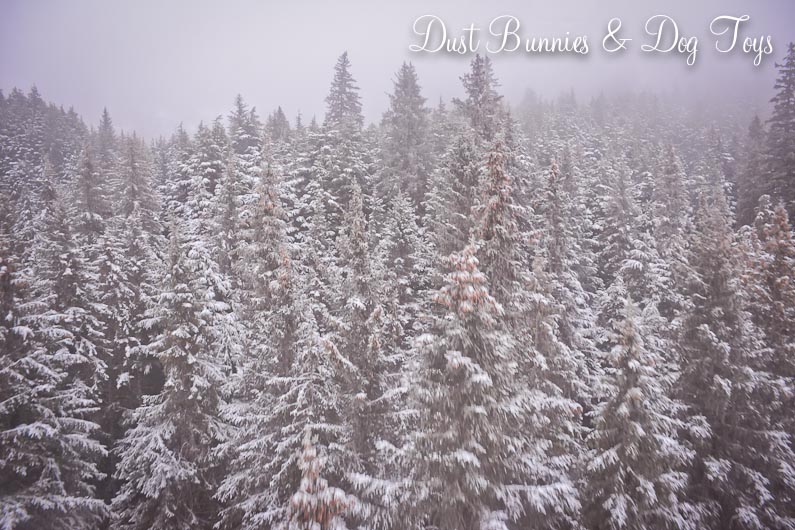
It was foggy down by the hotel, but we heard that there was fresh powder up on the mountain which is why the hallways of the hotel were crowded with skiers and snowboarders waiting to head up the mountain when we first arrived. Luckily, most of them were already up top by the time we finished my session and headed up ourselves.
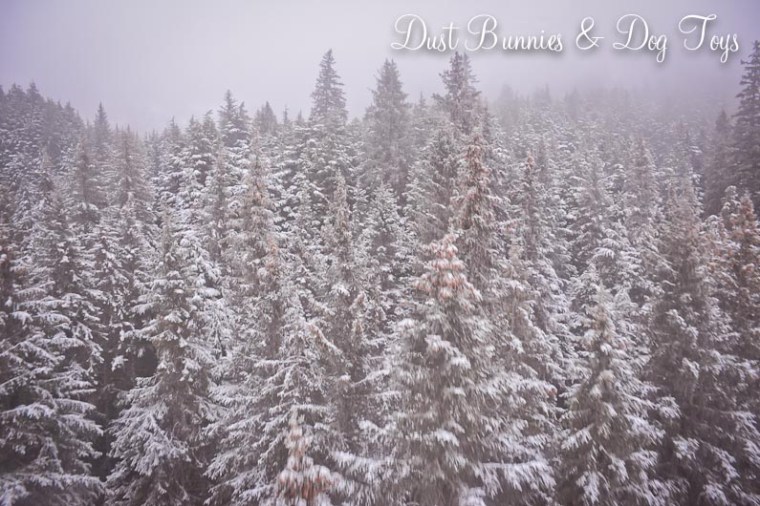
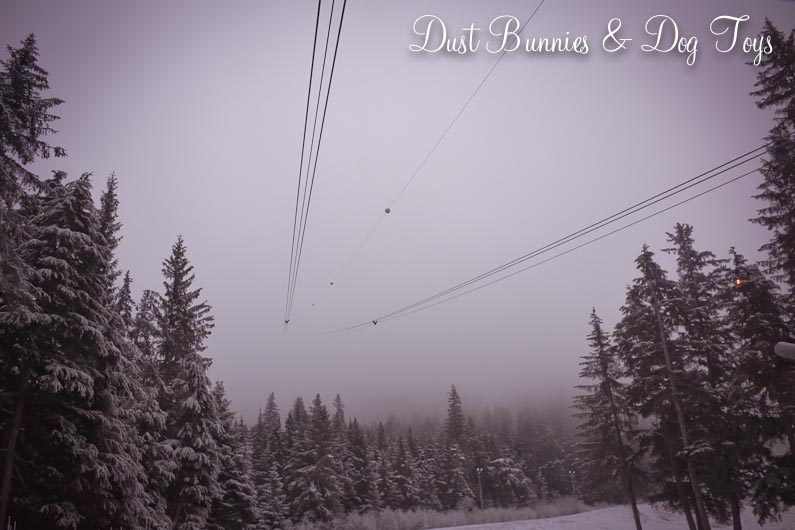
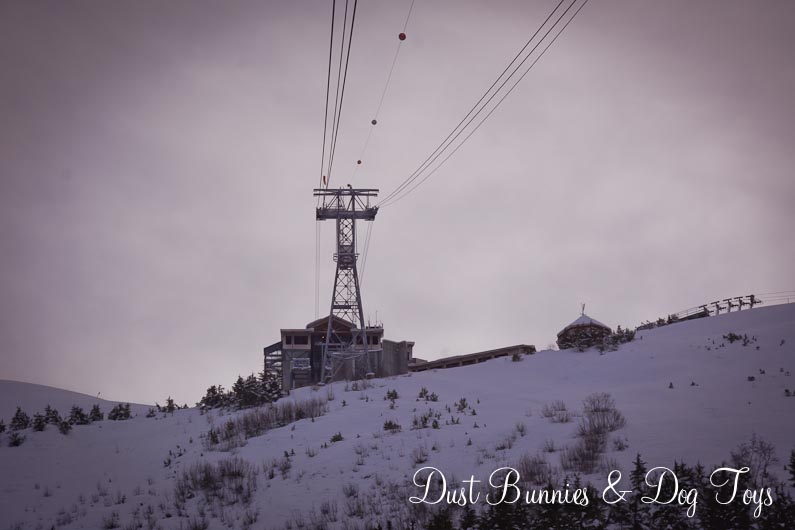
Just like when we rode the tram in Juneau we climbed into the fog bank hoping for the best. The view on the way up made me feel all Christmasy inside!
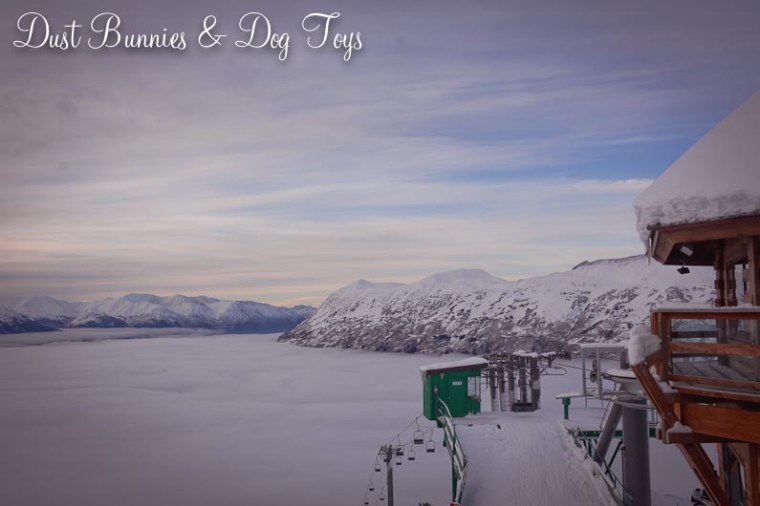
The fog started to clear as we approached the tram terminal at the top.

This was the view as we stepped off the tram! Sorry for the glass reflections, but it was the only spot to get the shot.

The view got even better as we headed out of the tram area and passed a small café which was PACKED with folks trying to catch a quick meal before getting in some more time on the mountain before the limited daylight hours passed. We hung out in a ski lift chair at the end of the walkway that was set up as a swing for a while just enjoying the experience.
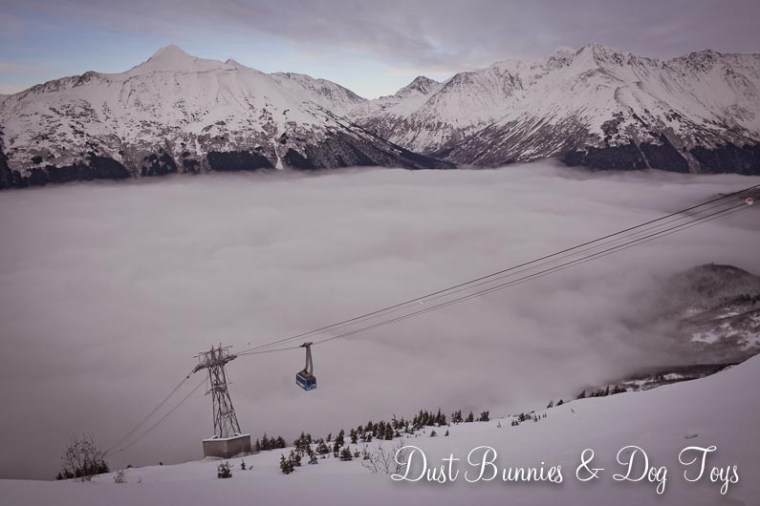
We visited the little gift shop/museum called the Round House which is the octagonal building seen in the photos above. They were having an end of year inventory sale and I found a pretty scarf that was super soft on sale for just $16! The view from the walkway of the Round House was absolutely stunning and just required a panoramic shot to capture the whole scene.

I spotted another photographer on the walkway around the shop and asked if he would take a photo of the hubs and I with the beautiful background, which resulted in this shot. Notice that new scarf!? 😉

Next we headed over to the Seven Glaciers restaurant where we sat in a corner with windows on both sides so we could see the tram as well as the people coming down the slopes. Check out the amazing view! Even the hubs had to do a panoramic picture!

But I mostly enjoyed checking out this view… 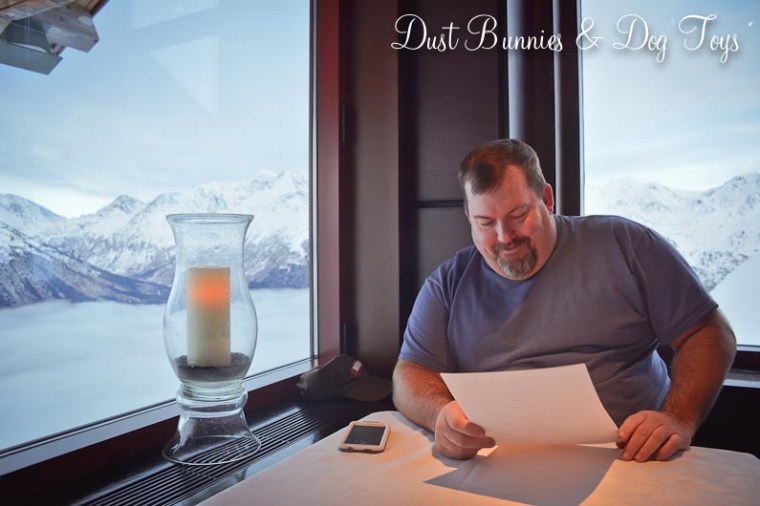
As we waited for our food we spotted the same photographer who had taken our picture working with a bride and groom out on the edge of the slopes! Seeing him work, I felt bad that I’d set the camera to auto before handing it to him to take our photo! Oh well. While we were eating I spotted these cool bells hanging from the ceiling. I’m not sure what they were from but they were obviously made by a crafted by a skilled artisan or two as the bells themselves had etchings and the collars they were attached to were quite intricate.

We enjoyed our lunch, watching the tram come and go as the light started to fade and the number of people out on the slopes dwindled.
We decided it was time to head back down the mountain and start the journey home. Although the tram deck looked empty when we first arrived from the restaurant, it soon filled with folks carrying their snow gear and ready to head back to the hotel for the evening, which made our tram back down much fuller than our tram up had been.

As we descended, we entered the fog once again and slowly the hotel appeared as we approached. It was definitely an entirely different weather experience on the ground than it was at the mountain top.

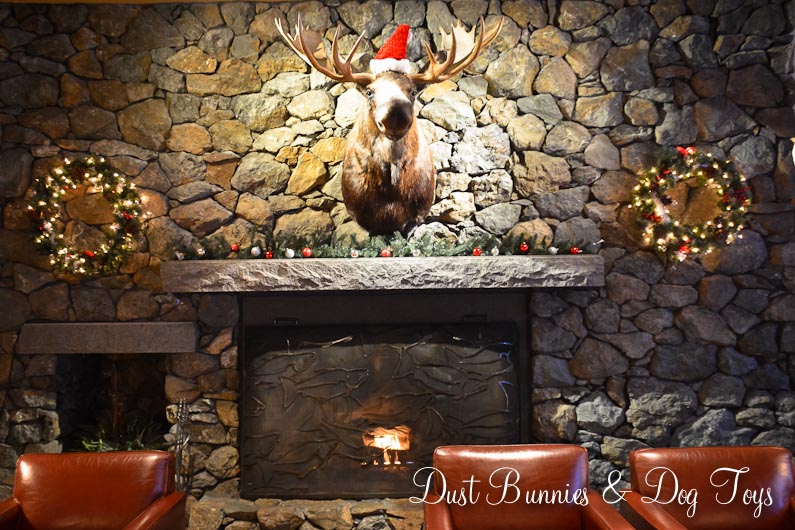
We headed back through the hotel pausing to warm up by the large fireplace where a moose mount sported some festive cheer.

And as we left the hotel we spotted this polar bear who unlike the moose, didn’t look too excited about being dressed up for the holidays. Maybe his scarf was a little too tight.

We don’t have a lot of down time with our busy schedules, so I’m grateful we were able to fit some in around other activities. It was a perfect winter mini-date to get us excited for Christmas.

 Shortly after we moved into the new house I found a wood tray from a cannery at an antique store. With three compartments, I knew it would be a great way to organize my laundry supplies. Later when I saw these cool bottles on clearance at Pier One I knew they would be perfect for storing things like bleach. I also keep vinegar and hydrogen peroxide in my laundry arsenal so I got a couple extra bottles to hold those items as well. Luckily, the bottles fit perfectly in the compartments of the tray when paired.
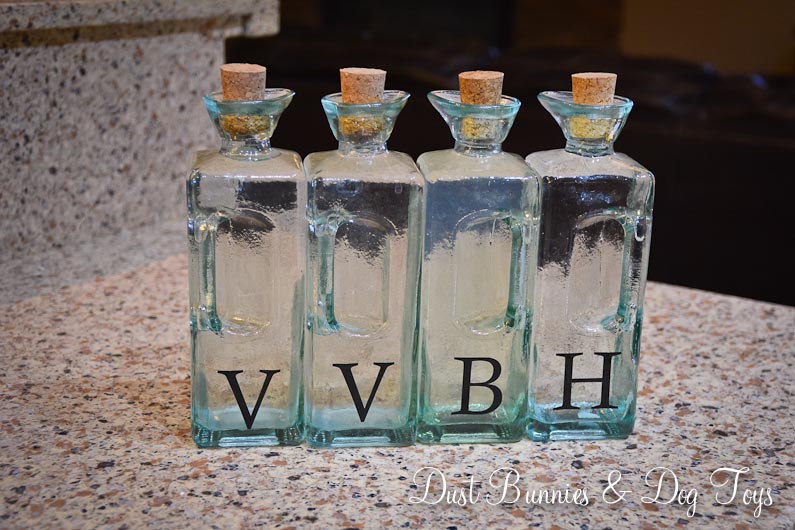


