 As I promised last week I’m sharing a little update on the progress we’ve made in getting the green house ready for the season. But before we get to the progress, let’s take a look at how things looked when we started. Since the Hubs finished the structure as fall arrived last year we used the space for storage of all my pots and planters, along with some of the patio furniture and accessories. We’ll call it organized chaos.
 Luna decided to join me in the greenhouse as I started clearing it out. She seemed to appreciate the warm cozy temps inside and made herself quite comfortable.
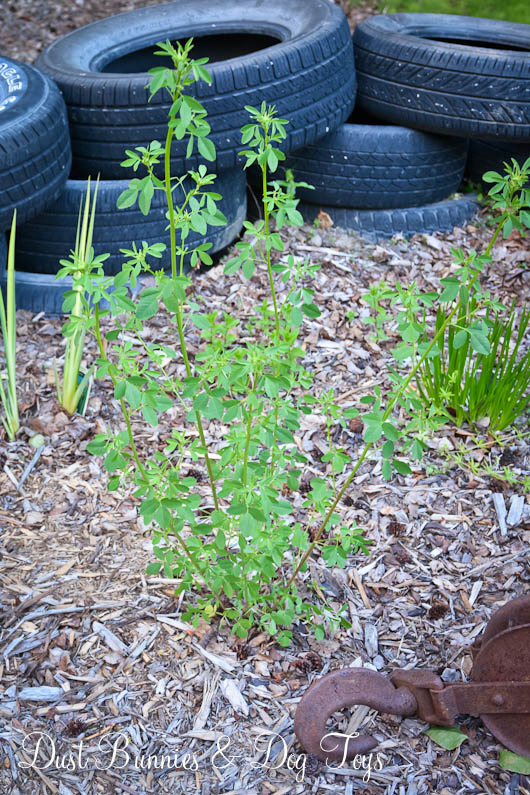
 While Luna took in the warmth I harvested the dried blooms from the lavender I’d stashed away in the fall. It was a decent little harvest, which I used to give the chicken’s nesting boxes a bit of freshness.
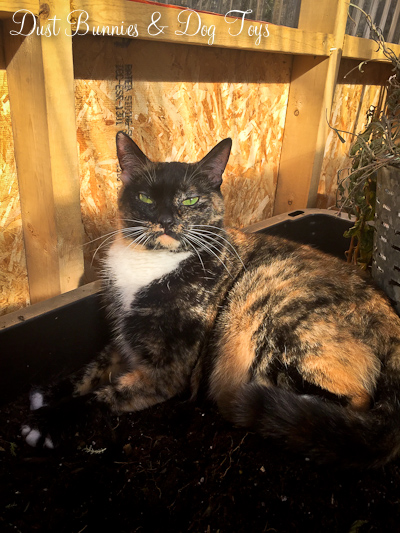
 After that I made Luna move off the table so I could drag it out to the deck. When I returned she had found a new favorite spot in one of the planter boxes. I let her be as I sorted and dug out everything else to make room for the new set-up.
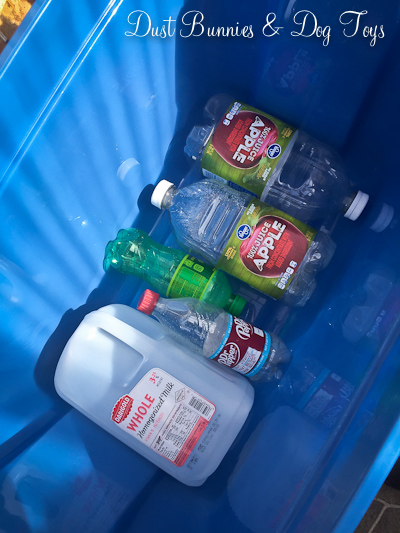
 We purchased large plastic totes to serve as our planters in the greenhouse. I filled the bottoms of each with plastic containers from our recycle bin – plus a few from the coffee shop at work – to help fill some of the space to reduce the amount of soil I had to use and provide space at the bottom of the containers where moisture could settle and then be wicked back up. There are no drainage holes in the bottoms of the totes as that would become quite messy on the floor of the green house so I’ll have to water carefully.
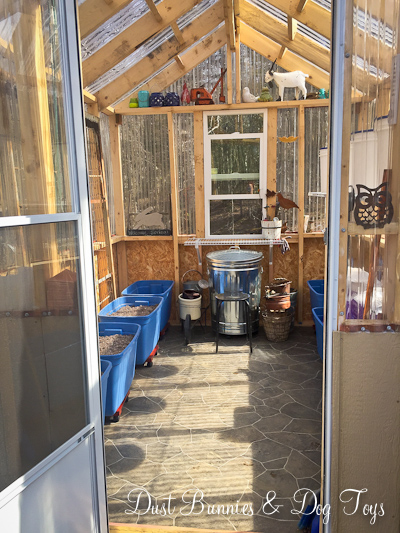
 And here’s where things are now. We’ve got four totes down each side which sit on plant dollies so they can be moved easily, allowing me to work on the plants from all sides – a feature that might come in handy during harvest. On the left side I brought in the two rusty bed frames I’d used as trellises in the wheel bed last season. They worked well for the peas in the wheel bed, but this time one will be for green beans and the other will support cucumbers. The tote in the back corner will be for dill and the one in the front corner will be for peppers. The Hubs plans to secure them to the wall just to be on the safe side. This side of the green house will also get vertical strawberry planters in each corner to maximize the space.
 The right side has a shelf where the Hubs will be setting up a hyponic system for the buckets you see there. Those will hold 4 varieties of tomatoes and a squash. Below them will be yellow and red onions, asparagus and peas, which will get a smaller DIY trellis to climb.
 In the back I added a large galvanized trash can under the window to hold extra dirt and the Hubs installed a wire shelf above it to serve as a potting bench. That way when I’m preparing pots for the deck and porch if I spill it can fall right back into the dirt bin. Plus the way he installed it I can lift it up against the window if I want it out of the way for any reason. The ledge created by the wall framing was the perfect spot to store all my garden decor over the winter. Once the yard finishes thawing out I’ll be moving those items out to their ‘summer homes’ and that space can hold any extra pots awaiting occupants. My hand tools will be kept in the small tub you see on the shelf, which will be filled with sand to keep everything sharp – an idea I found on Pinterest of course.
It’s still getting pretty cold overnight so I haven’t put any plants out in the green house just yet, but I have purchased the first round of veggies and a couple of flowers which are pretty happy in the laundry room sink and on the kitchen counter for now. I’ll be going to the big annual season kick-off sale at my favorite nursery this weekend to buy the rest of my stock and will test out a DIY trick I learned on the local garden club page to heat the green house up a bit at night to make sure it’s ready for planting.
I’ve also got a few things planned for just outside the green house, including moving the gutters I used last year for strawberries and potato towers, but I’ll share those once we get things set up a bit more. It’s going to be a lot of work but if it all goes well we’ll have a great crop of fresh food because of it! I’m so excited to see what works and what we can improve for next year. If you have ideas, tips or suggestions on what might be an improvement please share them below and I’ll try to test them out this year.
Shared on Savvy Southern Style’s Wow Us Wednesdays and Knick of Time’s Talk of the Town.