Our First Offical New House DIY Project!

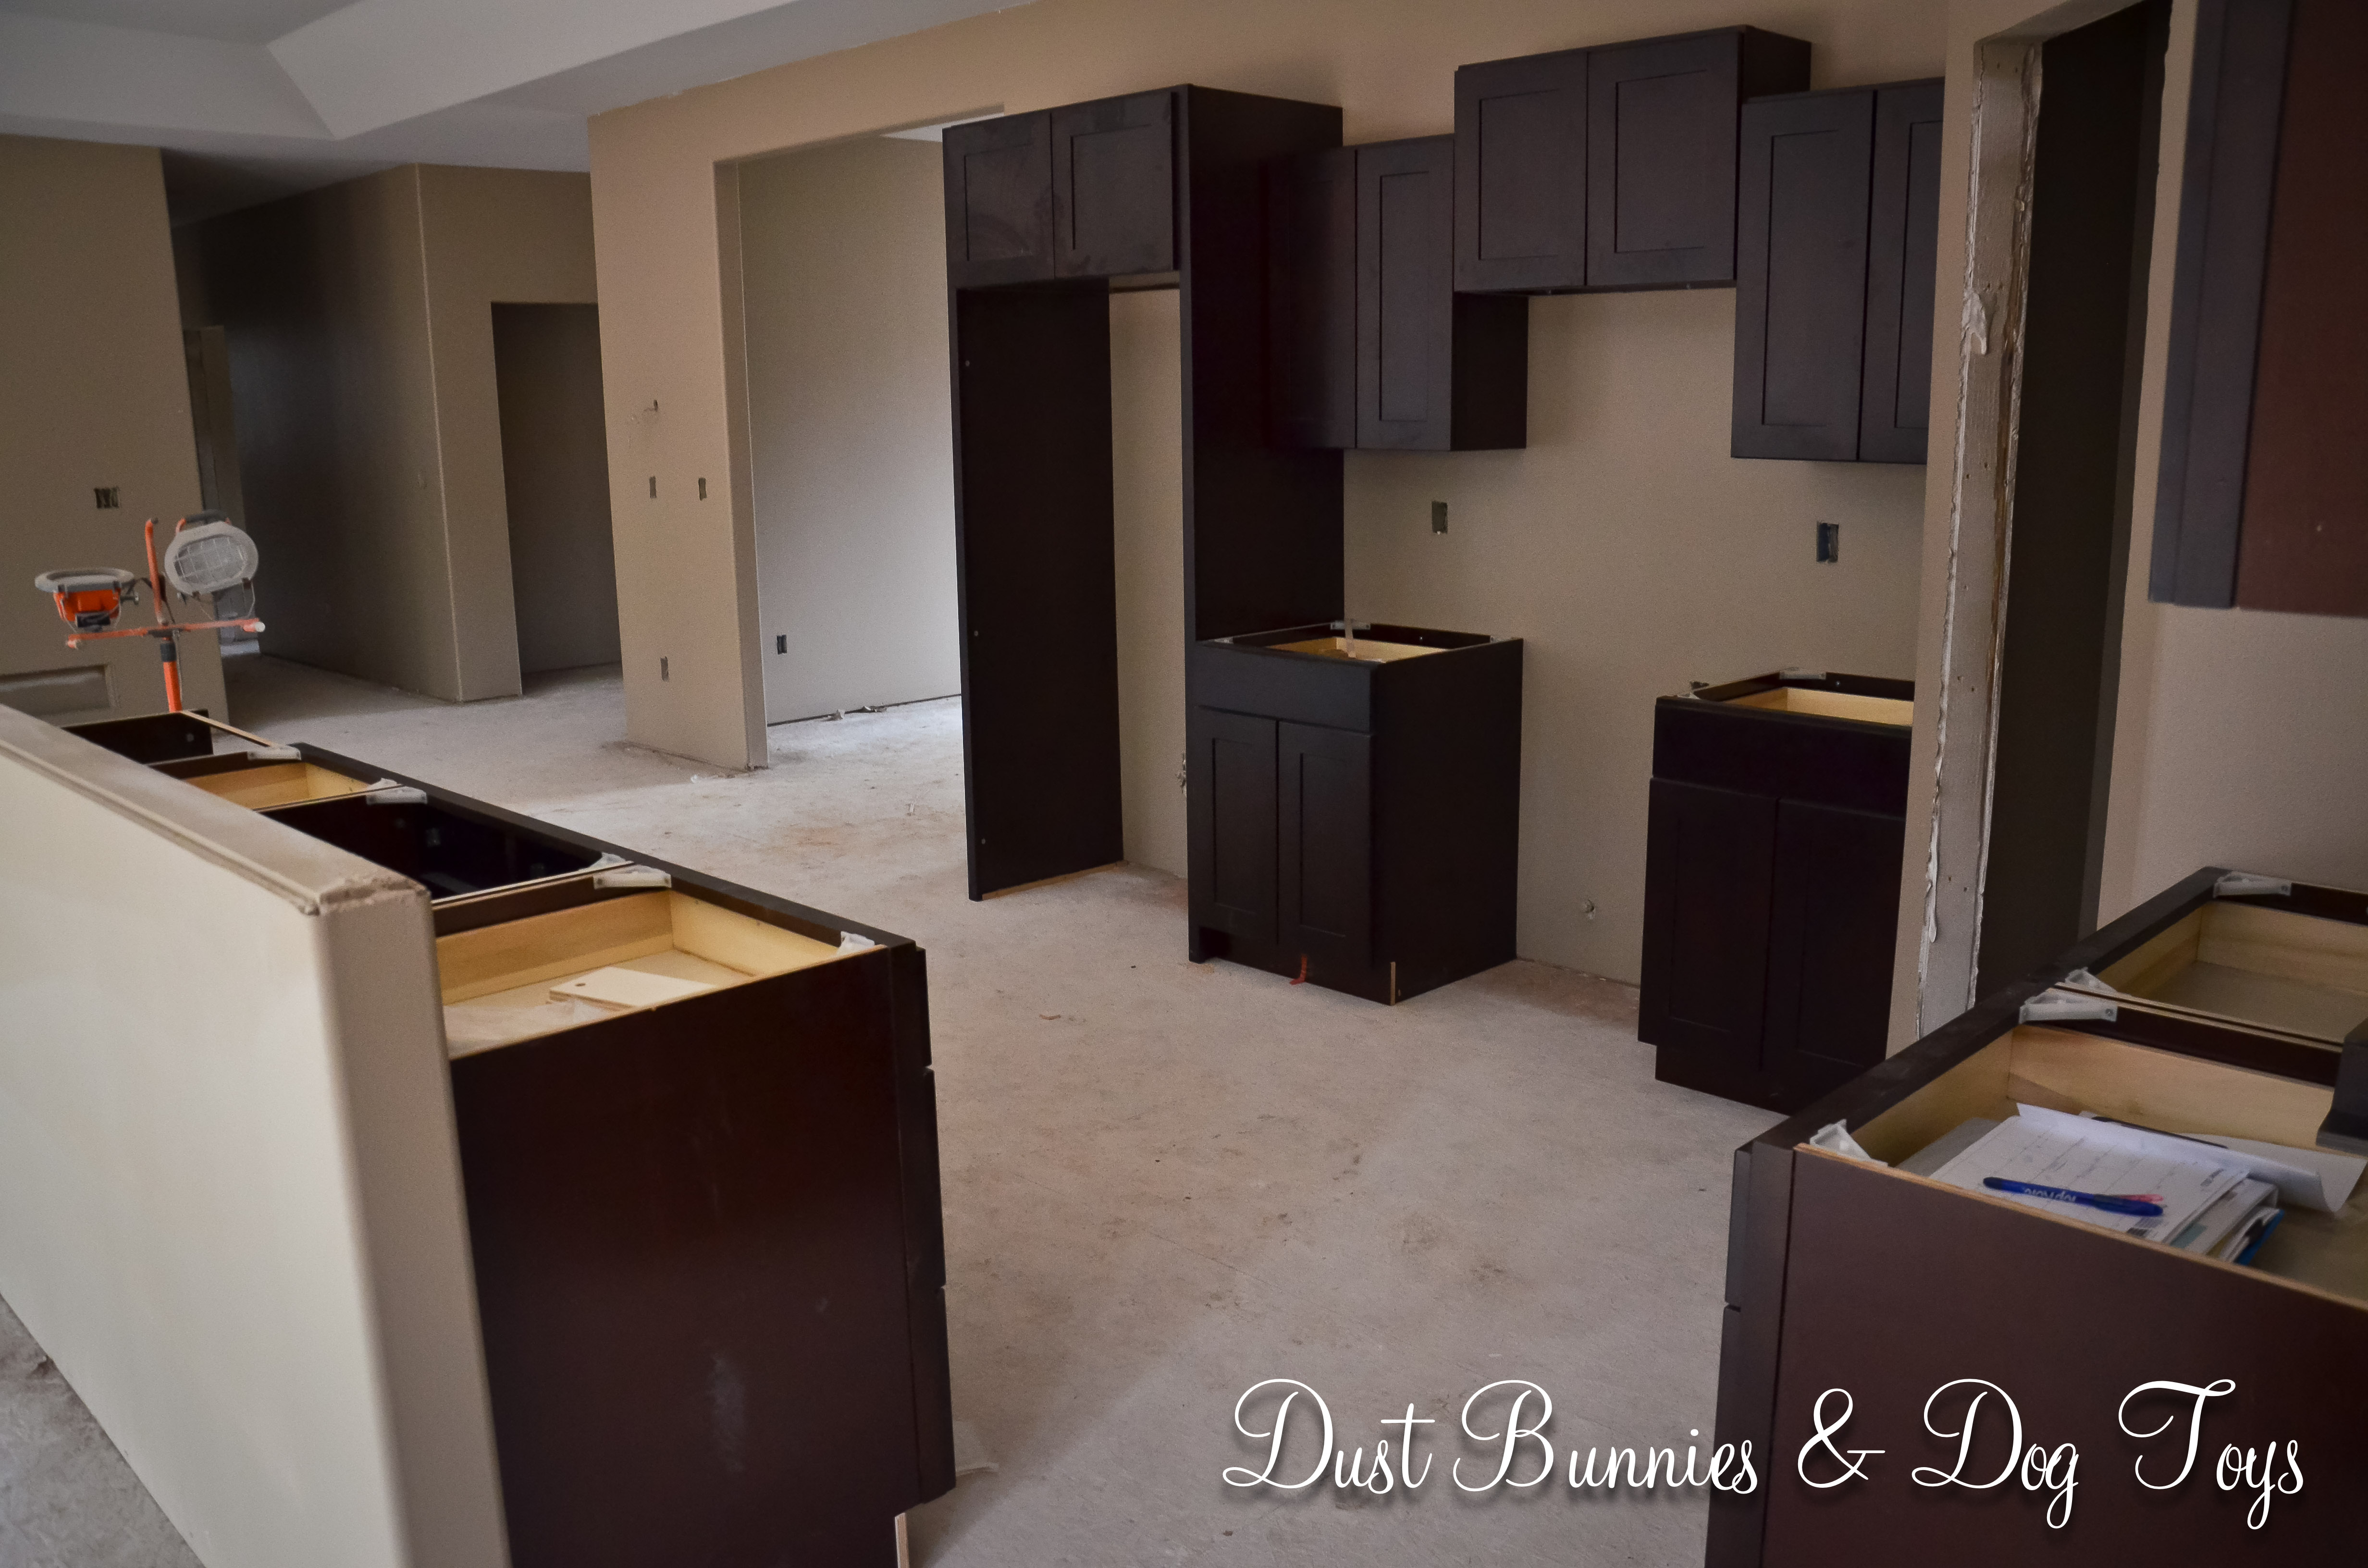
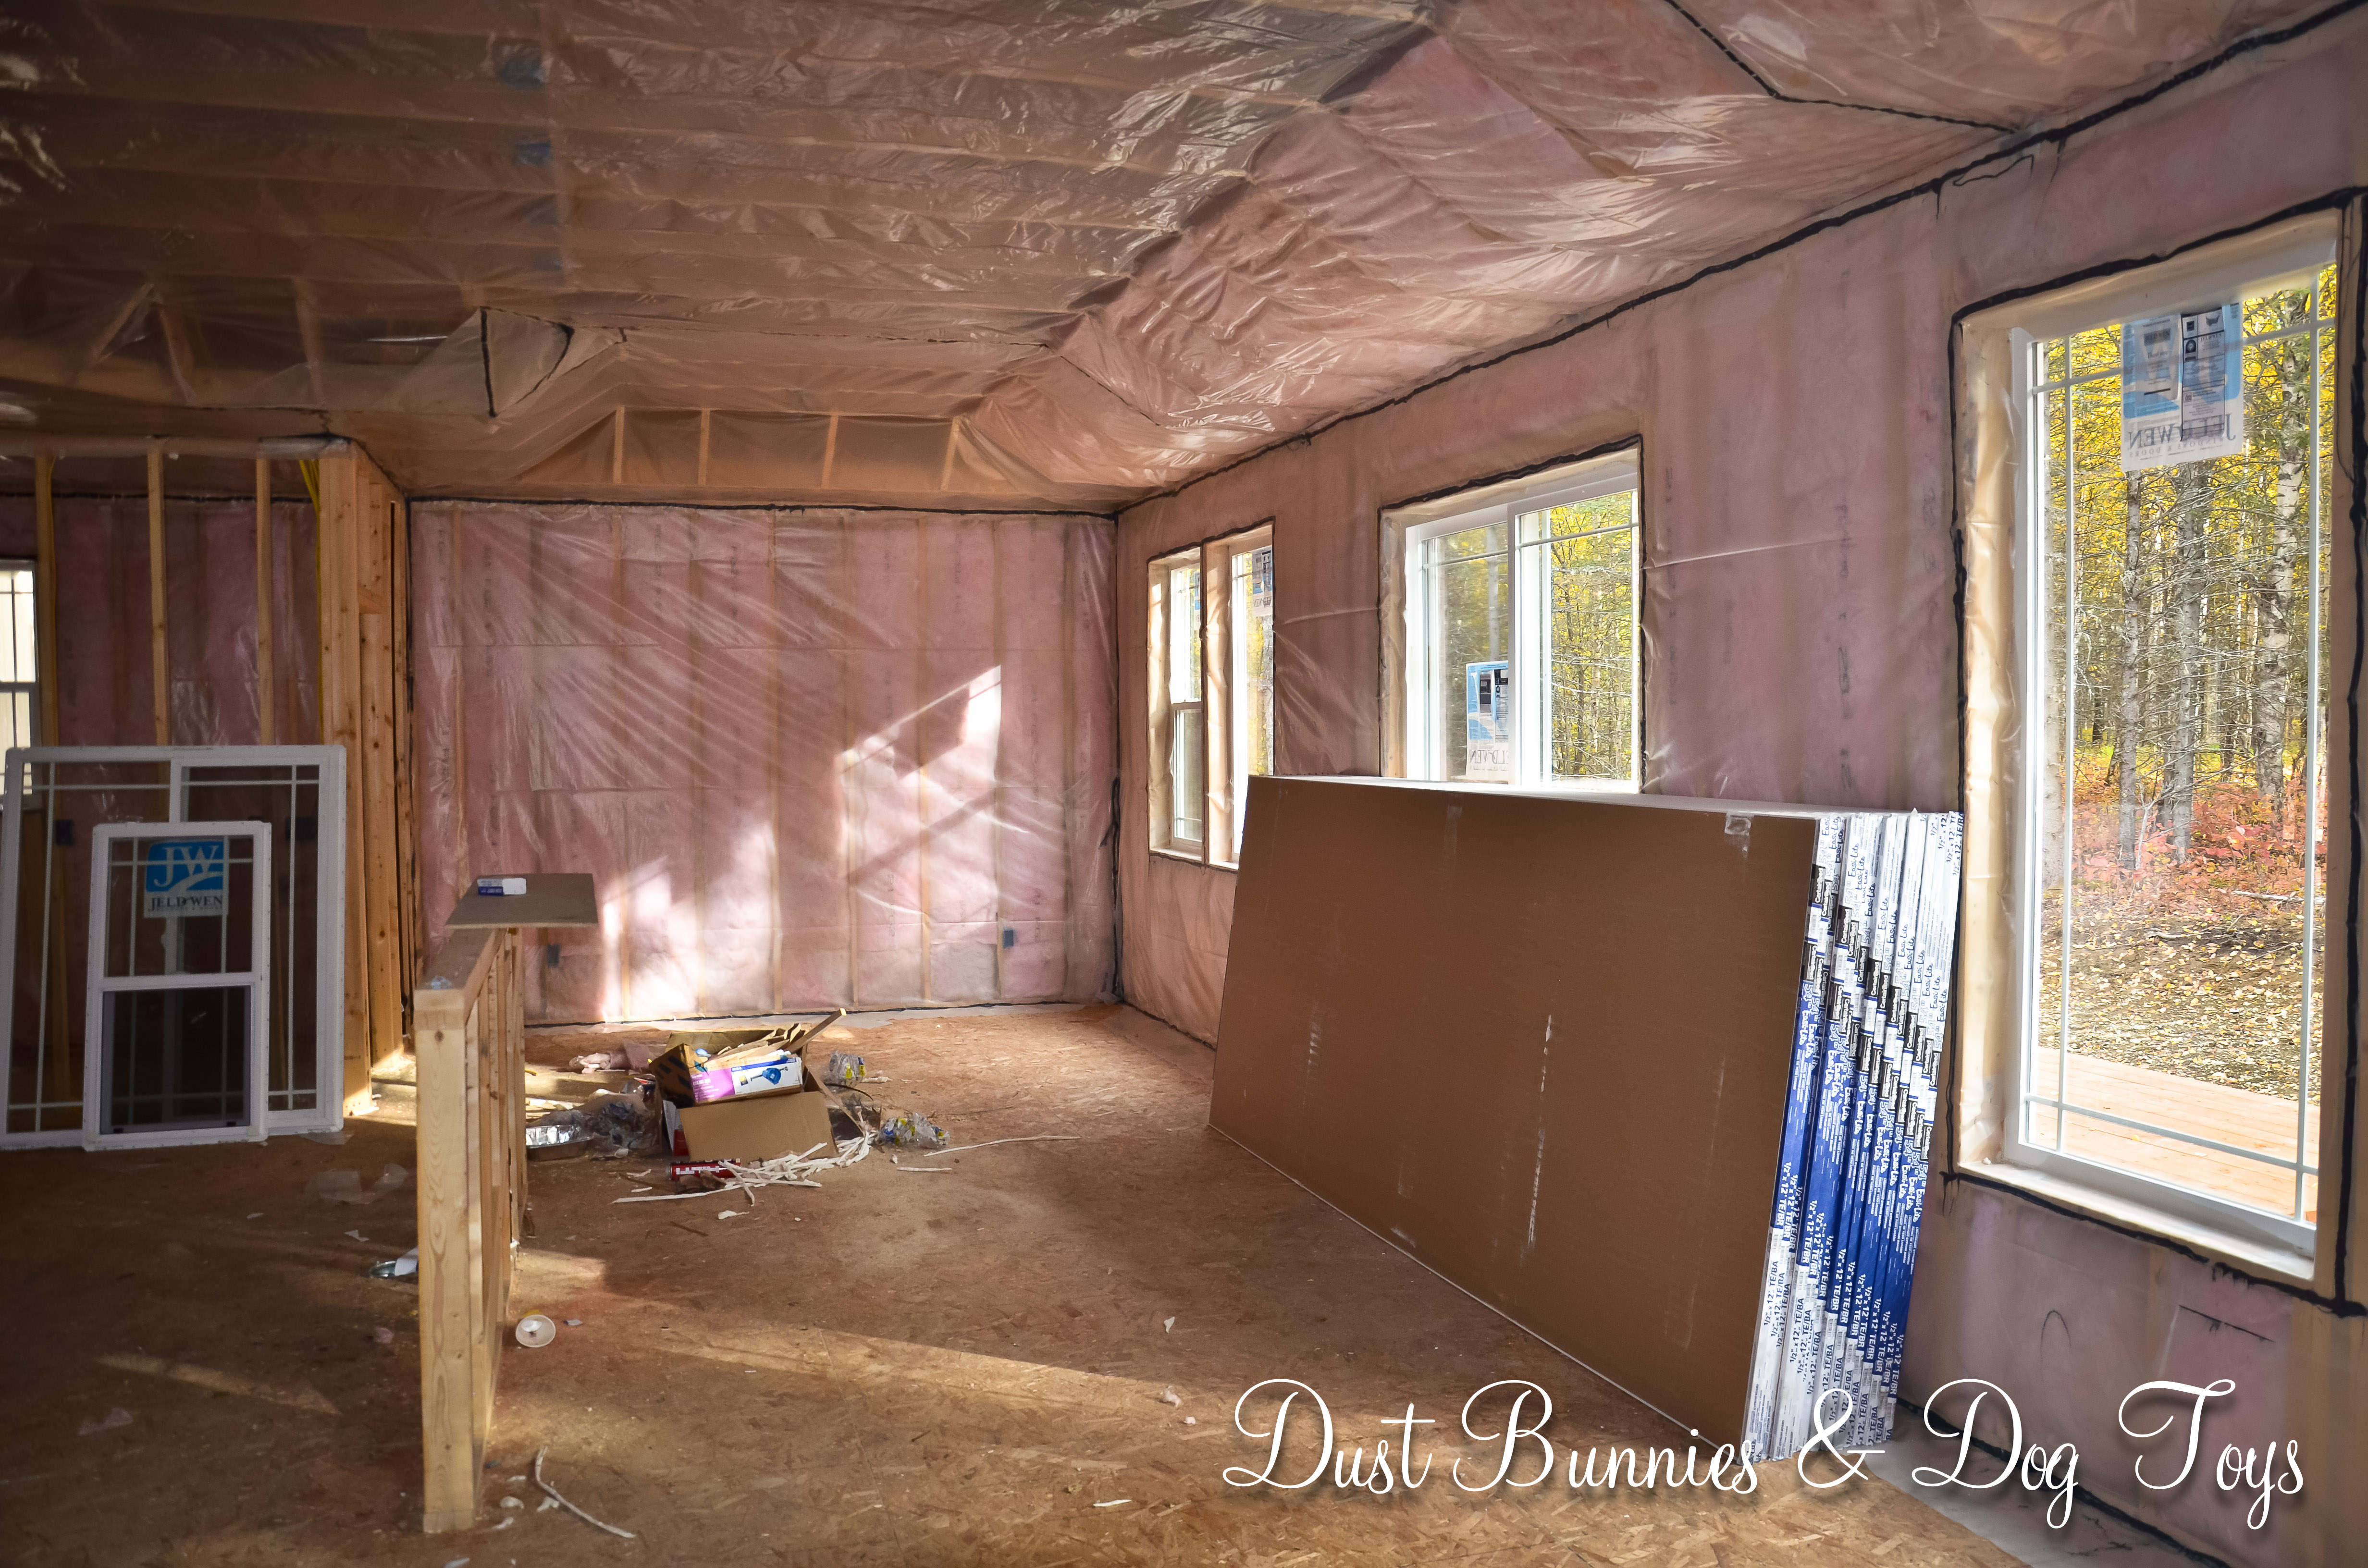
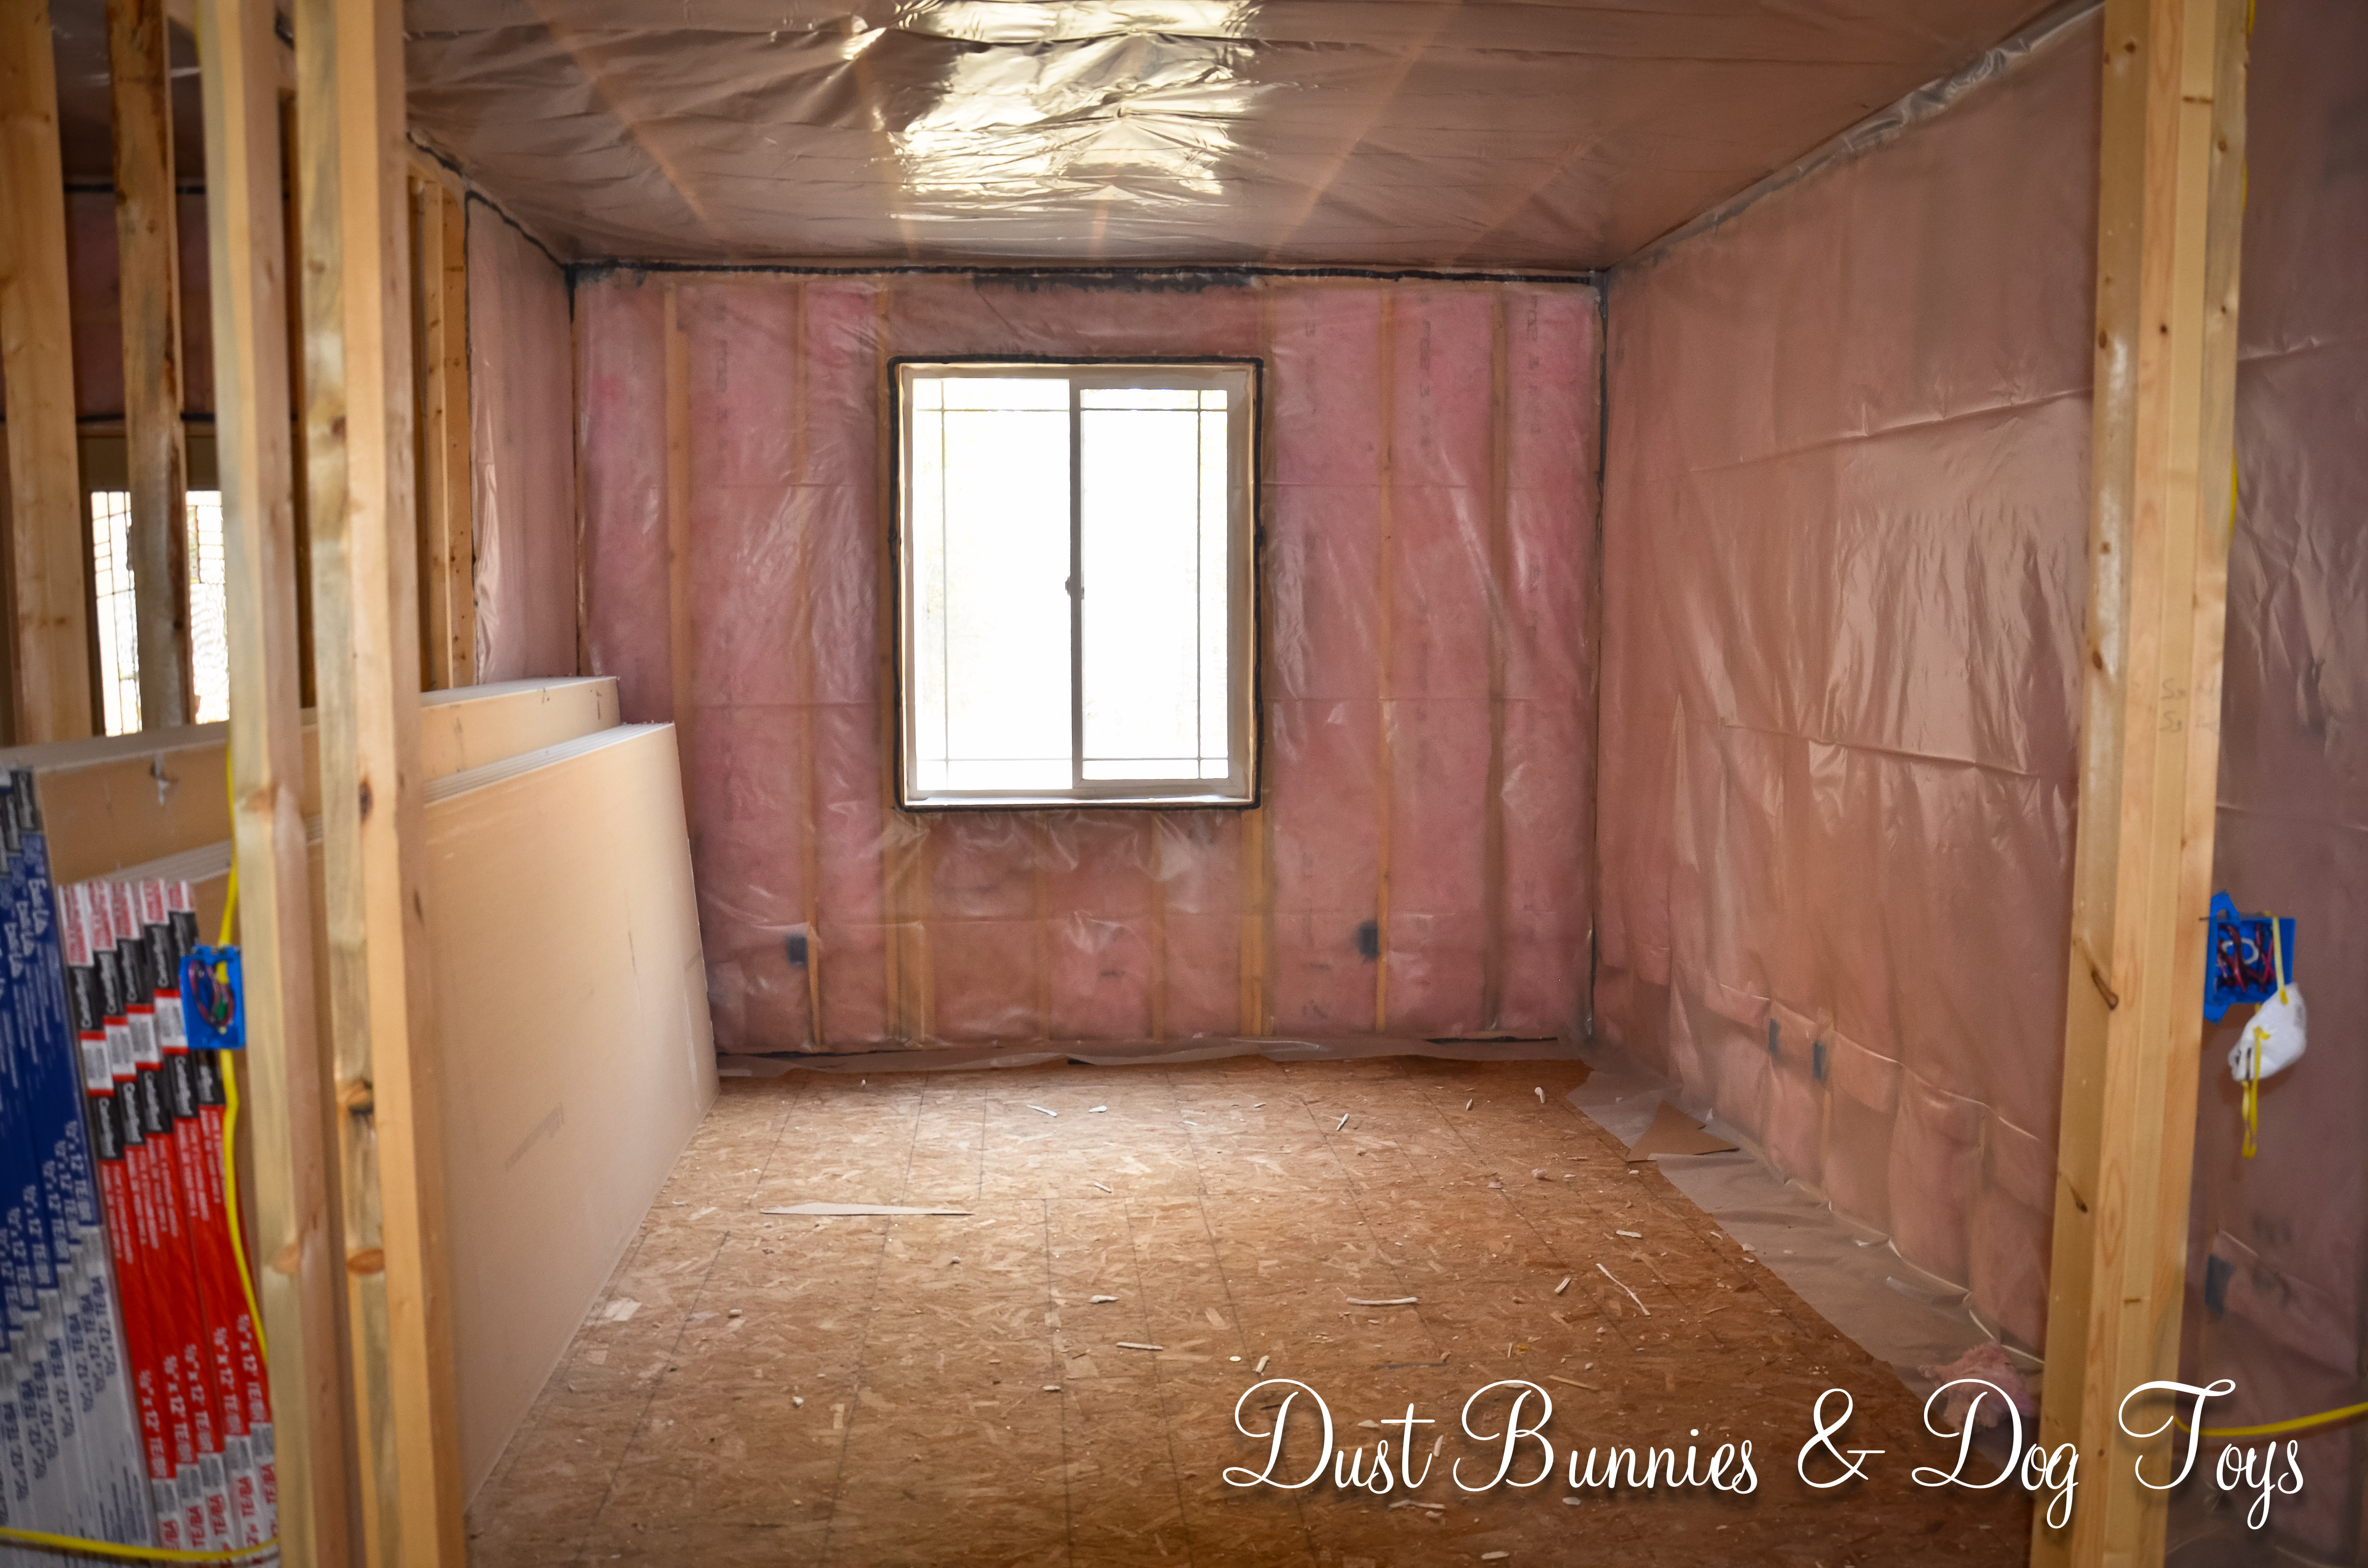
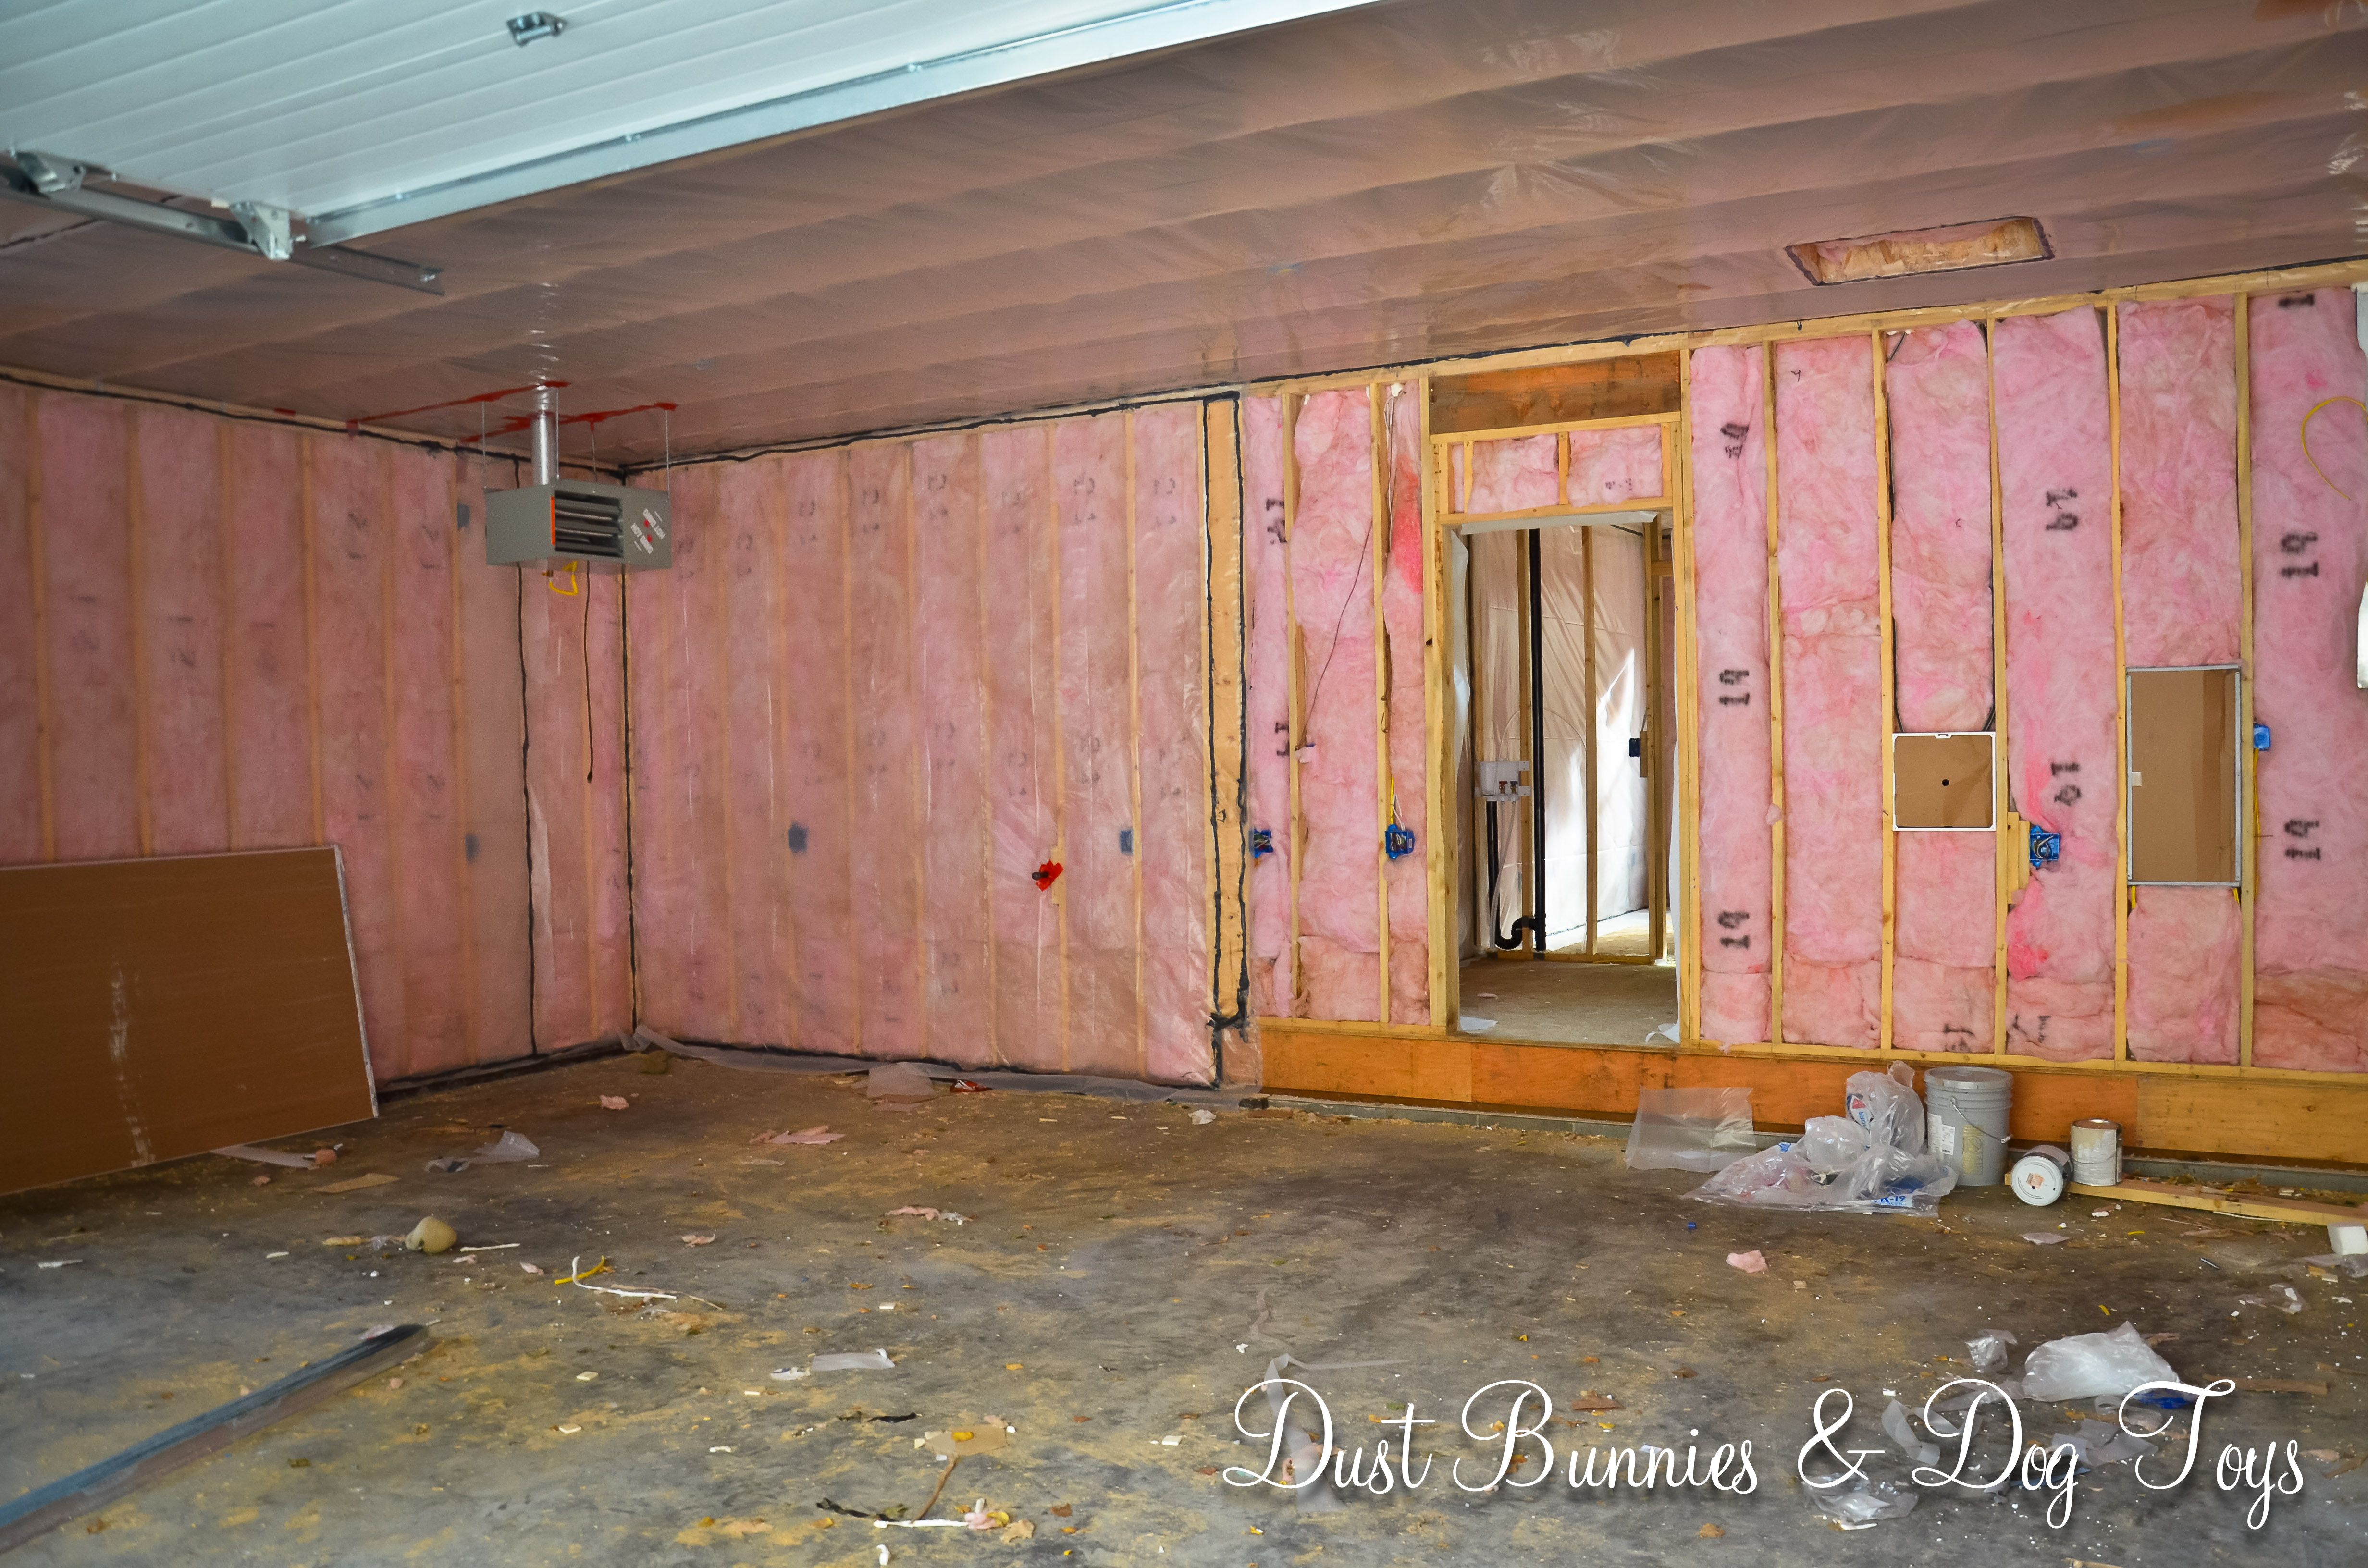
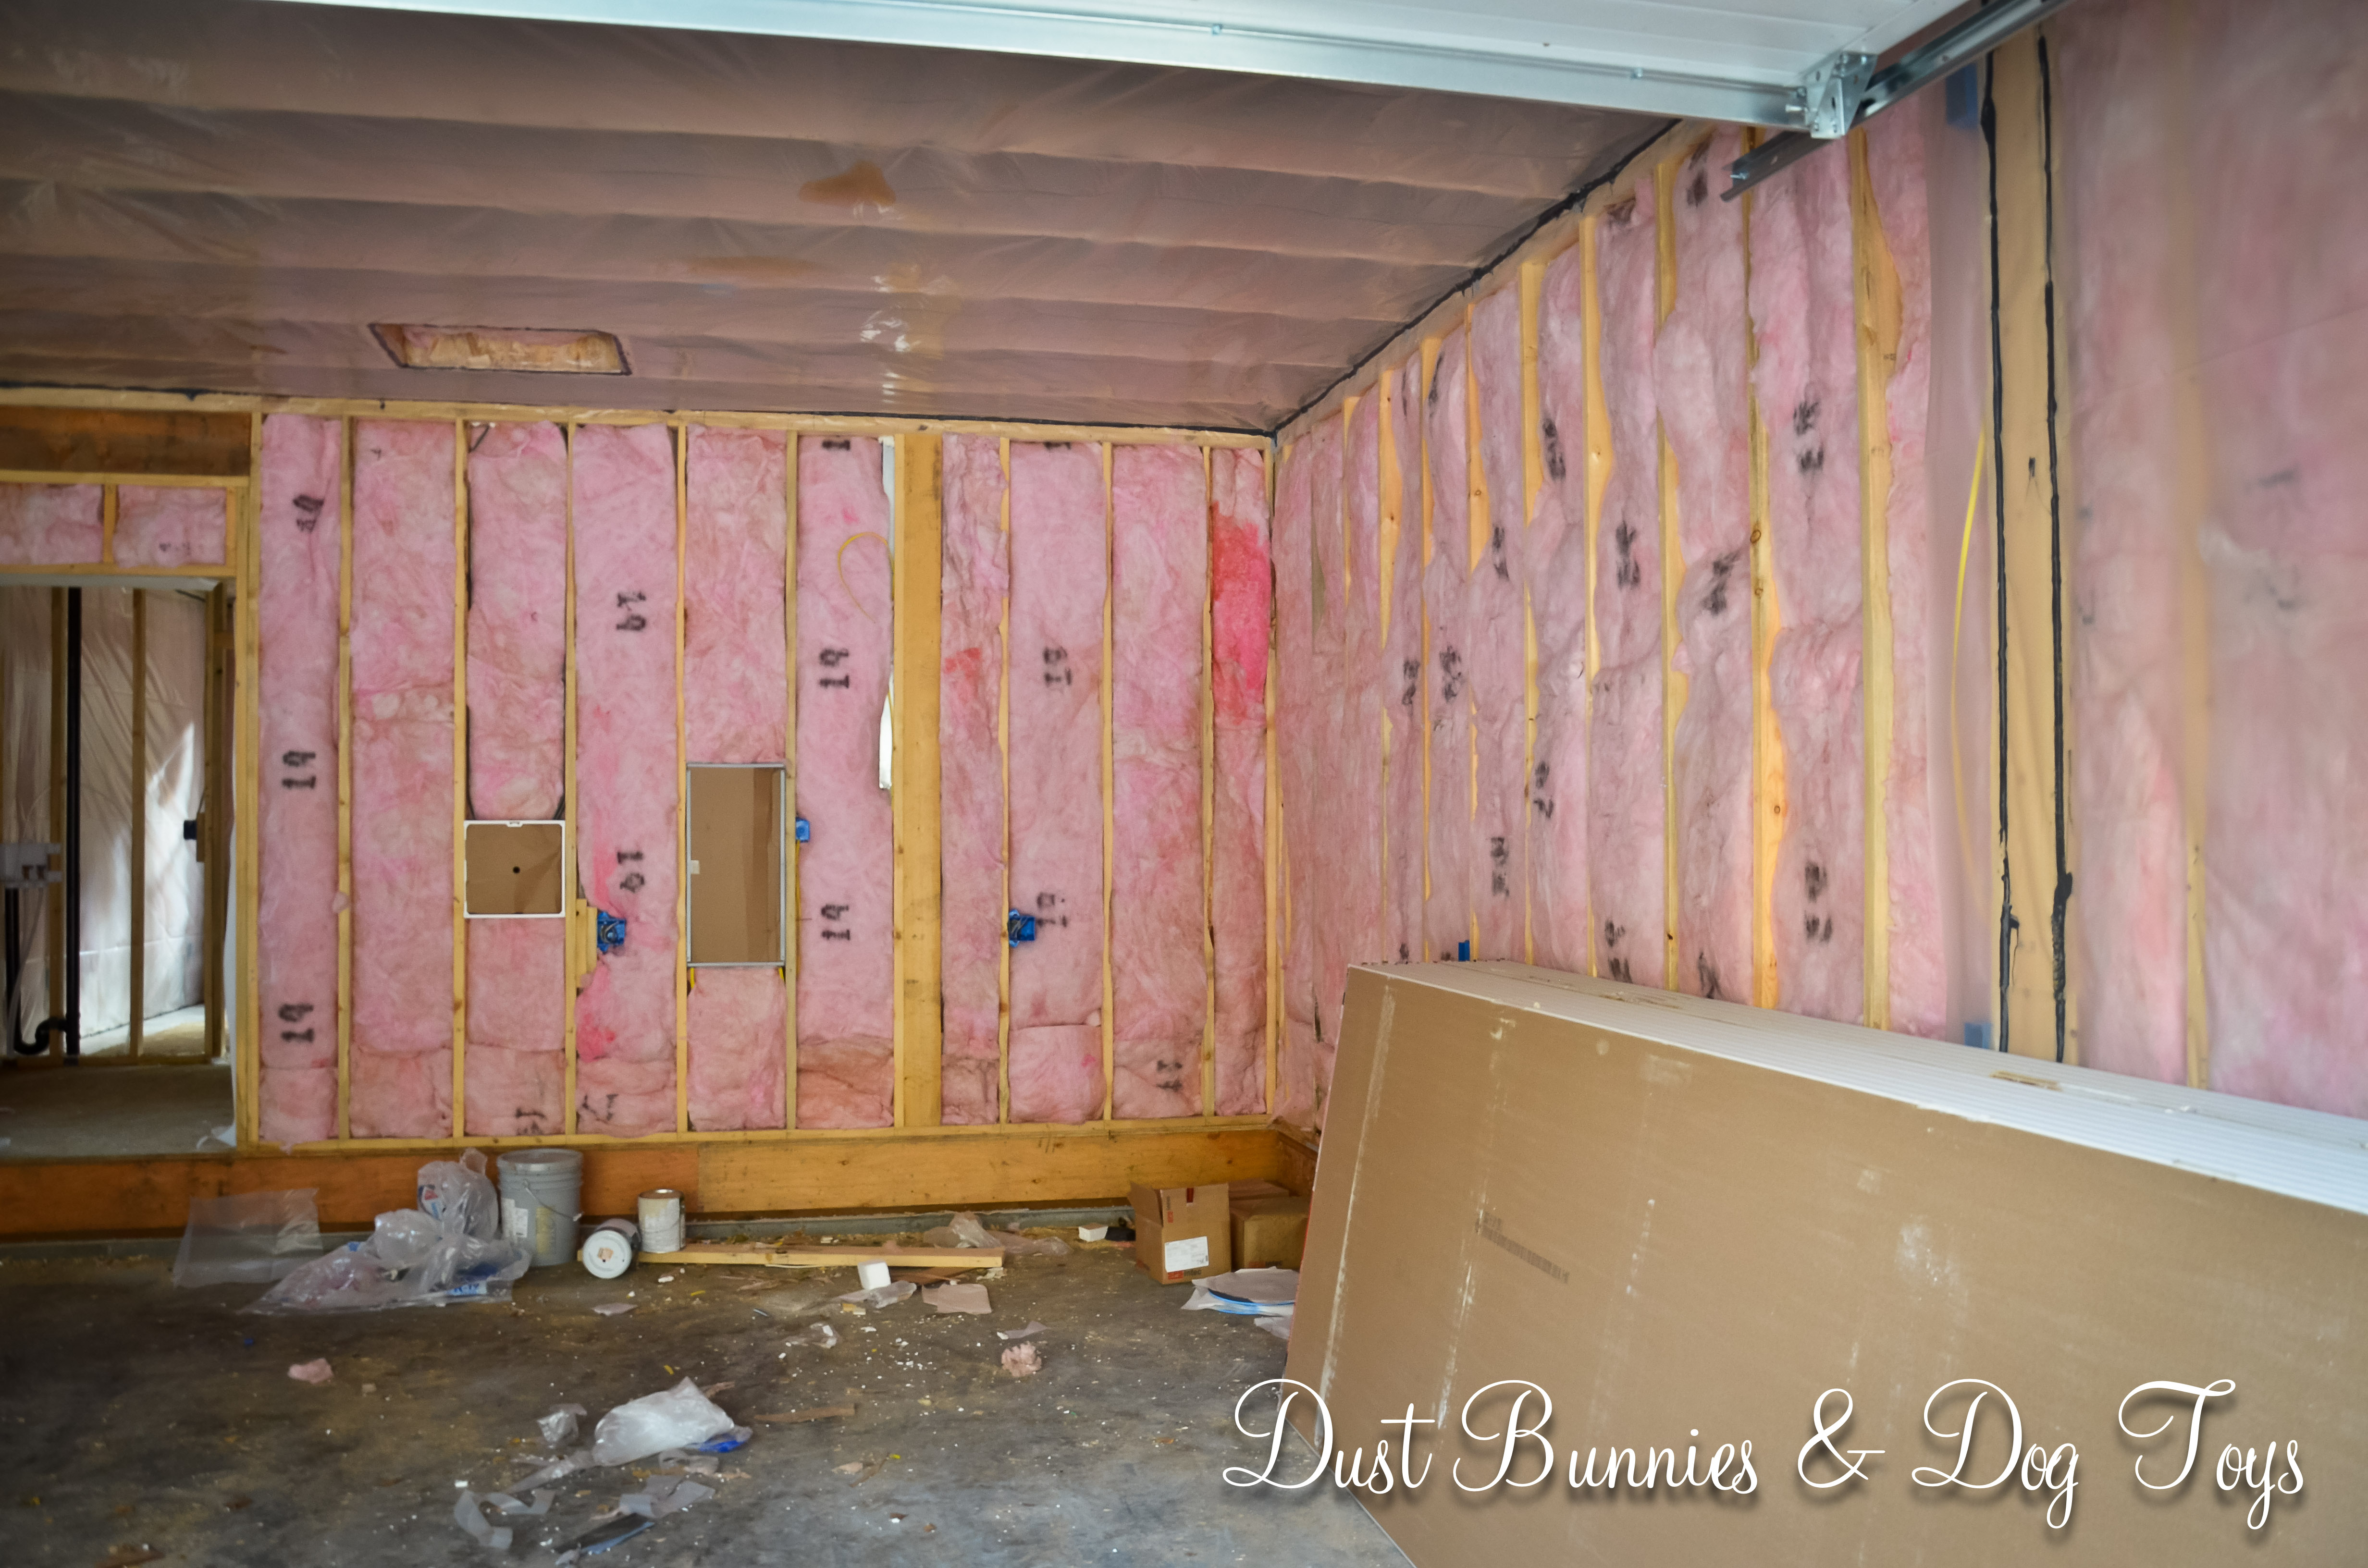
I promised a post about our flooring installation, so here it is.  It’s been a little slow going because we can only go to the house in the evenings after work, but we’ve made pretty darn good progress in just 3 days.  The first night we rented a drum sander from Home Depot and sanded all of the subfloor joints and any spots that had high spots from other portions of construction.  Of course, prep work begets prep work and before we could start sanding we had to cut off the excess plastic sheathing installed on the exterior walls as part of the energy efficiency, which you saw in this post.

1

This stuff was applied with a super sticky and gooey tar-like substance that has been very annoying to clean and work around at the base of the walls.  We could have laid the flooring over top of the portion on the floor, but with all the paint, mud and texture residue on the plastic it just wasn’t a good idea, especially since the flooring warranty could be voided if there is any under layment.

Next up was sweeping all of the dust and debris to be vacuumed with the shop vac.  There was a LOT of dust and a good bit of debris…

2

Once the floor was vacuumed, the hubs started sanding.  At first he did the whole area but we soon realized that wasn’t necessary so he focused on the seams of the subflooring and anything that had a high spot.

3

We started installing the next evening. Each piece has a tongue and groove edge so that it locks into the piece next it on either side without use of any adhesive.  And without need for an underlayment, it can be installed right over the subfloor, as we did.

4

It took us a while to find a ‘system’ with the material, but once we did it went fairly smoothly.  The hardest part was getting those first few rows down so there was something locking the other pieces into place.  There’s been a slight learning curve and a few ‘dang it’ moments, over all we’ve not had any major hang ups. Here’s what things looked like near the end of the first night of installation.

5

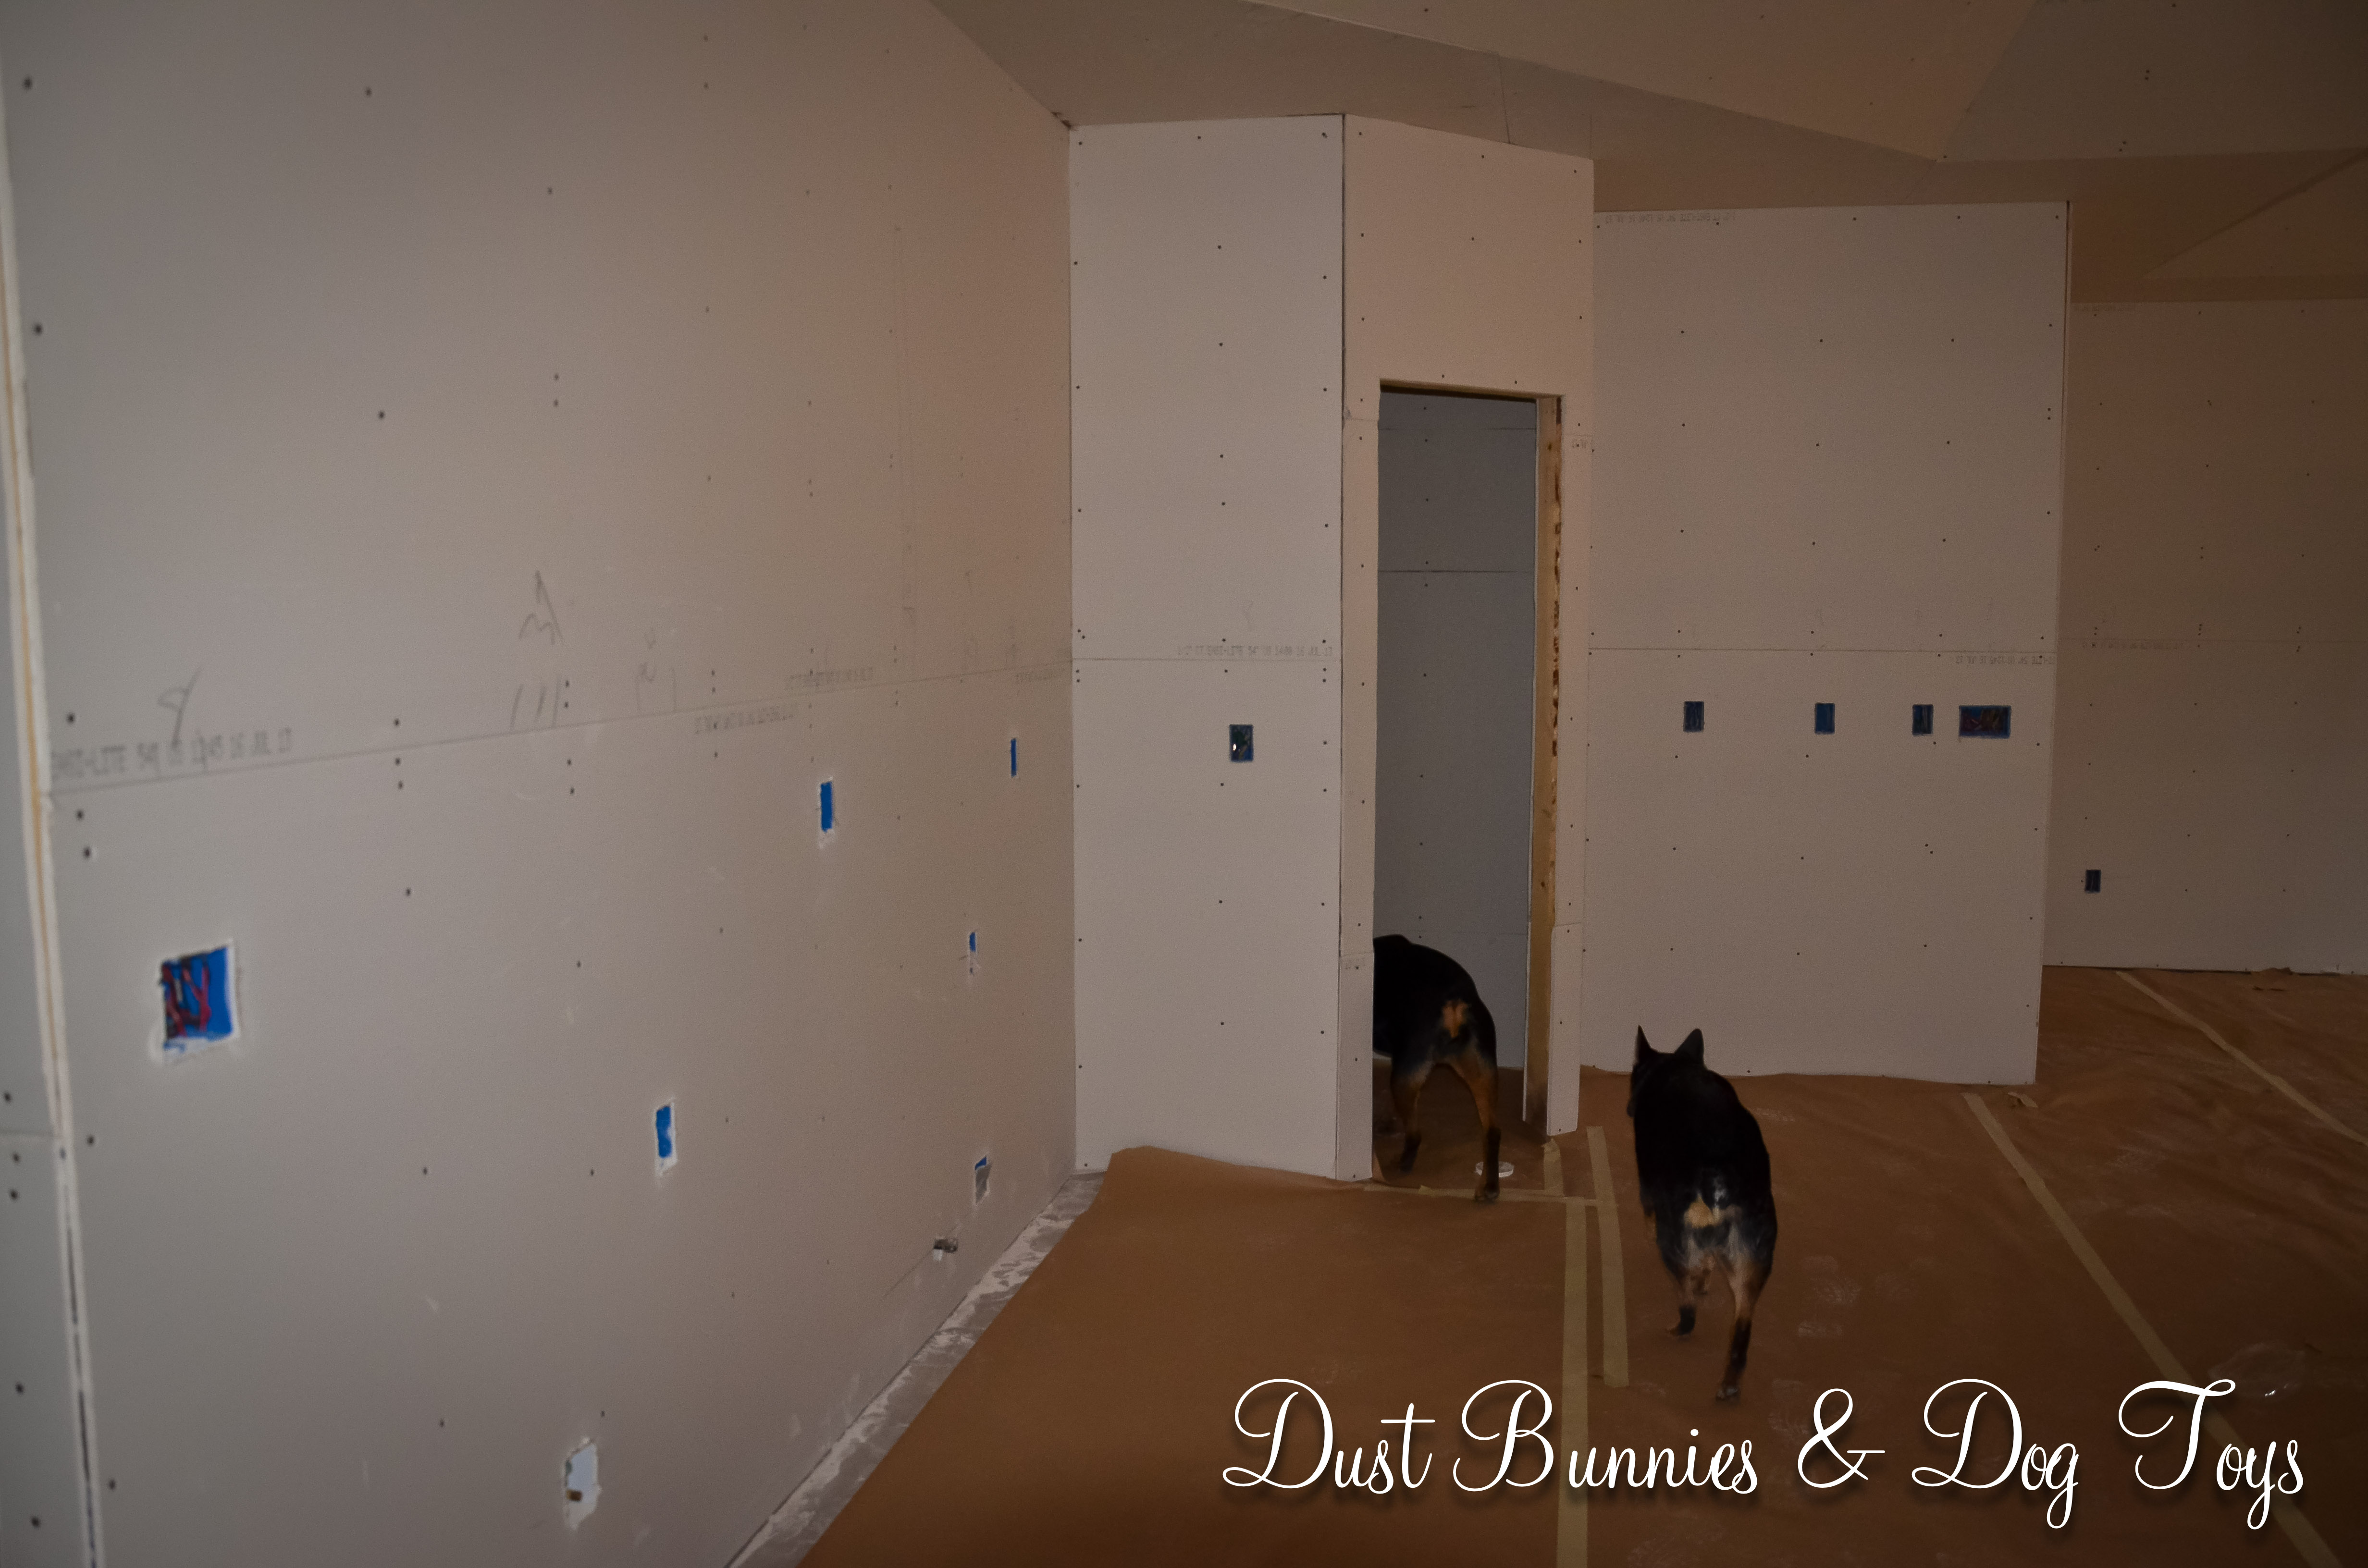
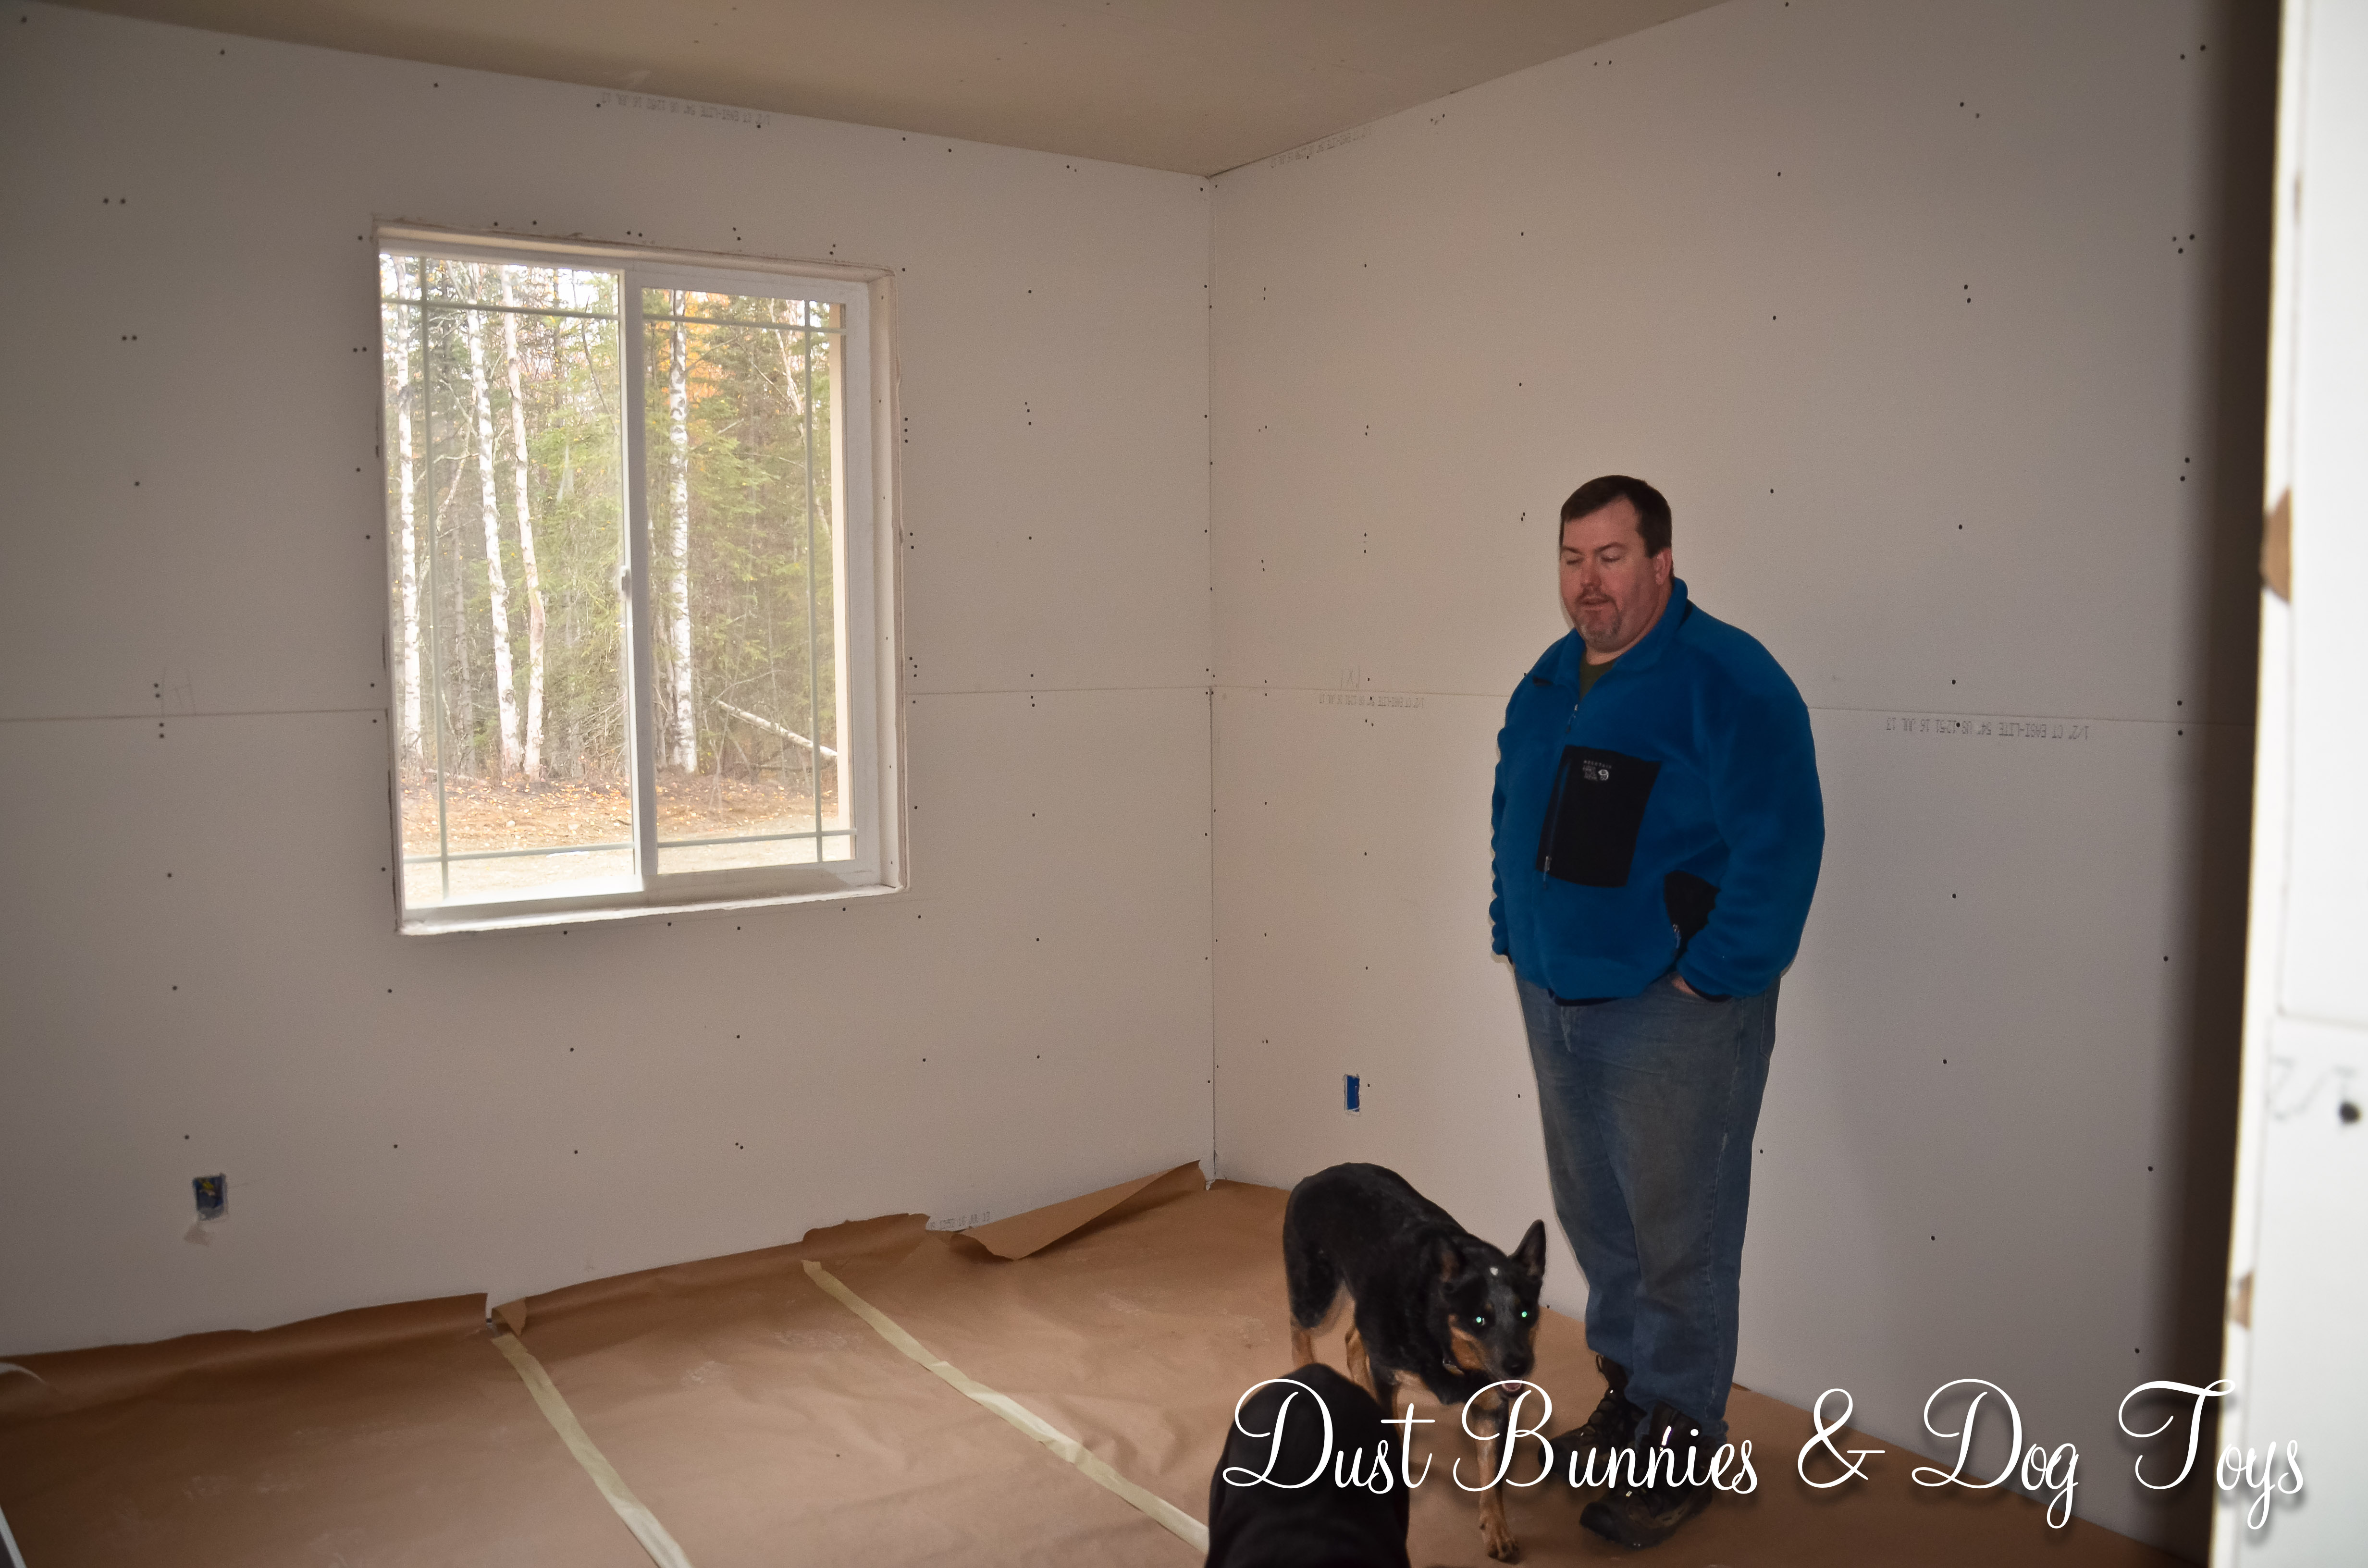
We had the dogs with us while on site and were pleased that they stayed out of the way for the most part.  Granted that’s likely because they’d been to Doggie Day Camp and the groomer that day, and were just plain tuckered out.  Sangria decided she’d hide out in the pantry since it was the one area we weren’t walking through.

Sangria

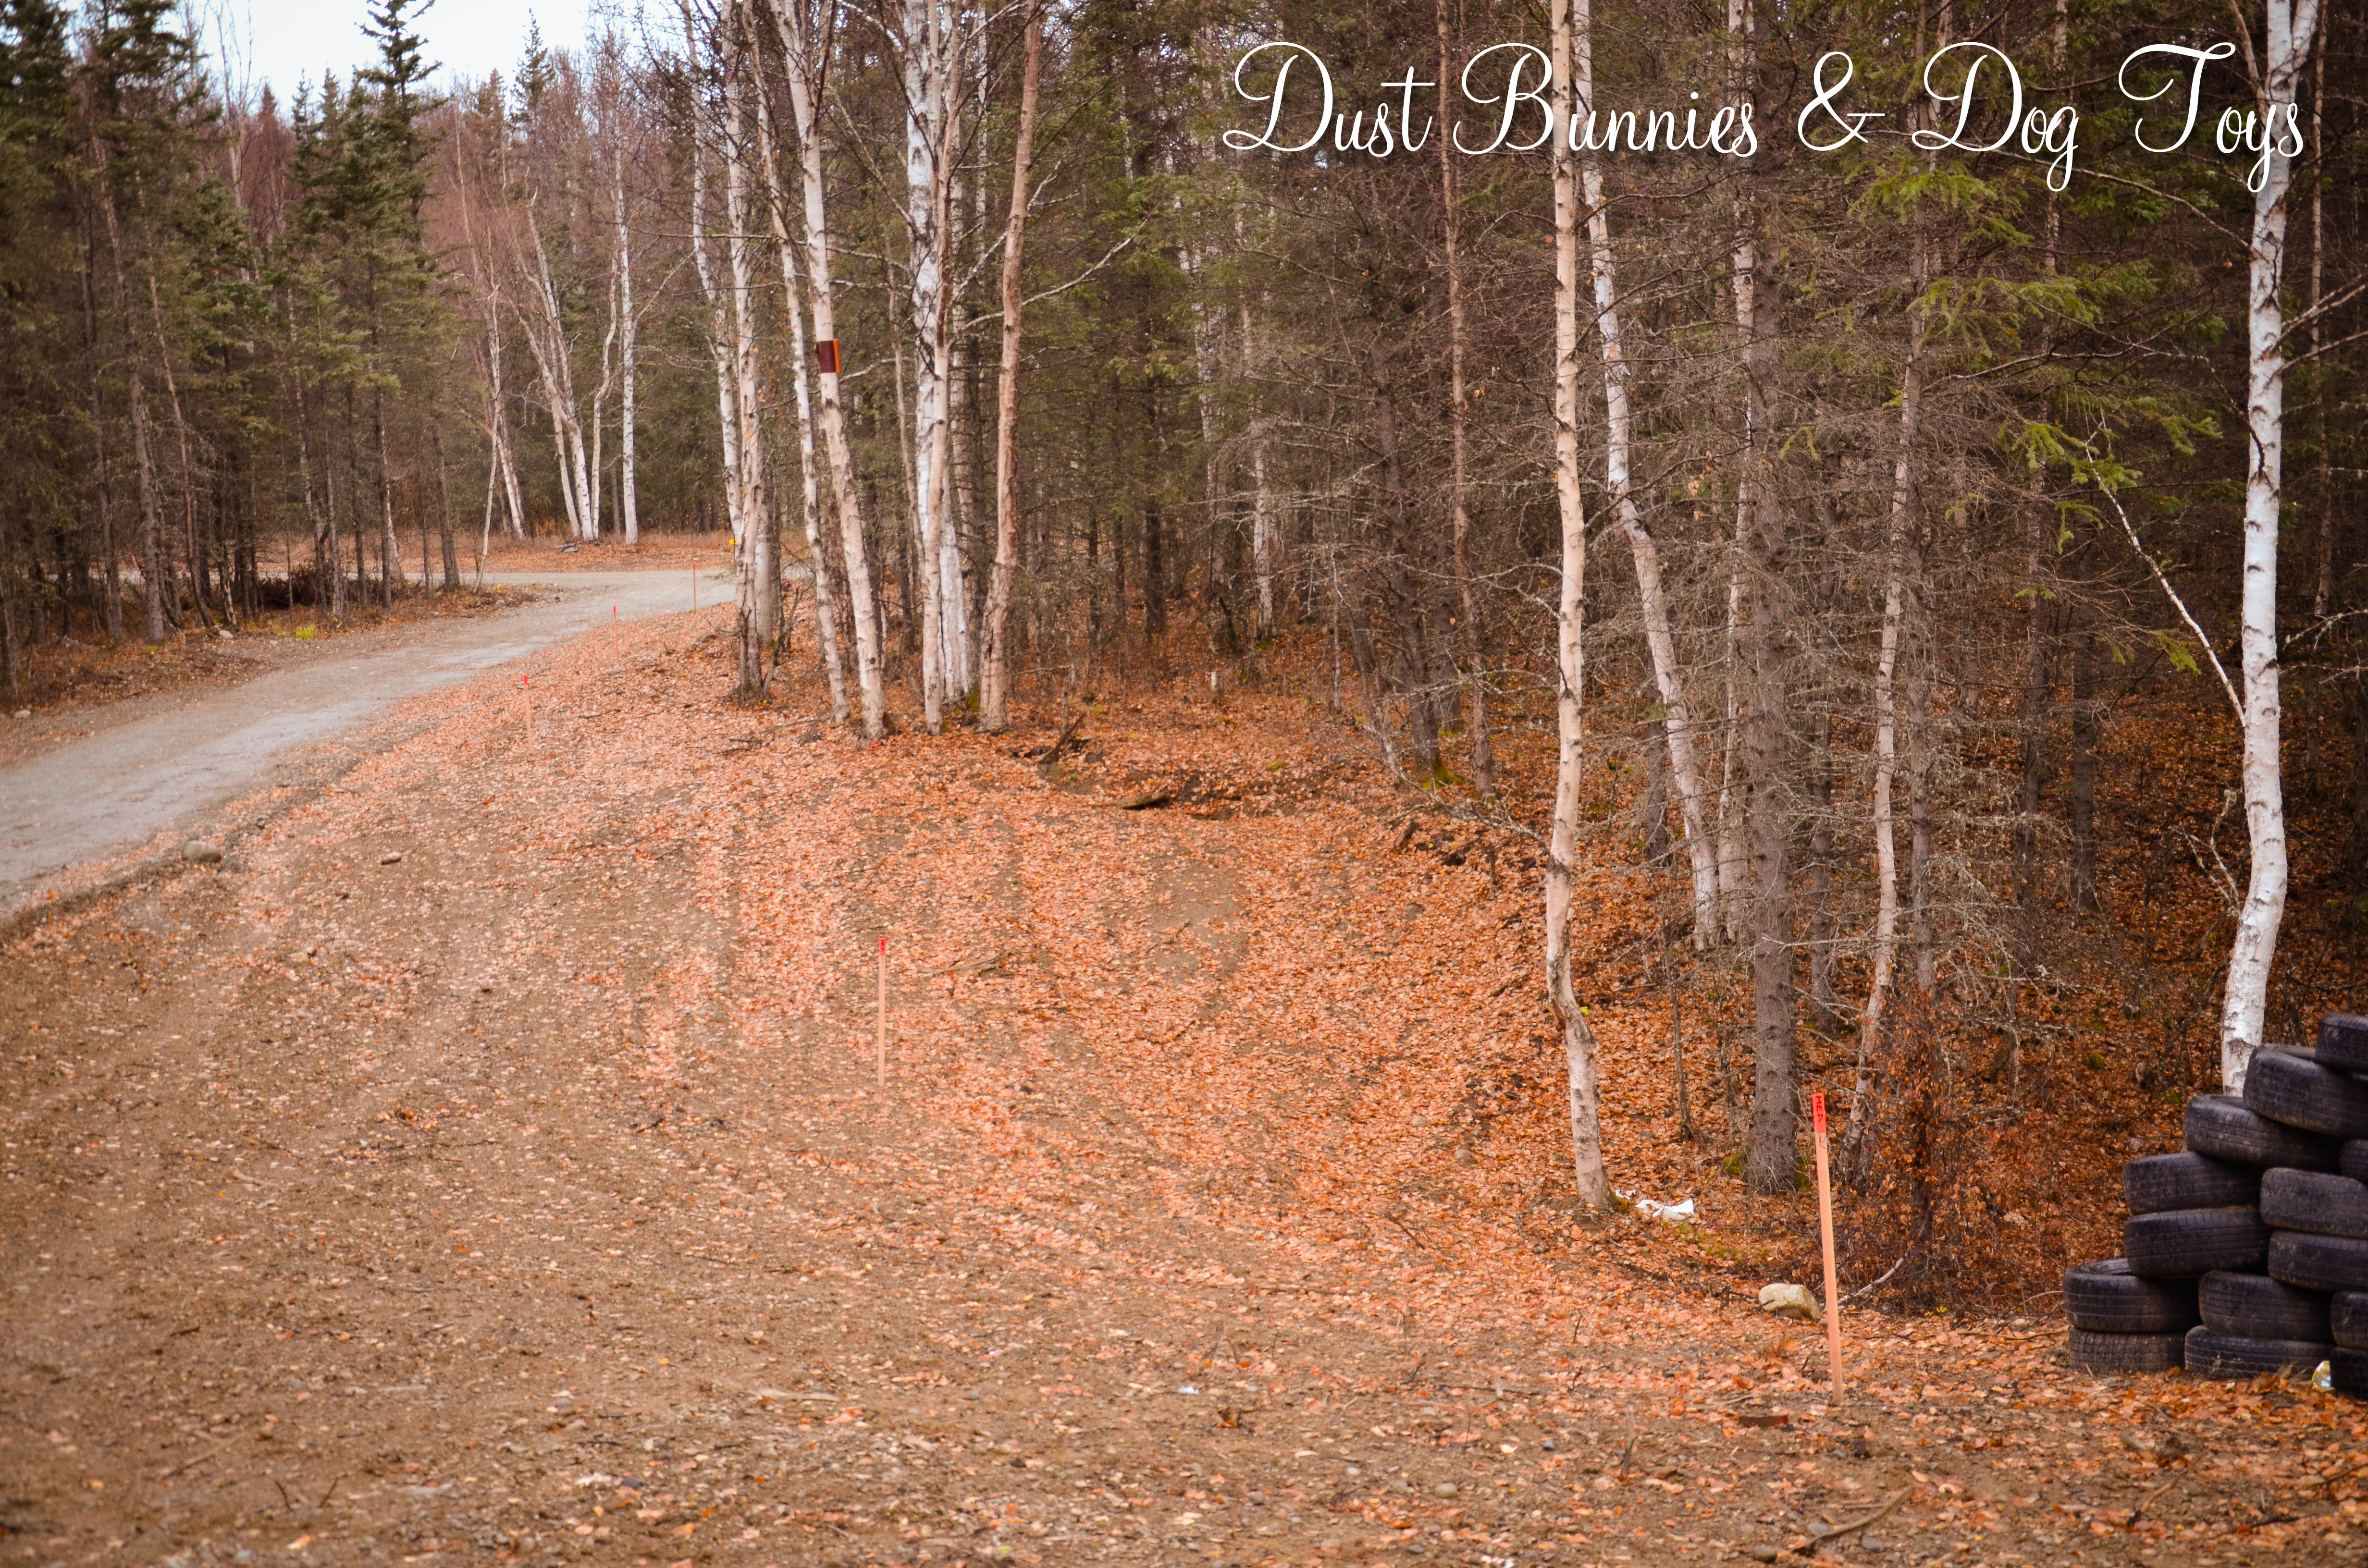
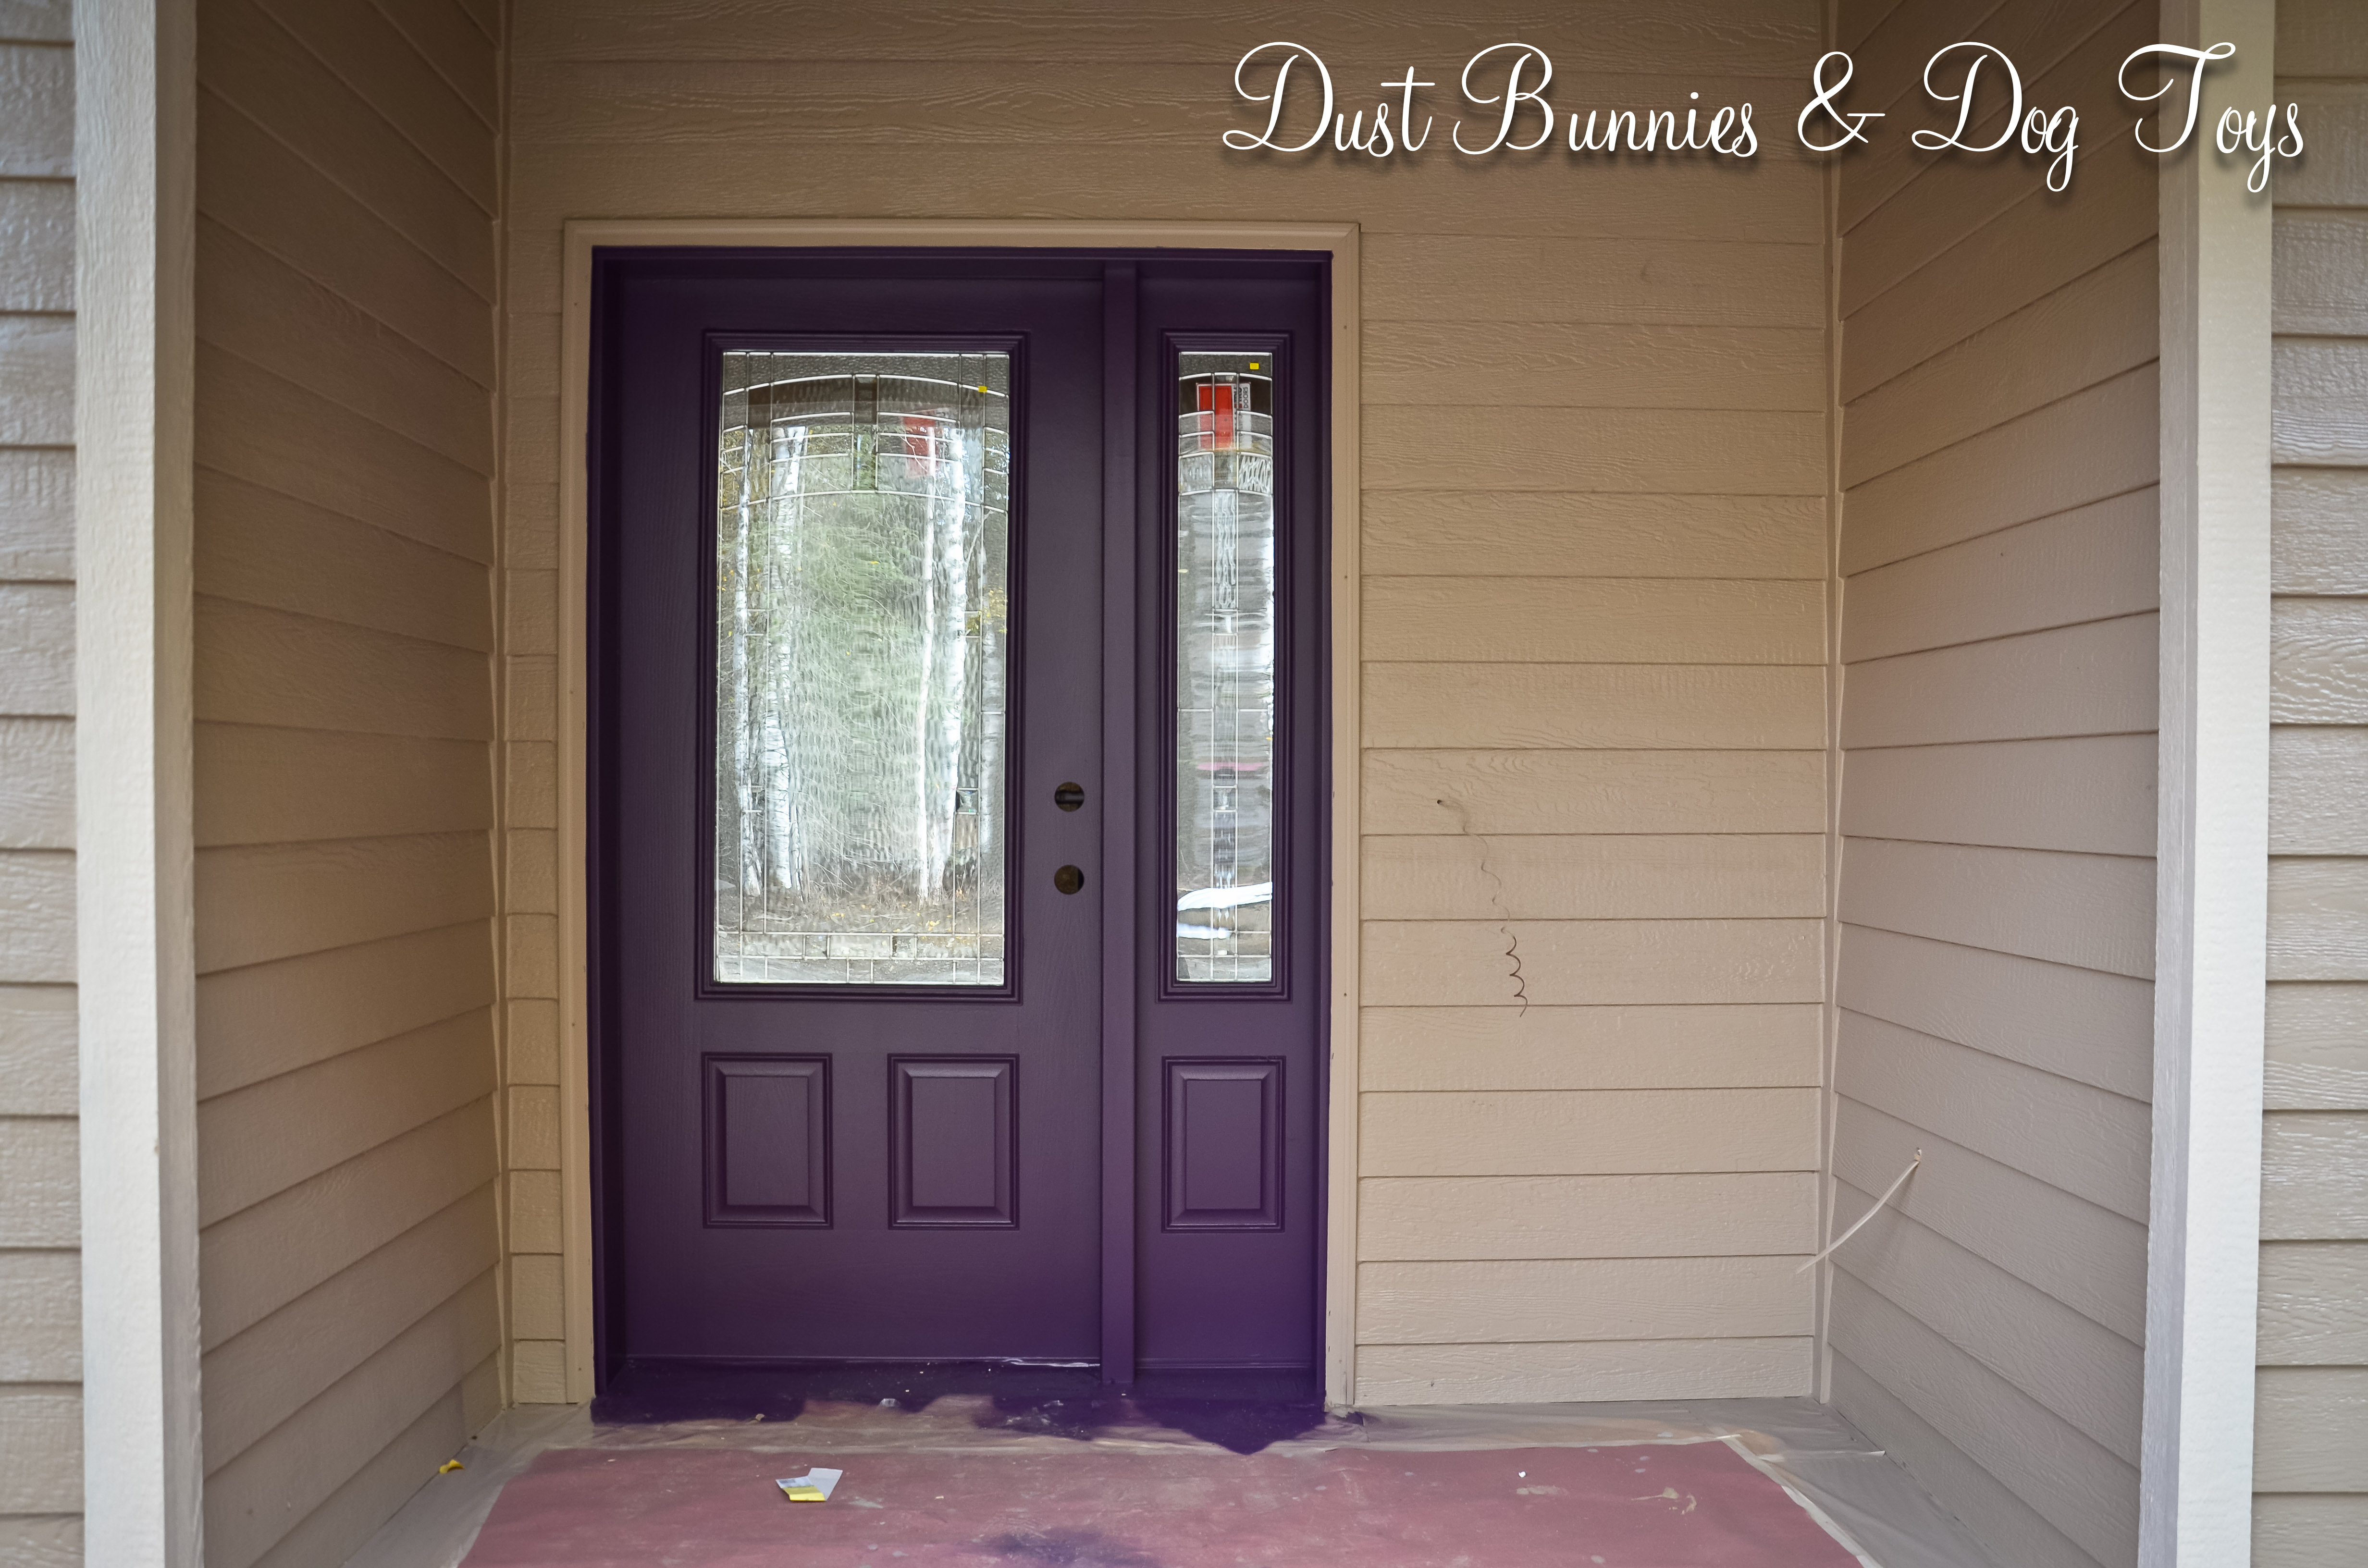
A nearby lot was recently purchased and they have begun clearing for construction.  As we left that evening, I was stunned to see that they not only burned the trees cleared rather than grinding them back into the dirt like our builder did, but they left the smouldering pile glowing unattended!  I have a sneaking suspicion I’m not going to be crazy about this neighboring project, but I’m trying to reserve judgment until I meet actual people…

Fire

The hubs had a light schedule at work today, so he left early to go work on the flooring without me and spent most of the day there.  He made pretty good progress, including some difficult ‘tight spot’ pieces that took extra time to cut.  Here’s what it looks like now (sorry for the phone pics, but it’s all he had with him, since the ‘photographer’ wasn’t around).

T2
Dining room done into the laundry room and the edge of the kitchen.
Heading into the kitchen.
Laundry room, almost complete.
Great room fireplace wall done.

Unfortunately we got a call from the flooring store saying there was some ‘mix up in Seattle’ and the other half of our flooring wasn’t shipped until TODAY!  It was supposed to already be here, so this is quite a set back.  It’s now supposed to arrive Monday or Tuesday and then has to sit on site for at least 1 day before it can be installed.  We’re not sure yet how the will impact the overall completion schedule, but we’ll continue working with what we do have until we run out in an effort to keep things as on time as possible.

Inching Toward the Finish Line

As anticipated the November 1 closing date has come and gone without the house being ready.  We’ve signed an amendment to extend the deadline, but it’s still going to be tight to get everything done.  The hubs and I went to sand the sub floor in preparation for installing the flooring on Saturday, but found painting and cabinet installation in full swing when we arrived, so we weren’t able to get anything done.  We did unload the half order of flooring the vendor had in stock so it could acclimate on site for the recommended two days.  The remainder should arrive tomorrow or Tuesday, so we’ll have to let that acclimate on site as well before installing it.

Flooring

We had a meeting with the foreman and the realtors today to go over the timeline for the new closing date of December 1.  We will work on the flooring every evening this week, and the master bathroom tile should be installed in the next few days so we can finish flooring around that at the end.  Then the following week all of the finish work will be done – trim, doors, electrical outlets, paint touch up, etc.  The should put us at 95% complete for the appraisal the week before Thanksgiving.

The power line has finally been installed, so there is electric to the house now.  They ended up having to take a few more trees out at the end of the driveway to run the line, but getting power to the house is worth it.

2

1

You can see the small green box to the side of the house.  That’s our electrical pedestal.  That side of the house is getting pretty crowded with pips and utility features, so I’ll have to figure out some landscaping beyond my rain garden (which will have a retaining wall made from those tires) to hide them next season.

Inside, things are finally starting to look like the finished vision we’ve had all along.  The cabinets look great with the paint color and the tile coordinates perfectly as well.  Hopefully I’ll have pictures of that later this week, once it’s installed.

Kitchen

Kitchen2

Bath2

Bath

The counter tops are on-site and ready to be installed once the final tweaks are done on the cabinets.

Counters

I tested out the flooring next to the cabinets just to get a feel for it, and I’m pretty happy – even with the dusty paw prints!  I plan to attempt documenting the install over the course of the week and share that, so stay tuned!

Floor

The Home Stretch

1

We made our weekly visit to the house yesterday to find it ready for paint, cabinets, flooring and finishing touches. It’s finally starting to look like the house we’ve been envisioning all this time!

2

3

hallway

The texture is done with a minimal flat finish.

texture

And all of the corners are rounded for a smooth clean look.

Corner

Our builder wants to finish by November 5, but he hasn’t ordered the flooring yet – which takes 10 days to arrive from Seattle and then needs to sit on site for 2 days – so that’s not likely.  We’ve struck a deal with the builder that we will install the flooring ourselves to reduce cost, so that should happen the weekend before Veterans Day.

While we wait to hear from our builder about the flooring we’re anticipating that we won’t close and move until the end of November or early December.  Hopefully, some things can be scheduled simultaneously like the energy rating followed by the VA appraisal to speed things up, but we all know this isn’t a perfect world so we aren’t anticipating it will go that smoothly.

Here’s what’s still left to be done:

  • Paint
  • Cabinets
  • Flooring
  • Electrical outlets & switches
  • Light fixtures
  • Plumbing fixtures
  • Stone work on the front porch and fireplace
  • Interior doors, trim and window ledges
  • Appliances
  • HVAC vents
  • Locks

It’s so close and yet so far away, which makes me crazy.  I’m a planner and not knowing when things will happen makes me crazy.  It doesn’t help that we have to coordinate dates with our current landlord, our lender, my job and the hubby’s new schooling schedule around these unknown dates.  It all has me wishing I could push fast forward and just zip right to moving day.  If things work out, I plan to take a week off for the move so I can unpack and get settled, but we’ll see how things line up with my work schedule. At least it looks like we’ll be done and living in our new home before 2014 arrives!

My Upgraded Desk

Because we know this is just a temporary space until the new house is complete we didn’t want to make anything too permanent.  So, I’ve been using a small folding table as a computer desk since we moved in back in March.  I was NOT a fan.  It wobbled, wasn’t big enough and I’d hit my knees on the supports underneath about a 100 times.  So when I saw a free interior door on Craigslist I decided it was time to upgrade.  We’d already purchased two wood filing cabinets for $50 to replace the ones we sold in the move.  We plan to paint and use them to make a wall-to-wall desk in the new studio, so we used them as the base for the new temporary desk.  A few screws to secure the door to the cabinets and we were in business.  Here’s the before (even prior to the filing cabinets, which lived next to the table for quite a while):

Before

And the after!

After

It’s not my dream creative space, but that will happen in the coming months as we move into the new house.  It is a nice upgrade until then though!  Now I just need to get my business license framed and hung so the wall art feels more balanced.  And notice how all the cords are wrangled into the little box in front of the chair?  The hubby built that based on this!  The bonus to having one made of wood?  It’s a pretty nice foot rest! 🙂

The door isn’t long enough to be a desktop at the new house, so it might become a top for a workbench or perhaps a gardening surface in the greenhouse.  I’m sure I’ll find some use for it – eventually! LOL

Light at the End of the Tunnel?!

Today’s visit to the house today began with a completely finished roof!

3

2

1

And to top that, there was a crew inside muding and taping the drywall!

Inside

Inside2

We didn’t want to interrupt their progress, so we didn’t stick around long, but we were amazed at how fast they were working thanks to some nifty tools!

Tool2

Tool  Tool-Stilts

That TapeTech gizmo was pretty darn impressive.  It loads mud via a hand pump and then applies mud and tape together via a trigger!  And those stilts had built in springs to make walking in them feel so natural the guy said it didn’t take him more than 5 minutes to get used to it.

Tool3

We didn’t see this tool in action, but it supposedly makes doing the inverted corners lightning fast.

Tool4

And of course what’s muding without mixing batches of mud?  A simple drill with an adapter makes quick work of that task too.

The house was pretty darn warm inside too, even without a heater!  It was actually so cozy that the guys working cracked the slider door open because they were getting hot.  Hopefully that means that we won’t have major heating bills!  Plus a higher energy efficiency rating will make us eligible for a bigger rebate after we close!

Outlet

We also discovered an outlet right next to the garage door, which we hadn’t noticed before.  That will be super handy for outdoor decorations and projects!  Now if only someone can tell us what the heck this outlet near the ceiling in the garage is for!  It’s not the garage door opener because there’s one for that on the ceiling in the middle of the door.  Any ideas?

GaragePlug

Well Worth the Elbow Grease

Yesterday I recounted all of the freebies we’ve scored on Craigslist, so I thought I’d give a little progress report on our biggest find – the hot tub.  Here’s what it looked like after the hubs gave it a good cleaning and started working on the plumbing.

B1

After he got the guts fixed, he scored a super deal on supposedly ‘oops’ paint at the box store and started updating the exterior as well.  Here’s a few shots of the difference.

Middle

Middle2

And here’s the finished product, looking pretty darn good for investing less than $100 when a new tub this large would have run us $10-15,000!

Z

Unfortunately, it’s sitting in the garage unused until we move to the new house since there isn’t an outlet for it at the rental and we learned it’s illegal to have a hot tub in your garage in Anchorage!  Who knew?!  Ironically the 220 plug at the new house has been the most expensive part of this venture, bringing our total to approximately $450.  Now we’ll just have to see what it costs us to run!  Wonder if the hubby can rig a generator to a treadmill the dogs run on.. wouldn’t that kill two birds with one stone? 🙂

A Quick Update

First things first, I’m sorry I’ve been MIA recently.  It was a SUPER busy at work last week and I had several photo sessions with new clients (that’s a very good thing!) so blogging just fell to the bottom of the list.  But, I’m back and I’ll try to make up for lost time with a post each day this week – although don’t hold me to that! 😉

We made our weekly visit to check on the construction progress at the new house on Sunday and didn’t see much visual change, but that doesn’t mean things didn’t happen.  The gas line was installed, as evidenced by the gas meter on the side of the garage.  That means there is progress still happening while we were sorting out the electrical issue – more on that in a minute.

Gas

We also know that R19 insulation was ‘blown’ into the attic, since Matt was there when the contractor arrived earlier this week.  Of course I don’t have any pictures of that, but I’m sure the home inspector will confirm it’s all there.  As you can see below the metal roof is still not complete, but it is closer than it was last week.

Side

One major thing we noticed is that the debris on the lot has been cleaned up.  Remember how there was a huge pile of trash and scrap on this side of the house last week?  Well it was moved to the front and apparently burned based on the ashes seen on the right in the picture below.  It’s a good thing that Matt pulled out the usable pieces and set them aside in the woods when he was on site earlier this week!! Granted there are still items on the edges of the clearing that will need to be collected and a few items in the burn spot that weren’t completely destroyed that will have to be removed, but overall it’s looking a lot cleaner – which soothes my Type A personality!  Although it does make the dirt splatter from the recent rain more obvious… Luckily, I reminded myself that will be eliminated when we landscape next summer.

Front

Front2

Most importantly, there were signs of progress on the electrical line being run.  The short story is that the seller of the lot did service the lot as he agreed to do, but not in the way that would have been most convenient or cost-effective for us.  So it boiled down to our options being 1.) Cut a 15′ wide stretch of trees from the front corner of the lot opposite the driveway to the house for the line to be run, at an additional cost of $3,000 if we cleared the trees ourselves or 2.) Pay an additional $3,500 to have the line run down the road and up the driveway to the house.  We chose to maintain the privacy and potential resale value by paying the extra $500 to go the extra distance.  Unfortunately, that meant we were over budget and needed to adjust the numbers with our lender.  Although I’m not happy with the increased cost, I am pretty proud that the only reason we are over budget is out of our control.  Every other selection and decision was made within budget at our original sales price and allowances balancing out.  Not many who build a home can say that!  Here you can make out the stakes that mark where the line will run up the driveway and to the side of the house.

Line

Hopefully the actual line will go in this week and progress can resume inside with muding and taping, then finish work!  With all the recent delays, we’re now estimating we won’t close and move in until sometime in December.  Sigh.  I really want to spend Christmas in the new house, but ultimately my goal at this point is to be in the house by the end of the year.  Fingers crossed! 🙂

Visible Progress!

We did our weekly visit to check on the construction of the new house today and were happy to see that the roof is almost complete along with the drywall!  It looks so different seeing solid walls.  Luckily, all of the rooms seemed about the size I anticipated.  I know adding drywall can make rooms feel smaller, so if I like the space now I should really love it when it’s finished and painted!

1
The roof is done on the front except for a small part on the garage and the edge caps.
2
Inside the main living area from the laundry room door.
Main living area from back side of the kitchen.
Kitchen and dining room from the front entry way.
Corner pantry in the kitchen.
My future studio!!
My future studio!!
The corner of the entry way and hallway from the living room.
The junction of the studio, entry way and hallway from the living room.
Entry way hallway.
Entry way hallway.

The hallway from either end.
9

Guest room #1.
Guest room #1, or “Foster” room.
Guest room #2
Guest room #2
Master Bedroom!
Master Bedroom!
Master Bathroom corner tub and edge of the shower; the doorway on the left leads to the toilet room.
Hallway bathroom.
Hallway/guest bathroom.
Garage.
Garage.
Back of the roof, about 2/3 done.

Now we’re just waiting to get the power line figured out with the electric company.  There’s been a bit of a snag in deciding where the line will come from and how it will be run, so hopefully that gets resolved this week which will finalize the electrical inspection and allow the crew to get mudding and taping can be done before the cabinets are installed and then flooring.  Stay tuned! 🙂


Another Little Update

Here’s a quick update on the house as of last weekend.  The electrical is done except for the actual power line from the road to the house, which has to be done by the electric company.  The insulation has been installed and sealed with plastic for energy efficiency on all exterior walls.  Drywall will begin being installed this week, which will start to give us a sense of the actual space in each room.

Inside
The dining room, kitchen and family room.


InsideStudio
My studio/craft/office!
The entry way.
The entry way.
The master bedroom.
The master bedroom.
The garage, with garage doors installed.
Inside left corner of garage.
Inside right corner of garage.

Most importantly, the metal roof was started!!  The roofer estimates 10 days to a week to complete due to the special cuts required with the front elevations.  He also told us that the roof has a lifetime warranty, but that we may have to replace the rubber washers on the screws after 25 years.  Ummm.. ok.  So basically, it’s maintenance free and may even outlast us living in the house.  We’re very pleased with how the brown color compliments the other house colors. And having seen it, we’re really glad we didn’t choose the copper color instead which would have overpowered the house! 

The front side of the house with roof being installed!
Backyard
The back of the roof, not yet started, but the deck and stairs are done.

 One other big thing outside is the painting of our front door in the fabulous Mata Hari color I discussed here.  I absolutely LOVE how it turned out and can’t wait to start decorating my porch for every holiday!

My purple front door!

We’ll make a trip up again this weekend to check on the progress, so stay tuned for more pictures after that!

My Latest Splurge!

Although we’re still several weeks away from moving into the new house, I’ve been watching several sources for the perfect pieces to complete the look I want for several spaces, including the entry way.  I knew I wanted a table that I could decorate with seasonal items, but that also served as storage for my stock decorating materials (candles, cloches, baskets, etc.).

1100I spotted this beauty at a local antiques store last year while visiting Anchorage, but was aghast at the $1100 price tag!  I’d since watched it move around the store with a price drop each time I saw it.  The latest was a reduction to $850, which still seemed high to my bargainista conscience.  I told myself that if it was still there once we moved in I’d bite the bullet and make the purchase, taking a stab at negotiating a lower price first of course!

Then a few weeks ago I found a new local woman-owned business called Persnickety’s Attic who refinishes found pieces and advertises on Facebook.  I’d liked several of her pieces, but hadn’t seen anything that fit exactly what I wanted for the new house.  That is until she posted this beauty!

Dresser

Yup, my dream entry buffet’s long lost twin!  And at $575 she practically sang a siren’s song to me!  I confirmed the measurements were similar to the first “high-cost” piece and would fit the space, but was then out of town for our recent trip.  Luckily, another fan who was interested said it wouldn’t fit the space she wanted it for, so it was still available when I got back.  It was very hard to part with a big chunk of money so soon after our trip, but this is the real deal – a solid antique military dresser, which means it will last FOREVER!

DresserCabPlus it has LOTS of storage for all my decor items, including the tall vases and glass domes that don’t currently fit in the Craigslist dresser we found earlier this summer.  With a cabinet this deep on both sides I might even have to add a shelf on one side!  I’m already envisioning all my treasures stacked neatly where I can find them at any time!

Unfortunately, there is no room left in the rental for it to be enjoyed, so it will live in the garage next to the hot tub until we move.  I’m very tempted to move all my decor items into it just to see how everything fits.  Yes, it’s neurotic to do so, but I thrive on being organized and having all my decor stuff together where it will eventually live is music to my ears.  Yes – I know I’m crazy like that. 🙂

9It’s going to look fantastic in the new entry way which will look almost identical to this, except with our wood style floors throughout and prettier chandelier.

I’m thinking a hand-made driftwood mirror similar to this above it (although turned length-ways) would finish off the look and provide that ever important spot to make sure you don’t look like a hot mess before answering the doorbell.

What do you think?  Did I find a perfect look-a-like at a fraction of the cost?  Will drift wood compliment the finish or should I do something other than a mirror above?  I curious to hear your thoughts!