We’ve Got Mail!

The first necessity at the new house was a mailbox!  Because our home was new construction, we had a brand new address which required a new mailbox.  Out here in the boonies the route carriers call the shots, rather than the main post office and its common practice to have a ‘group row’ of mailboxes at the entrance to the neighborhood rather than individual boxes at each driveway.    Boxes

Our route carrier requested that we either add a new box to the group row or rent a lockable box in the group terminal next to the row.  When we discovered that the rental box was almost $200/year and required an annual contract we opted to go with a personal mailbox.

We picked out one we thought would stand up to the elements and I had grand plans to paint our address on it with the same gold paint I used for my gold dipped wedges.

BoxeBefore

That idea quickly went down in flames when the stencil didn’t fit well and the first letter turned out like this.

BoxD

My next option was to use my Silhouette, which still had to be unpacked and set up. So the next day I found the Silhouette and set it up along with the computer.   I chose a simple font and measured the size I thought would look good, then arranged our name and address for the front flap.

Sorry, not sharing our address just for safety. :)
Sorry, not sharing our address just for safety. 🙂

Once the design was cut, I applied it to the front of the box, pulling off the excess vinyl and leaving behind the necessary text.

BoxArtApplied

BoxArtApplied2

I was quite proud of my handi-work and went to show the hubs who noted that we didn’t have to put our name on the box, just the address.  My response: “Oh.”  I wasn’t about to tear off my hard work, so I just removed the name when I resized the same art or the side of the box.

BoxFinished
The un-distorted address really does look sharp. Wish I could share it with you all, but better safe than sorry.

Once my portion was done, the hubs rigged an extension for the row and added our mailbox at the head of the line.  Come spring, when the ground thaws, we’ll install our own post, since we’re not sure how long the extension will hold up over time.

BoxInstalled

It’s simple, yet functional.  I might jazz it up a little more later or I might forget about it and focus on other projects.  Either way, we now have a spot to receive mail and that’s what really matters.

It’s Pantry Time!

The pantry was the second project on our to-do list upon moving in.  It’s kind of necessary to have a space to store all your food before you can get the rest of the kitchen in order.

Although I had planned out the Master closet in detail, I hadn’t fully worked out the plan for the pantry, so the hubs and I sat down and thought about the types of food we’d be storing and how tall certain containers typically are.  That helped determine the height needed for each shelf and then we just fit as many shelves as possible in the space we had.

The materials were fairly simple: prefab melamine boards and 1x2s.  The hubs used the 1×2’s as cleats along the side and back walls, then cut the boards to size and placed them on top.

Pantry1

Pantry2

Pantry3

He secured each with screws into the cleats and then used his new Kreg Jig tool to join the two boards together where they met. There was a bit of trial and error, but overall it turned out pretty darn well.

Pantry4

The pantry also doubles as our recycling station, with containers for paper, plastic and cans on the floor along the back wall.

PantryRecycle

Because I’m a soda fiend, I knew I needed a can crusher or I’d be emptying that bin every week.  We found this one for just $10.

PantryCanCrusherBox

The hubs mounted it on the wall inside the pantry, just above the trash can that holds the cans.  It works really well, but we’ve discovered that if you dent the can just a bit it relieves a great deal of pressure, thus requiring less effort to completely crush the can.  The dogs are still not fond of this strange new noise making device, but I’m loving the efficiency of it.

PantryCanCrusher

We also purchased a large galvanized trash can to hold the dog food so we didn’t have to squat down to scoop it out every time anymore.  Now we just lean!  This was the last can the store had and we got it for $5 off because of the dent in the lid, which when you put it on the right way is in the back under the shelf and not even noticeable anyway!

PantryDogFoodDent

PantryDogFood

There was still room left over once I loaded everything in!  Guess we’ll have to do some bulk shopping soon and put it to use!  I still have some organizing to finish up in here and want to get some bins to hold onions and potatoes, but overall it’s done and functioning well, so we’re calling it finished for now.

PantryFinished

The Reality of Moving

It’s been a while since my last post, so I apologize, but we’ve been super busy moving into the new house and getting settled, which means we have lots of stories to share.  So I’ll dive right in.

The girls watch as the moving truck pulls into position.

The move itself went pretty smoothly thanks to a great moving crew, who were not only super efficient, but very personable.  Unfortunately, I can’t say the same for our builder.  There were several outstanding issues after our home inspection and the foreman was working on the list of items until 1 am the day we moved in!  Because of the late hour, there were many areas that didn’t get cleaned like they should have, including paint on our floors.

Paint

Paint2

Although the builder said we could request it to be cleaned, that would require us unloading all of our stuff into the garage and delaying moving into the house, which was simply not acceptable after all the planning we’d done.  We were already doing an “early occupancy” before closing due to delays on the builder’s part and didn’t want to wait further because we both had work schedules to contend with.  We chose to accept the cleaning “as is” and proceed with the move in, with a few repair items still to be addressed before closing and a few more to occur in the spring when the snow is gone and the ground thaws.

Three different sub-contractors came that very day to address several of the items, but there were still two remaining when we closed the following week – the major one being the mis-matched closet doors in the entry way.

ClosetDoors

I’m still dumbstruck at this.  Maybe they thought we wouldn’t notice, or care.   But I’m sure they knew it was different because they had to drill a hole outside of the flat plane made for the knob in order for it to line up with the others!  **Face palm**

The lack of cleaning by the builder meant up that we had to clean every surface before anything could be unpacked and put on it, including inside cabinets, which of course makes unpacking take twice as long.  And because there wasn’t a span of time between closing and moving, we were trying to install the pantry shelves and closet systems while moving in.  That’s a combination of projects I don’t recommend, although both turned out really nice (watch for a post about both soon).

The reality of all this is that for the past two weeks some rooms look pretty good with just a box or two remaining:

MessGuest

MessHallBath

MessHallBath2

While others look like a tornado has struck.

Kitchen
The kitchen as Matt begins to organize his army of cooking paraphernalia.
MessSpareRm
The spare room currently holds everything that doesn’t have a ‘home’ yet.
MessHall
Boxes waiting to go into storage in the crawlspace. And that’s not all of them!
MessMaster
The view into the Master. Piles o’ stuff was not the vision I had for this space!

Most of the spaces are starting to take shape and resemble the ‘vision’ I had for them, but it’s a process.  I’ll do a whole house tour once I get it mostly done.

We did have a few unexpected issues pop up as we started setting up things.  The first was the height of the doggie door. Apparently our previous slider was a wee bit shorter than the new one!

DoggieDoor

We stuffed a piece of cardboard up there while the movers were working, but the hubs later filled the gap with a nice piece of melamine scrap from the pantry project (post coming soon) so it looks almost built in.

The second issue was that our “bar height” chairs from the dining table weren’t tall enough for the new kitchen island bar.  We have 8 of these chairs and planned to use them for both the dining table and the bar, but that obviously won’t work.  You literally feel like you’re sitting at the kiddie table because the counter is about 6” above the middle of your chest!  So I’m now on the hunt for super tall stools instead and have my eye on these at Target, but just can’t bite the bullet at $120/chair (AK price)!  I’m holding out hoping for a super sale and being able to find enough in the same color at one store.

Another revelation of the move is that magnets don’t stick to stainless steel fridge doors.  I guess that should have occurred to me earlier, but I’ve had a few hundred other things on my mind as of late.  At least it keeps the fridge clutter free.  Apparently they do stick to the sides still, so I moved our little dry erase board to the side for writing grocery items on as they become low, otherwise I’ll never know what I should buy at the store.

Luckily, the dogs have adjusted well to the new house, although they had a few days there were all the activity was overwhelming and they clung to anything familiar – especially when they were doubled up and extra cushy!

PrincessPea

Now that we’re finally in the new house we’re looking to get another dog and possibly a cat, which will definitely be another adjustment for them, but I’m sure they can handle it.  Especially if there’s treats involved. 🙂

Crossing the Finish Line

Now that the new house has been cleaned, final touches and repairs are are being completed.  We are scheduled to move in on Friday, although we won’t officially close on the house until sometime the following week.  Due to the extended delays the builder has granted us early occupancy because we already had our military movers scheduled and canceling would have meant a possible 6 week delay or denial of service!  YIKES!  There are still a lot of little details to work through, which make me rub my temples constantly, but it’s almost done.  Here’s a little sneak peek of everything in its “clean, but empty” state.

1

2

3

4

5

6

7

8

9

10

11

A Different Kind of Thanksgiving

Give Thanks
Source

As the rest of the country prepares to relax and contemplate their blessings with family tomorrow, I am writing a to-do list that includes basic house-hold chores and packing prep.  We have virtually no food in the fridge, as we’ve been preparing for our move to the new house the following week – and worse yet, we have no plan for what we will eat for breakfast, lunch or dinner.  Although we chose to skip the traditional Thanksgiving in favor of focusing on our move and settling into the new house before Christmas, the events that have transpired since that decision have changed the tone from excitement to melancholy.

A laundry list of errors requiring repair were identified during our home inspection last weekend and continued delays with the builder have put the entire moving schedule in serious jeopardy.  The house was supposed to be completed and given a final seal of approval from the inspectors by now, with the possibility that we’d do an “early occupancy” sans rent while waiting for the paperwork to clear and closing to happen.  Instead, we discovered Monday evening that not only was the house not complete and ready for final inspection today, but none of the repairs had been started and no cleaning had yet begun.  With movers scheduled to begin packing our belongings next Wednesday, there is simply no room for these delays.

We’ve given the builder until Monday evening to have everything 100% completed and reinspected, or we will cancel our movers Tuesday morning, although doing so will mean we are no longer guaranteed   a paid move from the military and IF they do reschedule us it could be at least 4-6 weeks before they can get us on the calendar!  Beyond this, we’ve locked in the interest rate on our loan and if we do not close by mid-December there is a penalty fee, plus a fee to buy back down the rate when we do close – totaling close to $2,000.  Add to that time off requested, arrangements for utilities and mail services and finding someone to fulfill our lease and I’m about ready to just burst into tears at any given moment.

This should be a time of happiness and cheer, but instead it’s become one of stress and anxiety.  I’ve spent countless hours following up with the builder, his realtor, our realtor and our lender in an effort to keep everyone updated and moving forward.  I can only imagine the utter chaos that would be upon us right now if I wasn’t a detail oriented planner!

Both the builder and his realtor still claim that they will have the house completed and ready for us to move in on the 6th, but I’ve heard similar promises before from them and won’t believe it until I see it.  In the meantime I’ll continue to prep and plan our next steps, all while also planning a backup plan just in case.  “Semper Paratus” as my retired Coastie hubby would say or “Prepare for the worst, but hope for the best” as my mom would.

But even as I massage my temples and take deep breaths, I remind myself that there are many who would LOVE to be dealing with the problems I have instead of the ones they are attempting to tackle.  Obviously this isn’t the perfect situation – and if it gets much further in the hole there will be screaming for compensation – but I’m thankful that this is the problem I’m facing, rather than something more serious.  So I shall count the blessings that I do have.

  1. We DO have a roof over our heads and we certainly won’t starve tomorrow.
  2. Both we and our fur babies are in good health.
  3. Although some we love are fighting illness, they are all relatively well.
  4. We both have steady employment, which allows us to be in a position to be building a new home.
  5. We have friends and family who love us and support us.
  6. We will be together on this holiday – something military families understand isn’t always the case.
  7. And the holiday will give us an opportunity to sleep in, which hasn’t happened in quite a while! 🙂

Access to Down Below

The access to our crawl space is located in the master closet.  Although my plan is to put a rug over it, we wanted it to blend in with the other flooring, so we decided to cover it with the same material and apply a trim to the edges of the panel. (Please ignore the remnants of the removed builder shelving that wasn’t supposed to be installed – he forgot that we have our own highly efficient design, which we will install just before moving in.)

Access

We replaced the OSB that was in place, as it was already bowed and starting to chip on the edges.  Instead we used a solid piece of plywood which hubs cut to size and glued flooring planks to. Next he carved out a spot for the handle, so it would be recessed on the panel.  Smart thinking since it will be underfoot everyday in our closet.

AccessDoorHandle

Although the covered panel blends in, the lip that it sits on was still visible and exposed so we decided to add some trim to the edges.

AccessDoor

We got some threshold molding from the flooring store where the builder ordered our flooring material and miter cut it to fit the square.  We didn’t need the extra strip of foam on the bottom since we weren’t using the pieces for a raised threshold, so hubs just sliced them off.

AccessDoorMoldingTrim

Without the extra strip of foam on the bottom the pieces lay flat on the panel which is what we want them to do.  That will allow them to overlap the exposed lip gap, which is at the same level as the panel.

AccessDoorMolding

We planned to use both wood glue and small finishing nails, but the nail gun jammed and then malfunctioned, making the nail look more like a staple, so we decided to just use wood glue and clamp everything together.

Nail

AccessDoorClampsNotice the builder’s mess surrounding our project? That’s just part of what I described in my post the other day.  It seriously makes me itchy, but I’m overlooking it because I know it means progress is being made.

We left it to dry for a few days as other projects were being done around the house.  It will soon be installed for the finished inspection.  We didn’t initially plan to use the access panel much, but during our home inspection yesterday we realized that we’ll need to change the filters on our furnace and HRV which are in the crawl space, so it will probably see monthly use for a good portion of the year.  That actually works out fine since the crawl space will also become home to my holiday storage, saving precious garage space! 🙂

Stay Calm and Spit Shine On!

We noticed our first major scratch on the new floor as the stone work sub was cleaning up the other day.  We’re not sure if his equipment was the culprit, since there have been several subs in and out of the house recently, but it was upsetting regardless.  And to add salt to the wound, the scratch was in a spot that would require pulling up most of the room’s flooring to replace.

Scratch

But before I began hyperventilating, I decided to see if I could eliminate some of the effect with a quick spit shine.  Literally.  Hey, the house is under construction still (hence the scratch amplifying white dust) and that’s all I had!  But as you can see it already looked much better.

Scratch2

After this photo, I also rubbed my thumbnail over the edges to remove any fibers sticking up and that made it even better.  I’m sure that once I can attack it with some Old English you’ll never even know it was there.  You can’t even feel the scratch when you run your finger across it, so it’s not as bad as I initially thought.

There are a few spots in the house that we know the edge of the board is chipped because we saw it as we were on floor level installing it, but at walking height you’d probably never notice them.  We plan to put some clear silicone in those spots as we find them again, but they shouldn’t cause any major issues now that there is support around them from the adjoining board.

This is exactly why we chose this material.  We have large, very active dogs.  We have guests over.  Life happens.  I’m sure I’ll see the little lumps and bumps as we move in and start living on the floor, but that will be ok.  It shows that we’re living our life, not just ‘presenting’ an ideal.  And let’s face it, those little spots just give me a reason to go buy a new rug to cover it.  And that’s just fine by me. 🙂


DIY Glass Insulator Pendant Lights

We knew we wanted something unique for the pendant lights over the bar in the kitchen, but weren’t sure exactly what that might be.  I spotted this idea on Pinterest and immediately loved it.  Surprisingly, so did the hubs who took me to an antique store he’d just discovered to pick out insulators for our project a few days later.

We also acquired some heirloom insulators from the hubby’s Aunt in Colorado during our road trip in September, so we had quite a selection to choose from.  I set them all out and tried different combinations to decide which we liked best.

We hadn’t given the project much more thought since then as we were busy with other details and the house wasn’t ready for light fixtures just yet.  But now that it is, we suddenly had to figure out how to make it happen and choose exactly which insulators to use.

Option1

Option2

Option3

And finally decided this was just right.

Winner

My handy dandy hubs found the right bit and snuck in time on a drill press at work to drill the holes.  The first four drilled without a hitch, but then while drilling the last one it cracked!

1

2

Crack

We had a few others in the same color and size, but they all had pretty big chips, so that wonderful hubby of mine made another trip to the antique store and picked up two more for $9 each.  He drilled both without a problem, but one did develop an internal crack.  We decided to still use it since it added character, and that left us a spare in case any ever did meet an untimely fate and require being replaced.

We followed the tutorial from Pinterest and purchased the same materials to retrofit the pendant cords the builder installed.

Supplies

It took a little trial and error to figure out the best method for removing the parts we didn’t need and reusing the parts we did, but the hubs made it happen – even though he was super tired!

Work
Notice that mess on the counter? That’s how the rest of the house looks too.. I think I have hives.. LOL

Work2

It also took a bit of adjusting to get them all at the same height, but they look awesome!

Finish2

The builder thought we were nuts when we showed him what we were planning, and all he had to say when he saw the finished product was “It’s different.  I’ve never seen that before.”  But at this point, if it’s something he doesn’t have to do, he’s game.

The LED bulbs don’t put out much light at 0.6 wt, but the recess lighting in the main area of the kitchen supply plenty of light to cook by.  They do make a nice ‘night light’ when on by themselves, so that’s probably how we’ll use them the most.  We will be on the lookout for brighter bulbs that will fit, but for now these it the bill.

Finish

I just adore the finished result.  Not only are they unique and repurposing something that is otherwise unused, but they bring a piece of family history to our new home.

Have you ever used old glass insulators for projects?  If so, please share!  We still have several and need some ideas.

Shared at Knick of Time’s Vintage Inspiration Party #203!

The Finishing Touches

It’s been a very busy few days at the new house!  We’ve finished the flooring – after several very long nights.

FloorStudio

FloorEntry

FloorBathroom

FloorGuest

The counter tops are finished and look fantastic.

Counters2

Counters

The tile in the master bathroom has been installed, grouted and sealed.

TileTub

TileShwr

TileShowerFloor

The stone work on the fireplace is up, although it needs to be grouted.  The stone on the front porch still needs to be started.

Fireplace

The appliances have been delivered and are being installed. I can’t wait to use all the space in this fridge!!

Fridge

FridgeDoor

FridgeInside

The electrical fixtures (switches and outlets) are almost complete and the baseboard trim has been installed and touch up filler/paint is in progress.

TrimFamilyRm

I was worried I might second guess some of the lighting selections, but everything I’ve seen so far looks great.

LightFixtures

LightDining

LightEntry

LightHallway

LightGuest

LightMaster

LightFartFan

LightLaundry

The prop fan we selected for the family room is on order, so a ‘temporary’ fan was installed for the appraisal.

LIghtTemp

The builder is now back on-site and doing what he can to keep everything on schedule for closing on December 1.  Our movers are scheduled for December 4-6, since they believe it will take a day to pack up our stuff, a day to load the truck and a day to deliver.  It seems so close and yet so far away.

Unfortunately, all this progress tends to create a trail an explosion of tools and supplies throughout the house.  Every time, I’m there and see the mass of stuff everywhere I twitch unintentionally.  But I know it means I’m closer to living in our new home, so I’m working my way through it with deep breaths – which seem to worry my husband more and more. 🙂

Explosion
And this was a “super clean” day!

The appraisal was supposed to be done today, but might have to be finalized next week once everything is at 100%.  The energy rating will be done soon and our home inspection is set for Saturday.  We’ve also locked in our interest rate for our loan.  If for some reason the paperwork causes a delay, the builder has agreed to do an early occupancy without rent to accommodate our scheduled movers and time off from work.

Other than making sure all the elements are finished, all that’s left will be cleaning and finding a new renter for our current place!  Our landlord had someone lined up, but hasn’t gotten confirmation just yet, so we’re hopeful that will work out.  Stay tuned for posts on more of the details!

The Homestretch

It’s been a long, but very productive week at the house. The shower floor and threshold were poured, niche shelves were installed and a waterproofing coat was done to the drywall.  Although we drew out where the decorative tile would go, we opted to make life easier on the tile guy and move it up a little from the niche so he can do a bullnose tile border around the shelves, then a full 12″ x 12″ tile and then the decorative tile.  You can see the new line drawn below the shower head pipe.  Above that will be one more 12″ x 12″ tile and another finishing bullnose tile.  The floor will have a mosaic pattern with similar colors.  The tile guy picked that part out without our input so that the shower floor can be slopped for drainage, but he did choose something that coordinates with what we chose, so we gave him the green light to proceed.  He will also use a piece of the quartz we have as counter tops for the threshold top so that there are aren’t tile cuts showing on the edges.

Shower

The finisher also installed all of the windowsills.  The nail holes still need to be caulked, but that will happen at the very end.  He also installed shelving in all of the closets, which was not supposed to be done.  I felt bad about them wasting time and money, but what they installed was not efficient use of the space – and that’s the exact reason we had that specific request included in our contract.  We did save them some cost by choosing not to have crown molding in the master since we didn’t want the lights behind the molding, so I guess it balances out.

Windowsills

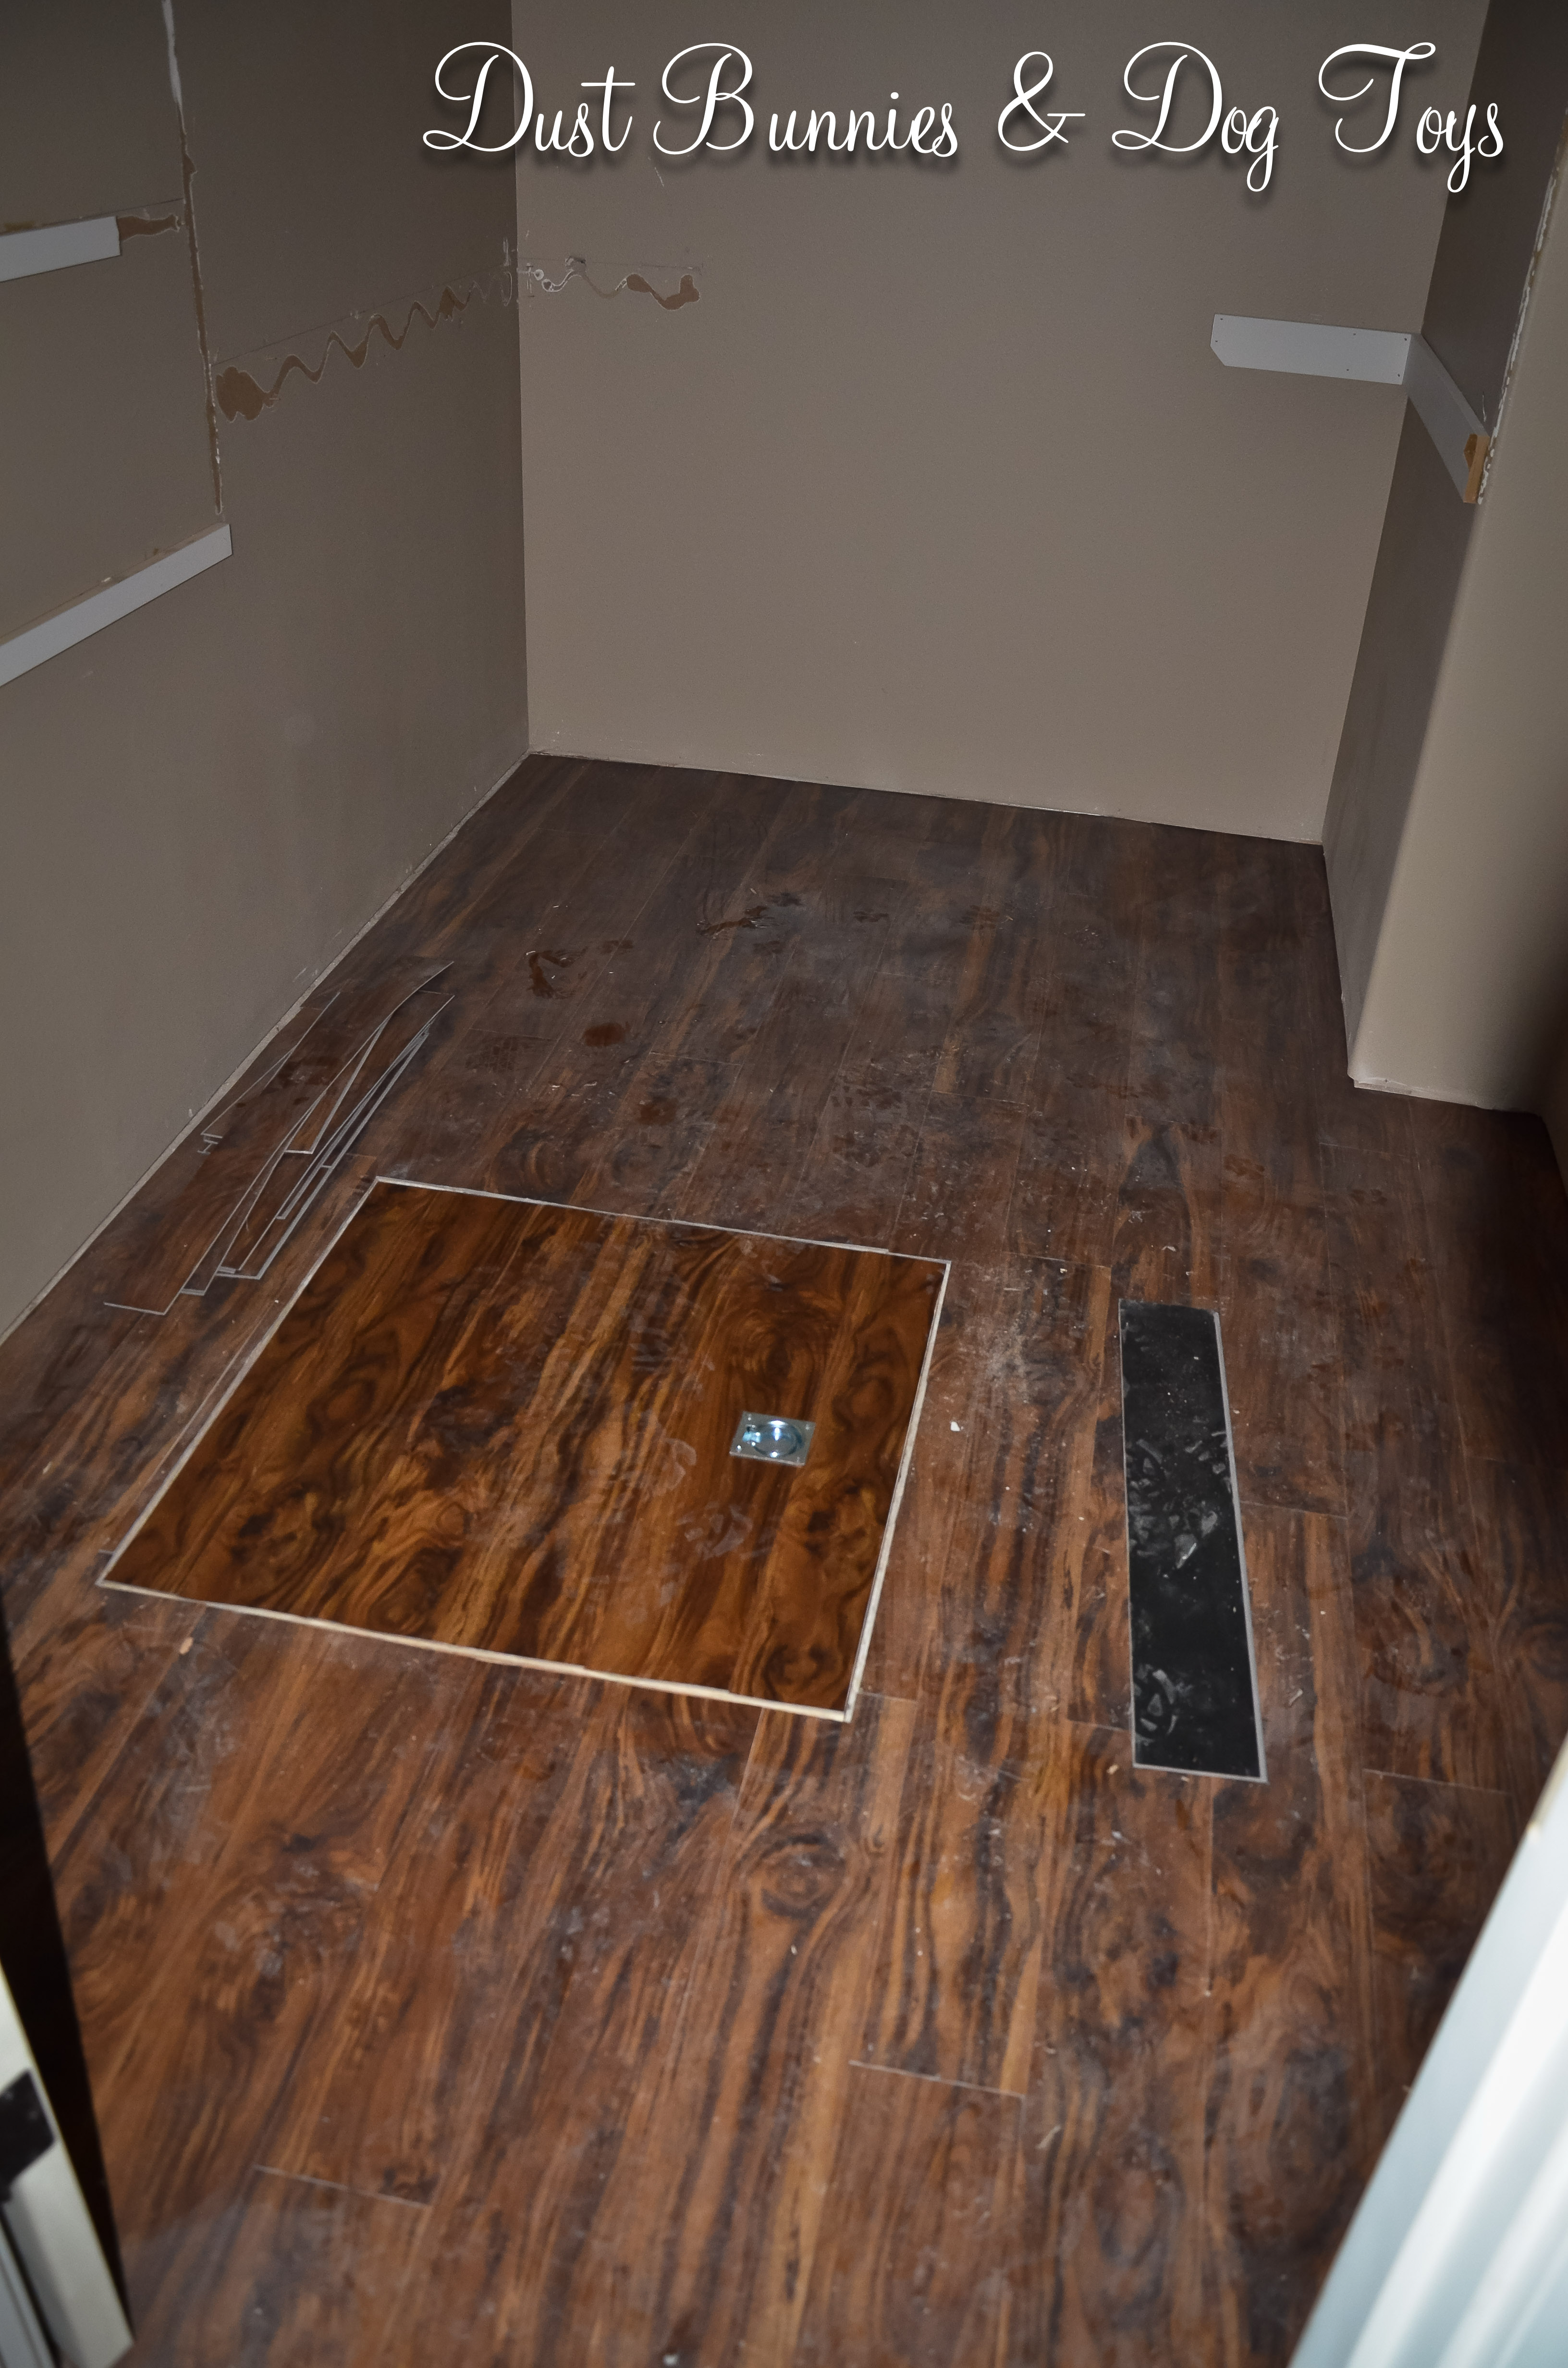
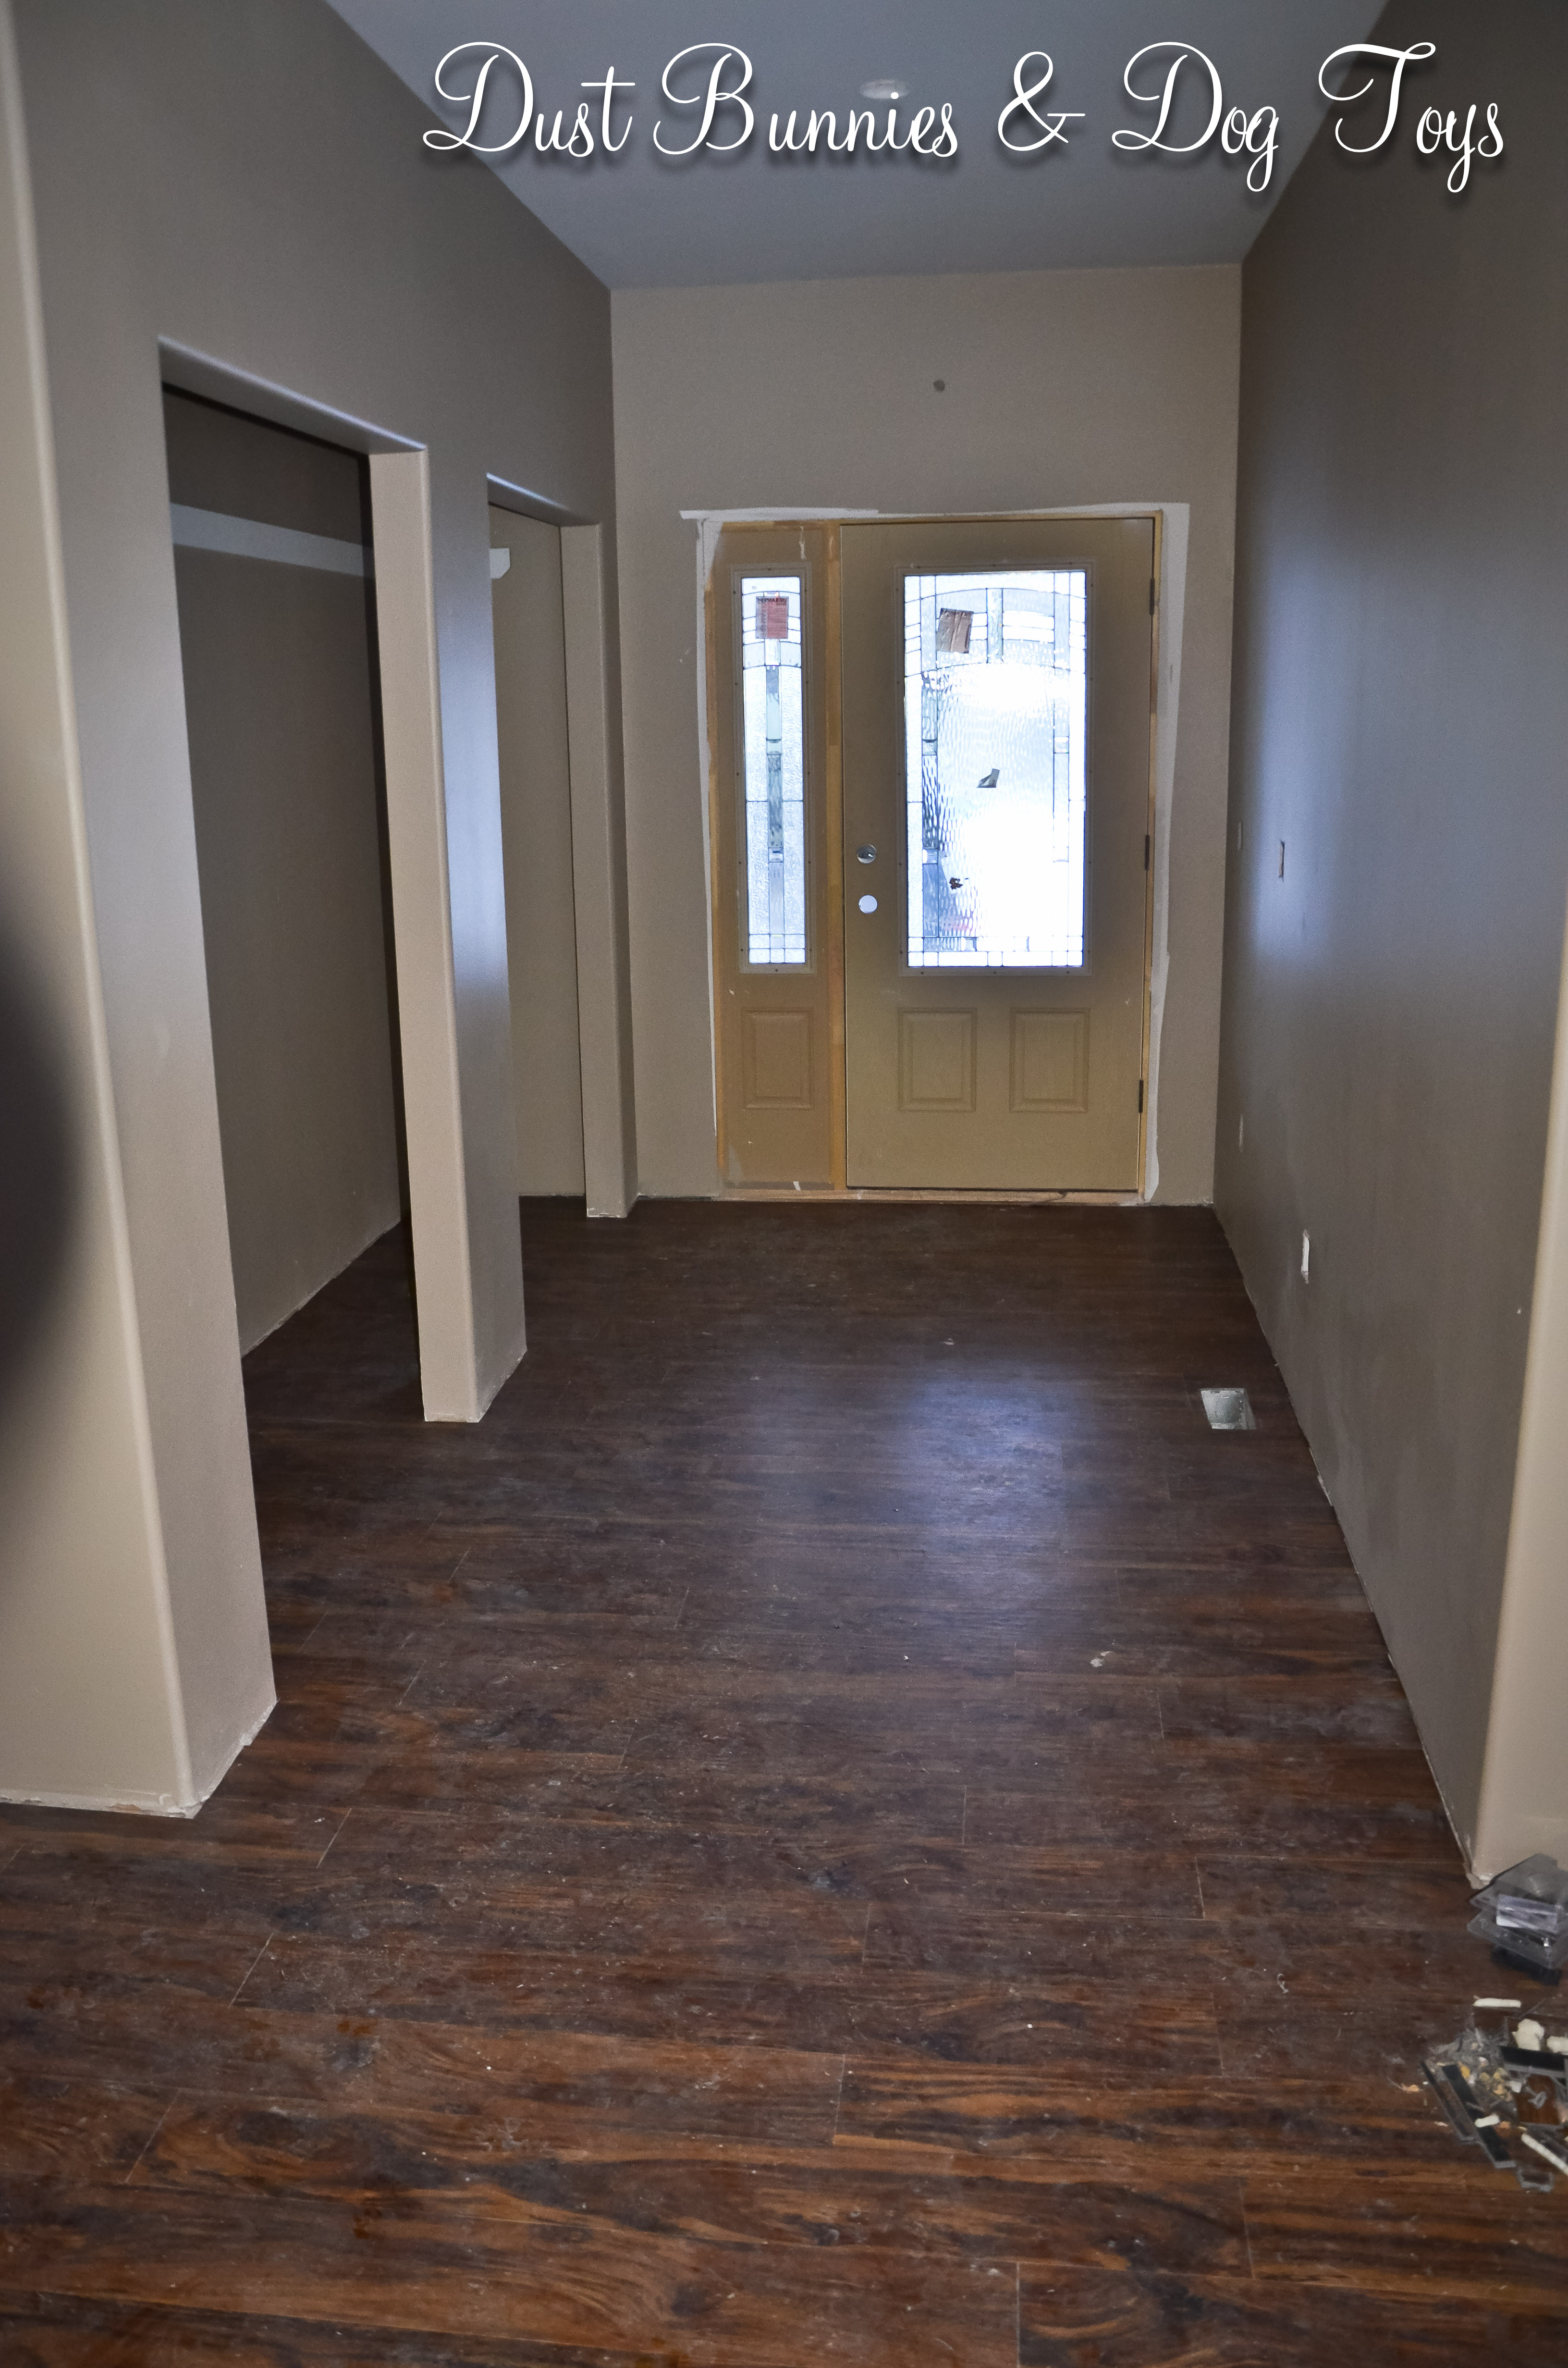
The hubs and I have spent a good deal of this week working on the flooring  and are officially out of material until the second shipment arrives tomorrow or Tuesday.  We were able to finish the main living area, the laundry room, start the hallway and do part of the master bedroom and a section into the master bath so the tile work on the tub and shower can be started.

Floor-Hallway

Floor-Master

The odd shapes in the Master bathroom have certainly proved challenging.  That small piece in front of the tub and shower took three tries to get the right shape and joints!  Luckily, all three were cut from scrap pieces I’ve been saving and categorizing as we’ve progressed.  We’ve only had 1 or two mis-cut boards, which were then used in another spot by cutting the mistake off and using it for a starting board.  So, overall we’ve had extremely little wasted material.  Flooring-MasterBath

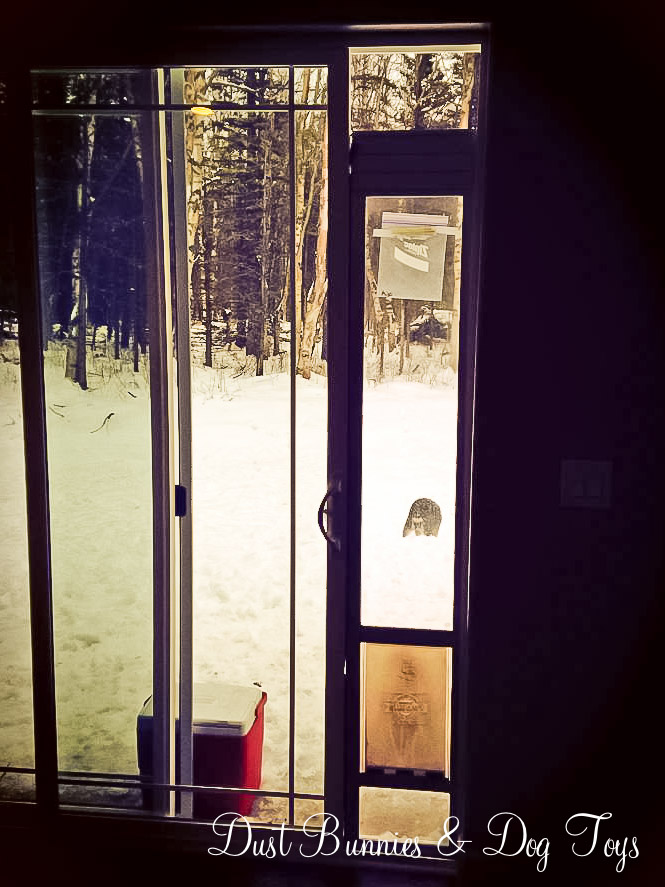
We’re loving how the floor is looking, even without the trim and lots of foot prints!  The girls were in and out the back door the whole time we were working, tracking in snow from outside and it held up perfectly.  You probably couldn’t even tell it was damp if it weren’t for all the dust still inside!

Floor-Sangria

The counter tops were being cut while we were there working and we got to see them come in, one by one.

Countertop1

Notice their caulking warming station int he heat vent over by the door?  I was actually pretty impressed with their resourcefulness.

Countertop-Caulk

The foreman asked if we wanted round or square sinks and since we didn’t have a preference other than that they be under-mounted, I told him to do whatever was easiest.  He said the round was, but still laid both out with the counter for me to see before deciding.  When he pointed out that the round sinks were also deeper that made the choice clear.

Countertop2

I didn’t think about the fact that the round shape means more counter space until I saw them in the space.  Guess that was a good choice!

Countertop-Master

Countertop-Bathroom

We left for a bit to get some dinner after we ran out of material, but stopped back by before heading home to see the progress.  By then he had most of the counter tops in place and was working on the back splashes.  The island is so long it has to have a seam on the bar top, so that’s why there is a bit of bare board on the end.  The back splash on the island will go from the top of the inside counter to the bottom of the bar counter, which should be super easy to clean!

Countertop-Isalnd

I’m loving the under-mount kitchen sink, which will have a single faucet head that doubles as a sprayer.

Countertop-IsalndSink

I was originally worried that the counters would be too dark or too orange, but combined with everything else they look fantastic.

Countertop-IsalndCloseup

Down the street, the new neighbors foundation is in, as is their well and septic.  They are obviously trying to get things up going before winter sets in.

Neighbor

But they may be a little too late since all this came down while we were on-site yesterday.

Snow

And because I forgot to put up the window I’d had down for the dogs on the ride in, we took some of it with us…

Snow2

Please ignore the lovely hole my fur-babies have started in my seat.  We’ve decided to just let it go and replace that chair once it’s fully destroyed, since seat covers didn’t prevent it from ripping in the first place.  😦