Mini Floating Terrariums


weI know floating terrariums aren’t a new idea, but when I first saw them about 2 years ago they were pretty pricey to create.  I had seen them in catalogs and even on a wedding TV show and thought they were just adorable.  I remember finding these hanging glass containers on westelm.com for $9-34 each and thinking “maybe someday.”

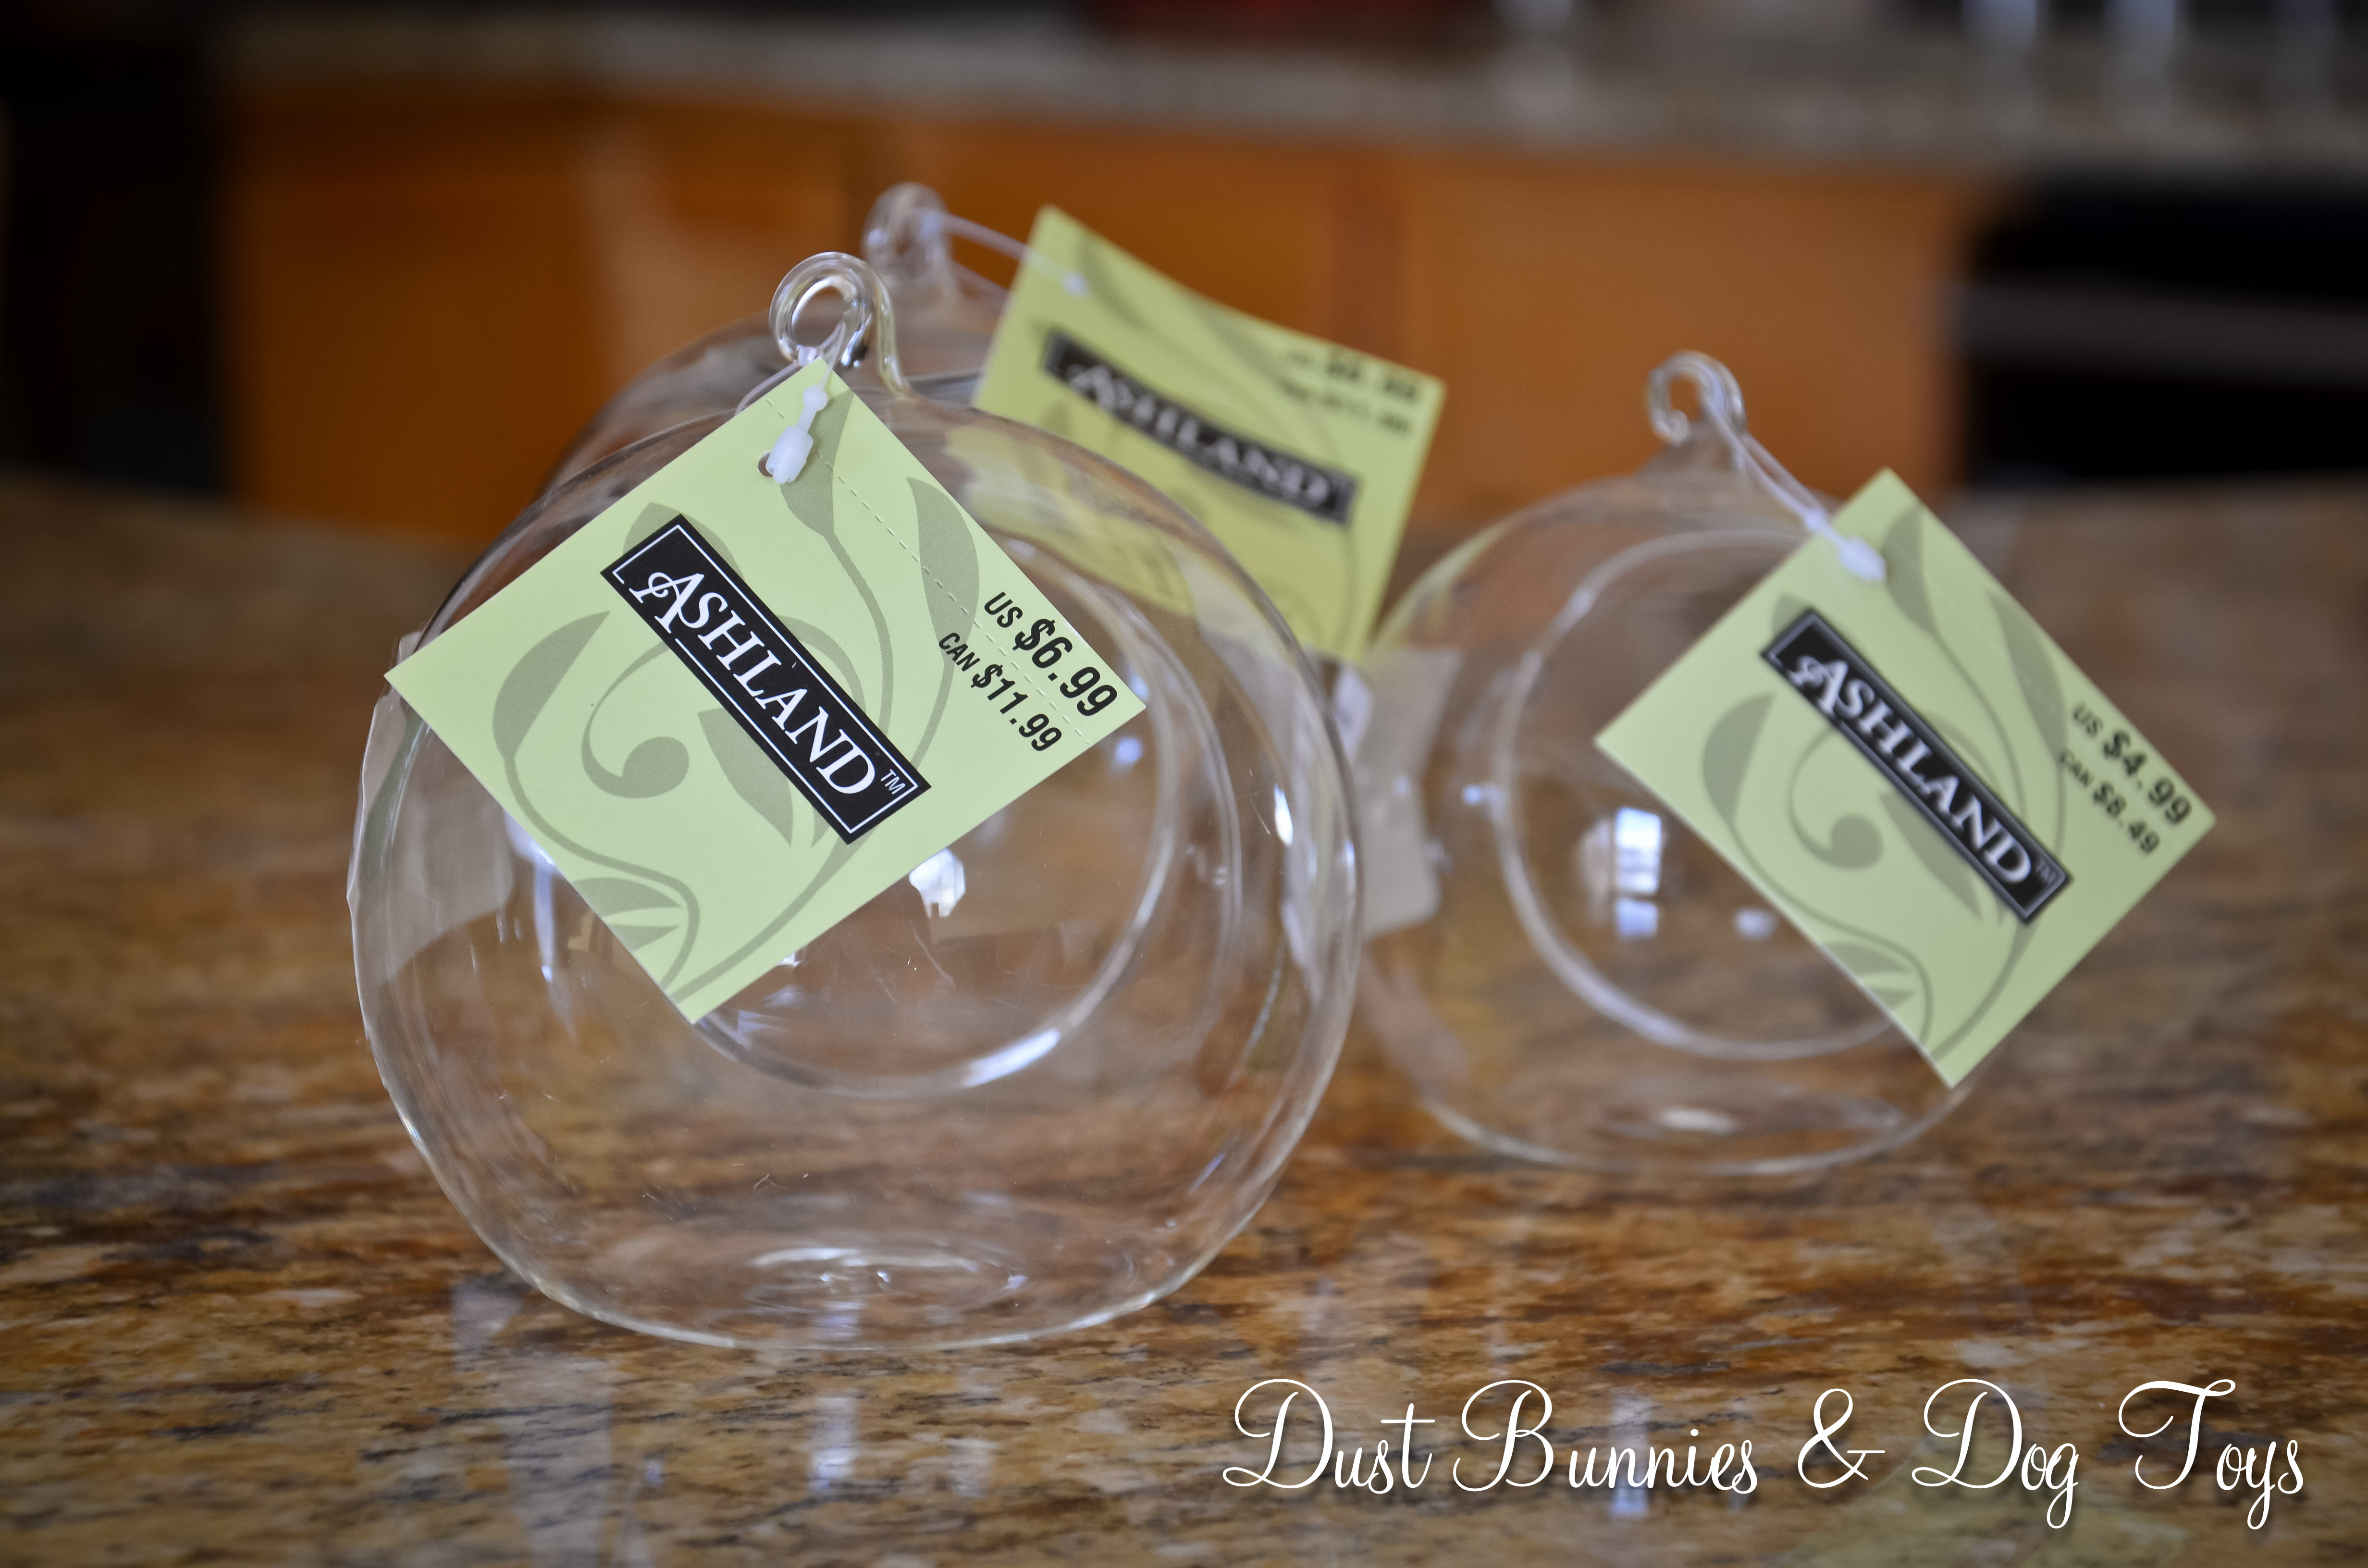
Apparently that day has come because I found the very same concept at Michaels!  I was wandering through looking for supplies for another project when I spotted two sizes of glass bubbles with a spot to hang them from on an end cap and stopped in my tracks.  After I snapped to and realized I should grab as many as possible as quickly as possible I took a gander at the price tags.  Only $6.99 for the large and $4.99 for the small?!  Umm.. what is there to think about here.  It also didn’t hurt that I had a coupon and my Michaels rewards card handy too.

1

I knew immediately that I wanted to use them for the cacti clippings my mother-in-law had sent me home with from her own garden in San Diego.  I had a good little variety that fit the different sizes so I laid them out and decided which to plant in each container.

2

I washed each bubble before planting my cacti and as I prepared each I took the stickers off the sides.  That’s when I stopped to read what they said.  And then rolled my eyes.  Really?  Who knew glass was fragile?!  It’s like the revelation that coffee is hot!  Sadly my friends observation many years ago is all too true, ‘common sense ain’t so common any more.’

3

One by one I filled each container with cacti potting soil, sprinkled in a little plant food and rooted each clipping into it’s new home.  They didn’t look too bad with just dirt, but I felt like they needed something a little more.

4

So I got some decorative river rocks to cover the dirt.  Not only did the rocks help hold the clippings upright and in place, I think they help retain moisture when I water them so it’s more similar to their natural environment.  And I was kinda digging the look of the layers through the sides of the glass.

5

6
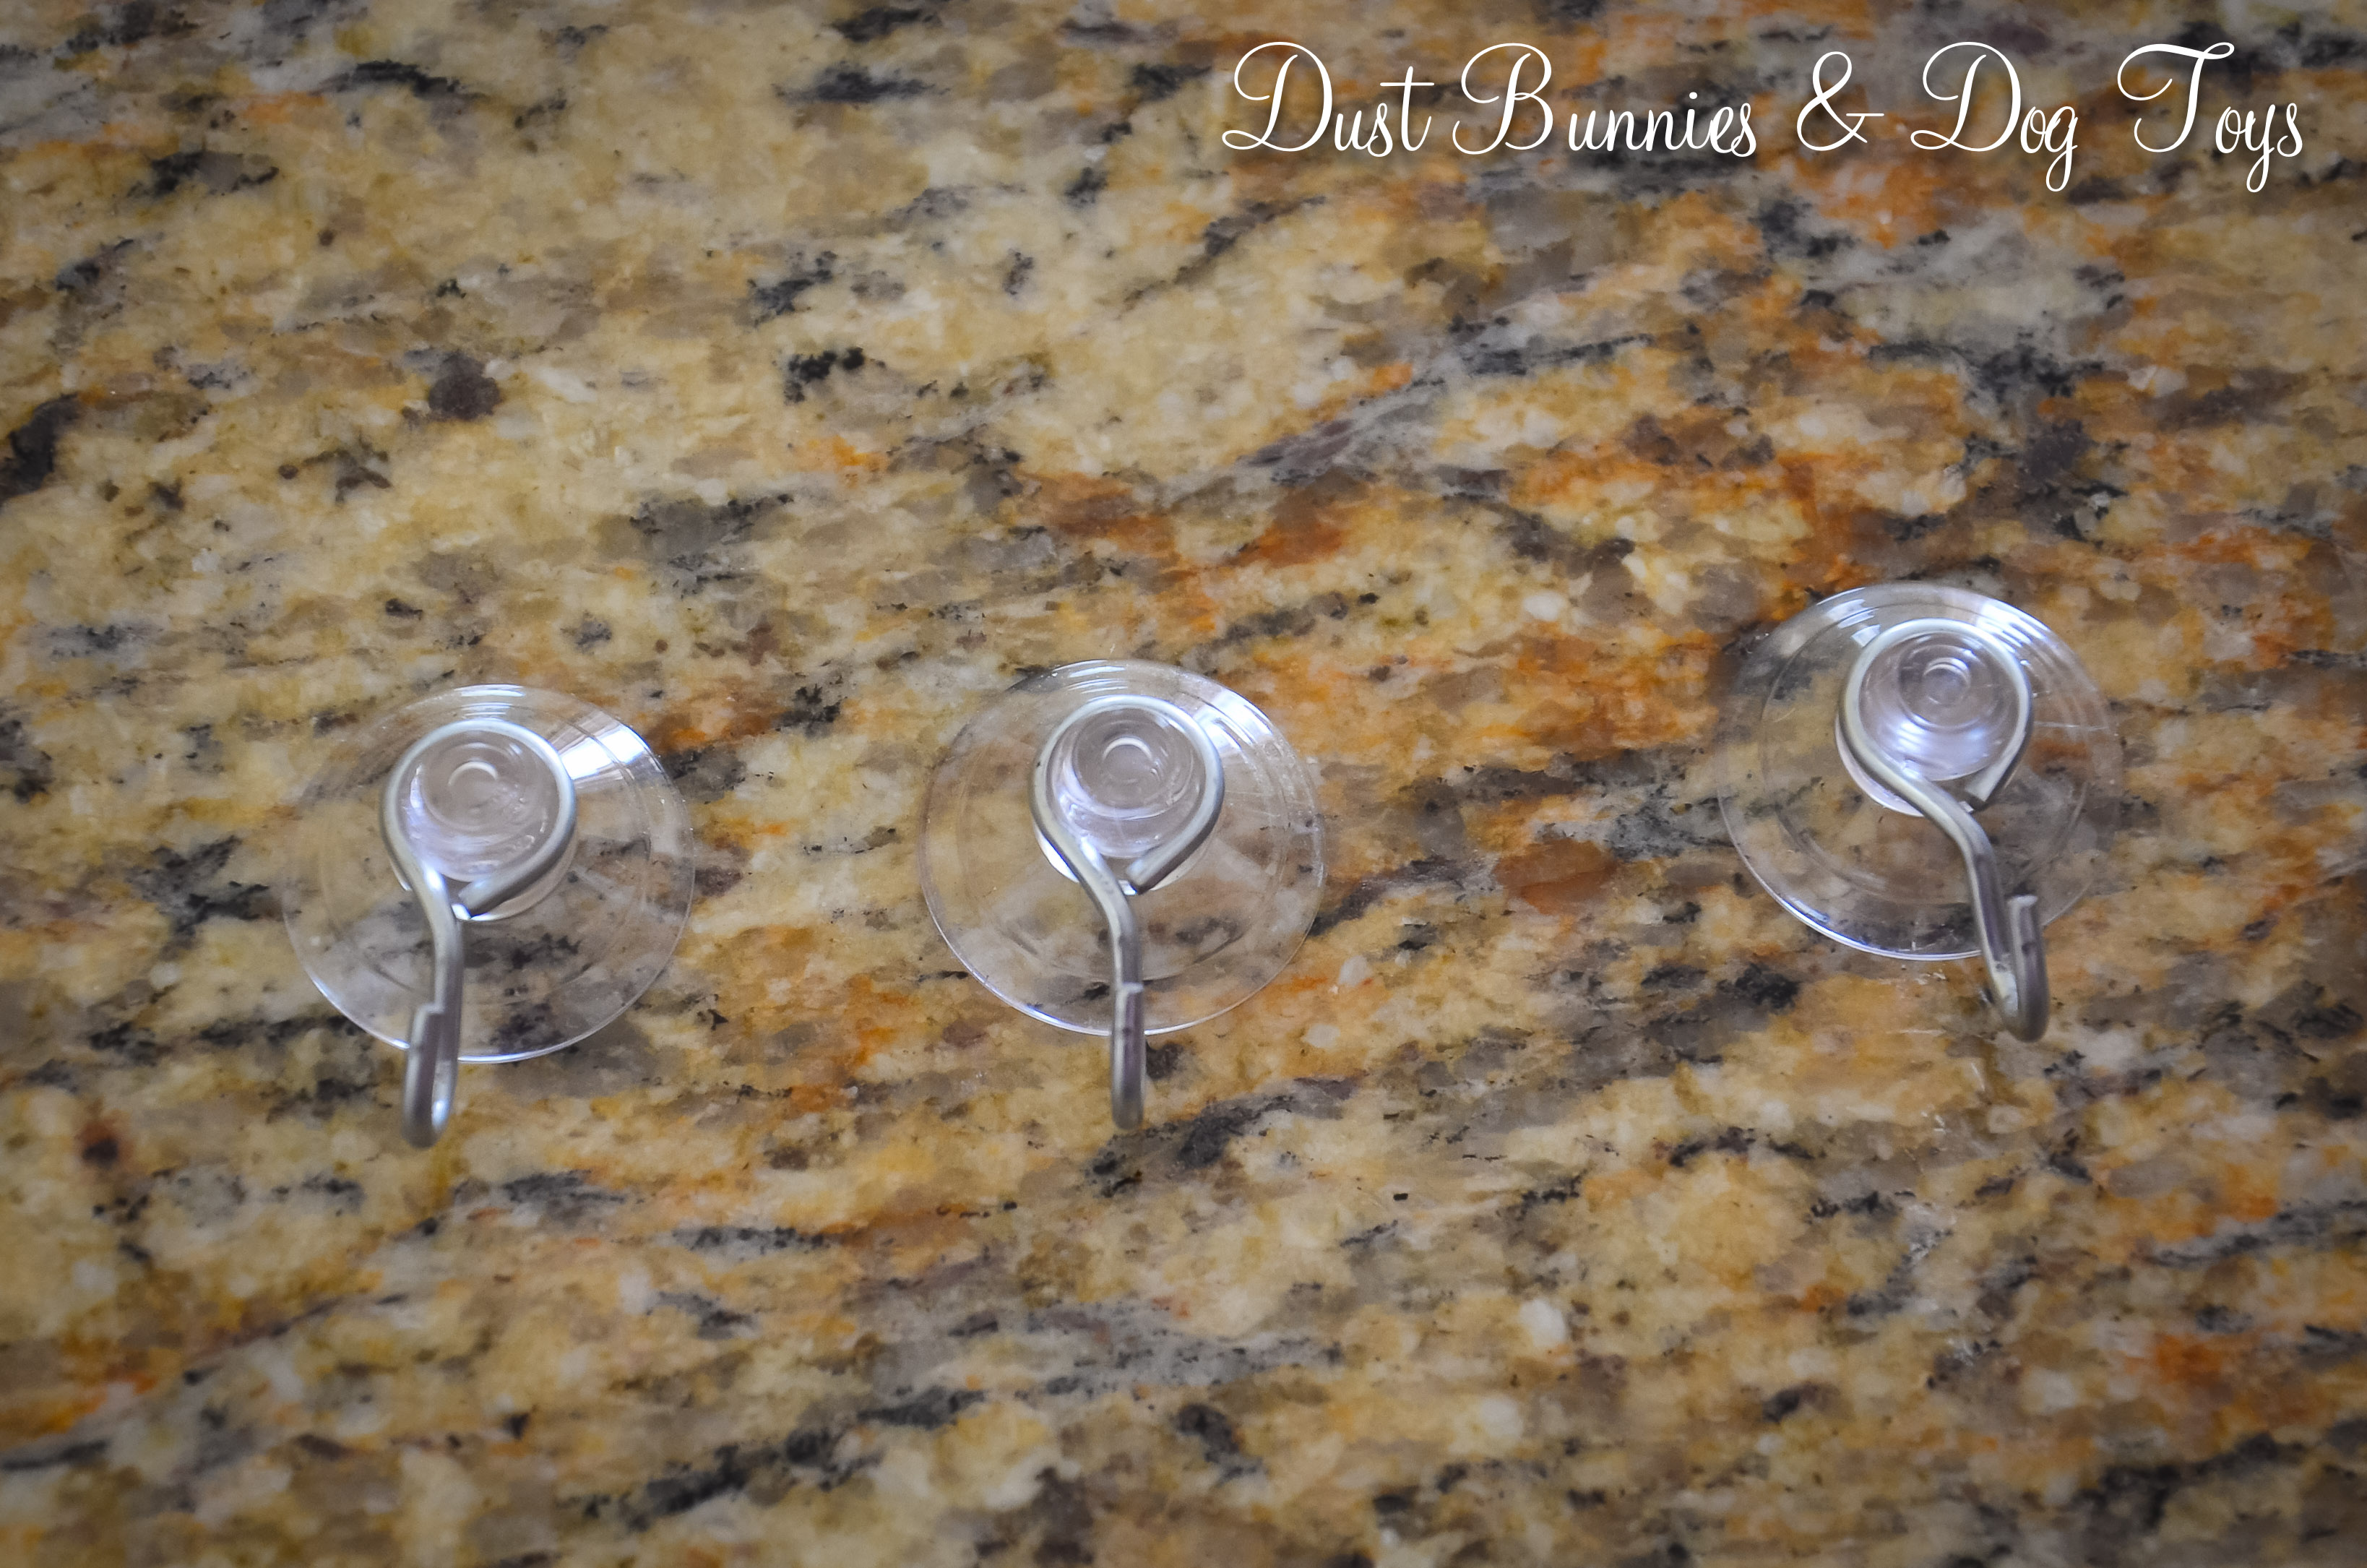
I originally planned to hang them from little suction cup hooks on the windows, but soon realized that the ones I had were probably too small to support these weight of these little glass bubbles now that they were filled with dirt and rocks.  Plus they probably wouldn’t stick out far enough from the window to allow the bubble to sit flat against the window, causing things to shift and slide out of the opening.

Finished
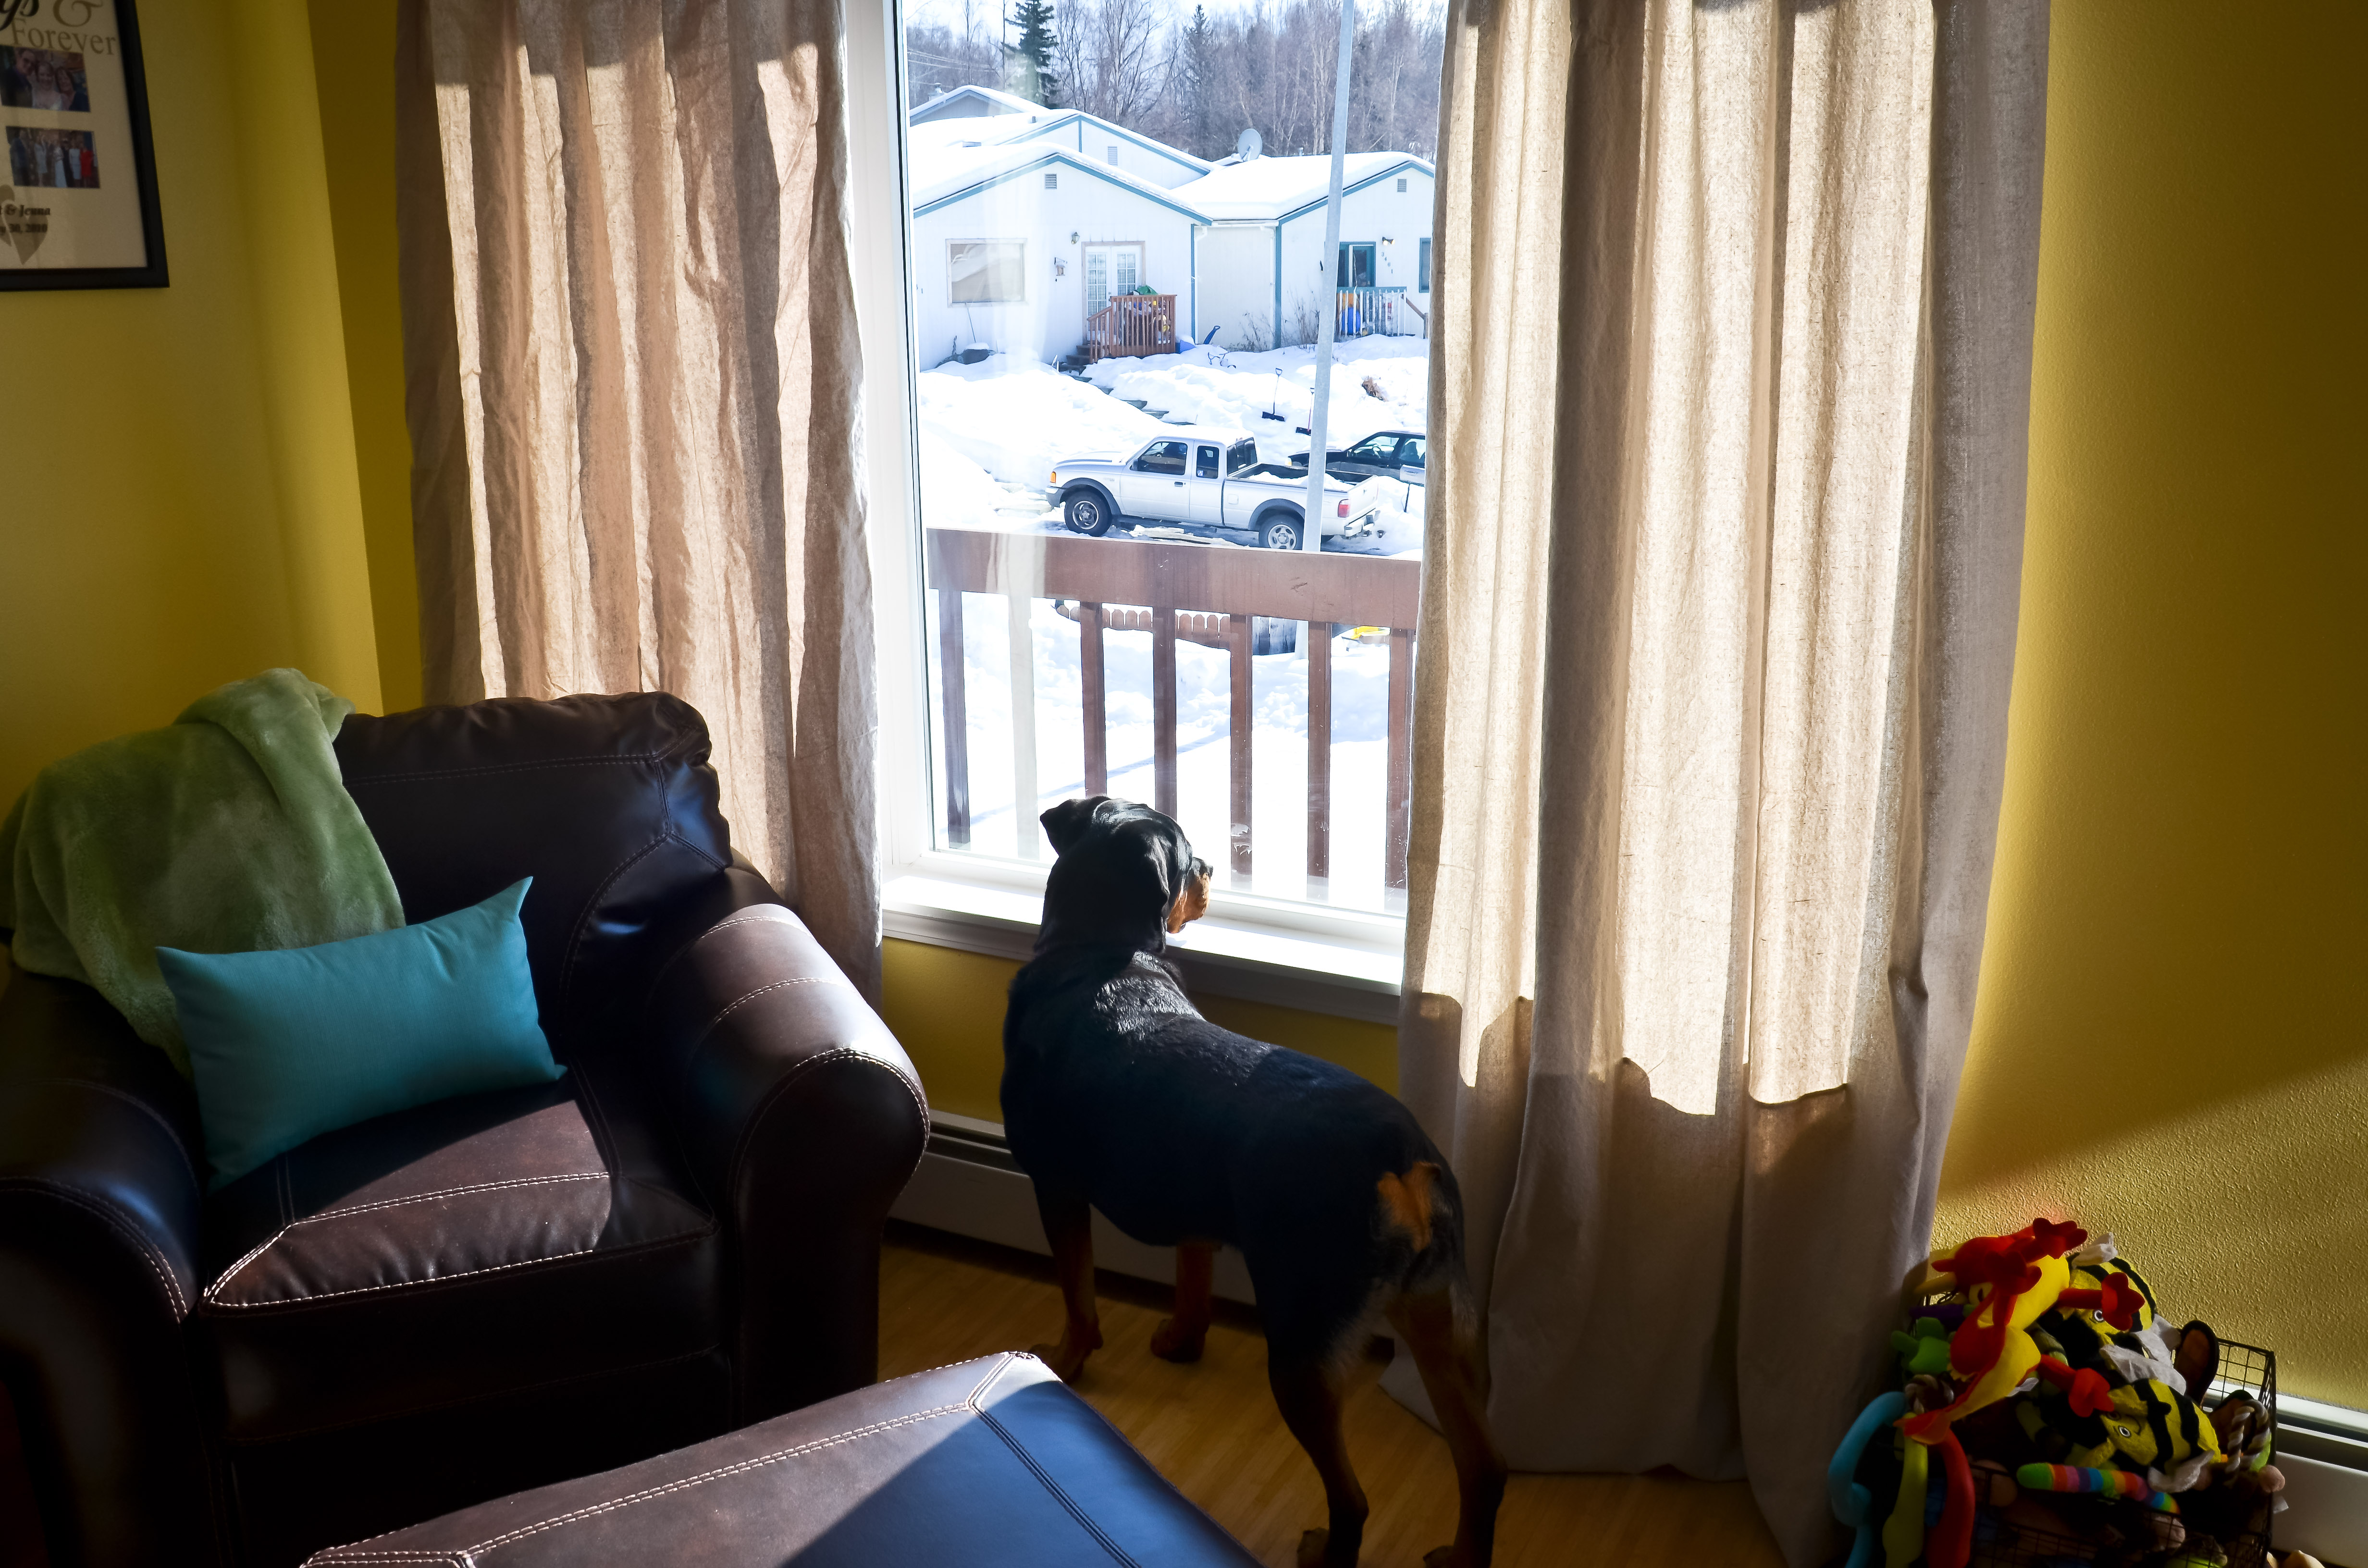
So my wonderful husband hung them with fishing line from brackets the landlords had left in the window frame of the large window in our family room.  I’m sure those little cacti are just lovin’ the full sun they get in a southern window!  Never mind the fact that the world within their view is still covered in snow.

And because they are cacti they don’t require daily watering.  If I get busy and forget about them for a few weeks days they manage just fine on their reserves.

Whats even better is the fact that they hang so high the dogs will never be able to reach them, so I never have to worry about them suffering the same fate as the one I left on the window sill while I was at work.  Needless to say that bubble was replaced after another trip to Michaels although that tough little clipping survived to be replanted.  Hardy and pretty.  The perfect fit for me and my crazy little household!

Home Goods Bowl Takes On Pottery Barn Rival


PB I spotted this adorable ceramic basket on PotteryBarn.com way back when and pinned it to my Wish List.  I didn’t really have a purpose I intended to use it for I just thought it was pretty and would be functional decor, but at $50 I just couldn’t justify the splurge.  I considered watching to see if it went on clearance closer to Easter, but like most of the PB items I adore it sold out and was no longer available long before it would have hit the clearance tab (sorry that means no link).  So I kept an eye out whenever browsing stores to see if I ever found something similar.

BowlWhile visiting my mother-in-law I made the obligatory visit to Home Goods and it’s a good thing I did because I spotted this for just $12!  Granted it’s a little different but overall it’s a pretty good stand-in.  It was available in white but I liked the green better and I’m glad I picked it because it goes well with the rest of my kitchen decor where I decided it shall become our fruit bowl, which sadly doesn’t see much fruit on a regular occurrence!  Not to worry.  It will make a fine addition to my St. Patty’s and spring decor vignettes next year!

Well hello there beautiful!


When we knew we were moving I sold my husband’s beaten up leather office chair.  Mostly because it was MASSIVE and would take up room we just couldn’t spare in the moving truck but also because, well it was ugly.  Really it was.  Plus I had grand plans for my new office/studio which included pretty new upholstered chairs in lieu of the standard task chairs often seen at a desk.

BackAnd so once the office was unpacked and functioning with a yoga ball in place of a chair, I began looking.  I had previously seen several chairs I liked at Pier One so that’s where I started the hunt.  And of course I found something that caught my eye.  A beautiful brocade backed PURPLE chair, which I remembered admiring during several previous trips to Pier One.

Never mind the fact that it was on TOP of a large display shelf.  So I asked an associate if they had one on the floor that I could try out and she quickly found one.  I did glance at the price tag which was quite a bit more than I wanted to pay but once I sat in it.. it was game over.  Not only does she have good looks and luscious curves, but she fit me like a glove!

I did a quick once over to make sure there weren’t any defects on the one I’d tested and as I did I suddenly had a second associate in front of me who pointed out a slight discoloration on the top which I hadn’t even seen.  They promptly checked inventory and had their stock guy bring out two more to inspect.

FrontI spent the next 30 minutes checking out each chair in this style available in the store with my little entourage of associates who had become my own concierge.  We even had the stock guy climb up and pull down the original chair I had spotted on the overhead display!  And then he offered to buff out a small scratch he noticed on one of the legs.  Once we all agreed that we had selected the BEST one available the stock guy whisked it away to be wrapped in plastic until I could pull up to the loading doors after checking out.

And my delightful experience didn’t stop there.  Luckily they had some big sale going on and I ended up taking this beauty home for HALF what the tag said.  I seriously think I did a little dance right there at the register.

Upon arriving home I discovered this beauty was a true super model, barely weighing enough to realize that you’re carrying it!  Which was very convenient when I hoisted her over my shoulder and carried her upstairs.  Not only does she fit under my make-shift desk (sadly just a folding table), but she pulls double duty as a potential photo prop!

Ok.  I know it’s just a chair.  But it honestly does make me smile every time I walk into the office.  I’m all about filling your home with things that make you happy and serve a purpose and I feel like I hit the jackpot here.  And it doesn’t hurt that she’s a total pin up! 🙂

Side

DIY Drop Cloth Curtains


BeforeThe family room of our rental is like a greenhouse.  A massive southern facing window and then a glass door leading out to a small balcony flood the space with light. You can see this wall of windows in this picture from the day we moved in.  Mind you I love how bright it is, but even with temps hovering around freezing outside we’d be roasting in this room by mid-afternoon.  Plus being in a cul-de-sac means all of my neighbors can see in just as much as I can see out!  But most importantly my husband was concerned with how the sun would interfere with watching TV in the space! Of course a man would find that the most important reason to need curtains.

I didn’t want to spend a lot because I’m sure I’ll want to do something different in our new house so I went straight for my “Window Treatments” board on Pinterest.  And of course I found a perfect solution.  Drop cloth curtains.

I hit Home Depot and picked up three 16′ x 9′ clothes for about $15 each.  While browsing the size options a young man in the infamous orange apron asked if he could help me find anything.  He probably thought I was lost looking at my phone and then back at the shelf.  When I said I was just trying to decide what size I’d need to make curtains based on a tutorial I’d pinned he immediately asked to see what it would look like!  I was stunned.  But he was genuinely interested and seemed excited for my little project.  He wished me well and moved on to assist another customer.  I almost wanted to ask if he wanted me to bring in a picture of how mine turned out!

Layout
Most of the tutorials I found involved cutting and hemming, which I was hesitant to do not knowing what the dimensions of our new home will be or which room I’ll use these in when we move.  So I did what any DIY frugalista would do.  I laid them out on the floor folded them to the length I wanted and pinned them! (See what I mean about how bright it would get in there?!)

PinSideA couple of pins down the sides of the folded section and then across the top and I was ready to hang.  I dug out some curtain rings I had from window treatments at our old house and just clipped a cloth up on either side of the window.  I didn’t measure the spacing for the clips I just guesstimated by finding the center and then the 1/4 mark after clipping both ends.

I did wash each of the drop clothes before hand.  I probably should have ironed them too, but I don’t iron.  Seriously.  I don’t iron.  If something in our house needs ironing my husband does it.  It’s like my cryptonite.  So the end product is a little wrinkled, but I figure that will fade the longer they hang.FinishedAnd here’s the finished product.  I didn’t plan it but the folded excess hits right at the window ledge, creating the illusion that the darker color at the bottom is from the lack of light from behind at that point.  Wish I could claim that was sheer genius planning.  But it wasn’t.  I’m sure the dogs appreciate that they don’t prevent them from continuing their daily neighborhood watch.  And my husband appreciates being able to pull them closed to watch a movie!  I plan to make them a little more fancy at our next house with a stencil of some type once they are really hemmed! 🙂

Starting Small


BeforeCloseUpWe are in the process of building a new home in Wasilla, so in the meantime we are renting a 3 bedroom townhouse here in Anchorage.  Because it’s a rental we can’t make any major changes, but I still want it to feel like home and have some of my personality.  So I’m choosing to do small projects that can be reversed and taken with us to our new home when we move in a few months.

My first such project was swapping out the closet door knobs.  Our rental has functional, albeit worn knobs on all of the closets.  They’re not horrible, just a little too plain for me.  So I headed down to Pier One and picked out some pretty bling to gussy things up.And within a few minutes we went from builder basic (left) to oh so purdy (right):
Before After

(No I didn’t move the knob to the other side of the bi-fold door, I just photographed the other door when I did the after and didn’t realize it until just now! LOL!)  And so the trend continued around the house.

CloseUpThree of these lovelies went in the guest bedroom.

PantryAnd this became the pantry pull.

CoatClstAnd the coat closet got a little pizazz too.

BathroomAnd I even found something fitting for the nautical themed guest bathroom, to which I added the adorable little fish I found at Kirklands while in San Diego recently.  I didn’t know where I’d put them, but I knew I just HAD to have them, especially at just $2!  And I was right.  They look perfect here.

I’m still on the hunt for something cute to use in the office, but I did just order some green polka dot knobs online.  They just might fit the bill, although I was hoping to find something in purple.  If I do then the polka dots will be stashed away for a future furniture redo.  Perhaps for a future ‘foster’ room!

And so it begins!

DB&DT is now up and running… ok.. more like fumbling.  It took some doing to find a free template I liked, creating a new WordPress account and figuring out that in order to load said “free” template I have to host my site outside of WordPress.  So $36 later GoDaddy is tells me I’m “on the cusp of greatness” as I wait for them to set up my account and domain name.  But that means I’ve taken the leap and decided to really do this!  So stay tuned and we’ll get this thing figured out!