Happy Christmas Eve! I have one last Christmas project to share and it’s the revamp of this sad little faux tree. It used to be my holiday tree in the entry way, but I decided to give up that tradition this year in favor of spending time on more important things like spending time with my hubby and kiddos.
This little skinny tree had definitely seen better days. It had moved from Virginia to Alaska and then from Kodiak to Anchorage and finally Wasilla, so it was looking pretty tired. Since it came apart in two pieces I decided to make each portion a smaller mini tree for use around the holidays.

The bottom section was glued very securely in the base – trust me I tried to remove it and I’m pretty sure it would survive an explosion intact. So rather than fight it I just wrapped the container in burlap, tucked the ends over the top of the urn and tied it with some pretty twine from the boots I’d bought at a consignment sale. One down, one to go.

Now I needed a base for the top portion of the tree, which had a metal stump that had once attached into the base of the tree. I remembered I had this wooden box in my stash and thought it would work perfectly. This had been the container for a gift basket my office had received last year and originally came as unfinished wood with the sender’s logo carved on one side and this pretty snowflake on the other.

Although the snowflake was cute I didn’t want to see the company’s logo so I needed a way to cover it up. I considered adding metal pieces with decorative tacks, paint stick shiplap and other methods, but then had a light bulb moment when I realized that the burlap webbing I had a small section of was just tall enough to cover both the logo and snowflake!

I filled the box with some Styrofoam from some packaging I was about to discard, shoved the metal stump into that and wrapped the webbing around the box, securing it with a bit of hot glue where the two ends met. It was looking pretty good, but I wanted to cover up the white sytrofoam so I pulled some crinkle paper stuffing out of my filler stash and tucked it around the base. I literally had just enough!

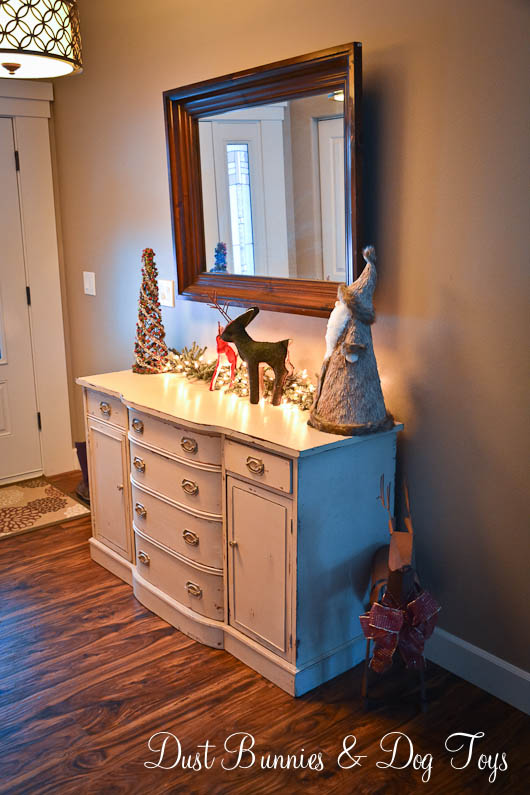
And here it is all done! I think they turned out pretty darn cute for being a totally $0 project! I paired each with a reindeer and placed them in the guest room and foster room for the season. I didn’t even decorate them so they can stay put through the winter. 🙂

And because I just can’t not share one more, here’s a cute little lamp post I revamped. I bought it at a thrift store for $4 back in the summer and set it aside to redo for my holiday bazaar booth. I forgot to take before pictures, but envision it as unfinished wood, with some 1980’s Christmas appliques at the top and a beat up garland around the post. I removed the garland, sanded down the appliques and painted the whole thing in ORB. Then I distressed the edges of the lantern and added a simple bow with greenery to the lantern base with a screw. And here’s the finished result.

Although it didn’t sell at this year’s bazaar I’ll store it away as inventory for next year since it never hurts to get a head start and I plan to market pieces earlier next year on my Etsy shop and crafting Facebook page.
I’ll be taking it easy tomorrow, Skyping with family back home while enjoying the day with my fur babies and the hubs, so I wish you a very Merry Christmas and will share more projects next week!