
As promised, today I’m sharing how I created the DIY chalk paint fall tray centerpiece on our dining room table. I picked up this wooden tray on a local buy/sell page for $15 from the Rusty B (love her stuff!). It had a metal handle that had come a bit loose so I popped that off and gave it a quick coat of cream chalk spray paint left over from painting the pumpkins I used around the house this year. I’m really loving this stuff and it comes in lots of colors! Anywho, I forgot to take a picture before taking the handle off but here’s the before – like literally seconds before the spray paint started flying thanks to my hubby who snapped the picture with my phone as I shook the can in between sprays! (In fact, you can see a little peek of the pumpkins I’d started painting in the top corner.)
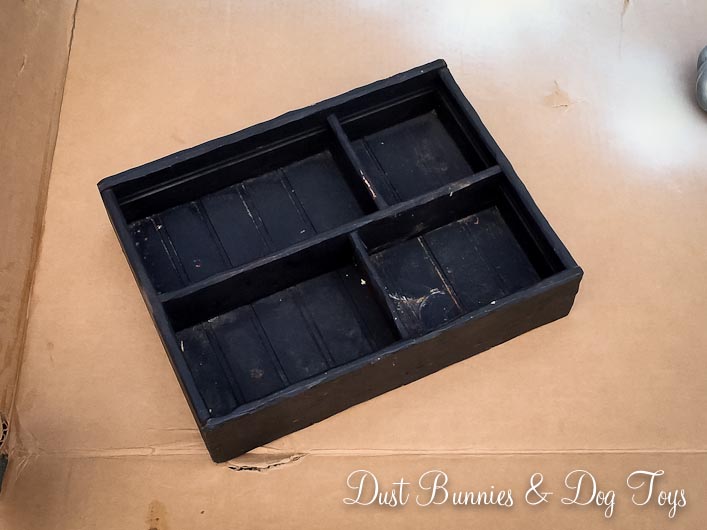
After two coats it was looking pretty good. Much brighter and prettier than before. The chalk paint gave it just a bit of texture, but it looked a little flat. So I decided to distress it a bit to get some of the black to show through.

A quick hand sanding later it had dimension again with a worn, lived with look. Then I reattached the metal handle and it was ready for some fall filler.

I filled the bottom with white beans, then topped it with a variety of pumpkins and gourds in similar colors. A few pieces of leftover berry spray from the entryway and a couple filler pieces I found on a recent trip to Michaels and it was done.
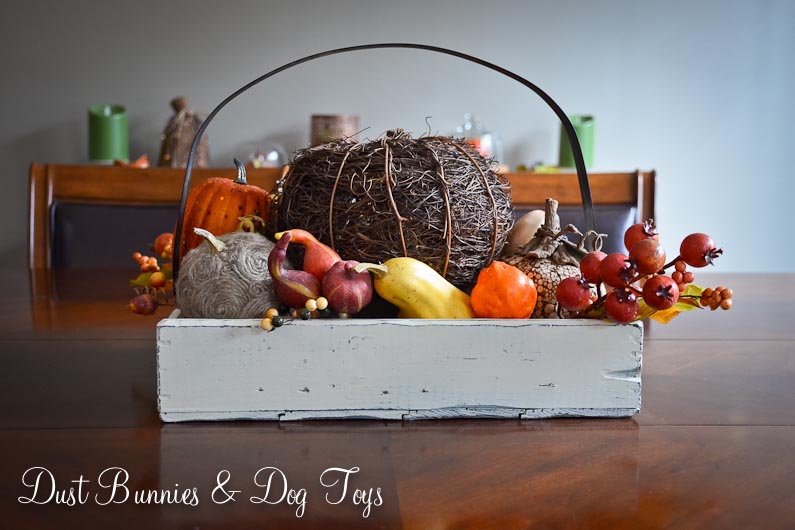
And that’s the story of my DIY fall centerpiece. I’ll be back tomorrow with the quick makeover I did on a little faux pumpkin!

U r amazing
Sent from my iPhone
>
Very cute! And versatile, too.
Great upcyle! Thanks for sharing it at the Vintage Inspiration Party!