

The first project we tackled after getting back from Hawaii was adding faux shiplap to the dining room. Although it was high on my wish list I didn’t have plans to get it done until later, but the perfect opportunity presented itself and we decided to make the most of it.
While on vacation I found a larger sideboard to replace the inefficient one we had and made arrangements for my awesome furniture refinisher to pick it up before we returned home. The buffet we had sold so fast that I had to empty the entire contents on the dining room table, which left the wall empty for about 2 weeks. Knowing this was a rare opportunity the hubs suggested we just knock it out so it would be done when the new buffet was ready. I quickly agreed and we figured out what we needed.
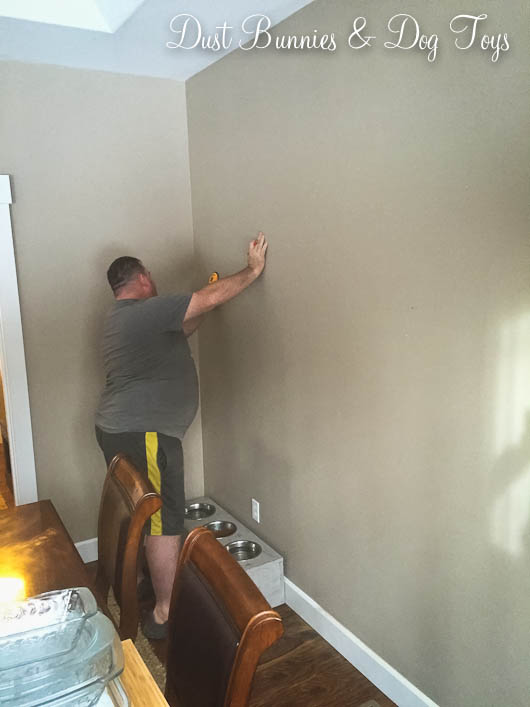
We started by locating the studs and marking their location the entire height of the wall so we’d know where to nail the boards in at. Here’s my stud locating the wood studs. I helped draw the lines and we recorded the measurement of each from either side of the wall so we’ll know where to anchor the windmill when it goes up later this spring.


We purchased several sheets of 1/4″ hard oak plywood which we planned to have the box store cut into strips for us, but due to poor training the hubs was told they don’t do that. So he brought the full sheets home and we ripped them into 8″ planks on our table saw. Unfortunately, we didn’t notice that the back grip on the guide had come loose and most of our boards were not perfectly matched. We divided them into piles by width so we could easily find similar sized boards as we added new pieces. We started at the top and nailed the first board in along the stud marks.

Once we had the top row done we used nickles to space out the second row. Eventually we got tired of fussing with the nickles and just eyeballed the spacing, which worked out pretty well. The process went pretty quickly and soon we were almost done.


Stoli was quite interested in the process and kept trying to figure out how he could help. Eventually he decided that guarding dad while he was down on the floor was his best option. 🙂
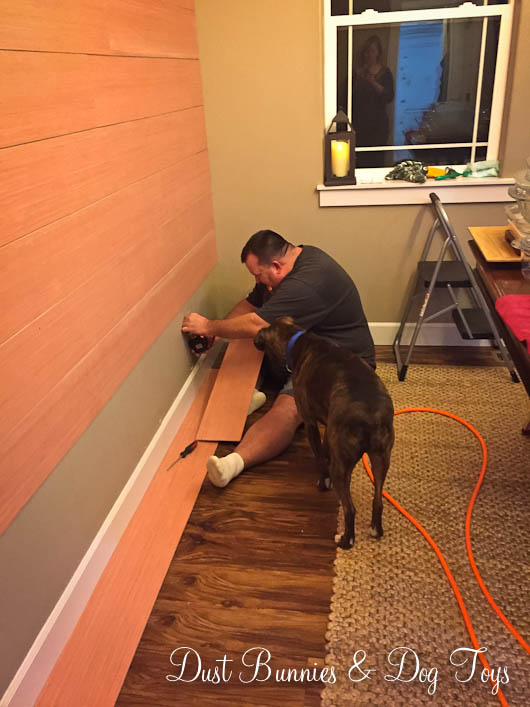

The hubs had to cut around the two outlets at the bottom of the wall, which took some measuring but went smoothly. Another row after that and we had the entire wall done.
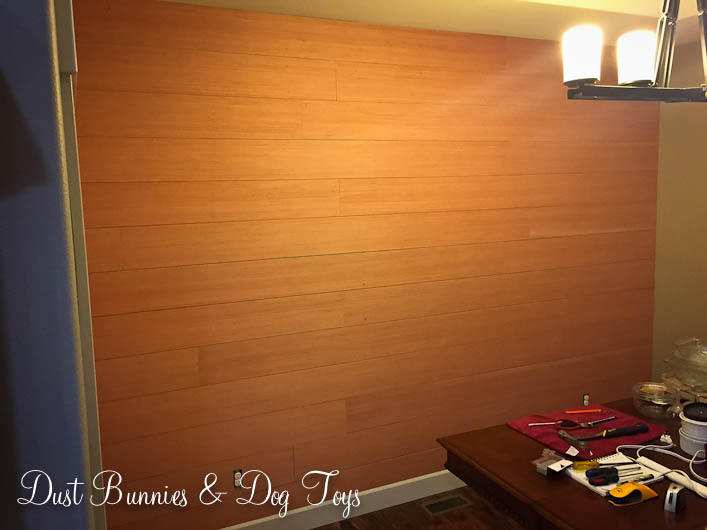
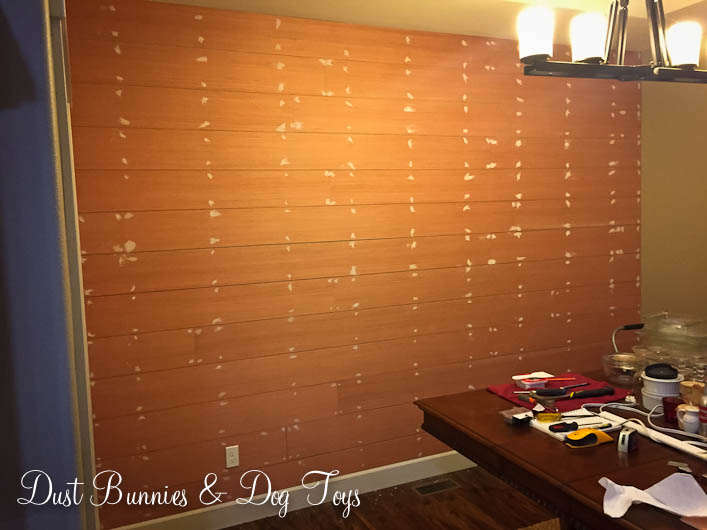
Next we spackled all of the nail holes, let them dry and then sanded them smooth. Luckily we could find most in a line where the studs were but we had to find the additional nails were the boards joined going across. We still missed one or two but I figure it adds a bit of character.
The wood had an orange, almost red tone so we knew it would take several coats to cover. Here’s how things looked halfway through the first coat.

Another coat had countered the orange but there was still some bleed through so we opted for a third coat.

The bright white makes the entire space so much brighter and I love how it reflects the light from the windows in the dining room. There were a few imperfections, but it fits our rustic style so I let them be.
The hubs wasn’t crazy about the idea of this project in the beginning but once it was done he stood back and said “Looks pretty good. I like it.” I’m glad he does because I LOVE it! It makes me smile every time I walk in the room and see it. What’s even better is how it works with the new buffet which I’ll share in my next post!


Love it!
Sent from my iPhone
>