
We knew we wanted something unique for the pendant lights over the bar in the kitchen, but weren’t sure exactly what that might be. I spotted this idea on Pinterest and immediately loved it. Surprisingly, so did the hubs who took me to an antique store he’d just discovered to pick out insulators for our project a few days later.
We also acquired some heirloom insulators from the hubby’s Aunt in Colorado during our road trip in September, so we had quite a selection to choose from. I set them all out and tried different combinations to decide which we liked best.
We hadn’t given the project much more thought since then as we were busy with other details and the house wasn’t ready for light fixtures just yet. But now that it is, we suddenly had to figure out how to make it happen and choose exactly which insulators to use.


And finally decided this was just right.

My handy dandy hubs found the right bit and snuck in time on a drill press at work to drill the holes. The first four drilled without a hitch, but then while drilling the last one it cracked!


We had a few others in the same color and size, but they all had pretty big chips, so that wonderful hubby of mine made another trip to the antique store and picked up two more for $9 each. He drilled both without a problem, but one did develop an internal crack. We decided to still use it since it added character, and that left us a spare in case any ever did meet an untimely fate and require being replaced.
We followed the tutorial from Pinterest and purchased the same materials to retrofit the pendant cords the builder installed.
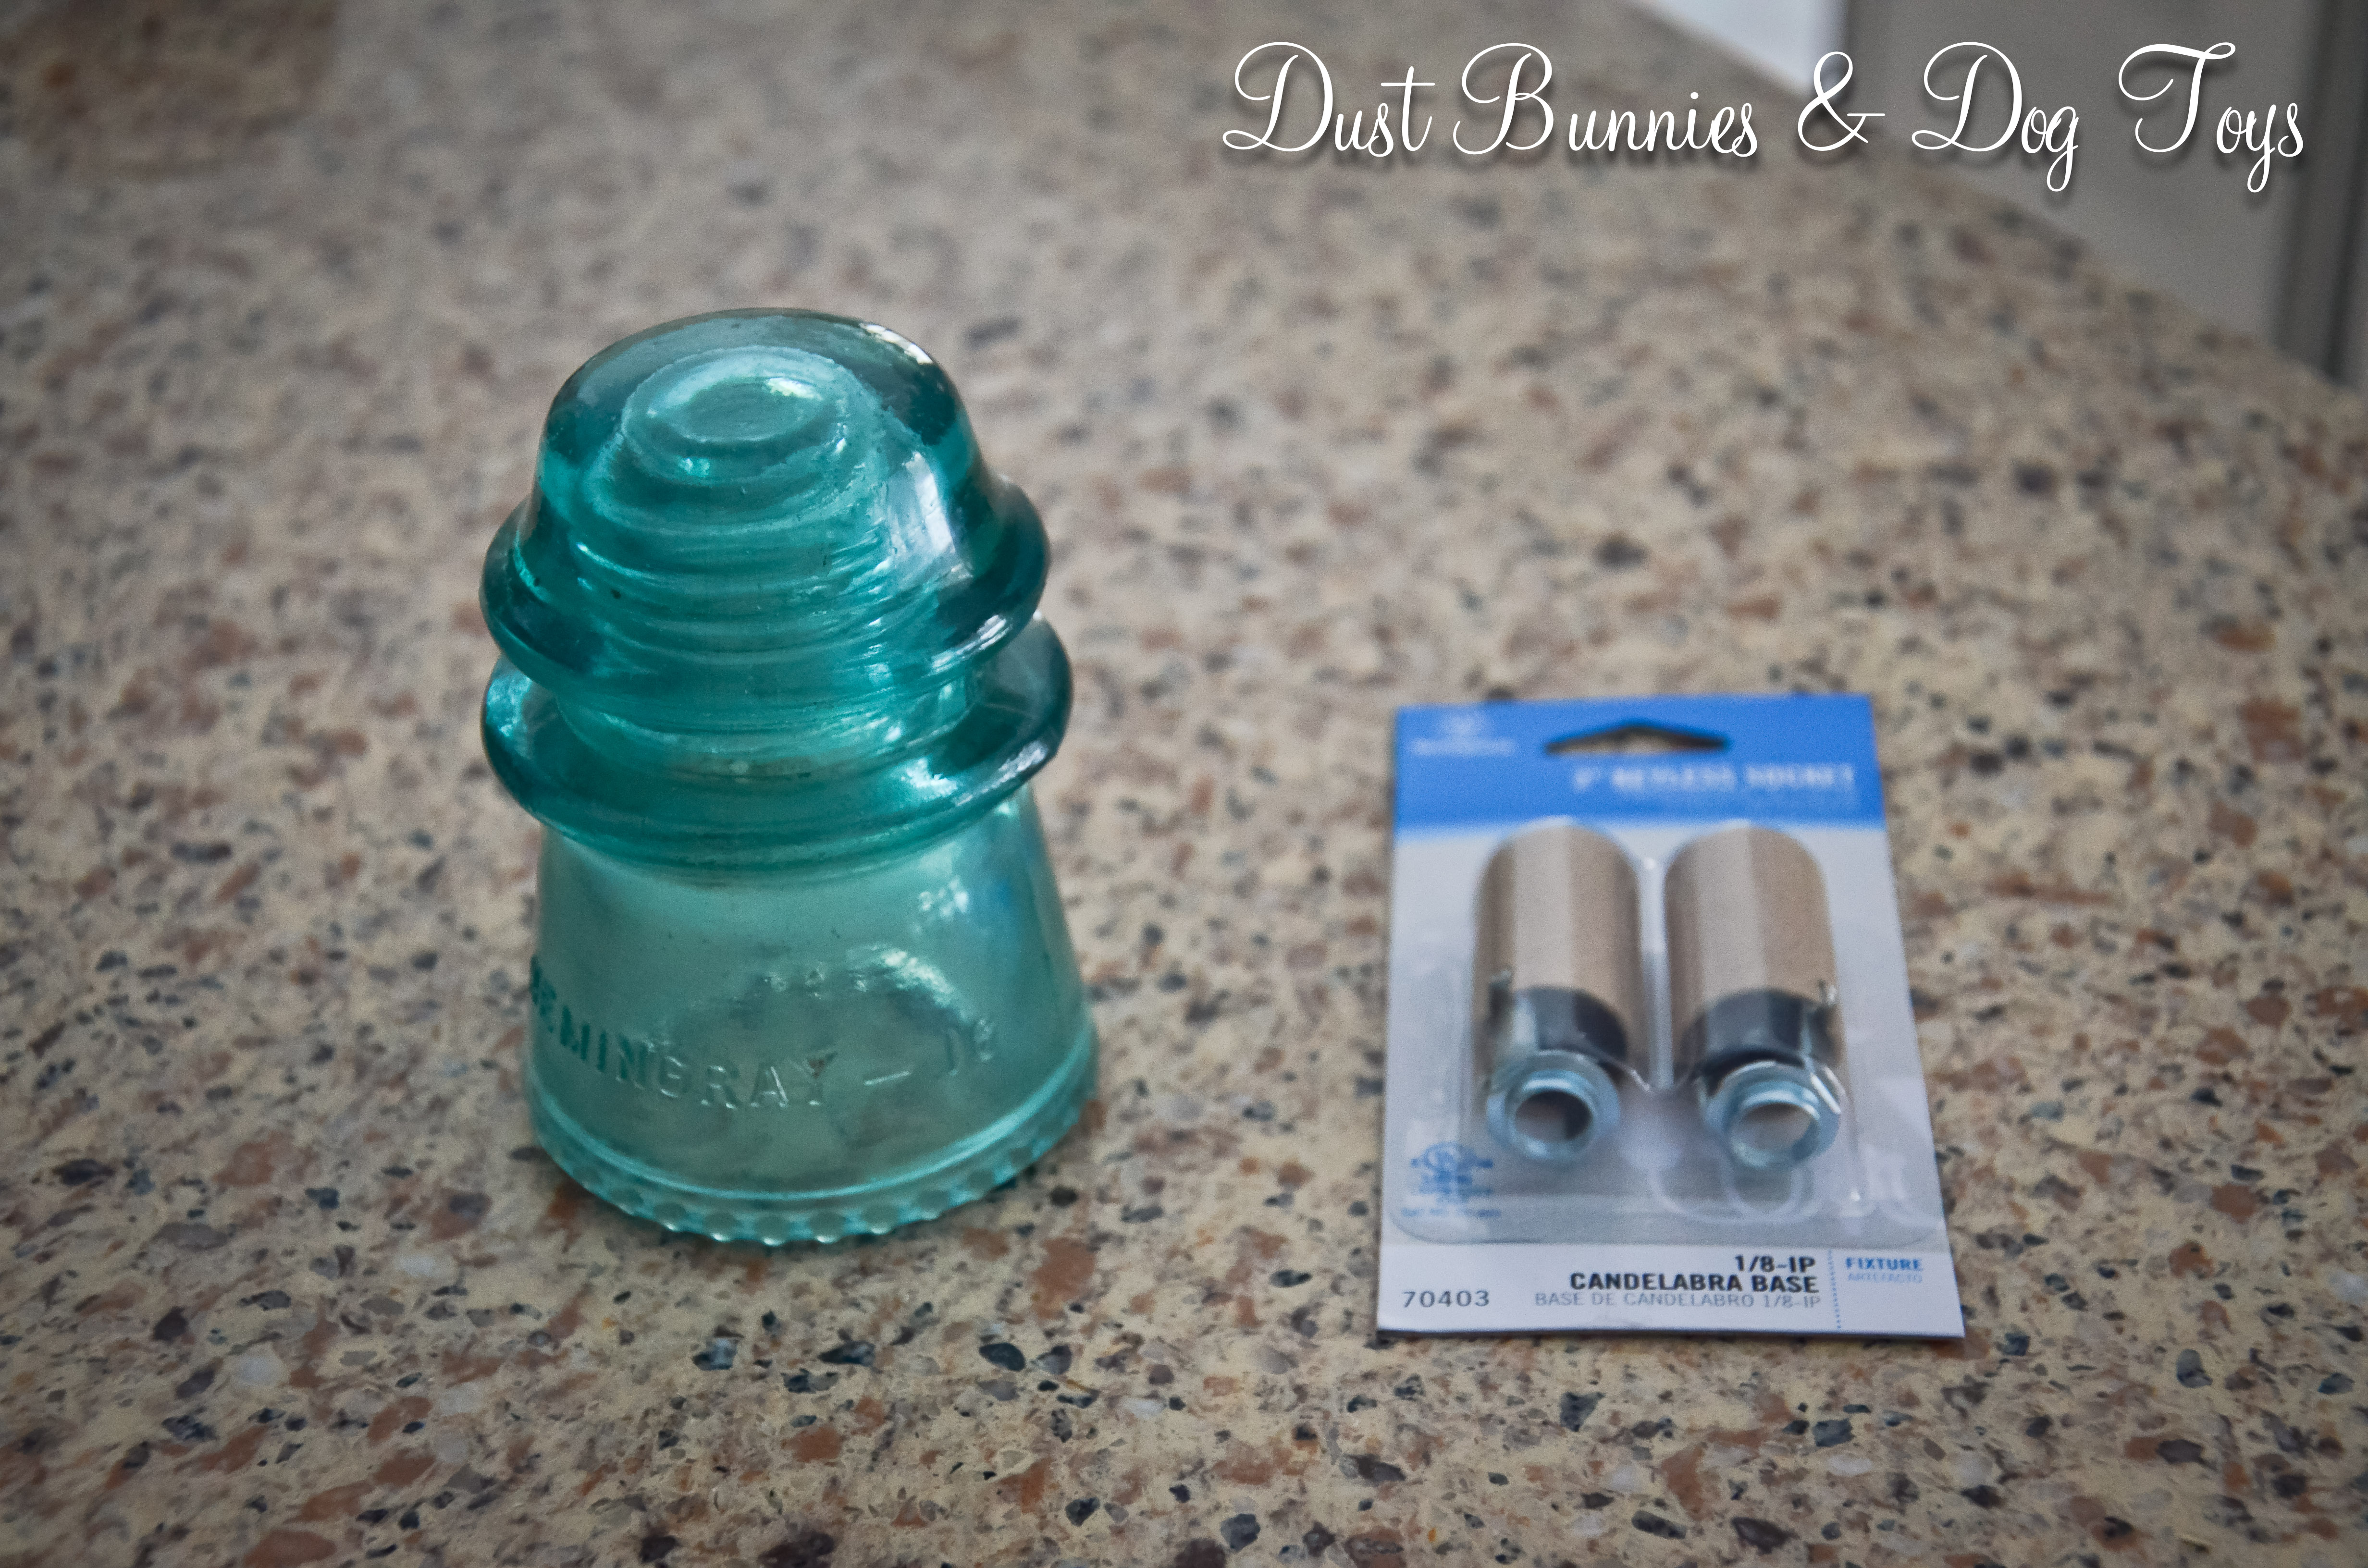
It took a little trial and error to figure out the best method for removing the parts we didn’t need and reusing the parts we did, but the hubs made it happen – even though he was super tired!


It also took a bit of adjusting to get them all at the same height, but they look awesome!

The builder thought we were nuts when we showed him what we were planning, and all he had to say when he saw the finished product was “It’s different. I’ve never seen that before.” But at this point, if it’s something he doesn’t have to do, he’s game.
The LED bulbs don’t put out much light at 0.6 wt, but the recess lighting in the main area of the kitchen supply plenty of light to cook by. They do make a nice ‘night light’ when on by themselves, so that’s probably how we’ll use them the most. We will be on the lookout for brighter bulbs that will fit, but for now these it the bill.

I just adore the finished result. Not only are they unique and repurposing something that is otherwise unused, but they bring a piece of family history to our new home.
Have you ever used old glass insulators for projects? If so, please share! We still have several and need some ideas.

hi there, my husband has been working on making these lights too, but am having a hard time finding the right light to use and fit inside the insulators. whre did you get yours at if you dont mind me asking:) thanks!
We found the LED bulbs and candelabra bases at Home Depot. We did end up getting a brighter LED bulb for each and paid a little more but they put out lot more light. Hope that helps. 🙂
What pendants did you use? I found the Westinghouse Mini Pendant Kit at Home Depot but it looks like the Canopy (5″ Diameter) rather large as compared to yours.
I did purchase the candelabra with LED bulbs but I’m not sure about this pendant unless you removed the canopy completely.
You and your Hubby did a great job. Thanks for sharing.
My Grandfather was an electrician and collected the glass insulators. I have so many sitting in a box and was excited to think of the potential use of them now.
I honestly don’t know exactly what pendants they were, as we had our builder provide them as part of our light fixture allowance. I believe they were the individual kits you can buy for around $16 (Alaska price) at Lowes. They have several different glass shades, which our builder used in other homes so we told him to just do his normal cord/wire and we’d provide the shades. He looked at us like we’d lost our minds when we told him what we were installing, but just said “Well that’s different.” LOL. We did take off the flange because it was too large for our insulators. If you notice on the picture where he’s taking it apart the one that’s done just has the small piece from on top of the flange left, but the others we hadn’t done yet have the full size flange and socket. Hope that helps! Glad to hear someone else found the info helpful – especially when it means you’ll be using a piece of your family history in your home! 🙂
We just picked up two crates full of insulators at an auction for $15. Thanks for the details & pics!! We’re about to go crazy building these!!
I think that’s awesome! Please share pictures or a link when you do!
Will do!
i have a collection of these that i am ready to start making pendants with, but they are really scratched up. Did you polish your insulators to make them look so shiny and new? If you did, how did you polish them? Thanks
We didn’t polish them at all. We were just lucky that they looked pretty good as is. I’d bet you could use a wax buffer like you detail a car with though.
These lights are awesome, and I’d like to try making some for home and my kids. What kind of drill bit did you use to drill the holes if you don’t mind my asking??
It’s a diamond circular cut bit, according to the hubs. 🙂 Share a photo or link when you do!