
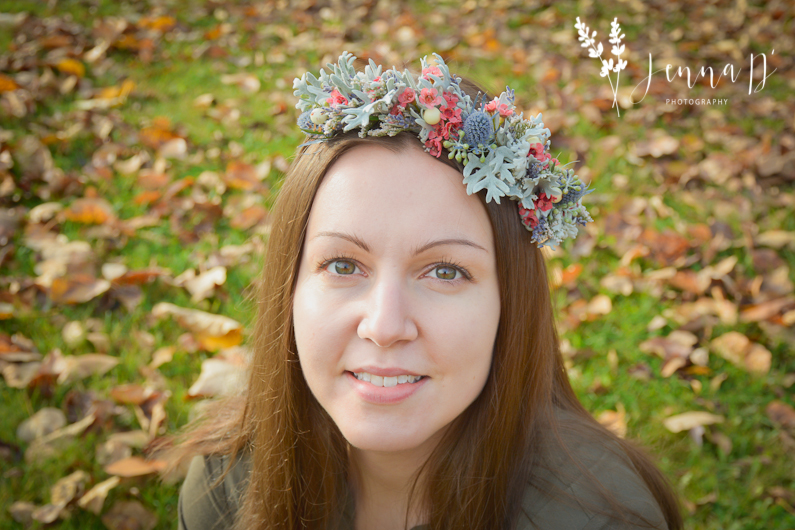
 Right after our big trip I attended a workshop on how to make flower crowns with a well-known local artist & florist, Alaska KnitNat. I’ve seen her work in many photographer’s images and it always looks stunning, so I was interested to learn a bit about how to create something similar for my styled shoots and special projects. It was a “make & take” workshop I arranged to do a quick photo shoot for a friend a few hours after the workshop so we could use the crown and get some images of it, which is where the image above came from. It’s a little different posing with a crown since it’s not something most people wear every day, but we had lots of fun with it. Here’s the basics on how it went together.
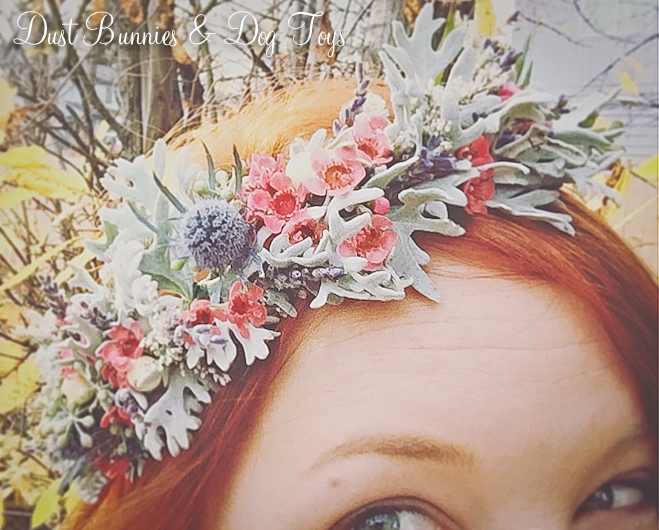
 The instructor had several flower options available to choose from and these little pink flowers, which I believe are was flowers immediately spoke to me. I decided to use those and dusty miller that her landscaper friend had given her for experimenting along with some thistles (a nod to our recent trip to Scotland) and lavender.
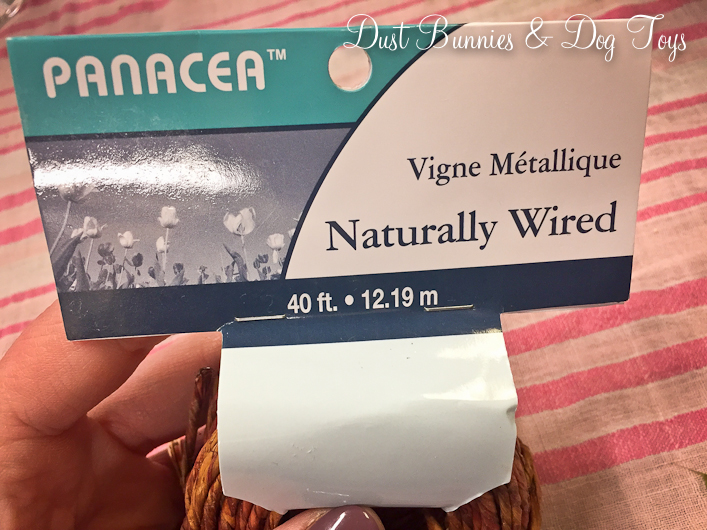 The starting point is this coated florist wire. It’s available at both JoAnn Fabrics & Micheals. Using your own head as a measuring tool, wrap the wire around where you want it to sit and cut leaving 1-2″ extra on each end to create the tie in the back.
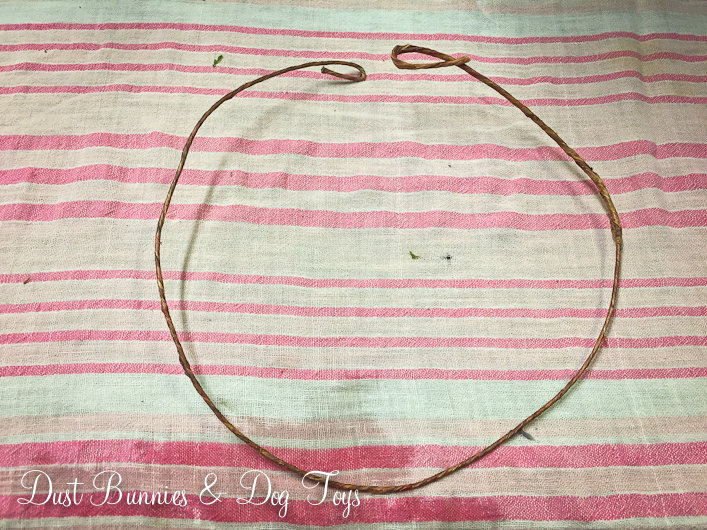 We opted to do a ribbon tie at this workshop because it was a bit prettier and allowed for different sizing if it was to be worn by different models. The alternate is to leave excess room to weave or twist the two ends together. To create attachment points for our ribbon ties we created a small loop on either end of the wire.
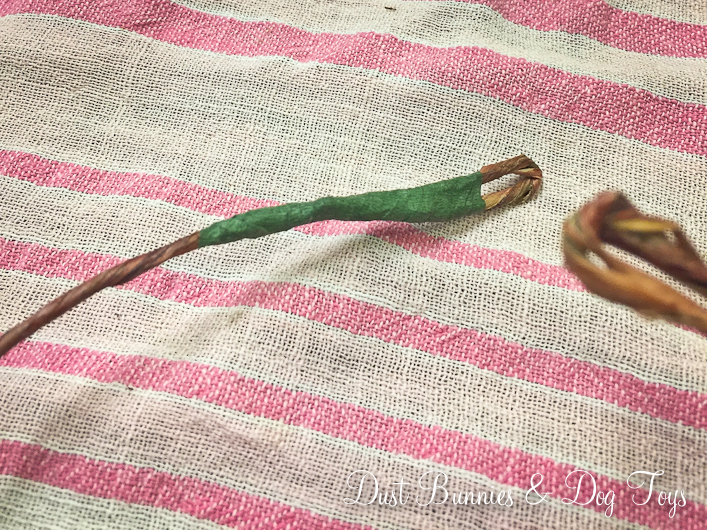 These loops were secured with floral tape wrapped around the wire. From there, the pieces of ribbon were double-knotted through the ‘eye’ created by the tape on each side. Now it’s time to start using the florals.
 I got so engrossed in the creative process I apparently didn’t take any pictures of this stage, so I’ll try to describe it the best I can. Using small sections of your selected florals (2-3 small stems or pieces arranged together), you begin to form the arrangement. Tape the stems of each section down to the wire, working in one direction so each batch covers the stems of the previous batch. Alternate the direction each batch points off the wire (right or left) in a cross-hatch style so that you keep things full and all the connections on the wire covered. You also want to make sure your florals are all on the top side of the wire, so that the back side remains flat to sit against the head.
The process does take a bit of planning before you dive in since once each section goes down it’s nearly impossible to add to it because you layer each section with the sticky floral tape. I forgot to include a thistle early on in the design of mine and had to work it back in trying to secure it without disturbing the other sections around it. I made it work, but it wasn’t the best option. I highly recommend just playing with a design or arrangement before you commit to the tape, or make a few practice crowns until you get it just the way you want.
I chose to make an asymmetric design rather than a full crown that goes all the way around the head, so I started my sections about a third of the way down my wire from the ribbon eye loop and stopped about a third of the distance to the other side’s ribbon tie. If you were doing a full crown you would start closer to the eye loop and continue all the way down the wire.
 Here’s me modeling the finished piece after the class. The Dusty Miller really gave it a unique look and made it easy to transition from fall to winter. One of the other participants in the class was a local cake maker I’ve met several times. She also chose to do an asymmetric design with eucalyptus, lavender, thistle and statice. It had a wonderful woodland fairy vibe and because of the flowers she chose the instructor was fairly certain she’d be able to let it air dry and keep it for years.
 I enjoyed wearing my handiwork the rest of the day until my friend’s shoot, where we took turns wearing it. I even wore it to do some shopping and got several compliments on it – although some didn’t even notice it since it was the same day as a big costume marathon in town! Here’s one of my favorite shots with the crown from my friend’s session. It certainly creates a whimsical look. You can see the ribbon tie sticking out a bit in the back due to the angle. I left it here so you could get a sense of where it tied, but I’ll probably photoshop it out in the final edit.
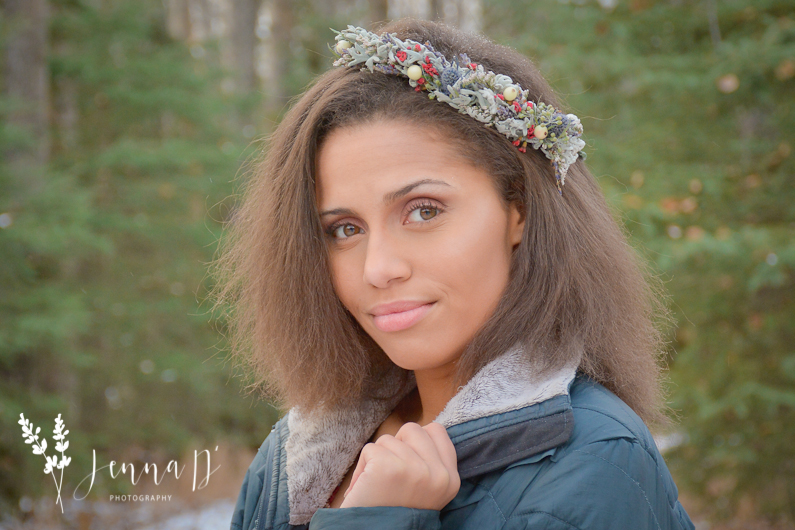
 Because I also chose florals that kept well I was able to store it in the refrigerator and use it on a senior photo shoot the following week! It had just started to snow and we were surrounded by evergreen trees rather than colorful leaves so it has a completely different look in this shoot. I let the senior keep it after her shoot so she could enjoy it and feel like a princess for a few more days.
 It was fun learning a new skill and I plan to put that knowledge to work for future sessions to spice up my portfolio. Have you ever worn a flower crown or have a favorite ‘look’ that used one? I’d love to see a picture of it for inspiration! Alaska KnitNat also has a more in-depth, step-by-step tutorial with a video on how to create these crowns on her site, so be sure to check it out along with her other DIY tutorials for fun projects like a Modern Hoop wreath and even how to make grocery store flowers look like a professional floral arrangement!
