
Today I’m sharing the revamp we gave our plain white mantel. Although we wanted a rustic timber mantel when we were building the contractor wanted an absurd amount of money to install one and we weren’t certain what it would look like so we opted to take his basic style and DIY a work around later. Two years later it’s finally happened. I considered several methods including faux painting a wood grain and building a wood sleeve box, but I’m not great at painting and it would be nearly impossible to get a wood box to sit flush with the stone we have on the surround. I also considered doing a wood veneer but had a hard time finding pieces large enough and worried that it wouldn’t fit together right.
While hunting Amazon for wood veneers I found a rustic wood print self-adhesive vinyl for around $10 a roll and figured at that price it was worth giving it a shot. When it arrived I was worried that the colors were too similar to the rock, but eventually I felt that even if it was it would still be better than the big white block we currently had. Here’s how the mantel looked until yesterday.

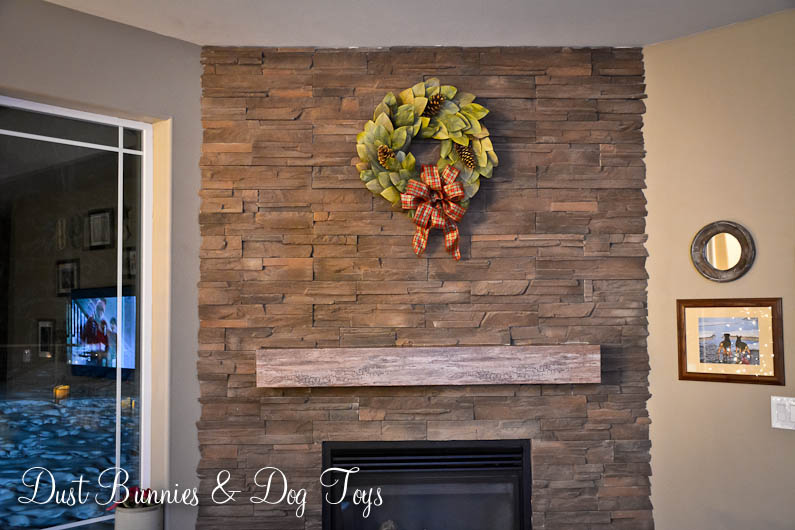
And here’s how it looks now!

The material was fairly easy to work with, you just use the grid pattern on the back to cut it to size, then peel and stick it down to the surface you’re covering. Because we wanted the pattern to go up under the rock and wrap around for a continuous pattern it was more difficult than other applications.

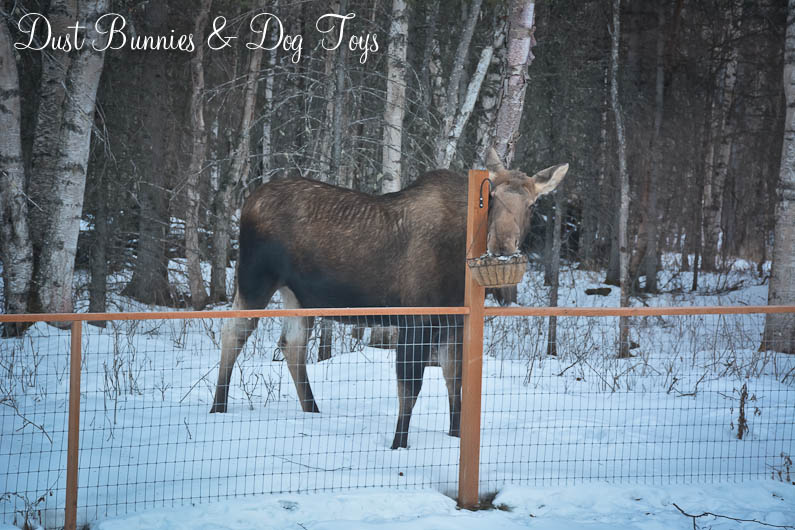
We had a neighbor visit while we were measuring, who helped herself to the remains of my hanging baskets. I don’t mind too much since they’re already goners but hopefully she forgets where she found them come spring.
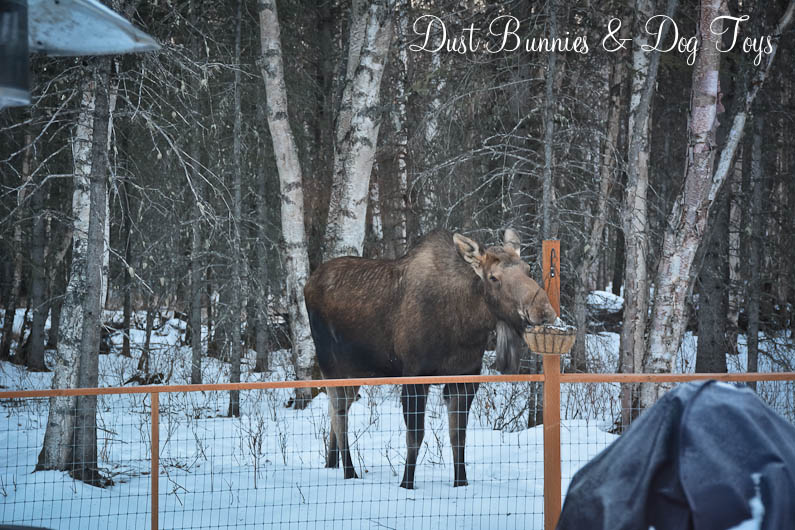
I think she eventually realized that I was watching and attempted to hide behind the post while continuing to munch…
But back to the project at hand. Several hours and a few choice words muttered under my breath later the mantel looked like this. Definitely an improvement from the big white blob!
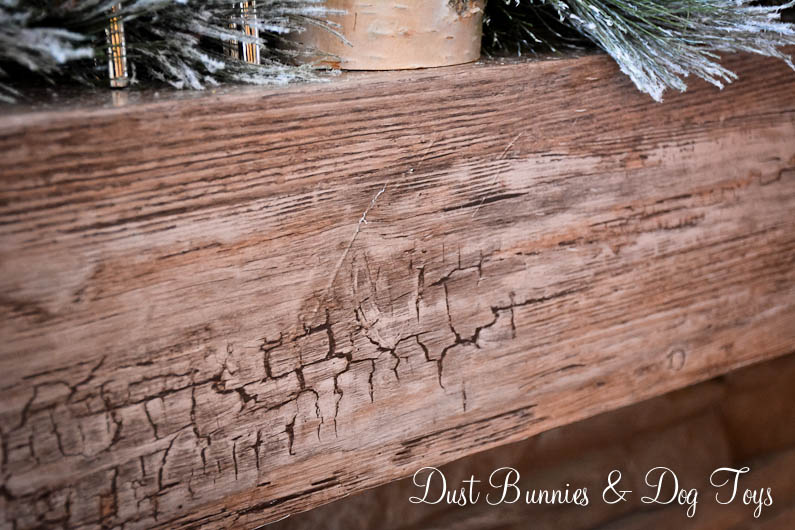
It’s definitely not perfect. There are a couple of bubbles here and there, and a few cut marks where I had to work out wrinkles when things didn’t line up just right, but you really only see them close up when the light hits them just right, so I’m ok with that – especially for just $20!

 The birch candles the hubs made and frosted garland compliment the new look perfectly, so it’s a DIY win-win!
